Sage Green Romantic Peplum Crochet Top Free Pattern
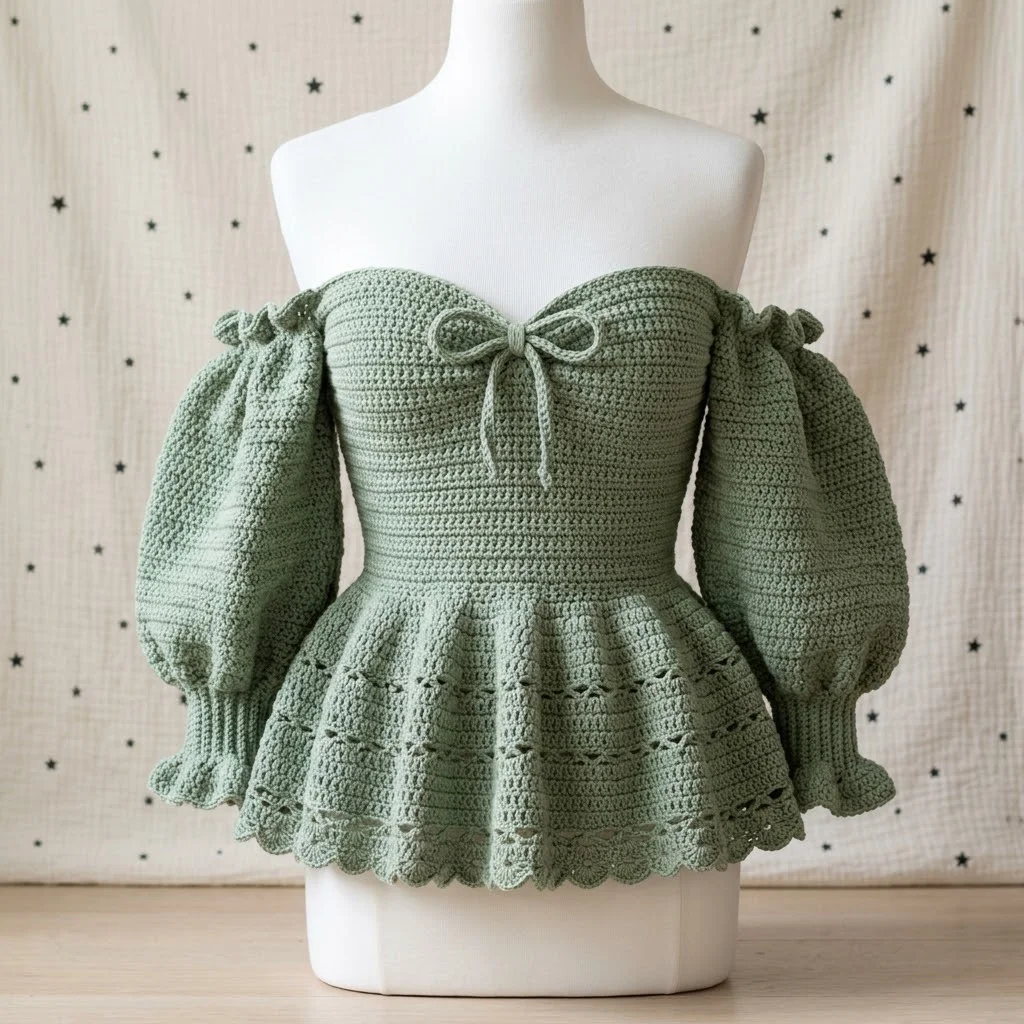
Go dig through your yarn stash right now because I know you have been saving that perfect sage green skein for something special. This romantic peplum top is exactly the kind of project that deserves your favorite yarn. The construction combines a fitted sweetheart bodice with dramatic bishop sleeves and a flirty peplum skirt, all worked in surprisingly straightforward stitches. I will be honest with you though. This is an intermediate level project that requires patience and attention to shaping. But if you have made a basic garment before and you are ready to level up, this stunning top is absolutely within your reach.
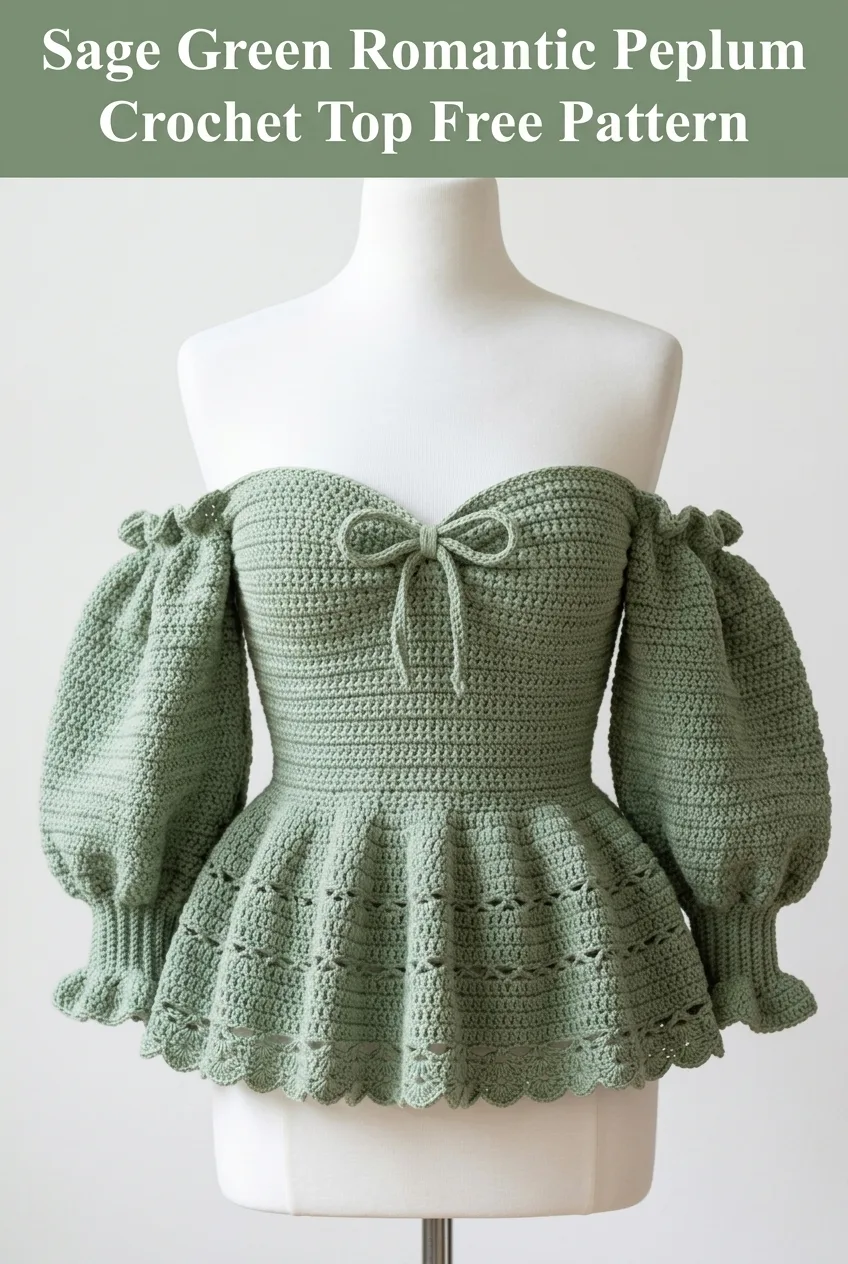
Why You Will Love This Crochet Peplum Top Pattern
This romantic crochet top combines cottagecore charm with modern wearability. The fitted bodice creates a flattering silhouette while the peplum adds movement and femininity. Those billowing bishop sleeves gathered at the wrist give the whole piece a vintage feel without looking costume-like.
What makes this crochet top pattern special is how the different sections work together. The bodice uses tight rows of single crochet and half double crochet for structure. The peplum introduces an openwork shell pattern that creates beautiful drape. The sleeves are worked separately and attached, making the whole project more manageable than it looks.
Skill Level
Intermediate
This pattern requires comfort with basic stitches, increasing and decreasing, working in joined rounds, and seaming pieces together. If you have never made a garment before, I recommend starting with a simpler top first.
Finished Measurements
Materials Needed
Yarn:
Hook:
Notions:
Gauge
18 stitches and 20 rows = 4 inches in single crochet using 4.0mm hook
Please check your gauge before beginning. Gauge matters for garment fit. If your swatch is too small, go up a hook size. If too large, go down.
Abbreviations and Stitch Definitions
Let me walk you through every stitch abbreviation you will see in this pattern.
ch = chain: Yarn over, pull through loop on hook
sl st = slip stitch: Insert hook, yarn over, pull through both loops at once
sc = single crochet: Insert hook, yarn over, pull up a loop (2 loops on hook), yarn over, pull through both loops
hdc = half double crochet: Yarn over, insert hook, yarn over, pull up a loop (3 loops on hook), yarn over, pull through all 3 loops
dc = double crochet: Yarn over, insert hook, yarn over, pull up a loop (3 loops on hook), yarn over, pull through 2 loops, yarn over, pull through remaining 2 loops
sc2tog = single crochet two together (decrease): Insert hook in first stitch, yarn over, pull up a loop, insert hook in next stitch, yarn over, pull up a loop (3 loops on hook), yarn over, pull through all 3 loops
inc = increase: Work 2 stitches in the same stitch
sk = skip: Miss the indicated stitch or space
sp = space
BLO = back loop only: Insert hook through only the back loop of the stitch
Pattern Notes
Read through the entire pattern before starting. I know that sounds boring, but trust me. Understanding how the pieces connect will help everything make sense.
The bodice is worked flat in rows, then seamed up the back. The sweetheart neckline is shaped with decreases. The peplum is worked in joined rounds from the waist down. Sleeves are worked separately in joined rounds and attached at the shoulder line.
The horizontal texture on the bodice comes from working in back loop only (BLO). This creates those lovely ridges you see in the photo.
The Pattern
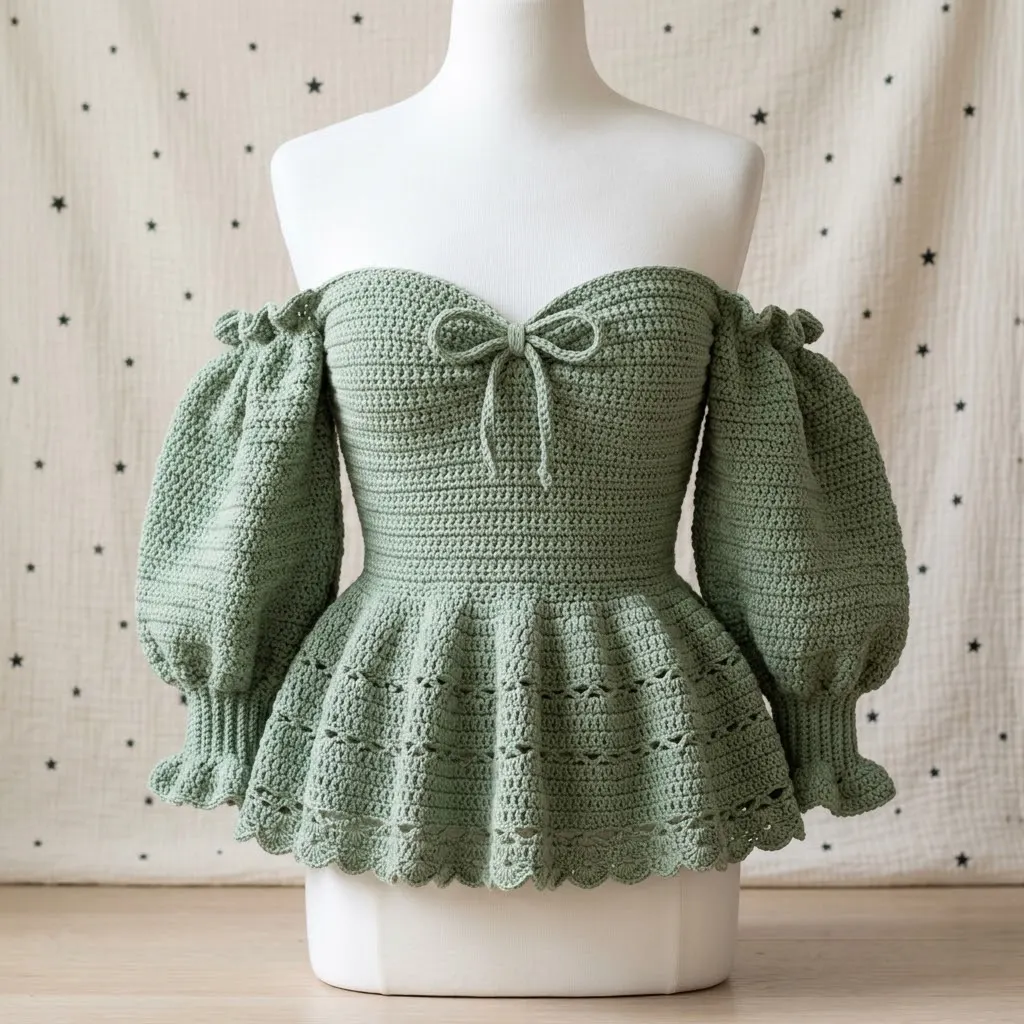
Bodice Front Panel
Foundation:
Ch 73.
Row 1: Sc in 2nd ch from hook and in each ch across, turn. (72 sc)
Rows 2 through 4: Ch 1, sc in BLO of each st across, turn. (72 sc)
Row 5 (decrease row): Ch 1, sc2tog in BLO, sc in BLO of each st to last 2 sts, sc2tog in BLO, turn. (70 sc)
Rows 6 through 8: Ch 1, sc in BLO of each st across, turn. (70 sc)
Row 9: Repeat Row 5. (68 sc)
Continue in this manner, working 3 plain rows followed by 1 decrease row, until you have 56 stitches remaining. This creates the natural waist shaping.
Waist section:
Work 6 rows even in sc BLO without decreasing. (56 sc)
Upper bodice shaping:
Row 1: Ch 1, sc in BLO of first 26 sts, sc2tog, sc2tog, sc in BLO of remaining 26 sts, turn. (54 sc)
Rows 2 through 4: Work even. (54 sc)
Continue decreasing 2 stitches at center every 4th row until you have 46 stitches. This creates the sweetheart dip.
Bust cup shaping:
Divide for left and right cups.
Right cup:
Working on first 23 stitches only.
Row 1: Ch 1, sc in BLO of first 23 sts, turn, leave remaining sts unworked.
Row 2: Ch 1, sc2tog, sc in BLO to end, turn. (22 sc)
Row 3: Ch 1, sc in BLO to last 2 sts, sc2tog, turn. (21 sc)
Continue decreasing at each edge every other row until 12 stitches remain. Work 2 rows even. Fasten off.
Left cup:
Join yarn to opposite side and work to mirror right cup.
Bodice Back Panel
Work exactly as front panel through waist section. Then continue straight without the sweetheart shaping, decreasing only at sides, until back measures same length as front to shoulder. Fasten off.
Peplum Skirt
The peplum is worked in joined rounds from the waist edge of the bodice.
With bodice pieces seamed at sides, join yarn at center back waist.
Round 1: Ch 1, work 112 sc evenly around entire waist edge, sl st to first sc to join. (112 sc)
Round 2: Ch 3 (counts as dc), dc in each st around, sl st to top of ch-3. (112 dc)
Round 3: Ch 3, dc in same st, dc in next 3 sts, *2 dc in next st, dc in next 3 sts*, repeat from * around, sl st to join. (140 dc)
Round 4: Ch 1, sc in each st around, sl st to join. (140 sc)
Round 5 (shell round): Ch 1, sc in first st, *sk 2 sts, 5 dc in next st (shell made), sk 2 sts, sc in next st*, repeat from * around, adjusting final repeat as needed, sl st to join.
Round 6: Ch 3, 2 dc in same st, sc in center dc of shell, *5 dc in sc, sc in center dc of shell*, repeat from * around, sl st to join.
Rounds 7 through 12: Continue alternating shell placement as established.
Round 13 (increase round): Work shells with 7 dc instead of 5 dc for fuller flare.
Rounds 14 through 18: Continue shell pattern.
Edging round: Ch 1, sc in each st around, working 3 sc in center of each shell for scalloped edge, sl st to join. Fasten off.
Bishop Sleeves (Make 2)
These dramatic sleeves are worked from shoulder to wrist.
Foundation: Ch 60, sl st to first ch to form ring, being careful not to twist.
Round 1: Ch 1, sc in each ch around, sl st to join. (60 sc)
Rounds 2 through 6: Ch 1, sc in each st around, sl st to join. (60 sc)
Round 7 (increase round): Ch 1, *sc in next 9 sts, 2 sc in next st*, repeat from * around, sl st to join. (66 sc)
Rounds 8 through 14: Work even. (66 sc)
Round 15: Increase 6 stitches evenly spaced. (72 sc)
Continue increasing 6 stitches every 7th round until you have 90 stitches. This creates the billowing effect.
Rounds 35 through 45: Work even on 90 stitches for the fullest part of the sleeve.
Round 46 (decrease round): *Sc in next 8 sts, sc2tog*, repeat around. (81 sc)
Round 47: *Sc in next 7 sts, sc2tog*, repeat around. (72 sc)
Continue decreasing every round until you have 36 stitches remaining. This creates the gathered wrist.
Cuff:
Work 8 rounds even in sc.
Ruffle edging:
Ch 3, dc in same st, 2 dc in each st around, sl st to join. Work one more round of 2 dc in each stitch for fuller ruffle. Fasten off.
Shoulder Ruffle Detail
Join yarn at shoulder edge where sleeve meets bodice.
Work a small gathered ruffle by working 3 dc in every other stitch around the armhole edge. This creates that pretty gathered detail visible at the shoulders.
Bow Tie
Ch 120.
Sc in 2nd ch from hook and in each ch across. Fasten off.
Weave this tie through the stitches at the center front sweetheart dip and tie in a bow.
Assembly Instructions
1. Seam bodice front and back panels together at side seams using mattress stitch or whip stitch
2. Leave top 3 inches open at each side for armholes
3. Seam center back of bodice, leaving top 4 inches open for ease of putting on
4. Work peplum from waist as directed
5. Attach sleeves to armhole openings
6. Weave in all ends
7. Thread bow tie through center front
Care Instructions
Hand wash in cool water with mild detergent. Lay flat to dry, reshaping gently. Do not hang while wet as this will stretch the fabric.
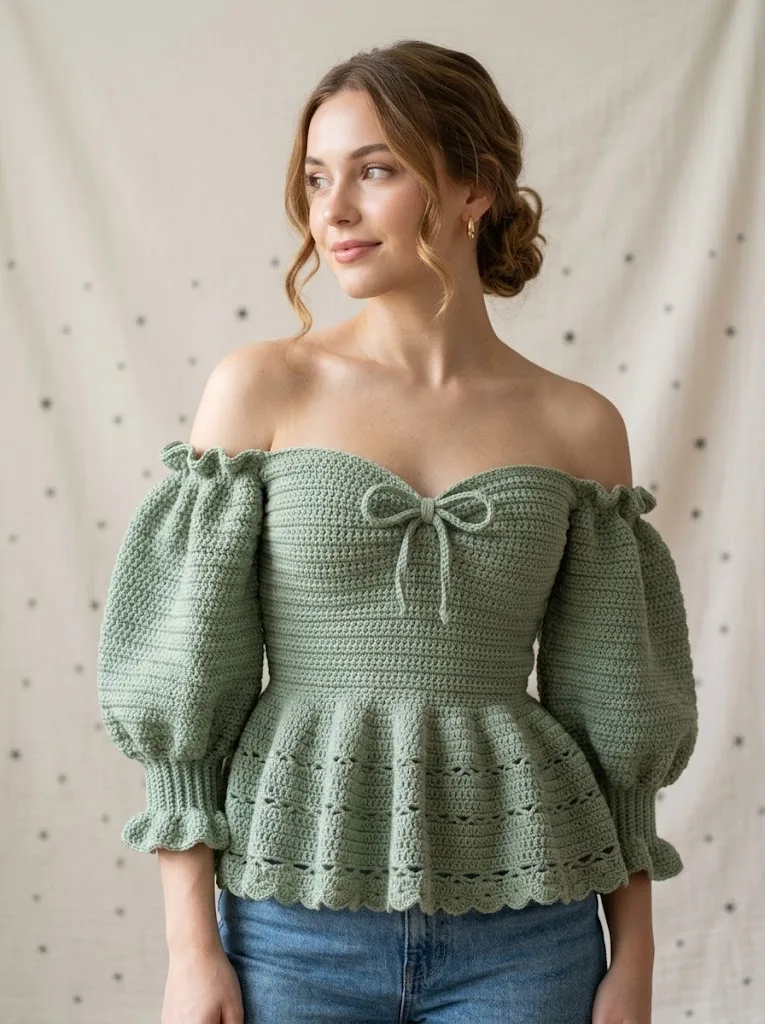
Styling Tips
This romantic peplum top pairs beautifully with high waisted jeans or a flowing midi skirt. The sage green works wonderfully for spring weddings, garden parties, or any occasion where you want to feel feminine and put together.
I hope you absolutely love making this crochet peplum top pattern. It is the kind of project that looks impressive on a hanger and feels even better to wear. Take your time with the shaping, trust the process, and do not be afraid to try it on as you go.
I would love to see your finished top! Save this pattern to your Pinterest boards so you can find it when you are ready to cast on, and please leave a comment below if you make one. Seeing your creations honestly makes my whole day.
You Might Also Like
- Mustard Yellow Boho Tote with Brown Leather Tassels Pattern
- Rainbow Pastel Snake Plushie Free Crochet Pattern
- Sage Green Summer Tote with Cream Tassels Free Crochet Pattern
- Ocean Waves Ombre Granny Square Blanket Free Crochet Pattern