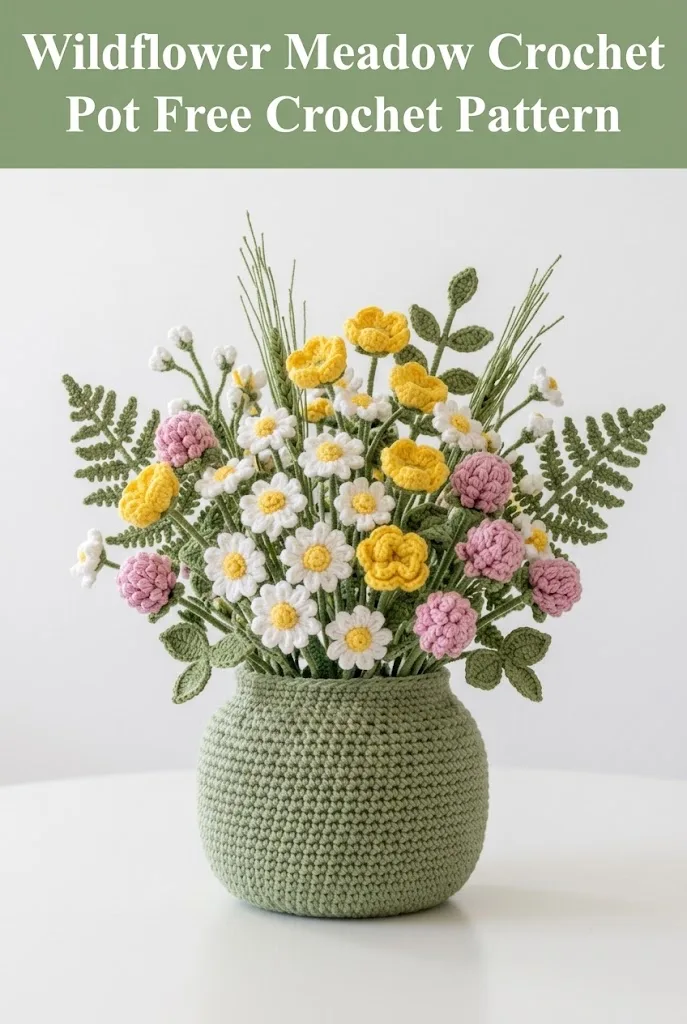
Wildflower Meadow Crochet Pot Free Crochet Pattern
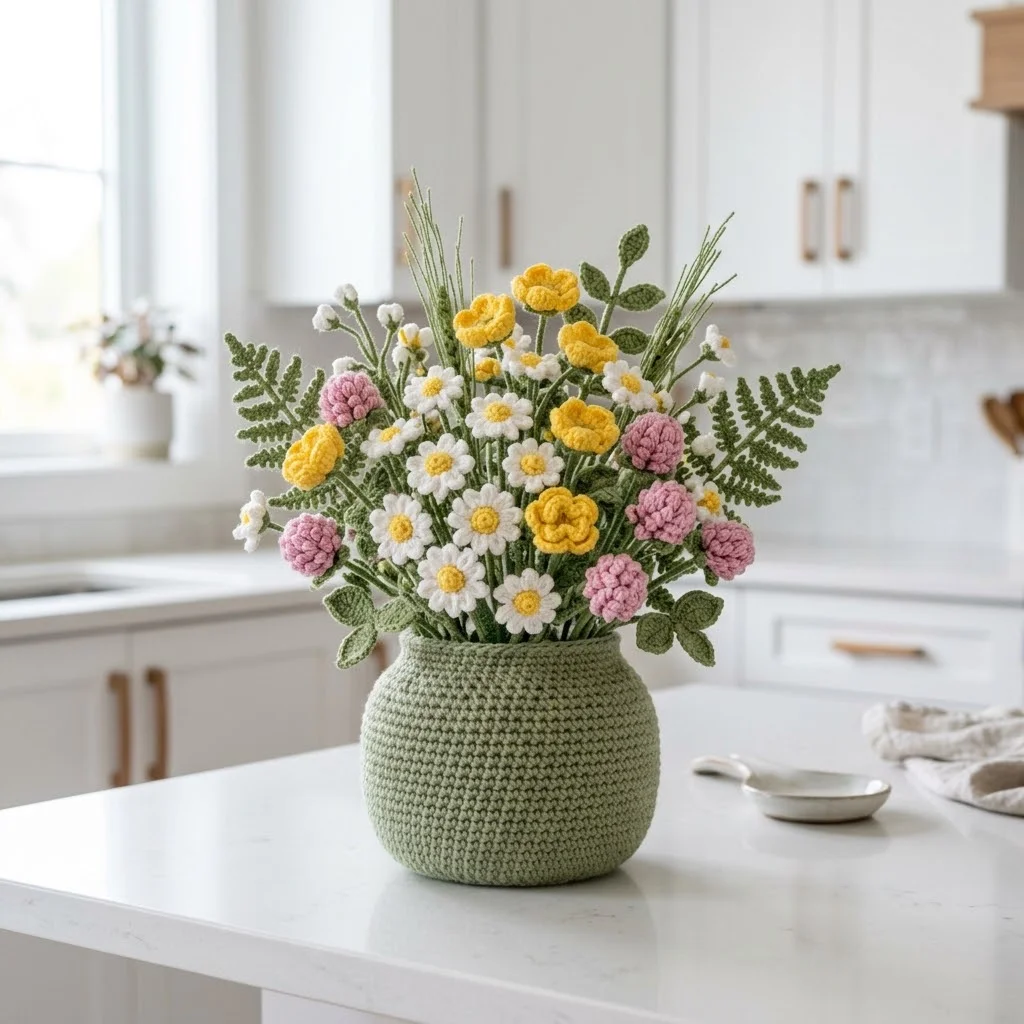
I had this vision in my head for months before I finally sat down to make it happen. I wanted to create a complete crochet flower arrangement that looked like someone had gathered wildflowers from a summer meadow and tucked them into a handmade vase. The goal was to design something that felt organic and imperfect in the best way, with multiple flower types, realistic greenery, and a sturdy crocheted pot to hold everything together. I am SO pleased with how this wildflower meadow crochet pot turned out! Every single element is crocheted, from the textured sage green vase to the delicate white daisies, cheerful yellow buttercups, fluffy pink clover blooms, and those gorgeous fern fronds. This is the kind of project that looks incredibly impressive on your kitchen counter or dining table, but I promise you, each individual piece is totally doable.
Why You Will Love This Crochet Flower Arrangement Pattern
This wildflower meadow crochet pot pattern is perfect for crafters who want to create lasting home decor that never needs watering. Each flower and leaf is worked separately, so you can crochet during short breaks and slowly build your bouquet over time. The construction is beginner friendly for most elements, with a few intermediate techniques for the more detailed pieces.
What makes this pattern special:
This step by step crochet tutorial walks you through creating every element you see. Daisies with sunny yellow centers, buttercups with cupped petals, textured clover heads, simple filler flowers, fern fronds, basic leaves, and of course the crocheted pot itself.
Materials Needed
Yarn:
I recommend a cotton or cotton blend yarn for excellent stitch definition and stability. Acrylic works well too, especially for the flowers where you want a bit of softness.
Tools:
Skill Level
Intermediate beginner to intermediate. If you can work in the round, increase, decrease, and follow written instructions, you can make this wildflower meadow crochet pot. Some elements like the fern fronds require more attention to detail, but I will walk you through every step.
Finished Dimensions
Gauge
For the pot: 16 single crochet stitches and 18 rows = 4 inches in single crochet worked in continuous rounds with 4.0mm hook.
Gauge is not critical for the flowers, but consistency matters so your arrangement looks cohesive.
Abbreviations and Stitch Definitions
ch = chain: Wrap yarn over hook, pull through loop on hook. This creates your foundation and is used for turning and spacing.
sl st = slip stitch: Insert hook, yarn over, pull through both the stitch and the loop on your hook in one motion. Used for joining and invisible movement.
sc = single crochet: Insert hook into stitch, yarn over and pull up a loop (2 loops on hook), yarn over and pull through both loops. Your basic building block stitch.
hdc = half double crochet: Yarn over, insert hook into stitch, yarn over and pull up a loop (3 loops on hook), yarn over and pull through all 3 loops. Slightly taller than single crochet.
dc = double crochet: Yarn over, insert hook into stitch, yarn over and pull up a loop, yarn over and pull through 2 loops, yarn over and pull through remaining 2 loops. Creates a taller, more open fabric.
tr = treble crochet: Yarn over twice, insert hook into stitch, yarn over and pull up a loop, (yarn over and pull through 2 loops) three times. Even taller stitch for dramatic petals.
inc = increase: Work 2 stitches into the same stitch. Adds one stitch to your count.
dec = decrease (invisible decrease for amigurumi): Insert hook through front loops only of next 2 stitches, yarn over and pull through both front loops, yarn over and pull through both loops on hook. Creates a neater decrease.
magic ring = adjustable starting loop: Create a loop with your yarn tail, insert hook through loop, yarn over and pull up a loop, chain 1, then work your first round stitches into the ring. Pull tail to close the center hole completely.
FLO = front loop only: Work into just the loop closest to you instead of both loops.
BLO = back loop only: Work into just the loop farthest from you.
The Crocheted Pot Pattern
This pot uses single crochet worked in continuous rounds, which means you do not join at the end of each round. Use a stitch marker to keep track of where your rounds begin.
With sage green yarn and 4.0mm hook:
Round 1: Make a magic ring, work 6 sc into the ring, pull tight to close. (6 sts)
Round 2: Inc in each st around. (12 sts)
Round 3: (Sc 1, inc) repeat around. (18 sts)
Round 4: (Sc 2, inc) repeat around. (24 sts)
Round 5: (Sc 3, inc) repeat around. (30 sts)
Round 6: (Sc 4, inc) repeat around. (36 sts)
Round 7: (Sc 5, inc) repeat around. (42 sts)
Round 8: (Sc 6, inc) repeat around. (48 sts)
Round 9: (Sc 7, inc) repeat around. (54 sts)
Round 10: (Sc 8, inc) repeat around. (60 sts)
This completes your flat base. Now we will build the sides.
Round 11: Working in BLO only, sc in each st around. (60 sts)
This round creates that nice defined edge at the bottom of the pot where the base meets the sides.
Rounds 12 to 18: Sc in each st around, working through both loops as normal. (60 sts)
Now we will create the tapered neck of the pot.
Round 19: (Sc 8, dec) repeat around. (54 sts)
Round 20: Sc in each st around. (54 sts)
Round 21: (Sc 7, dec) repeat around. (48 sts)
Round 22: Sc in each st around. (48 sts)
Round 23: (Sc 6, dec) repeat around. (42 sts)
Rounds 24 to 26: Sc in each st around. (42 sts)
Now we will flare the opening slightly.
Round 27: (Sc 6, inc) repeat around. (48 sts)
Round 28: Sc in each st around. (48 sts)
Round 29: (Sc 7, inc) repeat around. (54 sts)
Round 30: Sc in each st around. (54 sts)
Sl st to next st, fasten off, and weave in ends.
Finishing the pot: If you want extra stability, place a small bag of dry beans or weighted pellets in the bottom before inserting your floral foam or stuffing. This keeps your arrangement from tipping over.
Daisy Pattern (Make 8 to 10)
The daisies have two parts: a puffy yellow center and white petals worked around it.
Yellow Center:
With golden yellow yarn and 3.5mm hook:
Round 1: Make a magic ring, work 6 sc into the ring, pull tight. (6 sts)
Round 2: Inc in each st around. (12 sts)
Round 3: (Sc 1, inc) repeat around. (18 sts)
Round 4: Working in BLO, (sc 1, dec) repeat around. (12 sts)
Stuff lightly with a tiny bit of fiberfill.
Round 5: Dec around. (6 sts)
Fasten off, leaving a long tail. Thread through remaining stitches and pull to close.
White Petals:
With white yarn and 3.5mm hook:
Ch 2, then work the following into the 2nd ch from hook:
Petal (make 10 to 12, worked directly in a chain): Ch 8, sc in 2nd ch from hook, hdc in next ch, dc in next 2 ch, hdc in next ch, sc in next ch, sl st in last ch. Fasten off.
Assembly: Sew petals evenly around the yellow center, overlapping slightly at the base. The petals should radiate outward like sun rays.
Buttercup Pattern (Make 6 to 8)
These sweet cup shaped flowers are worked in one piece.
With golden yellow yarn and 3.5mm hook:
Round 1: Make a magic ring, work 5 sc into the ring, pull tight. (5 sts)
Round 2: Inc in each st around. (10 sts)
Round 3: (Sc 1, inc) repeat around. (15 sts)
Petals (worked in rows, continuing from round 3):
*Petal 1:* Ch 1, sc in same st, hdc in next st, dc in next st, hdc in next st, sc in next st, sl st in next st.
*Petal 2:* Ch 1, sc in next st, hdc in next st, dc in next st, hdc in next st, sc in next st, sl st in next st.
Continue around until you have 5 petals. The petals will naturally cup inward.
Fasten off, leaving a long tail for attaching to the stem.
Clover Bloom Pattern (Make 5 to 7)
These textured pink blooms are made with a series of loops that create that fluffy clover appearance.
With dusty pink yarn and 3.5mm hook:
Round 1: Make a magic ring, work 6 sc into the ring. (6 sts)
Round 2: (Sc 1, ch 3, sl st in same st) repeat in each st around. (6 loops)
Round 3: Working behind the loops from Round 2, inc in each st from Round 1. (12 sts)
Round 4: (Sc 1, ch 4, sl st in same st) repeat in each st around. (12 loops)
Round 5: Working behind the loops, (sc 1, inc) repeat around. (18 sts)
Round 6: (Sc 1, ch 4, sl st in same st) repeat in each st around. (18 loops)
Fasten off, leaving a long tail. The loops create that characteristic bumpy clover texture.
Small Filler Flowers (Make 10 to 12)
These tiny white and cream flowers fill in gaps beautifully.
With cream or white yarn and 3.5mm hook:
Make a magic ring, (ch 3, dc, ch 3, sl st) 5 times into the ring. Pull ring tight.
Fasten off. These are quick and add lovely delicate detail.
Fern Frond Pattern (Make 4 to 6)
These ferns add gorgeous texture and height. They require a bit more concentration but are so worth it.
With olive green yarn and 3.5mm hook:
Central Spine: Ch 30.
Working back along the chain, create leaflets:
Skip first ch, sl st in next ch.
*First leaflet:* Ch 5, sl st in 2nd ch from hook, sc in next ch, hdc in next ch, sc in next ch. Sl st in next ch of main spine.
Sl st in next ch of spine.
*Second leaflet:* Ch 6, sl st in 2nd ch from hook, sc in next ch, hdc in next ch, sc in next ch, sl st in next ch. Sl st in next ch of main spine.
Continue making leaflets, alternating sides and gradually increasing length toward the middle of the frond, then decreasing toward the base.
Make leaflets every 2 to 3 chains along the spine. Vary the length between 4 and 7 chains for a natural look.
Simple Leaf Pattern (Make 15 to 20)
With olive green yarn and 3.5mm hook:
Ch 10, sc in 2nd ch from hook, hdc in next ch, dc in next 4 ch, hdc in next ch, sc in next ch, ch 2, turn and work back along the other side of the chain: sc, hdc, dc in next 4 ch, hdc, sc, sl st to join.
Fasten off, leaving a long tail.
Stem Construction
Cut floral wire to desired lengths. I recommend:
To cover stems with crochet:
With olive green yarn, ch 2, sc around the wire continuously, keeping stitches close together. This takes patience but creates beautiful covered stems.
Alternative method: Wrap wire tightly with green floral tape, then attach flowers with hot glue or by sewing through the tape.
Assembly Tips for Your Wildflower Meadow Crochet Pot
Attach each flower to its stem securely using the yarn tails. Wrap floral tape around the join to reinforce.
Arrange stems in the pot, starting with the tallest elements (ferns) in the back. Layer in daisies and buttercups at varying heights. Tuck clover and filler flowers in gaps. Add leaves throughout to fill empty spaces.
You can use floral foam inside the pot to hold stems in place, or simply stuff with fiberfill and poke stems through.
Caring for Your Finished Arrangement
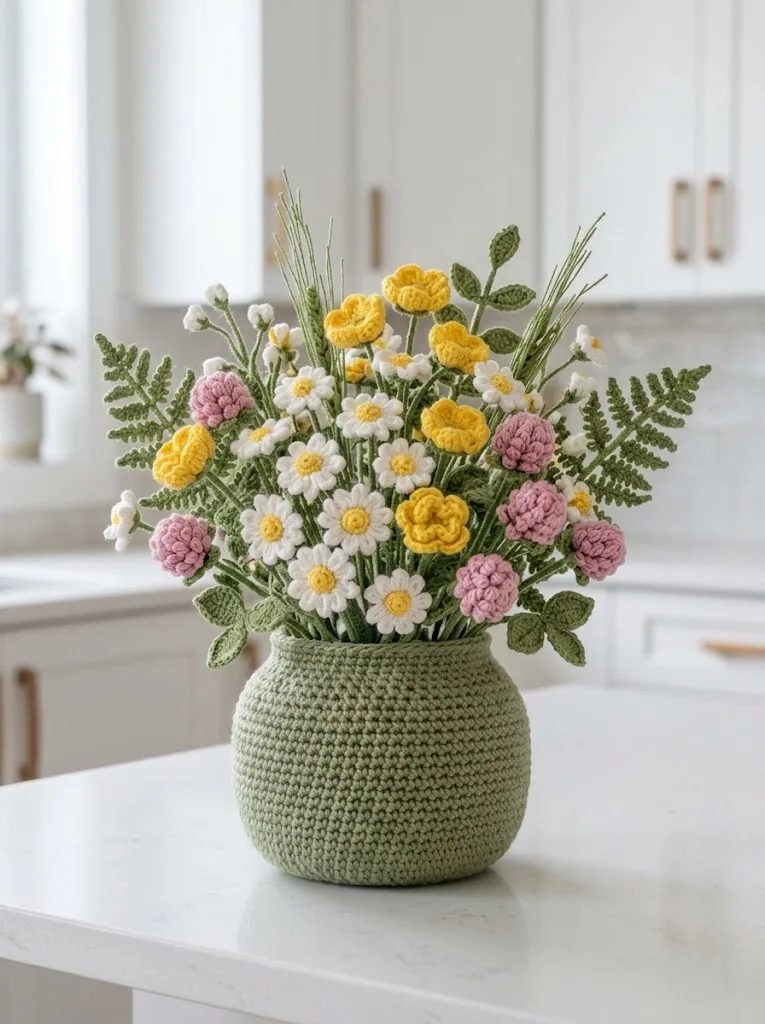
The beauty of this wildflower meadow crochet pot is that it requires zero maintenance. Dust occasionally with a soft brush or low suction vacuum attachment. Keep away from direct sunlight to prevent fading. If pieces become dusty, you can spot clean with a damp cloth.
I really hope you enjoy making this wildflower meadow crochet pot as much as I enjoyed designing it. Each little flower is its own satisfying mini project, and watching the whole arrangement come together is genuinely magical. Tag me on Instagram or share in our Facebook group when you finish yours. I absolutely love seeing your color choices and creative variations!
If this pattern sparked some joy, please save it to your Pinterest boards so you can find it whenever you are ready to start. And I would love to hear from you in the comments below. Let me know which flower was your favorite to make, or if you have any questions along the way. Happy crocheting, friend!
You Might Also Like
- Warm Autumn Terracotta Shoulder Bag Free Crochet Pattern
- Gray and Pink Heart Granny Square Blanket Free Crochet Pattern
- Ocean Blue Chameleon Amigurumi Free Crochet Pattern
- Lavender Crochet Sandals in Modern Bedroom Free Pattern