Warm Autumn Terracotta Shoulder Bag Free Crochet Pattern
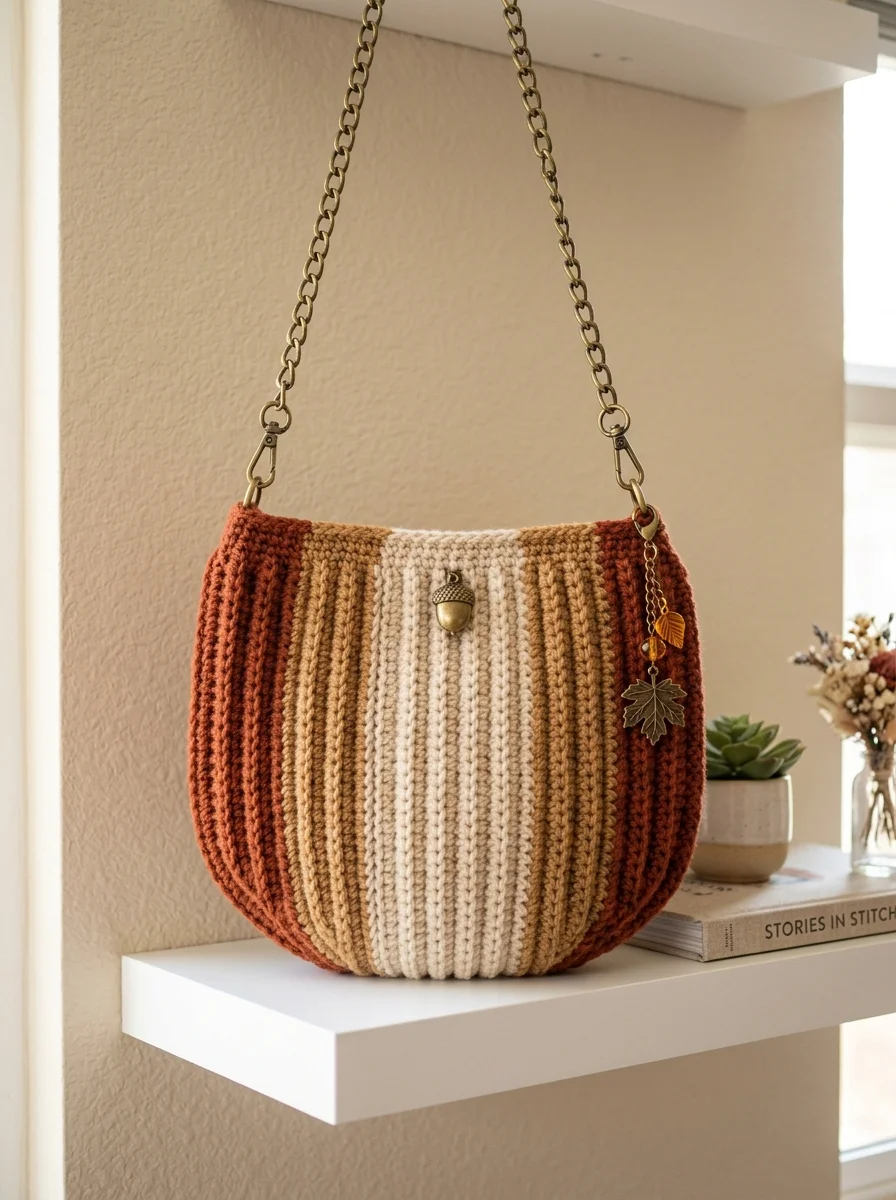
There is something absolutely magical about carrying a handmade bag that perfectly captures the essence of fall. This Warm Autumn Terracotta Shoulder Bag is exactly that kind of project. Rich russet tones blend seamlessly with warm caramel and creamy ivory in vertical ribbed stripes that create stunning visual texture. The rounded silhouette feels modern yet timeless. And that brass chain strap with the adorable acorn charm? Pure autumn perfection.
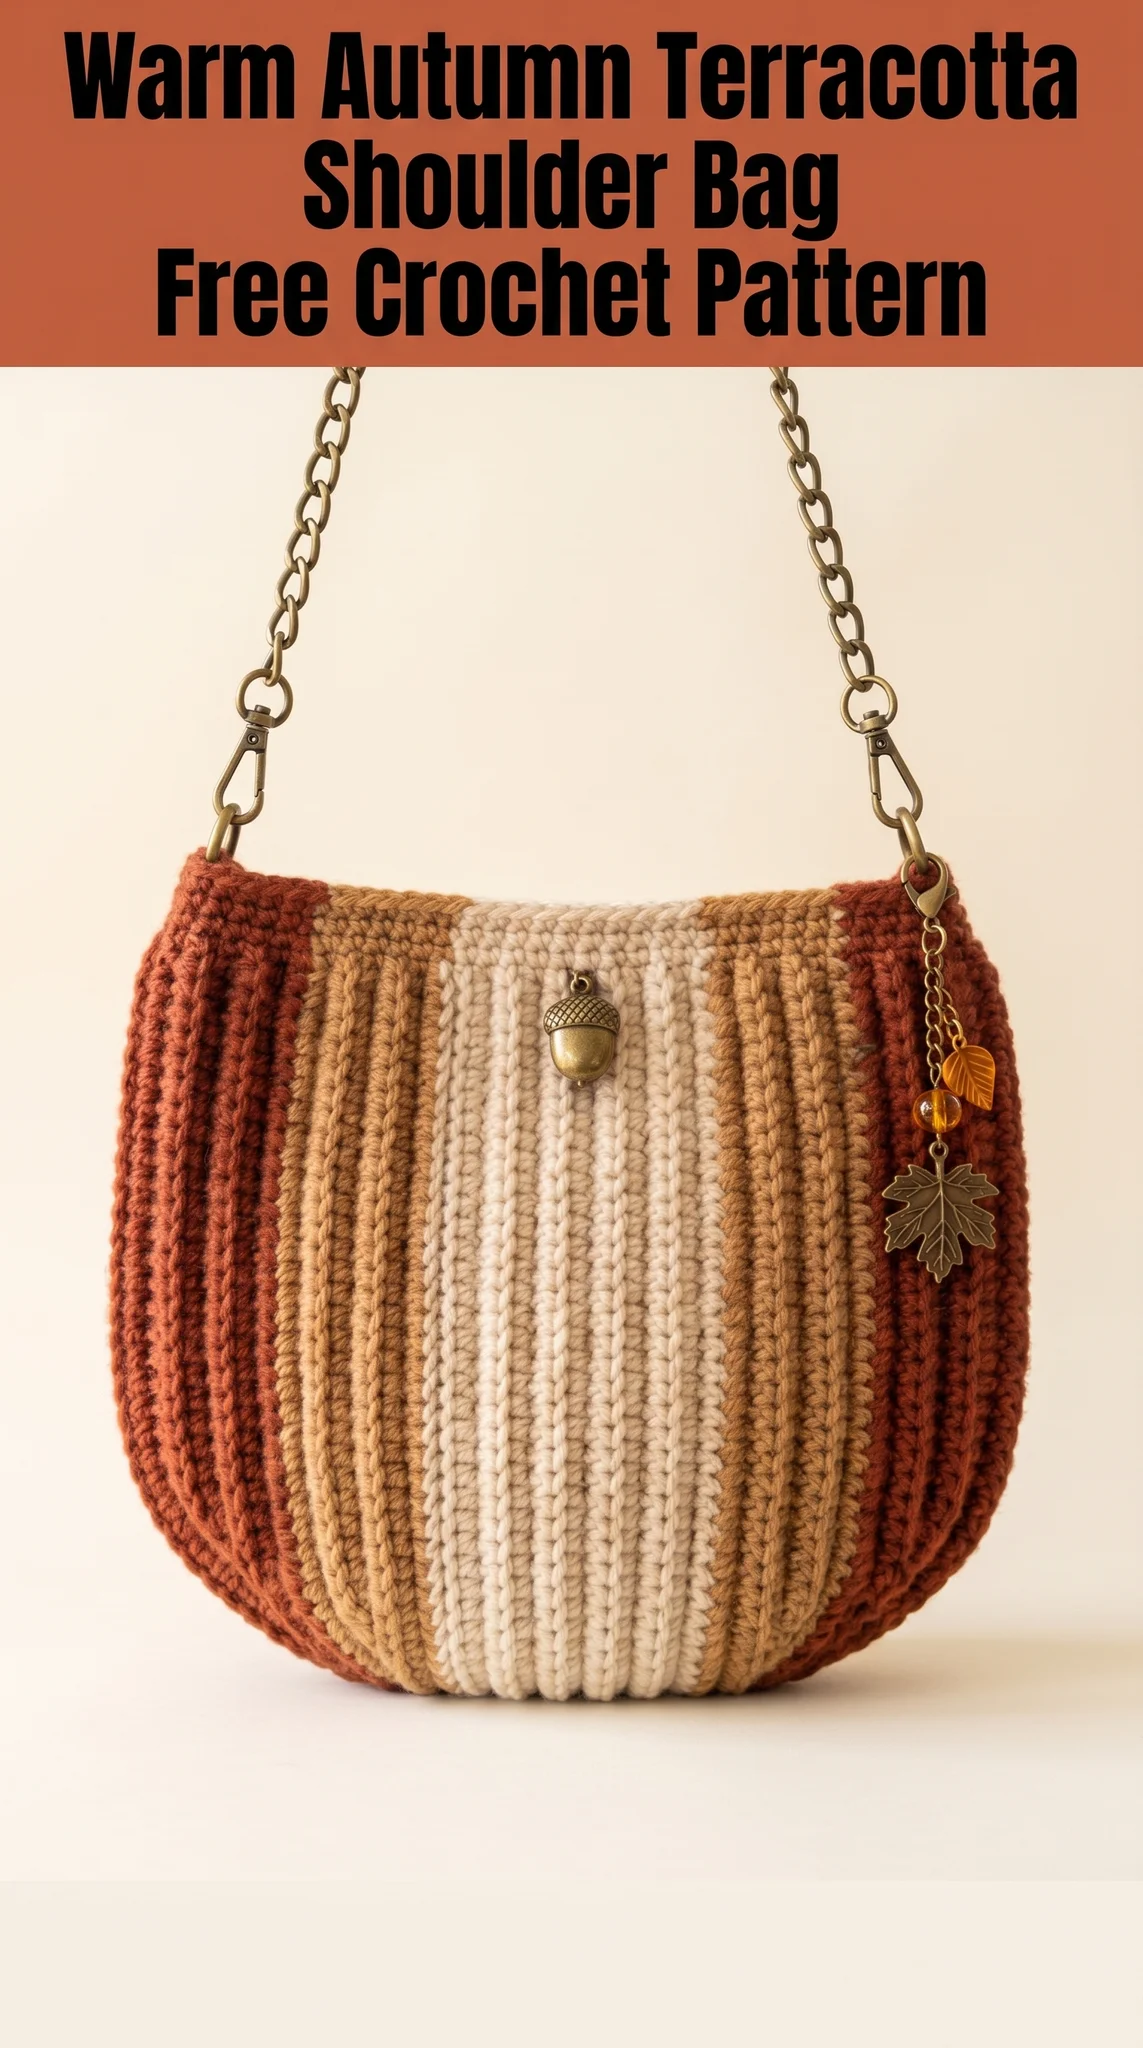
I designed this crochet pattern for confident beginners and intermediate crocheters alike. If you can work basic stitches in rows and feel comfortable changing colors, you absolutely have the skills for this project. The ribbed texture looks intricate but comes from a simple technique I will walk you through step by step.
Let me show you exactly how to make this gorgeous accessory.
Why You Will Love This Crochet Shoulder Bag Pattern
This bag hits all the right notes for a satisfying crochet project. The construction is straightforward. You work flat panels using back loop only stitches to create those beautiful vertical ribs. Then you seam the panels together and add hardware for a polished finish.
The color blocking creates visual interest without complicated colorwork techniques. You simply change yarn colors at the end of rows. No carrying yarn across stitches. No tangled bobbins.
The finished bag measures approximately 10 inches wide by 9 inches tall, not including the strap. It is the perfect size for your phone, wallet, keys, and a few essentials. Big enough to be useful. Small enough to stay lightweight and comfortable.
Materials Needed for Your Crochet Bag
Gather these supplies before you begin. Having everything ready makes the process so much smoother.
Yarn
You will need worsted weight yarn (also called medium weight or category 4) in three colors:
I recommend a cotton or cotton blend yarn for bags. Cotton holds its shape beautifully and does not stretch out over time like acrylic can. Look for yarn with a tight twist for durability.
Hook
Adjust your hook size if needed to match gauge. More on that in a moment.
Notions and Hardware
Gauge for This Crochet Pattern
Gauge matters for bags. It determines whether your finished project matches the intended size and whether the fabric is tight enough to hold items securely.
Work a gauge swatch before starting:
16 stitches and 20 rows = 4 inches in single crochet through back loop only
If your swatch is larger than this, try a smaller hook. If it is smaller, try a larger hook. The fabric should feel firm but not stiff. You do not want gaps where small items could poke through.
Abbreviations and Stitch Definitions
Let me define every stitch and term you will encounter. I want you to feel confident before you begin.
Pattern Notes Before You Begin
Read through these tips. They will save you confusion later.
Working in BLO: Every single crochet stitch in this pattern is worked through the back loop only. This creates the vertical ribbing effect. The unused front loops form a ridge that runs horizontally across your work, but because you are working in rows, the ribs appear vertical on the finished bag.
Color changes: When changing colors, work the last stitch of the row until you have two loops on your hook. Then yarn over with the NEW color and pull through to complete the stitch. Chain 1 with the new color and continue. This keeps color transitions crisp.
Turning chains: The chain 1 at the beginning of each row does NOT count as a stitch. Work your first sc into the first stitch of the row.
Counting stitches: Count your stitches at the end of every few rows, especially in the beginning. The stitch count should remain consistent throughout each section.
Step by Step Crochet Pattern Instructions
This bag is made from two identical panels that are then seamed together along the sides and bottom. You will work each panel from side to side (not bottom to top), which is what creates the vertical stripe effect.
Panel One (Make 2)
Starting with Color A (Terracotta)
Row 1: Ch 37. Sc in 2nd ch from hook and in each ch across. Turn. (36 sts)
Row 2: Ch 1. Sc BLO in each st across. Turn. (36 sts)
Rows 3 through 12: Repeat Row 2. (36 sts each row)
You now have 12 rows of terracotta ribbing.
Change to Color B (Caramel)
Row 13: Ch 1. Sc BLO in each st across. Turn. (36 sts)
Rows 14 through 20: Repeat Row 13. (36 sts each row)
You now have 8 rows of caramel ribbing.
Change to Color C (Ivory)
Row 21: Ch 1. Sc BLO in each st across. Turn. (36 sts)
Rows 22 through 32: Repeat Row 21. (36 sts each row)
You now have 12 rows of ivory ribbing at the center.
Change to Color B (Caramel)
Row 33: Ch 1. Sc BLO in each st across. Turn. (36 sts)
Rows 34 through 40: Repeat Row 33. (36 sts each row)
You now have another 8 rows of caramel ribbing.
Change to Color A (Terracotta)
Row 41: Ch 1. Sc BLO in each st across. Turn. (36 sts)
Rows 42 through 52: Repeat Row 41. (36 sts each row)
You now have 12 rows of terracotta ribbing to mirror the beginning.
Fasten off and weave in your ends. You should have a total of 52 rows.
Make a second panel identical to the first.
Top Edging with D-Ring Tabs
Each panel needs a finished top edge with tabs to hold the D-rings for your chain strap.
Working along the top edge of one panel:
With Color A, join yarn at the corner of the top edge (the long edge with 52 row ends).
Round 1: Ch 1. Work 52 sc evenly across the top edge, placing one sc at the end of each row. Do not turn. (52 sts)
Fasten off temporarily.
Creating the D-Ring Tabs (make 2 per panel, 4 total):
With Color A, ch 8.
Row 1: Sc in 2nd ch from hook and in each ch across. (7 sts)
Rows 2 through 4: Ch 1. Sc BLO in each st across. (7 sts)
Fasten off leaving a long tail for sewing.
Fold each tab around a D-ring. Position tabs at each end of the top edging, about 2 stitches in from the corners. Sew securely using the yarn tail and your yarn needle.
Repeat for the second panel.
Assembly and Seaming
Now comes the satisfying part. You get to see your bag take shape.
Step 1: Place both panels with wrong sides together. The ribbed texture should face outward on both sides.
Step 2: Using Color A and your yarn needle, whip stitch or mattress stitch along one side edge, across the bottom edge, and up the other side edge. Leave the top open.
Tip: For a rounded bottom, gently curve your seaming at the bottom corners rather than making sharp 90 degree angles. The natural drape of the crochet fabric helps with this.
Step 3: Weave in all remaining ends securely.
Shaping the Rounded Bottom
The bag in the image has a lovely curved silhouette. This happens naturally from how the fabric drapes, but you can encourage it:
Work a round of slip stitches along the inside bottom edge, gently gathering the fabric slightly at the center bottom. This pulls the base inward and creates that rounded shape. Do not pull too tight. Just enough to create a subtle curve.
Adding the Chain Strap
Attach your lobster clasps to the D-rings on each side of the bag. Adjust chain length to your preference. A 24 inch chain creates a shoulder bag length. A 28 inch chain allows for crossbody wear.
Adding charms: Thread your decorative charms onto a jump ring or directly onto the chain before attaching. The acorn and leaf charms shown complement the autumn color palette beautifully.
Optional: Adding a Fabric Lining
A lining gives your bag a professional finish and prevents small items from poking through the stitches.
Cut two pieces of fabric slightly smaller than your crochet panels. Sew them together along the sides and bottom with a quarter inch seam allowance. Insert the fabric lining into the crochet bag with wrong sides together. Hand stitch the top edge of the lining to the inside of the crochet top edging.
This step is completely optional. The bag functions beautifully without a lining.
Troubleshooting Common Issues
My stripes are not straight: Make sure you are working into the back loop only on every row. If you accidentally work through both loops, the texture changes and stripes can look uneven.
My panel is curling: Blocking helps tremendously. Wet your finished panels, pin them flat to a blocking mat, and let them dry completely before seaming.
My color changes look messy: Remember to complete the last stitch of a color section with the new color. This keeps the transition on the back of your work where it is less visible.
The bag feels too floppy: Your gauge may be too loose. Try remaking with a smaller hook, or add a stiff interfacing between your crochet and the fabric lining.
Make It Your Own
This crochet shoulder bag pattern is wonderfully adaptable. Consider these variations:
Caring for Your Handmade Bag
Spot clean with mild soap and water when needed. If your bag requires a full wash, hand wash in cool water and lay flat to dry. Reshape while damp. Store stuffed with tissue paper to maintain shape.
You Did It
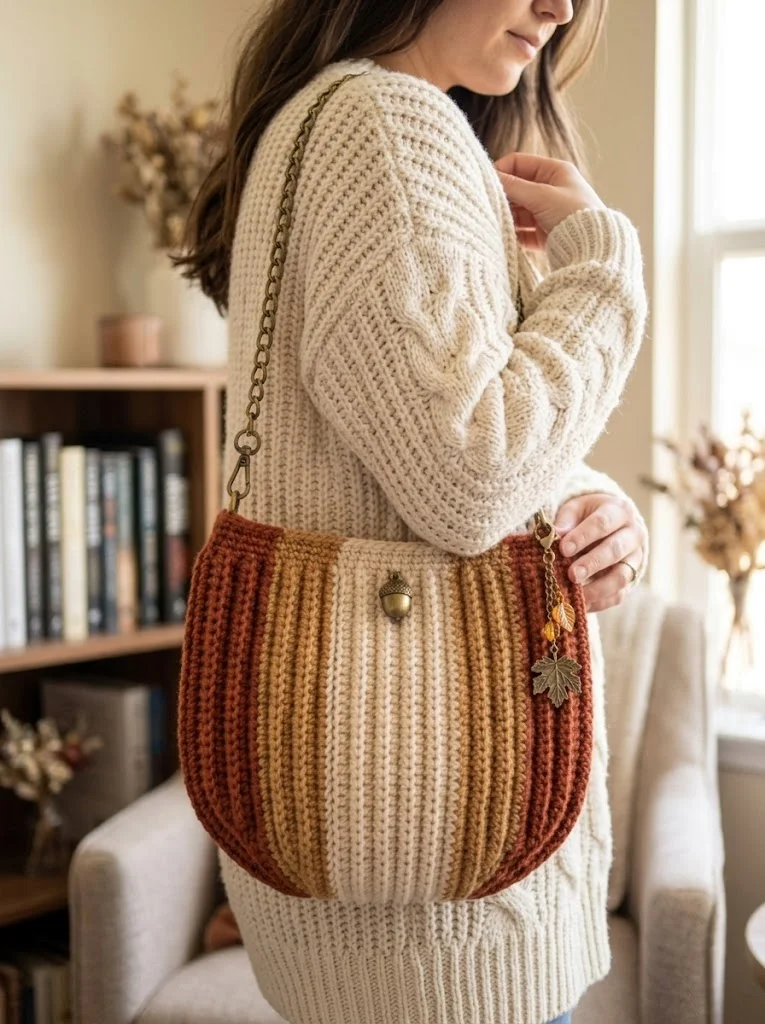
Thank you so much for choosing this pattern for your next crochet project. I genuinely hope you love making this warm autumn shoulder bag as much as I loved designing it. There is something deeply satisfying about carrying a bag you made with your own hands, especially one this beautiful.
I would absolutely love to see your finished bag. Tag me on Instagram or share in our Facebook group. Seeing your creations brings me so much joy and inspires other crocheters to try new projects.
Happy crocheting, friend. You have got this.