Terracotta Rust Textured Clutch Bag Free Crochet Pattern
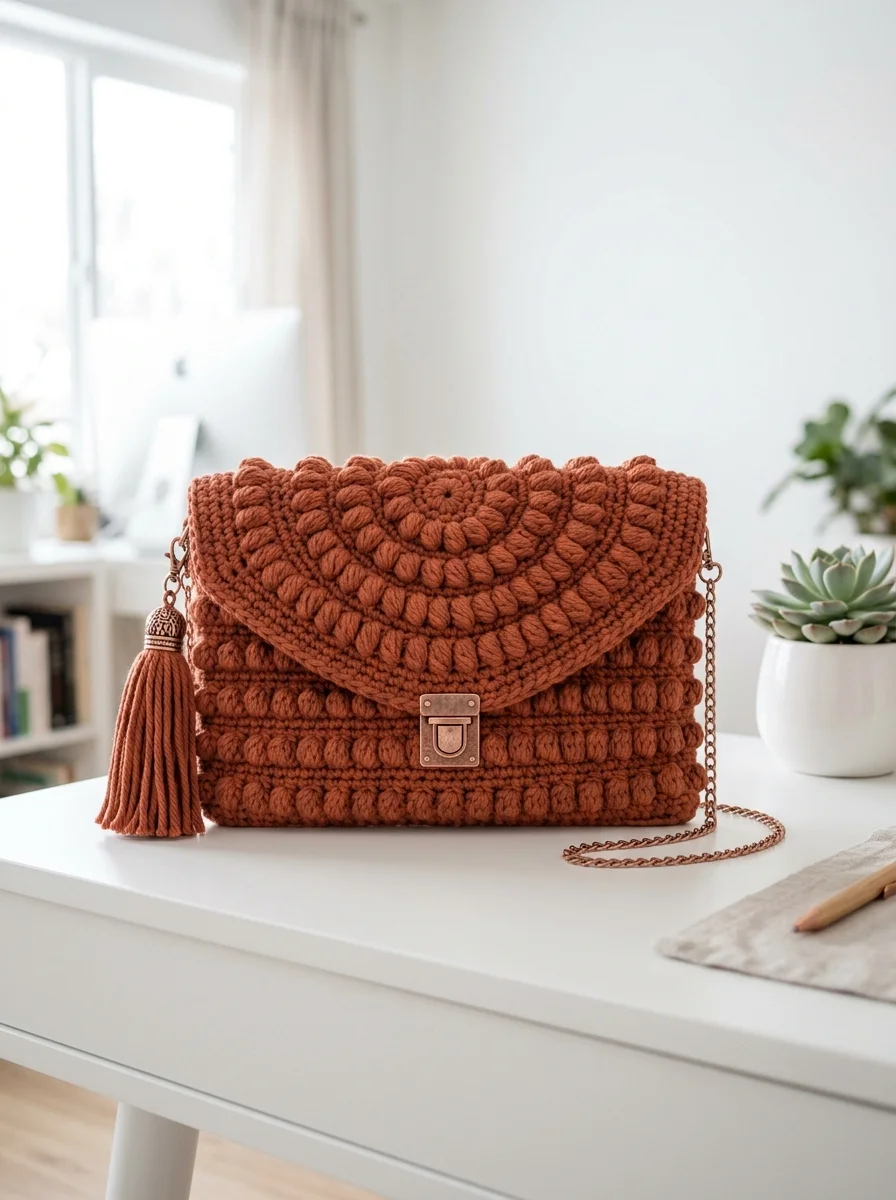
This gorgeous textured clutch bag is exactly the kind of project that makes you feel like a crochet rockstar. The moment I finished mine, I could not stop touching it. Those puffy bobble stitches create such satisfying dimension, and that warm terracotta rust color feels perfect for every season.
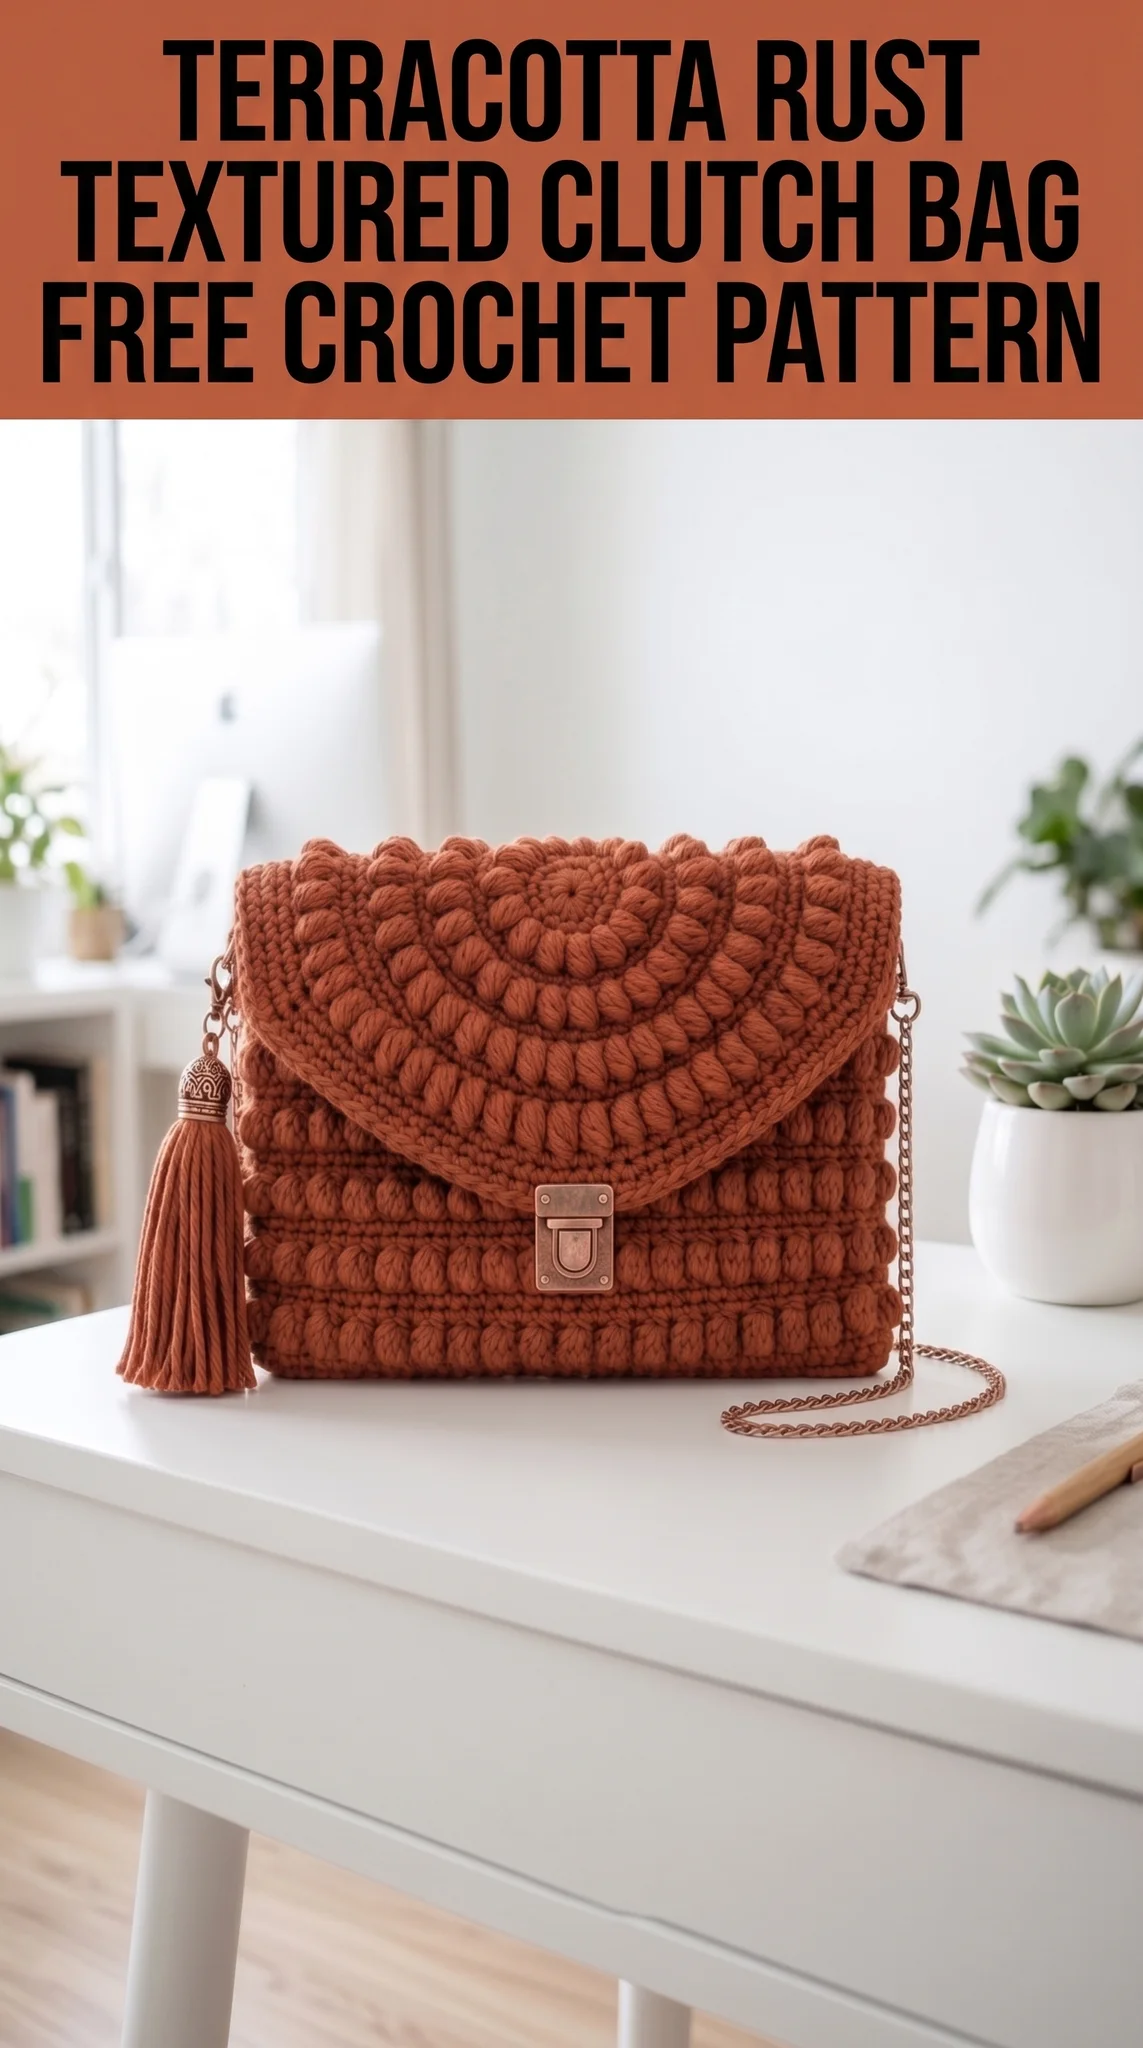
Here is the good news. If you can make a basic bobble stitch and work in rows, you absolutely have the skills for this crochet pattern. The construction is simpler than it looks. You are essentially making a rectangular body, a semicircular flap, and then assembling everything together. I will walk you through each step so you feel confident the whole way.
This textured clutch bag measures approximately 9 inches wide by 6 inches tall when closed. It is the perfect size for your phone, wallet, keys, and a lipstick. Dress it up with the chain strap for evenings out, or carry it as a clutch for everyday errands. Either way, you will get compliments.
Why This Crochet Tutorial Works for Confident Beginners
I designed this step by step crochet pattern with the adventurous beginner in mind. You should be comfortable with basic stitches and ready to try something with a bit more texture. The bobble stitch might be new to you, but I promise it is not complicated once you understand the rhythm.
The beauty of this clutch is that the stitch pattern does all the heavy lifting. You do not need perfect tension or advanced shaping skills. The bobbles naturally create that gorgeous scalloped texture you see in the photo. Even if your stitches are not perfectly uniform, the overall effect still looks stunning.
What makes this beginner friendly:
Materials You Will Need
Yarn:
Hook:
Notions:
Gauge:
Stitch Abbreviations and Definitions
Let me explain each stitch before we begin. Understanding these will make the pattern much easier to follow.
Ch = Chain. Wrap yarn over hook, pull through loop on hook. This creates your foundation.
Sl st = Slip stitch. Insert hook, yarn over, pull through stitch AND loop on hook in one motion. Used for joining and moving across stitches.
Sc = Single crochet. Insert hook into stitch, yarn over and pull up a loop (2 loops on hook), yarn over and pull through both loops. The shortest basic stitch.
Hdc = Half double crochet. Yarn over, insert hook, yarn over and pull up loop (3 loops on hook), yarn over and pull through all 3 loops.
Dc = Double crochet. Yarn over, insert hook, yarn over and pull up loop (3 loops on hook), yarn over and pull through 2 loops, yarn over and pull through remaining 2 loops.
Bobble = A cluster stitch that creates a puffy bump. For this pattern: Yarn over, insert hook, pull up loop, yarn over, pull through 2 loops. Repeat this sequence 4 more times in the SAME stitch (6 loops on hook), yarn over and pull through all 6 loops. This pushes the bobble to the front of your work.
Inc = Increase. Work 2 stitches into the same stitch.
Sk = Skip. Pass over the indicated stitch without working into it.
The Clutch Bag Body Pattern
This section creates the main rectangular body of your clutch. You will work back and forth in rows, alternating between single crochet rows and bobble rows.
Foundation:
Ch 32.
Row 1: Sc in 2nd ch from hook and in each ch across. Turn. (31 sts)
Row 2: Ch 1 (does not count as stitch here and throughout), sc in first st, *bobble in next st, sc in next st* repeat across. Turn. (31 sts, 15 bobbles)
Row 3: Ch 1, sc in each st across. Turn. (31 sts)
Row 4: Ch 1, sc in first 2 sts, *bobble in next st, sc in next st* repeat to last st, sc in last st. Turn. (31 sts, 14 bobbles)
Row 5: Ch 1, sc in each st across. Turn. (31 sts)
Repeat Rows 2 through 5 for the pattern. This offsets your bobbles to create that brick-like texture you see in the photo.
Continue until piece measures approximately 14 inches from foundation chain. This creates enough length to fold and form both front and back of the clutch with overlap for the flap.
End after completing a Row 3 or Row 5 (a plain sc row).
Fasten off and weave in ends.
The Semicircular Flap Pattern
This is my favorite part. The flap starts from the center and works outward in semicircular rows. Those concentric bobble rings create such beautiful visual interest.
Foundation:
Ch 4, sl st to first ch to form a ring. Or use a magic ring if you prefer.
Row 1: Ch 1, work 6 sc into ring. Turn. (6 sts)
Row 2: Ch 1, 2 sc in each st across. Turn. (12 sts)
Row 3: Ch 1, *sc in next st, bobble in next st* repeat across. Turn. (12 sts, 6 bobbles)
Row 4: Ch 1, *2 sc in next st, sc in next st* repeat across. Turn. (18 sts)
Row 5: Ch 1, sc in first st, *bobble in next st, sc in next st* repeat to last st, sc in last st. Turn. (18 sts, 8 bobbles)
Row 6: Ch 1, *sc in next 2 sts, 2 sc in next st* repeat across. Turn. (24 sts)
Row 7: Ch 1, *sc in next st, bobble in next st* repeat across. Turn. (24 sts, 12 bobbles)
Row 8: Ch 1, *sc in next 3 sts, 2 sc in next st* repeat across. Turn. (30 sts)
Row 9: Ch 1, sc in first st, *bobble in next st, sc in next st* repeat to last st, sc in last st. Turn. (30 sts, 14 bobbles)
Row 10: Ch 1, *sc in next 4 sts, 2 sc in next st* repeat across. Turn. (36 sts)
Row 11: Ch 1, *sc in next st, bobble in next st* repeat across. Turn. (36 sts, 18 bobbles)
Continue this increase pattern until the straight edge of your semicircle measures approximately 9 inches wide, matching the width of your clutch body.
Final Border Row:
Ch 1, work sc evenly around the entire curved edge, placing 3 sc in the corner points to keep the curve smooth. Sl st to first sc to join.
Fasten off, leaving a long tail for sewing.
Assembly Instructions
Now comes the satisfying part. You get to see everything come together.
Step 1: Fold the Body
Lay your rectangular body piece flat with the bobbles facing you. Fold the bottom edge up approximately 5.5 inches. This creates the pocket of your clutch. The remaining fabric at the top will become a back panel that the flap attaches to.
Pin the side edges together.
Step 2: Seam the Sides
Using your tapestry needle and matching yarn, whip stitch or mattress stitch both side seams closed. Work from the folded bottom edge up to where the back panel begins. Keep stitches tight and even.
Weave in all ends securely.
Step 3: Attach the Flap
Position your semicircular flap with the straight edge aligned to the top of the back panel. The curved bobble section should hang over the front of the clutch.
Pin in place. Whip stitch the straight edge of the flap to the top edge of the back panel. Double check alignment before you begin sewing.
Step 4: Install Hardware
This is where the magic happens. That push lock clasp transforms your handmade piece into something boutique worthy.
Mark the center of your clutch front, approximately 1 inch from the top fold. Mark the corresponding spot on the flap where it naturally falls.
Most push lock clasps have two parts. The decorative plate goes on the flap, and the mechanism goes on the body. Follow the instructions that come with your specific hardware.
If you are nervous about cutting into your work, practice on a swatch first. I always do this with new hardware.
Step 5: Add D-rings for the Strap
Crochet two small tabs to hold your D-rings:
Ch 8, sl st to first ch to form a ring. Fasten off.
Thread each tab through a D-ring. Sew the tabs securely to the top corners of your clutch, tucking the raw ends inside the seam.
Clip your chain strap to the D-rings.
Step 6: Optional Tassel
That decorative tassel adds such a lovely finishing touch. You can make one from matching yarn or purchase a premade tassel with an ornate cap like the one in the photo.
To make your own: Wrap yarn around a 4 inch cardboard 50 times. Tie tightly at one end, cut at the other. Wrap yarn around the top to create the neck. Attach to one of your D-rings or the clasp.
Helpful Tips for Success
Bobble direction matters. Bobbles naturally push to the back of your work. If yours are appearing on the wrong side, you might be working them on wrong side rows. Check which side is facing you.
Keep tension consistent. Looser tension makes softer bobbles. Tighter tension makes firmer, more defined bobbles. Neither is wrong, but try to stay consistent throughout.
Block before assembly. Wet blocking your pieces before sewing helps even out any tension differences and makes assembly much easier.
Lining is optional but recommended. A fabric lining protects your belongings and prevents small items from poking through the stitches. Cut lining fabric slightly smaller than your clutch interior and hand sew around the edges.
Hardware quality matters. Invest in decent quality clasps and chains. Cheap hardware tarnishes quickly and can cheapen the look of your beautiful handwork.
Customization Ideas
This crochet pattern works beautifully in so many colors. Imagine it in creamy ivory for weddings, deep emerald for the holidays, or classic black for everyday elegance.
You could also:
You Did It
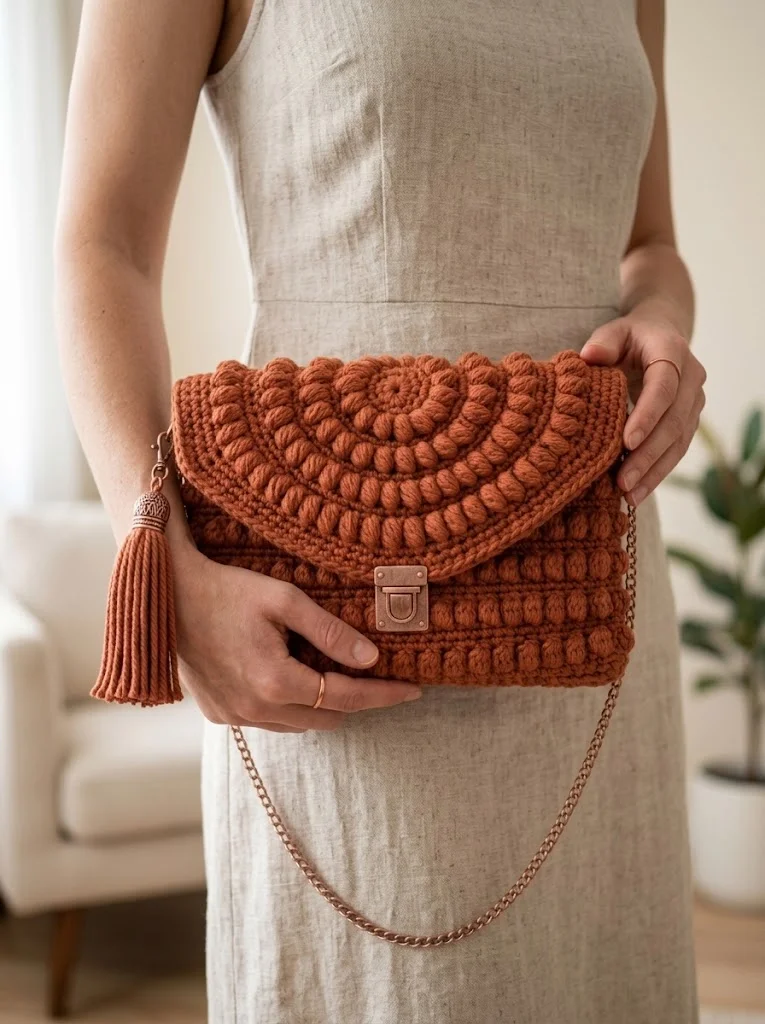
I am so proud of you for taking on this textured clutch bag crochet pattern. Projects like this push our skills forward while creating something genuinely useful and beautiful. Every time you reach for this clutch, you will feel that little glow of accomplishment.
Thank you for trusting me to walk you through this tutorial. I genuinely appreciate every single person who takes the time to make my patterns.
I would absolutely love to see your finished clutch. Share your photos on Instagram or Facebook and tag me so I can celebrate with you. Seeing your creations in different colors and yarn choices is honestly one of my favorite parts of this whole crochet journey.
Now go show off that gorgeous bag. You earned it.