Terracotta Mesh Crochet Flared Sleeve Shrug Pattern
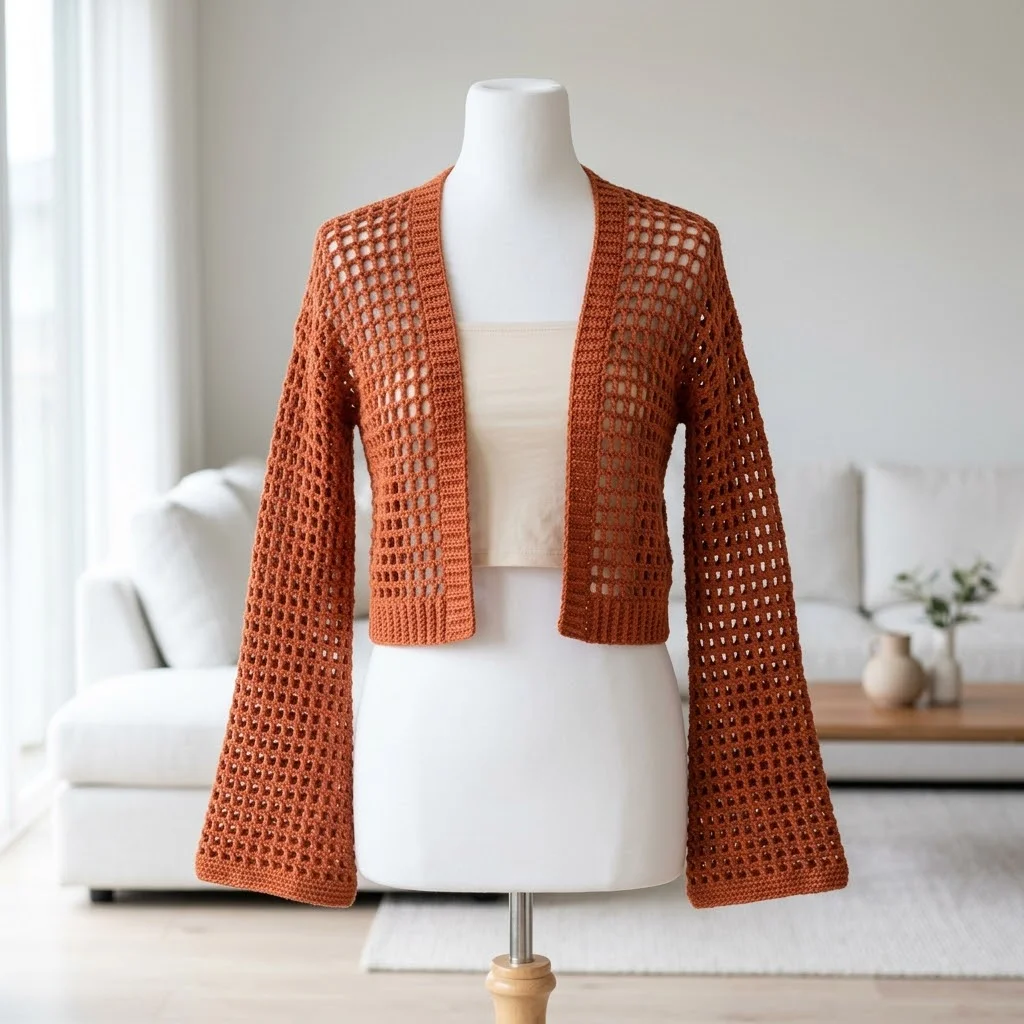
I don’t know about you, but I have been searching for the perfect lightweight layer that actually looks stylish instead of frumpy. You know the feeling. You want something breezy for cool summer evenings or air-conditioned offices, but most cardigans feel too heavy or too boring. This terracotta mesh crochet flared sleeve shrug is exactly what I needed in my wardrobe. All the coverage with none of the bulk, and those dramatic bell sleeves give it a boho vibe I absolutely adore.
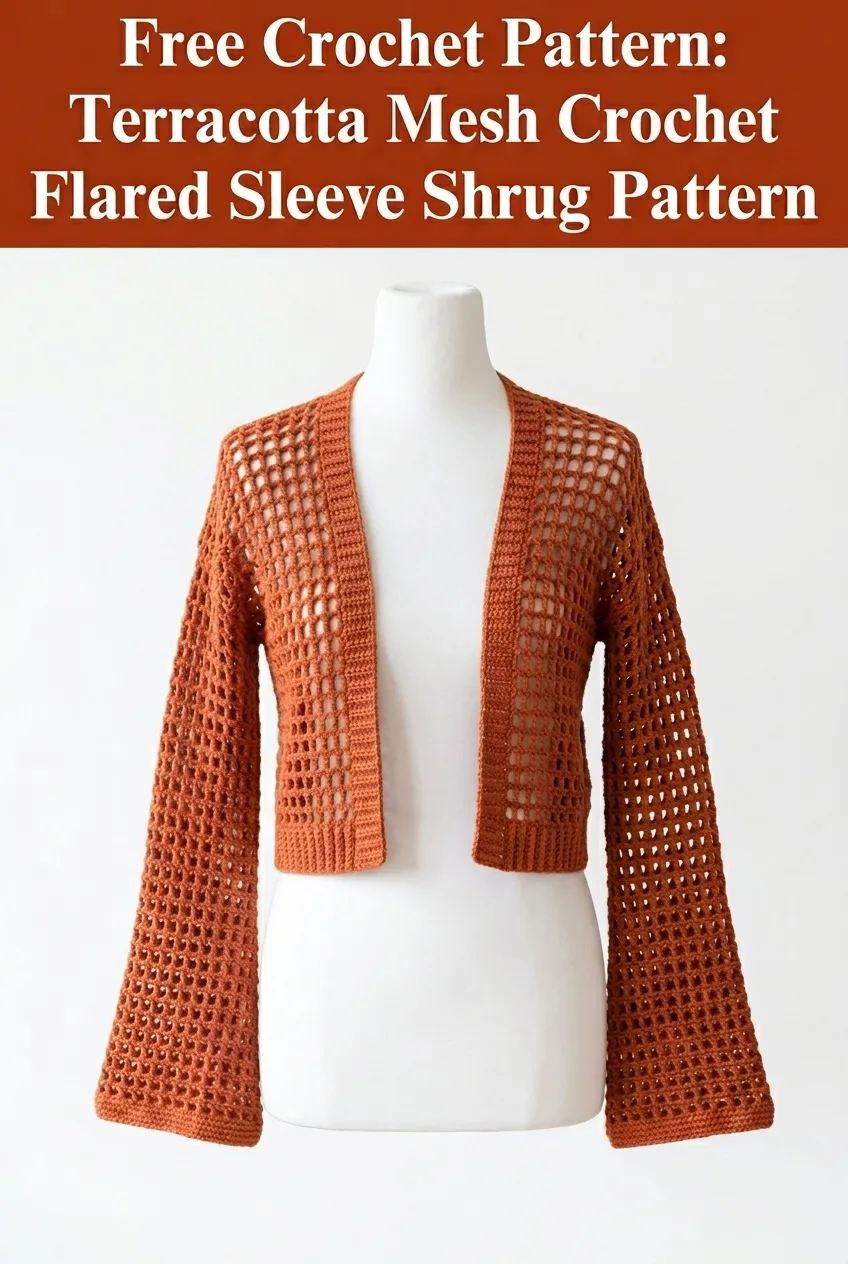
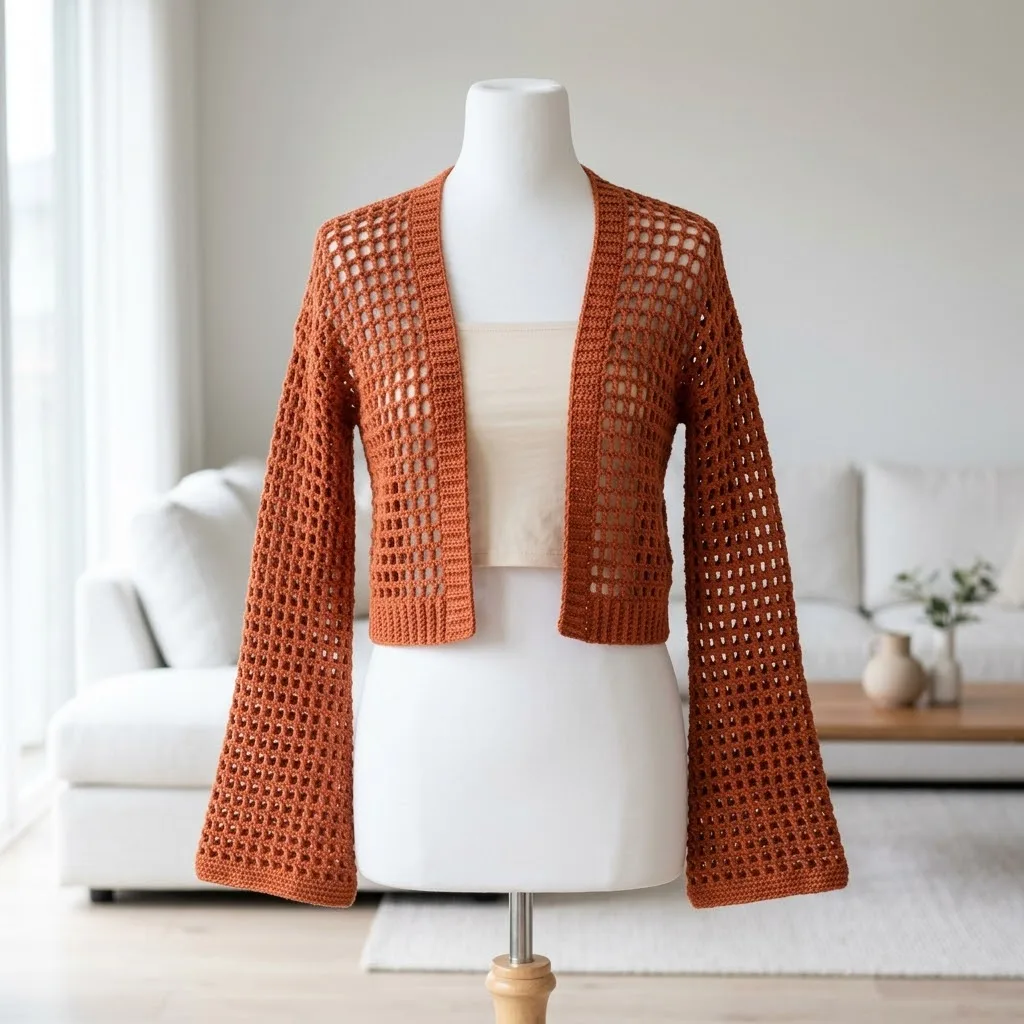
This crochet pattern creates a cropped, open-front shrug with a stunning grid mesh texture and elegantly flared sleeves. The construction is simpler than it looks, and I promise you can handle it even if garments feel intimidating. Let me walk you through everything step by step.
Why You Will Love This Crochet Shrug Pattern
This terracotta mesh shrug hits all the right notes for a satisfying project. The open grid stitch pattern works up quickly because you are skipping stitches and creating chains between your double crochets. That means less yarn, faster progress, and a beautifully breathable fabric perfect for transitional seasons.
The cropped length sits right at the natural waist, making it flattering on most body types. It layers beautifully over tank tops, sundresses, or even a simple tee. The dramatic flared sleeves add visual interest without any complicated shaping. You simply increase gradually as you work down the arm.
The color shown here is a warm terracotta or burnt orange that works beautifully for fall, but this pattern looks stunning in any solid color. I would avoid variegated yarn for this one since the grid pattern shows best with consistent color.
Skill Level
Intermediate beginner to confident beginner. If you can chain, double crochet, and count your stitches, you can make this shrug. The mesh pattern is repetitive and rhythmic once you get going. The only slightly tricky parts are seaming the pieces together and picking up stitches for the sleeves, but I will guide you through both.
Materials Needed
Yarn:
Hook:
Notions:
Gauge
18 stitches and 10 rows = 4 inches in the mesh pattern after blocking
Please check your gauge. This is a garment, and fit matters. If your gauge is off, your shrug will be too big or too small. Make a small swatch using the mesh pattern below before starting.
Finished Measurements
This pattern is written for size Small/Medium with a finished bust circumference of approximately 36 to 40 inches when worn open.
Abbreviations and Stitch Definitions
Before we dive into the pattern, let me explain every stitch and abbreviation you will encounter.
Ch = Chain. Wrap yarn over hook and pull through the loop on your hook. This creates one chain stitch.
Sl st = Slip stitch. Insert hook into stitch, yarn over, and pull through both the stitch and the loop on your hook in one motion. Used for joining and moving across stitches without adding height.
Dc = Double crochet. Yarn over, insert hook into stitch, yarn over and pull up a loop (3 loops on hook), yarn over and pull through 2 loops (2 loops remain), yarn over and pull through remaining 2 loops. Creates a tall stitch.
Sk = Skip. Pass over the indicated number of stitches without working into them.
Sp = Space. The gap created by chain stitches in the previous row.
St(s) = Stitch(es).
Rep = Repeat.
Understanding the Mesh Pattern
The grid or mesh texture in this shrug comes from a simple two-row repeat. You work a double crochet, chain one, skip a stitch, then work another double crochet. This creates little windows or squares in your fabric.
Mesh Pattern (worked flat over a multiple of 2 + 1 stitches):
Foundation Row: Dc in 4th ch from hook, *ch 1, sk 1, dc in next ch*. Rep from * to * across.
Pattern Row: Ch 3 (counts as dc), turn. *Dc in next ch-1 sp, ch 1*. Rep from * to * across, ending with dc in top of turning chain.
Repeat the Pattern Row for the mesh texture. Each “square” in the grid consists of one dc and one ch-1 space.
Pattern Instructions
Back Panel
The back is worked flat from the bottom up.
Row 1 (Foundation): Ch 74. Dc in 4th ch from hook (the skipped 3 chains count as your first dc), *ch 1, sk 1, dc in next ch*. Rep from * to * across. (36 dc, 35 ch-1 spaces)
Row 2: Ch 3 (counts as dc here and throughout), turn. *Dc in next ch-1 sp, ch 1*. Rep from * to * across, ending with dc in top of turning chain. (36 dc, 35 ch-1 spaces)
Rows 3 through 32: Repeat Row 2.
Your back panel should measure approximately 16 inches wide and 13 inches tall. Fasten off and weave in ends.
Right Front Panel
Row 1 (Foundation): Ch 38. Dc in 4th ch from hook, *ch 1, sk 1, dc in next ch*. Rep from * to * across. (18 dc, 17 ch-1 spaces)
Row 2: Ch 3, turn. *Dc in next ch-1 sp, ch 1*. Rep from * to * across, ending with dc in top of turning chain. (18 dc, 17 ch-1 spaces)
Rows 3 through 32: Repeat Row 2.
Fasten off and weave in ends.
Left Front Panel
Work exactly as the Right Front Panel. You will have two identical front pieces.
Assembling the Body
Now we connect the three panels to form the body of the shrug.
1. Lay your back panel flat with the right side facing up.
2. Place the right front panel along the right edge of the back panel, right sides together. The top edges should align.
3. Using your yarn needle and a length of yarn, whip stitch or mattress stitch the top 5 inches of the shoulder seam together. Leave the remaining length open for the armhole. This creates approximately a 5-inch shoulder seam on each side.
4. Repeat with the left front panel on the opposite side.
5. Try the body on to check the shoulder seam length. Adjust if needed before continuing.
Sleeves (Make 2)
The sleeves are worked in the round, joined to the armhole opening, and gradually increase to create the flared bell shape.
Joining Round: With right side facing, join yarn at the bottom of the armhole opening (at the underarm point). Ch 3, work approximately 40 dc evenly spaced around the entire armhole opening. Sl st to top of beginning ch 3 to join. (40 sts)
Note: The exact stitch count may vary based on your tension and armhole size. Aim for a multiple of 2 stitches so the mesh pattern works correctly.
Round 1: Ch 3, *ch 1, sk 1, dc in next st*. Rep from * to * around. Ch 1, sl st to top of ch 3 to join. (20 dc, 20 ch-1 spaces)
Rounds 2 through 5: Ch 3, *dc in next ch-1 sp, ch 1*. Rep from * to * around. Sl st to top of ch 3 to join.
Round 6 (Increase Round): Ch 3, *dc in next ch-1 sp, ch 1, dc in same ch-1 sp, ch 1*. Rep from * to * around. Sl st to join. (40 dc, 40 ch-1 spaces)
Rounds 7 through 12: Work even in mesh pattern without increases.
Round 13 (Increase Round): Ch 3, *dc in next ch-1 sp, ch 1, dc in same ch-1 sp, ch 1*. Rep from * to * around. Sl st to join. (80 dc, 80 ch-1 spaces)
Rounds 14 through 24: Work even in mesh pattern.
Your sleeve should now have a dramatic flare at the cuff. The total sleeve length should be approximately 20 inches.
Final Round (Optional Solid Edge): Ch 1, sc in each dc and each ch-1 sp around. Sl st to join. Fasten off.
Repeat for the second sleeve.
Front Band and Neckline Edging
The front edges and neckline have a clean solid border that frames the open front beautifully.
Row 1: With right side facing, join yarn at the bottom right front corner. Ch 1, work sc evenly up the right front edge, around the back neck, and down the left front edge. Work approximately 3 sc for every 2 rows along the vertical edges and 1 sc in each stitch across the back neck. Turn.
Rows 2 through 4: Ch 1, sc in each sc across. Turn.
After Row 4, fasten off and weave in ends.
Bottom Edging
Round 1: Join yarn at one side seam with right side facing. Ch 1, sc evenly around the entire bottom edge of the shrug, working through both the back and front panels where they overlap at the sides. Sl st to join.
Rounds 2 and 3: Ch 1, sc in each sc around. Sl st to join.
Fasten off and weave in all remaining ends.
Finishing Your Crochet Shrug
Blocking: Wet block your finished shrug by soaking it in lukewarm water for 15 to 20 minutes. Gently squeeze out excess water without wringing. Lay flat on a blocking mat or clean towels, shaping the mesh grid to be nice and open. Pin if needed. Allow to dry completely.
Blocking makes a huge difference in mesh garments. It opens up those grid squares beautifully and gives your shrug a professional finish.
Weaving Ends: Make sure all your yarn tails are woven in securely, especially at seam points where the garment will experience movement and stress.
Tips for Success with This Pattern
Counting matters. The mesh pattern is simple, but losing track of your stitch count will show. Count every few rows to catch mistakes early.
Use stitch markers. Place markers at the beginning of rounds when working the sleeves. This helps you keep track of where each round starts.
Try it on as you go. After assembling the body, slip it on before committing to the sleeve length. Everyone has different arm lengths and preferences for sleeve coverage.
Yarn substitution. Stick with DK weight for best results. Cotton, cotton blends, or bamboo yarns work wonderfully for this breezy mesh texture. Avoid fuzzy yarns like mohair since they will obscure the grid pattern.
Customization Ideas
Longer length: Add more rows to the body panels before seaming for a longer shrug that hits at the hips.
Shorter sleeves: Stop the sleeve increases earlier for a less dramatic flare, or work fewer rounds total for three-quarter length sleeves.
Add fringe: Attach fringe along the bottom hem or sleeve cuffs for extra boho flair.
Color blocking: Work the front band and edging in a contrasting color for a modern touch.
Caring for Your Finished Shrug
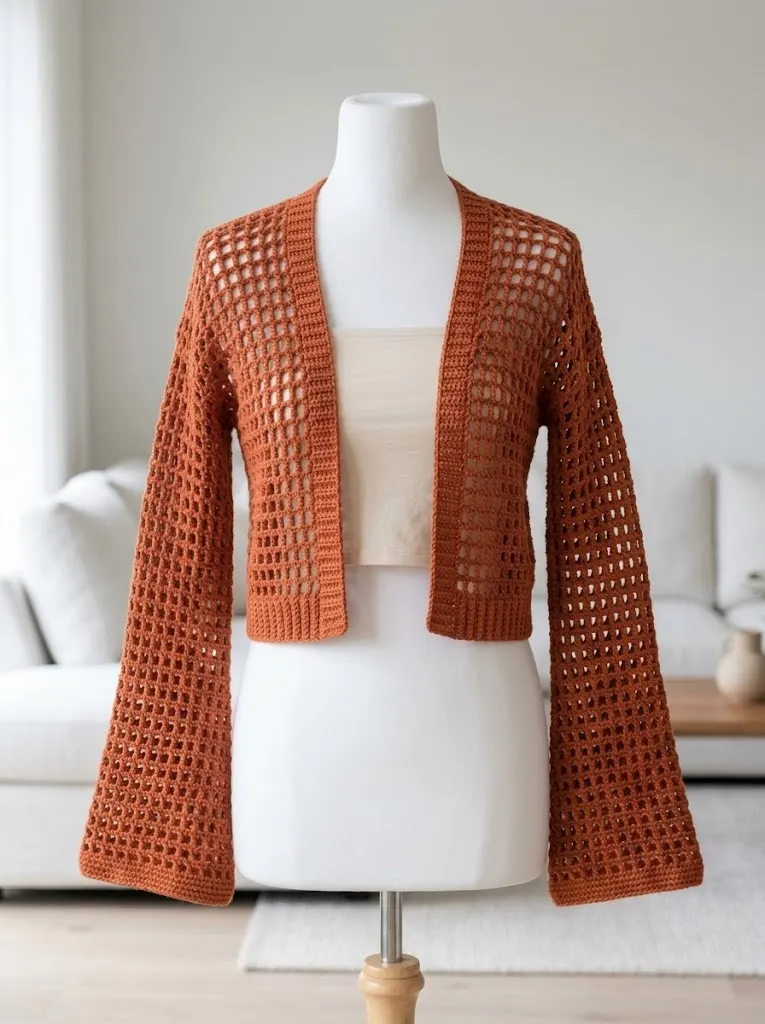
If you used cotton yarn, machine wash on gentle cycle with cold water and lay flat to dry. Cotton can stretch when wet, so avoid hanging. For wool or wool blends, hand wash only and reshape while damp.
Store flat or loosely folded to prevent stretching the mesh grid.
Thank you so much for choosing this terracotta mesh crochet flared sleeve shrug pattern for your next project. I truly hope you enjoy making it as much as I enjoyed designing it. If you complete your shrug, I would absolutely love to see it. Tag me on Instagram or share your photos in my Facebook group so I can celebrate your beautiful work.
If this pattern is going into your project queue for later, go ahead and save it to your Pinterest boards so you can find it easily when you are ready to start. And please drop a comment below if you make this shrug. I read every single one and love hearing how your projects turn out. Happy hooking!
You Might Also Like
- Pastel Pink Dragon Amigurumi Plush Free Crochet Pattern
- Coral Sunset Gradient Chain Purse Free Crochet Pattern
- Pink Valentine Highland Cow Amigurumi Free Crochet Pattern
- Mint Green Popcorn Stitch Baby Jumpsuit Free Crochet Pattern