Sunset Peach Woven Crochet Clutch Free Pattern
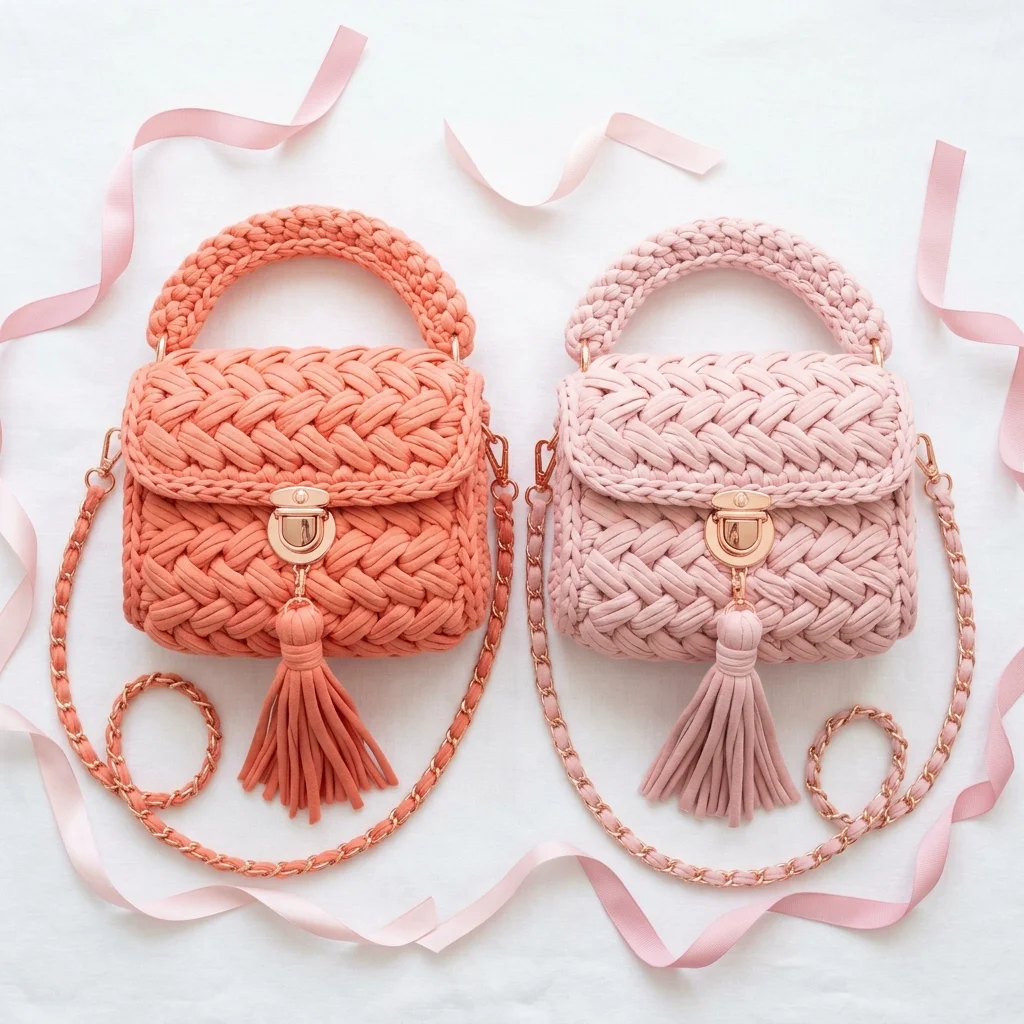
Think crochet bags need to be complicated to look this polished? Let me stop you right there. I know this woven basket weave texture looks like something that requires years of experience and some kind of crochet wizardry, but I promise you it is far more achievable than your brain is telling you. If you can work a double crochet and follow a simple two-row repeat, you can absolutely make this bag. Whether you are an adventurous beginner ready for your first structured project or an intermediate crocheter looking for something gorgeous but not overwhelming, this Sunset Peach Woven Crochet Clutch pattern has your back. The texture does all the heavy lifting visually while you just focus on the rhythm of the stitches.
Why This Crochet Clutch Pattern Works
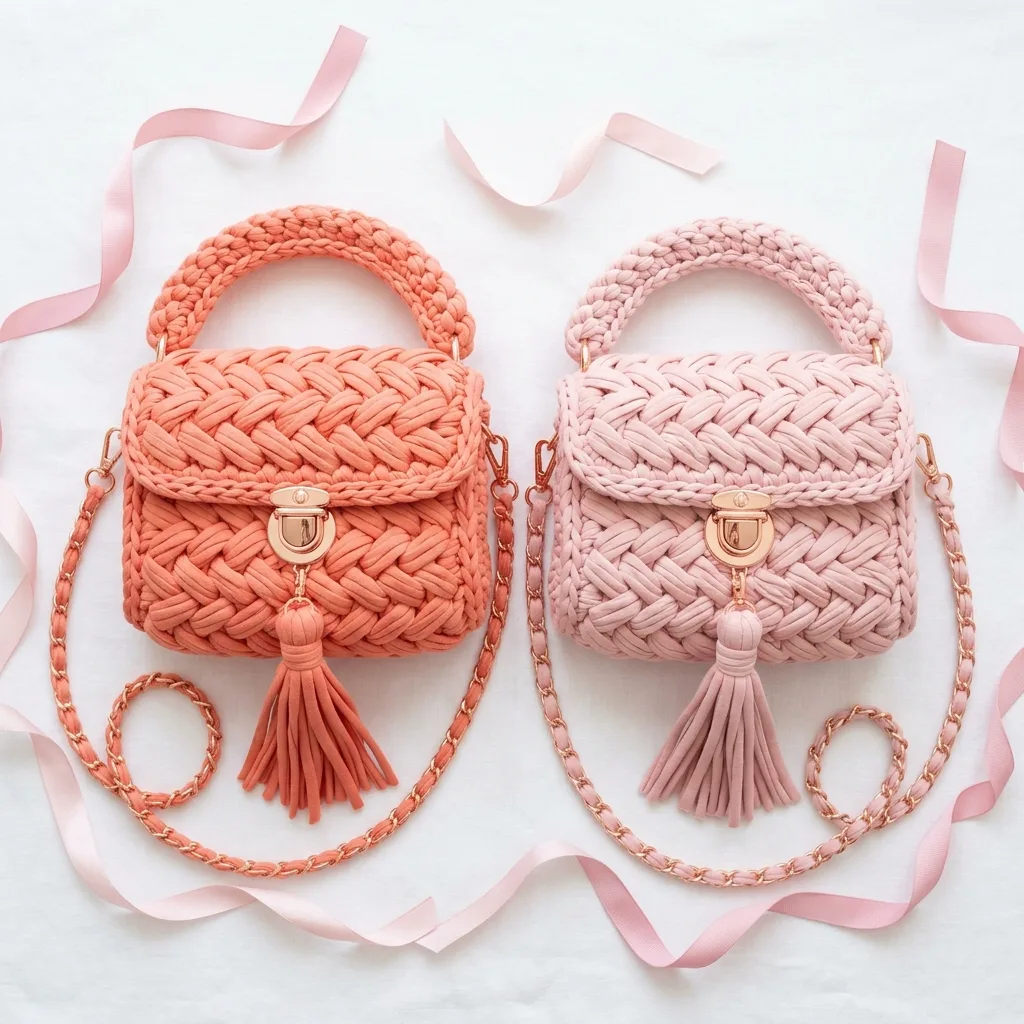
This little bag has been living rent-free in my head since I finished it. The combination of t-shirt yarn and the basket weave stitch creates that stunning woven appearance that looks incredibly high-end. Add some gold hardware, a chain strap, and a matching tassel, and suddenly you have a bag that could easily pass for a boutique designer piece.
The structure comes from the yarn choice itself. T-shirt yarn (sometimes called trapillo or ribbon yarn) is thick, sturdy, and creates fabric that holds its shape beautifully without any additional lining or interfacing. It also works up incredibly fast, which means you could realistically finish this clutch in an afternoon.
Materials You Will Need
Yarn:
Hook:
Notions:
Optional:
Gauge and Finished Dimensions
Gauge: 8 stitches and 6 rows = 4 inches (10cm) in basket weave pattern
Finished Size: Approximately 7 inches wide x 6 inches tall x 2.5 inches deep (18cm x 15cm x 6cm), not including handle
Gauge is genuinely important here because we want a firm, structured fabric. If your stitches are too loose, the bag will be floppy and will not hold its shape. Do not be afraid to go down a hook size if needed.
Stitch Abbreviations and Definitions
Ch = Chain: Yarn over, pull through the loop on your hook. This creates the foundation and is used for turning.
Sl st = Slip stitch: Insert hook, yarn over, pull through both the stitch and the loop on your hook in one motion. Used for joining.
Sc = Single crochet: Insert hook, yarn over and pull up a loop (2 loops on hook), yarn over and pull through both loops.
Dc = Double crochet: Yarn over, insert hook, yarn over and pull up a loop (3 loops on hook), yarn over and pull through 2 loops, yarn over and pull through remaining 2 loops.
FPdc = Front post double crochet: Yarn over, insert your hook from front to back to front around the post (the vertical part) of the stitch below, complete as a regular double crochet. This pushes the stitch forward toward you.
BPdc = Back post double crochet: Yarn over, insert your hook from back to front to back around the post of the stitch below, complete as a regular double crochet. This pushes the stitch backward away from you.
St(s) = Stitch(es)
Rep = Repeat
Understanding the Basket Weave Stitch
Here is the thing that makes this stitch look so impressive while being totally manageable. The basket weave is created by alternating front post and back post double crochets in groups. When you work around the post of a stitch instead of into the top, it creates texture and dimension.
Picture it like this: front post stitches pop toward you, back post stitches recede away from you. By grouping them in sets of two or three and then swapping which type you use every couple of rows, you create those beautiful woven-looking blocks.
If you have never done post stitches before, practice on a swatch first. It takes a few tries to find the post confidently, but once you feel it, it becomes second nature.
Step by Step Crochet Pattern
Base of the Bag
The base is worked flat in rows using single crochet for maximum density and structure.
Row 1: Ch 15. Sc in 2nd ch from hook and in each ch across. (14 sts)
Rows 2-8: Ch 1, turn. Sc in each st across. (14 sts)
You should now have a firm rectangular base measuring approximately 7 inches by 2.5 inches.
Body of the Bag
Now we will work in continuous rounds up from the base, creating the sides of the clutch.
Round 1 (Setup Round): Do not turn. Working around the entire perimeter of the base, sc evenly around. Work 14 sc across the short end, 3 sc in the corner, 8 sc along the long side, 3 sc in the corner, 14 sc across the other short end, 3 sc in the corner, 8 sc along the remaining long side, 3 sc in the corner. Place a stitch marker at the beginning of the round. (56 sts)
Round 2: Dc in each st around, moving your stitch marker up as you go. (56 sts)
Round 3 (Begin Basket Weave): *FPdc around each of the next 2 sts, BPdc around each of the next 2 sts* Rep from * around. (56 sts)
Round 4: *BPdc around each of the next 2 FPdc from previous round, FPdc around each of the next 2 BPdc from previous round* Rep from * around. (56 sts)
This is where the magic happens. You are essentially doing the opposite of what you did before. Where you had front posts, now work back posts. Where you had back posts, now work front posts.
Rounds 5-6: Repeat Rounds 3-4.
Rounds 7-8: Repeat Rounds 3-4.
Rounds 9-12: Continue alternating the basket weave pattern, keeping the rhythm of switching your FPdc and BPdc groups every two rounds.
At this point, your bag body should measure approximately 5 inches tall from the base. If you want a taller bag, continue the pattern for additional rounds.
Final Round: Sc in each st around. Sl st to first sc. Fasten off. (56 sts)
Flap
The flap is worked separately and then attached. This gives you more control over placement.
Row 1: Ch 29. Dc in 3rd ch from hook and in each ch across. (27 sts)
Row 2: Ch 2 (does not count as a stitch throughout), turn. *FPdc around each of the next 3 sts, BPdc around each of the next 3 sts* Rep from * across, ending with FPdc in last 3 sts. (27 sts)
Row 3: Ch 2, turn. *BPdc around each of the next 3 FPdc, FPdc around each of the next 3 BPdc* Rep from * across. (27 sts)
Rows 4-5: Repeat Rows 2-3.
Row 6: Ch 2, turn. Sc2tog (single crochet two together to decrease), work in established basket weave pattern to last 2 sts, sc2tog. (25 sts)
Row 7: Ch 2, turn. Work in pattern across. (25 sts)
Row 8: Ch 2, turn. Sc2tog, work in pattern to last 2 sts, sc2tog. (23 sts)
Row 9: Ch 1, turn. Sc in each st across. Fasten off, leaving a long tail for seaming.
Top Handle
The handle is a simple braided-look crocheted strip.
Row 1: Ch 31. Sc in 2nd ch from hook and in each ch across. (30 sts)
Rows 2-4: Ch 1, turn. Sc in each st across. (30 sts)
Fasten off. The handle will measure approximately 6 inches long and about 1 inch wide.
Tassel
Cut approximately 20-25 strips of t-shirt yarn, each about 6 inches long. Bundle them together. Take a separate piece of yarn about 12 inches long, fold it in half, and wrap it tightly around the bundle about 1 inch from the top to create the tassel head. Secure with a knot and use the tails to attach to the flap.
Assembly Instructions
1. Attach the Flap: Position the flap at the back of the bag opening, with the straight edge aligned with the back edge. Using your tapestry needle and matching yarn, whip stitch the flap securely in place.
2. Install the Push Lock Clasp: Mark the center of your flap and the corresponding center front of your bag body. Follow the hardware instructions for your specific clasp. Most push locks require you to cut small holes for the prongs or posts. Take your time here.
3. Attach the Handle: Using the D-rings, attach each end of the handle to the sides of the bag, just below where the flap meets the body. You can sew the D-rings directly to the bag or create small fabric loops to hold them.
4. Add the Chain Strap: Thread your chain strap through the D-rings. Adjust the length to your preference for crossbody or shoulder wear.
5. Attach the Tassel: Sew the tassel to the center bottom of the flap, just below the push lock.
Tips for Success
Work with consistent tension throughout. T-shirt yarn can be stretchy, so try to keep your stitches even without pulling too tight.
When working post stitches, make sure you are going around the post itself, not accidentally going through the top of the stitch. It should feel like you are hugging the stitch from the side.
Block your pieces before assembly if needed. You can wet block t-shirt yarn by dampening it and pinning it to shape, then letting it dry completely.
If the basket weave pattern feels confusing at first, remember this simple rule: look at what you did in the previous round and do the opposite for each stitch type.
Customization Ideas
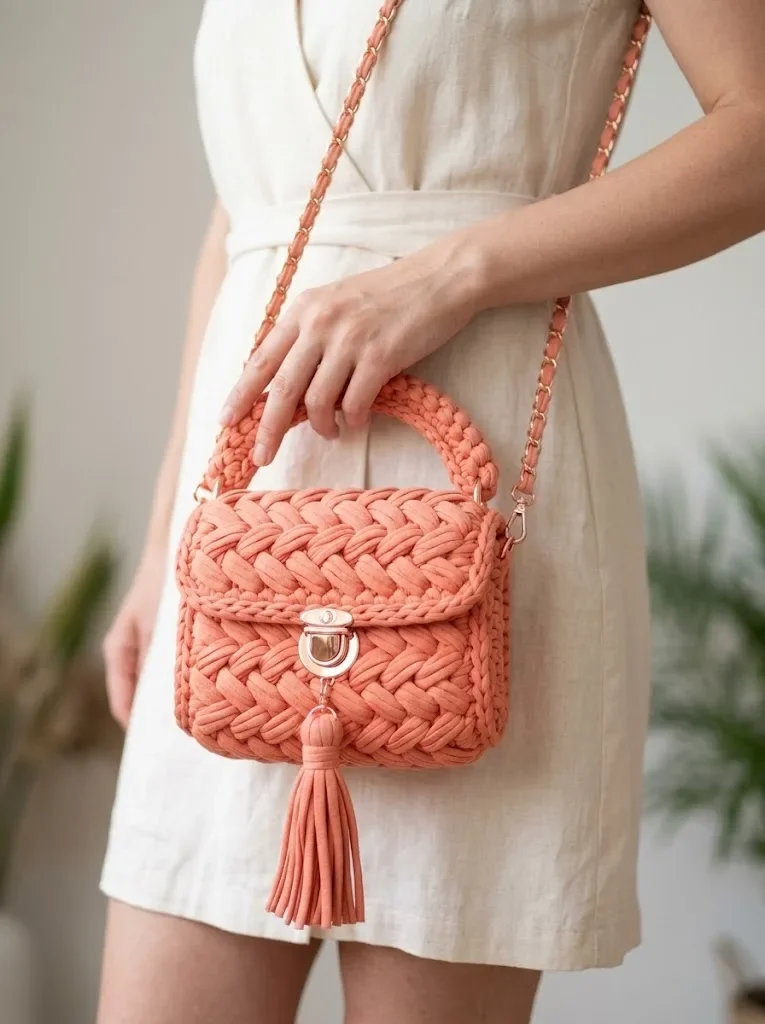
This clutch pattern is wonderfully adaptable. Try making it larger by increasing your base dimensions and adding more rounds to the body. Use contrasting colors for the flap and body. Swap the chain strap for a leather one or a crocheted strap. Add a fabric lining for a more polished interior finish.
You could also skip the crossbody strap entirely and use this as a pure clutch or top-handle bag for evening events.
I truly hope you enjoy making this Sunset Peach Woven Crochet Clutch as much as I enjoyed designing it. It is one of those projects that feels so satisfying to complete because the finished result looks genuinely impressive. Thank you so much for trusting me with your crafting time. If you make one, I would absolutely love to see it! Tag me on Instagram or share it in our Facebook group so I can cheer you on.
If this pattern is calling your name, go ahead and pin it to your crochet project board so you can find it when you are ready to start. And please drop a comment below if you give it a try. I read every single one and love hearing about your color choices and any tweaks you make along the way!
You Might Also Like
- Sunshine Lemon Tiered Baby Dress Free Crochet Pattern
- Blush Pink Round Chain Bag Free Crochet Pattern
- Blush Pink Shell Clutch with Pearl Accents Free Crochet Pattern
- Pastel Pink Dragon Amigurumi Plush Free Crochet Pattern