Snowman Hooded Poncho Cape Free Crochet Pattern
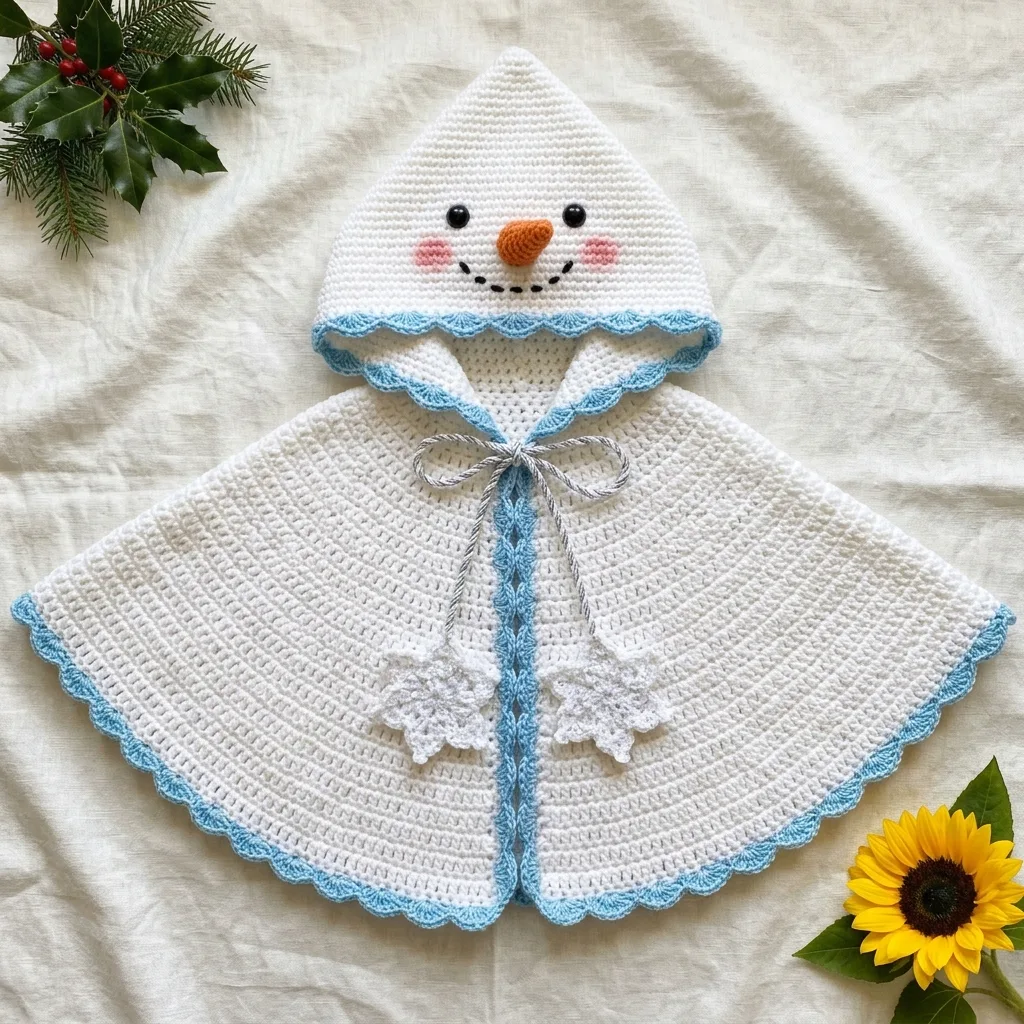
The Story Behind Frosty’s Cape
I pulled this design out of my project notebook from three winters ago, and honestly, I forgot how much I loved it. My niece was turning three at the time, and I wanted to make her something special for the holidays. Something that would make her squeal when she unwrapped it. Something that would turn her into a walking, twirling little snowman.
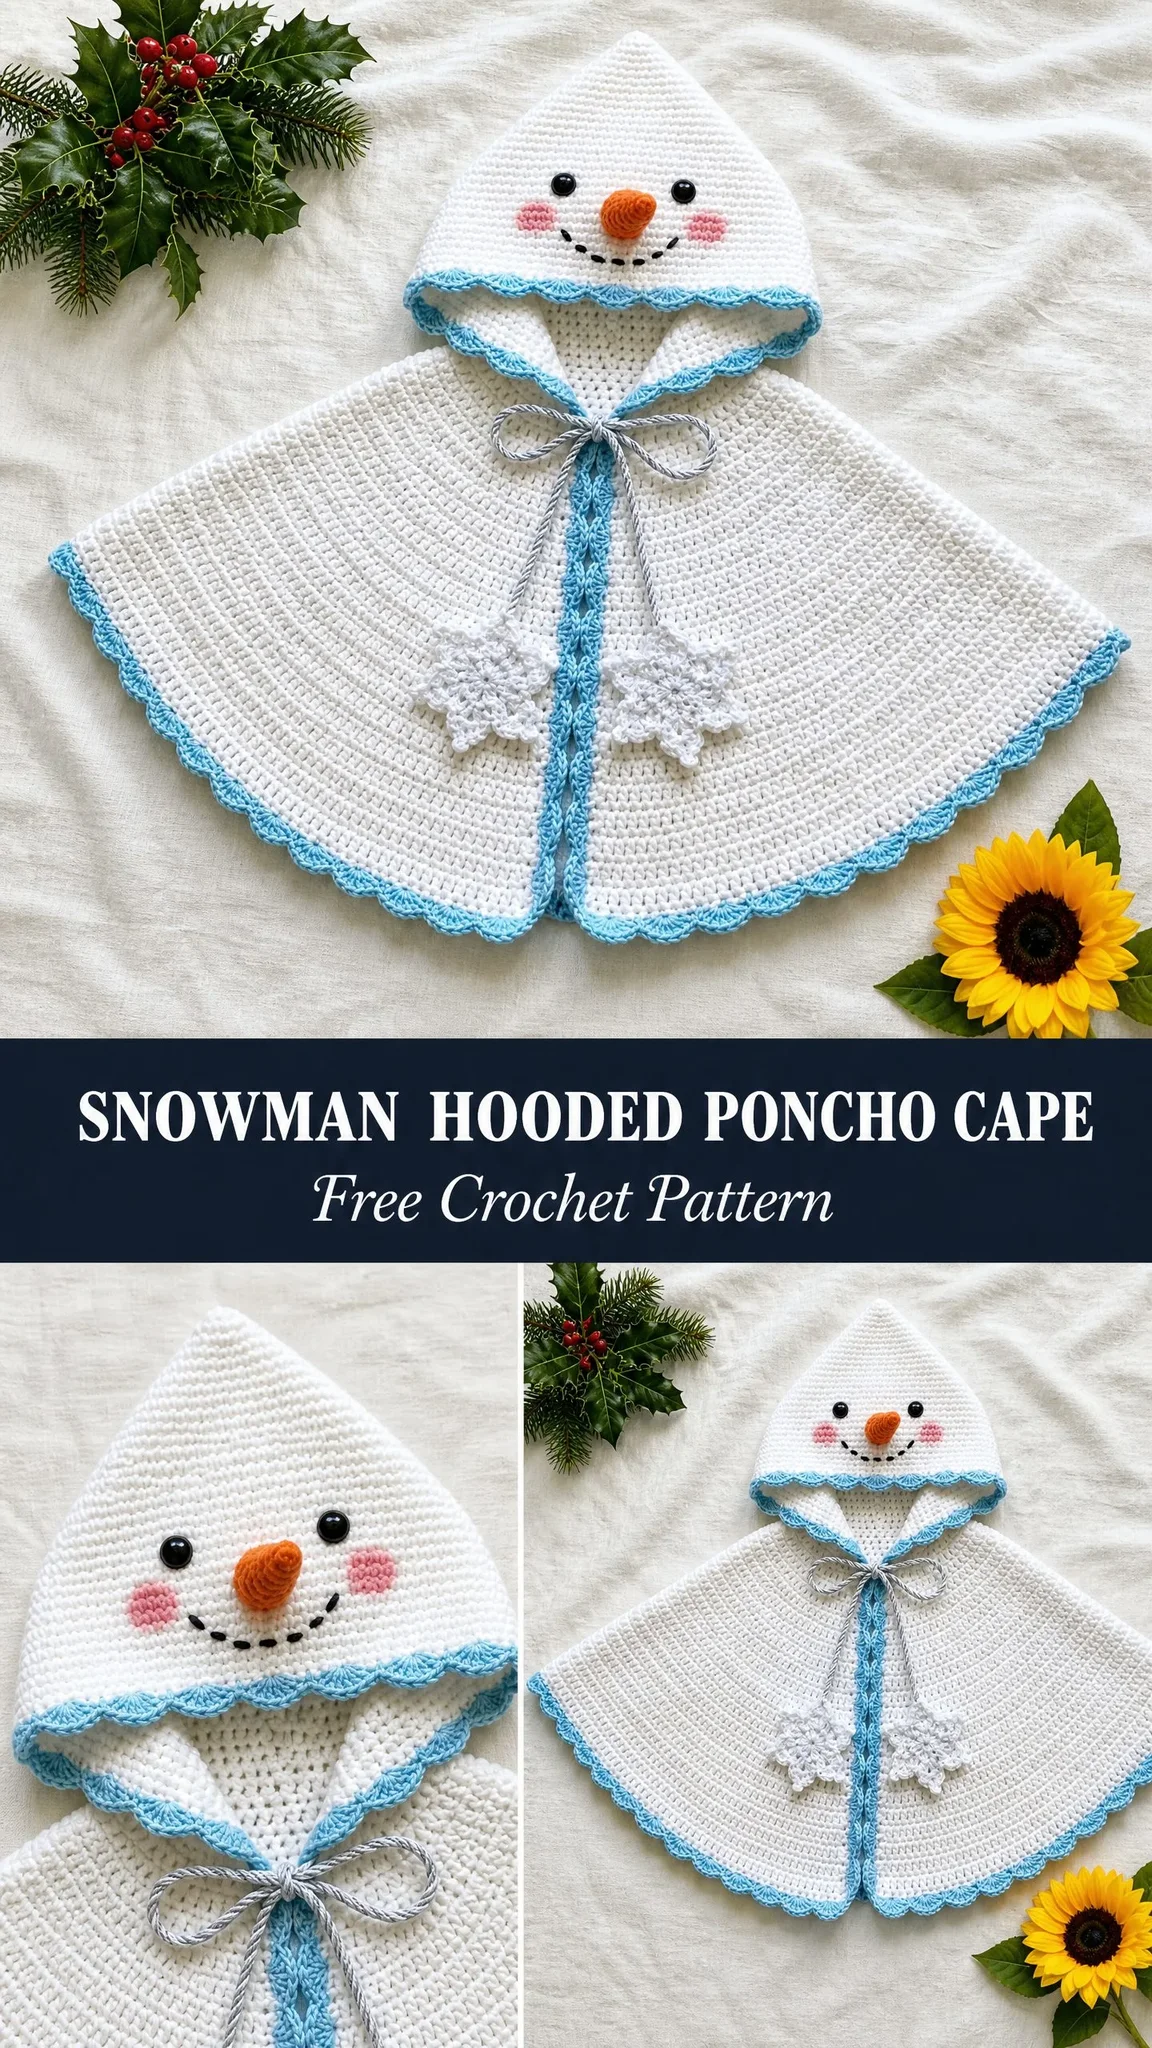
This pattern became known in my family as “Frosty’s Cape” because my niece refused to take it off for approximately two weeks straight. She wore it to the grocery store, to preschool, and once memorably, to bed. Her mom sent me photos of her spinning in circles watching the hem flare out like a snow-covered umbrella.
I am sharing this pattern now because I finally took the time to write it all down properly. Every stitch count, every increase, every little embellishment detail. If you have a little one in your life who deserves to feel like a magical winter character, this is the project for you.
Why This Hooded Poncho Cape Works So Well
This crochet pattern creates a full circular cape that drapes beautifully from the shoulders down. The construction is clever but not complicated. You work the body from the neck down in rows, adding increases every other row to create that smooth, even fan shape. The hood is a separate piece worked flat and then seamed into a pointed cone. That cone shape is what gives you that adorable snowman silhouette.
The dense single crochet fabric gives the cape structure without being stiff. It has weight and warmth, which is exactly what you want for a winter garment. The light blue scallop edging adds a pop of icy color that frames the whole piece perfectly.
What makes this special is the snowman face on the hood. Black safety eyes, a crocheted carrot nose, rosy pink cheeks, and an embroidered smile transform a simple hooded cape into something absolutely charming. Add the dangling snowflake motifs on the tie ends, and you have a showstopper.
Skill Level and Time Commitment
This is an intermediate crochet pattern. You should feel comfortable working in continuous rounds or rows, seaming pieces together, and adding simple embroidery. The carrot nose uses basic amigurumi shaping, which means working in a spiral and decreasing to close. If you have completed a few small projects and feel confident reading patterns, you can absolutely do this.
Expect to spend approximately 10 to 15 hours from start to finish. That includes the body, hood, all the border work, and the embellishments. Take your time with the face details. They make all the difference.
Finished Measurements
This cape is designed for a child approximately 2 to 4 years old.
Materials You Will Need
Yarn:
Hooks:
Notions:
Yarn Suggestions: Lion Brand Pound of Love in White and Powder Blue works beautifully. Bernat Super Value is another excellent budget-friendly option. Any smooth worsted weight yarn that achieves gauge will work. Avoid textured or fuzzy yarns because they will hide your stitch definition and make placing the face embellishments tricky.
Gauge
With MC and US H-8 or 5.0 mm hook in single crochet (sc):
Make a gauge swatch before starting. Chain 20, work 20 rows of single crochet, fasten off, and block lightly. Measure the center section. If you have too many stitches per inch, go up a hook size. If you have too few, go down. Gauge matters here because it affects the final size of the cape.
Abbreviations and Stitch Definitions
Let me define every stitch and abbreviation before we start. This way you will never feel lost.
Special Stitches for This Pattern
Shell Stitch: Work 5 double crochet stitches into the same stitch. This creates a fan shape used in the scallop border.
Scallop Border Pattern: Skip 2 stitches, work 5 dc (shell) into the next stitch, skip 2 stitches, slip stitch into the next stitch. Repeat this sequence across or around. This creates the wavy blue edging.
Picot: Chain 3, then slip stitch into the first chain made. This creates a small decorative loop used in the snowflake motifs.
Step-by-Step Cape Body Instructions
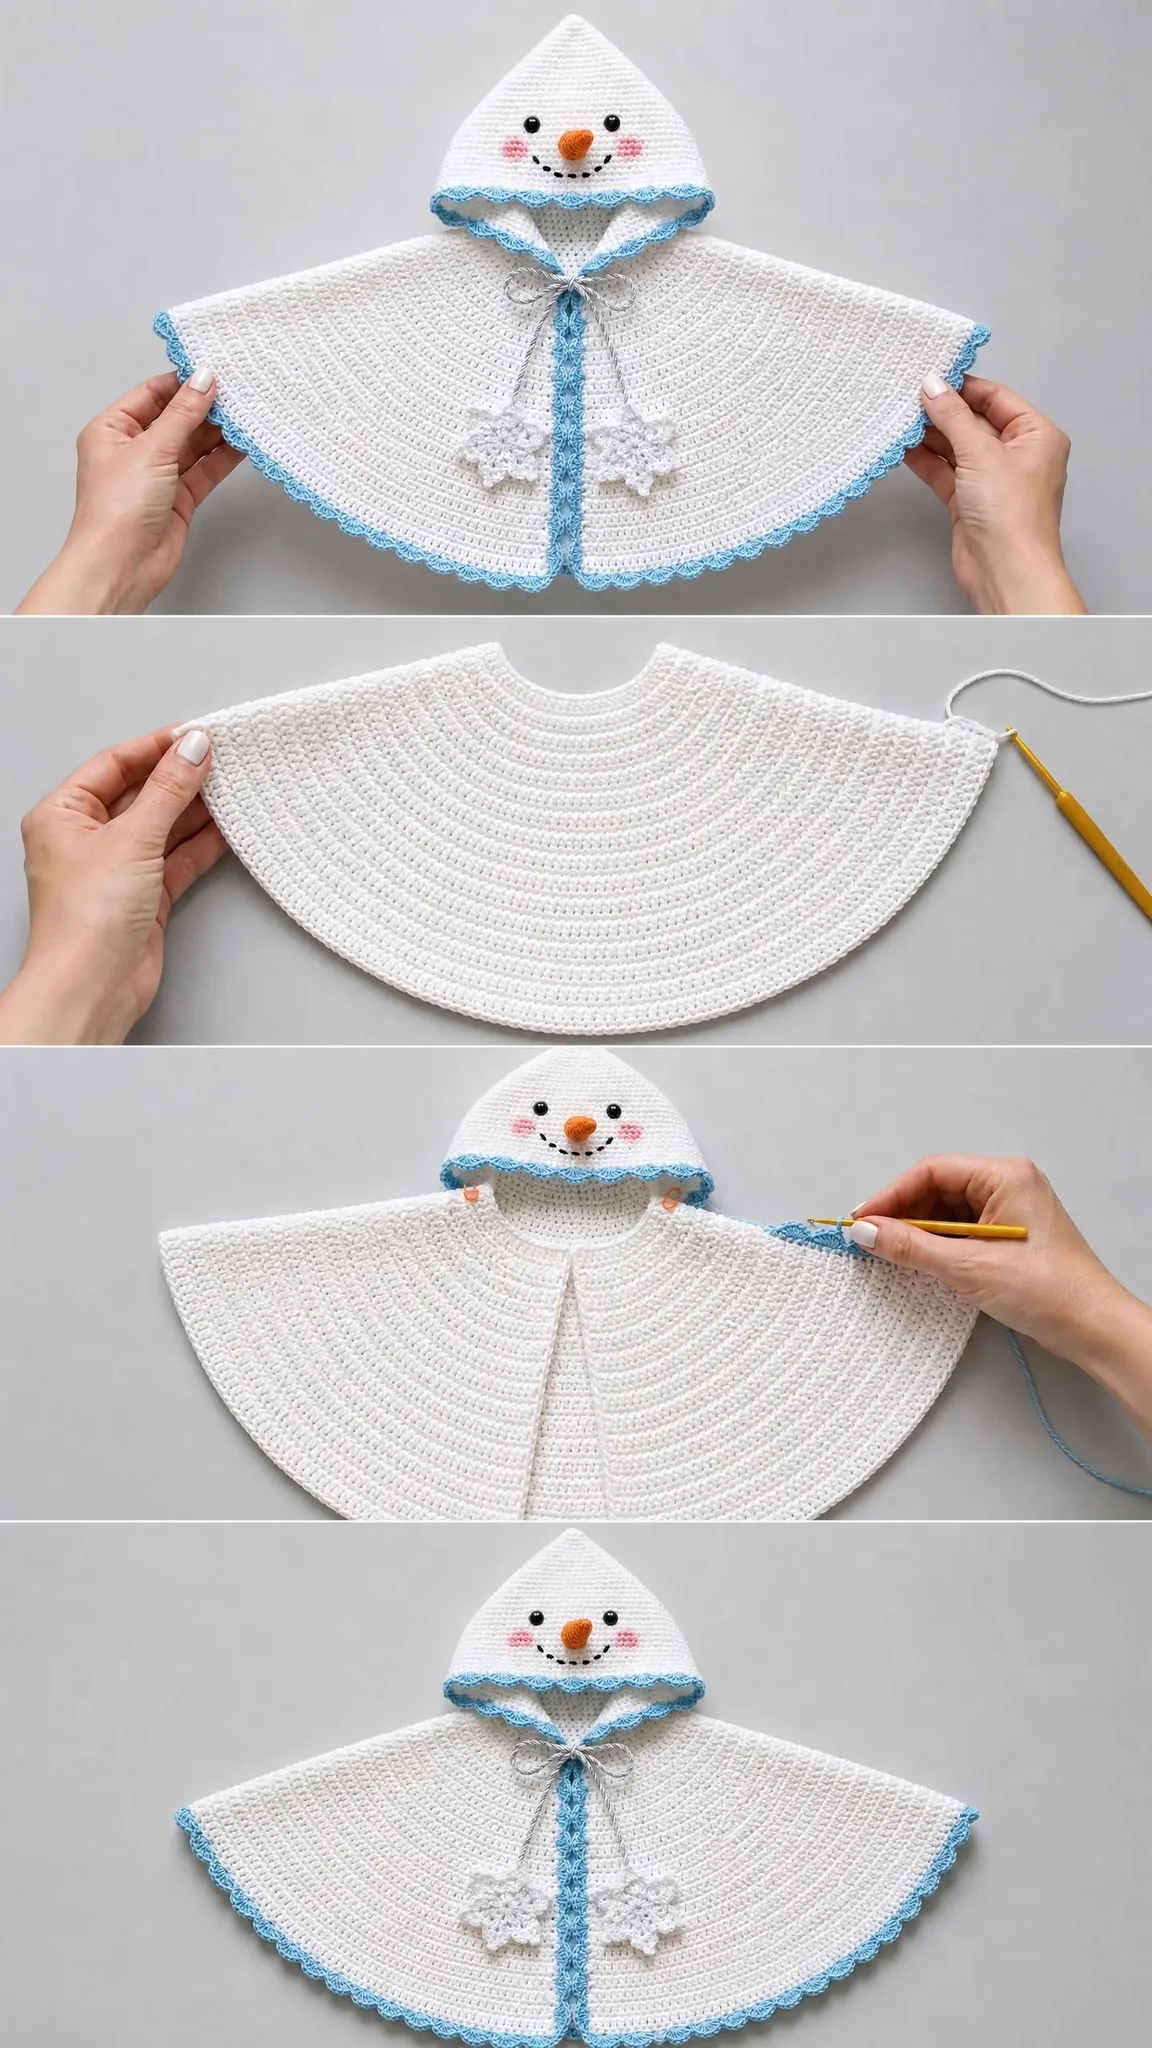
The cape is worked in rows from the neck down. This method creates the front opening naturally without any cutting.
Foundation: With MC and larger hook, ch 68.
Row 1 (RS): Sc in 2nd ch from hook, sc in each ch across. Turn. (67 sc)
Row 2: Ch 1, sc in each st across. Turn. (67 sc)
Row 3: Ch 1, sc in first 3 sts, inc in next st, (sc in next 3 sts, inc in next st) 15 times, sc in last 3 sts. Turn. (83 sc)
Row 4: Ch 1, sc in each st across. Turn. (83 sc)
Row 5: Ch 1, sc in first 4 sts, inc in next st, (sc in next 4 sts, inc in next st) 15 times, sc in last 3 sts. Turn. (99 sc)
Row 6: Ch 1, sc in each st across. Turn. (99 sc)
Row 7: Ch 1, sc in first 5 sts, inc in next st, (sc in next 5 sts, inc in next st) 15 times, sc in last 4 sts. Turn. (115 sc)
Row 8: Ch 1, sc in each st across. Turn. (115 sc)
Row 9: Ch 1, sc in first 6 sts, inc in next st, (sc in next 6 sts, inc in next st) 15 times, sc in last 4 sts. Turn. (131 sc)
Row 10: Ch 1, sc in each st across. Turn. (131 sc)
Row 11: Ch 1, sc in first 7 sts, inc in next st, (sc in next 7 sts, inc in next st) 15 times, sc in last 4 sts. Turn. (147 sc)
Row 12: Ch 1, sc in each st across. Turn. (147 sc)
Row 13: Ch 1, sc in first 8 sts, inc in next st, (sc in next 8 sts, inc in next st) 15 times, sc in last 4 sts. Turn. (163 sc)
Row 14: Ch 1, sc in each st across. Turn. (163 sc)
Row 15: Ch 1, sc in first 9 sts, inc in next st, (sc in next 9 sts, inc in next st) 15 times, sc in last 4 sts. Turn. (179 sc)
Row 16: Ch 1, sc in each st across. Turn. (179 sc)
Row 17: Ch 1, sc in first 10 sts, inc in next st, (sc in next 10 sts, inc in next st) 15 times, sc in last 4 sts. Turn. (195 sc)
Row 18: Ch 1, sc in each st across. Turn. (195 sc)
Checkpoint: After Row 18, the cape should measure approximately 4.5 inches from the top edge to the current row. The fabric should lie flat.
Row 19: Ch 1, sc in first 11 sts, inc in next st, (sc in next 11 sts, inc in next st) 15 times, sc in last 4 sts. Turn. (211 sc)
Row 20: Ch 1, sc in each st across. Turn. (211 sc)
Row 21: Ch 1, sc in first 12 sts, inc in next st, (sc in next 12 sts, inc in next st) 15 times, sc in last 4 sts. Turn. (227 sc)
Row 22: Ch 1, sc in each st across. Turn. (227 sc)
Row 23: Ch 1, sc in first 13 sts, inc in next st, (sc in next 13 sts, inc in next st) 15 times, sc in last 4 sts. Turn. (243 sc)
Row 24: Ch 1, sc in each st across. Turn. (243 sc)
Row 25: Ch 1, sc in first 14 sts, inc in next st, (sc in next 14 sts, inc in next st) 15 times, sc in last 4 sts. Turn. (259 sc)
Row 26: Ch 1, sc in each st across. Turn. (259 sc)
Row 27: Ch 1, sc in first 15 sts, inc in next st, (sc in next 15 sts, inc in next st) 15 times, sc in last 4 sts. Turn. (275 sc)
Rows 28 through 30: Ch 1, sc in each st across. Turn after Rows 28 and 29. Do not turn after Row 30. Do not fasten off. (275 sc)
Cape Hem Border
At the end of Row 30, join CC by pulling through the loop on your hook.
Border Row 1: With CC, ch 1, sc across the bottom hem edge working 1 sc per stitch. (275 sc)
Border Row 2 (Scallop): Ch 1, sl st in first st, (skip 2 sts, 5 dc in next st, skip 2 sts, sl st in next st) 45 times, skip 2 sts, 5 dc in next st, skip 1 st, sl st in last st. Fasten off CC.
Front and Neck Border
With RS facing and CC, join with sl st at the bottom right corner of the right front edge.
Right Front Border: Ch 1, work sc evenly up the right front edge, approximately 1 sc per row end, for 30 sc total. Do not fasten off.
Neck Edge: Continue along the top neck edge, working 1 sc per stitch across the 67 foundation stitches. (67 sc)
Left Front Border: Continue down the left front edge, working 1 sc per row end for 30 sc. Fasten off CC.
Scallop on Front Borders: Re-join CC at bottom of right front. Work the scallop pattern (skip 2, 5 dc in next st, skip 2, sl st in next st) up the right front, across the neckline, and down the left front. Adjust the final repeat at corners to keep things tidy. Fasten off and weave in ends.
Hood Construction
Foundation: With MC and larger hook, ch 43.
Row 1 (RS): Sc in 2nd ch from hook, sc in each ch across. Turn. (42 sc)
Rows 2 through 36: Ch 1, sc in each st across. Turn. (42 sc each row)
You now have a rectangle approximately 12 inches wide and 9 inches tall.
Forming the Cone Shape: Fold the hood panel in half vertically so the two short side edges meet. Seam along the top edge (the 42-stitch row edge) using mattress stitch or whipstitch with your yarn needle and MC. This seam creates the pointed tip. The longer folded edge becomes the face opening.
Hood Face Opening Border: With CC and larger hook, join at the base of the hood face opening. Work 1 round of sc around the face opening, approximately 60 sc total, working into row ends evenly. Join with sl st. Work 1 round of scallop border around. Fasten off CC.
Snowman Face Embellishments
Position the hood with the face opening facing you and the point at the top.
Safety Eyes: Attach the two 9 mm black safety eyes approximately 2 inches apart, centered on the hood, approximately 3.5 inches up from the face opening bottom edge. Secure the washers firmly on the wrong side.
Carrot Nose: The nose is worked with AC1 (orange) and the smaller hook.
Magic ring. Ch 1, 4 sc into ring, do not join, work in continuous spiral. (4 sc)
Round 2: Inc in each st around. (8 sc)
Round 3: Sc in each st around. (8 sc)
Round 4: (Sc in next 3 sts, inc in next st) twice. (10 sc)
Round 5: Sc in each st around. (10 sc)
Round 6: (Sc in next 4 sts, inc in next st) twice. (12 sc)
Stuff lightly with fiberfill.
Round 7: Sc2tog around. (6 sc)
Fasten off, leaving a long tail. Sew the wide end to the hood, centered between and just below the eyes.
Rosy Cheeks: Using pink yarn or floss, work 6 to 8 small satin stitches in a circular cluster on each side of the nose, approximately 1 inch to the left and right of center.
Smile: Using black floss, embroider a curved smile below the nose using backstitch. Work a gentle upward arc approximately 1.5 inches wide.
Snowflake Motifs
Make 2. Use MC (or AC2) and the smaller hook.
Magic ring. Ch 1, work 6 sc into ring, join with sl st to first sc. (6 sc)
Round 2: Ch 1. In each stitch work the following: sc in stitch, ch 5, sl st back into 2nd ch from hook, sl st into next ch, ch 3, sl st back into base ch, sl st into next 2 ch, sl st back into same sc at base. Repeat for each of the 6 sc around. Join with sl st. Fasten off, leaving a long tail for attaching. (6 spokes)
Final Assembly
Attaching the Hood: Lay the cape flat with the RS facing up. Center the hood at the neck edge with the face opening over the center front. Pin the hood neck edge to the cape neck edge. Using MC and your yarn needle, sew the hood to the cape using whipstitch on the wrong side.
Tie Closure: Cut a length of gray or silver yarn approximately 36 inches long. Twist together 3 strands for a twisted cord, or use it as-is. Thread the tie through two corresponding points on the left and right front border, approximately 1 inch below the hood attachment. Tie in a bow when worn.
Attach one snowflake motif to each end of the tie by threading the long tail through the cord end and knotting securely.
Size Customization Tips
To size up for ages 5 to 7: Add 10 stitches to the foundation chain (ch 78, yielding 77 working sc). Continue increase rows for 2 additional rows beyond Row 27, ending at 307 stitches. Add 2 rows to the hood panel (38 rows total).
To size down for 18 months to 2 years: Subtract 8 stitches from the foundation (ch 60, yielding 59 working sc). Stop increases 2 rows earlier, ending at 243 stitches. Reduce the hood to 34 rows.
To adjust length only: Add or remove plain rows at the end of the cape body before the hem border.
Finishing and Care
Weave in all ends securely. Block the cape lightly by laying it flat on a towel and steaming or misting with water. Let dry completely. Machine wash on gentle cycle with cold water and tumble dry low if you used acrylic yarn.
You Did It!
This Snowman Hooded Poncho Cape crochet pattern is one of those projects that looks incredibly impressive but is really just a series of straightforward steps. The magic is in the details: that pointy hood, the cheerful snowman face, the delicate snowflakes dangling from the ties. Every time your little one twirls around in this cape, you will feel that maker’s pride.
Thank you so much for choosing this pattern. I hope it brings as much joy to your family as it brought to mine. If you make this cape, I would absolutely love to see it! Share your finished project on Instagram or Facebook and tag me so I can cheer you on.
If you loved this pattern, go ahead and save it to your Pinterest boards so you can find it again when you are ready to start. And please leave a comment below if you make one. I read every single comment and it makes my day to hear from you. Happy crocheting, friend!
You Might Also Like
- Sunset Ombre Seashell Clutch Free Crochet Pattern
- Blush Pink Butterfly Lace Earrings Free Crochet Pattern
- Dusty Rose Chunky Cropped Turtleneck Free Crochet Pattern
- Ocean Wave Granny Square Bag Free Crochet Pattern