Seafoam Scallop Midi Dress Crochet Pattern
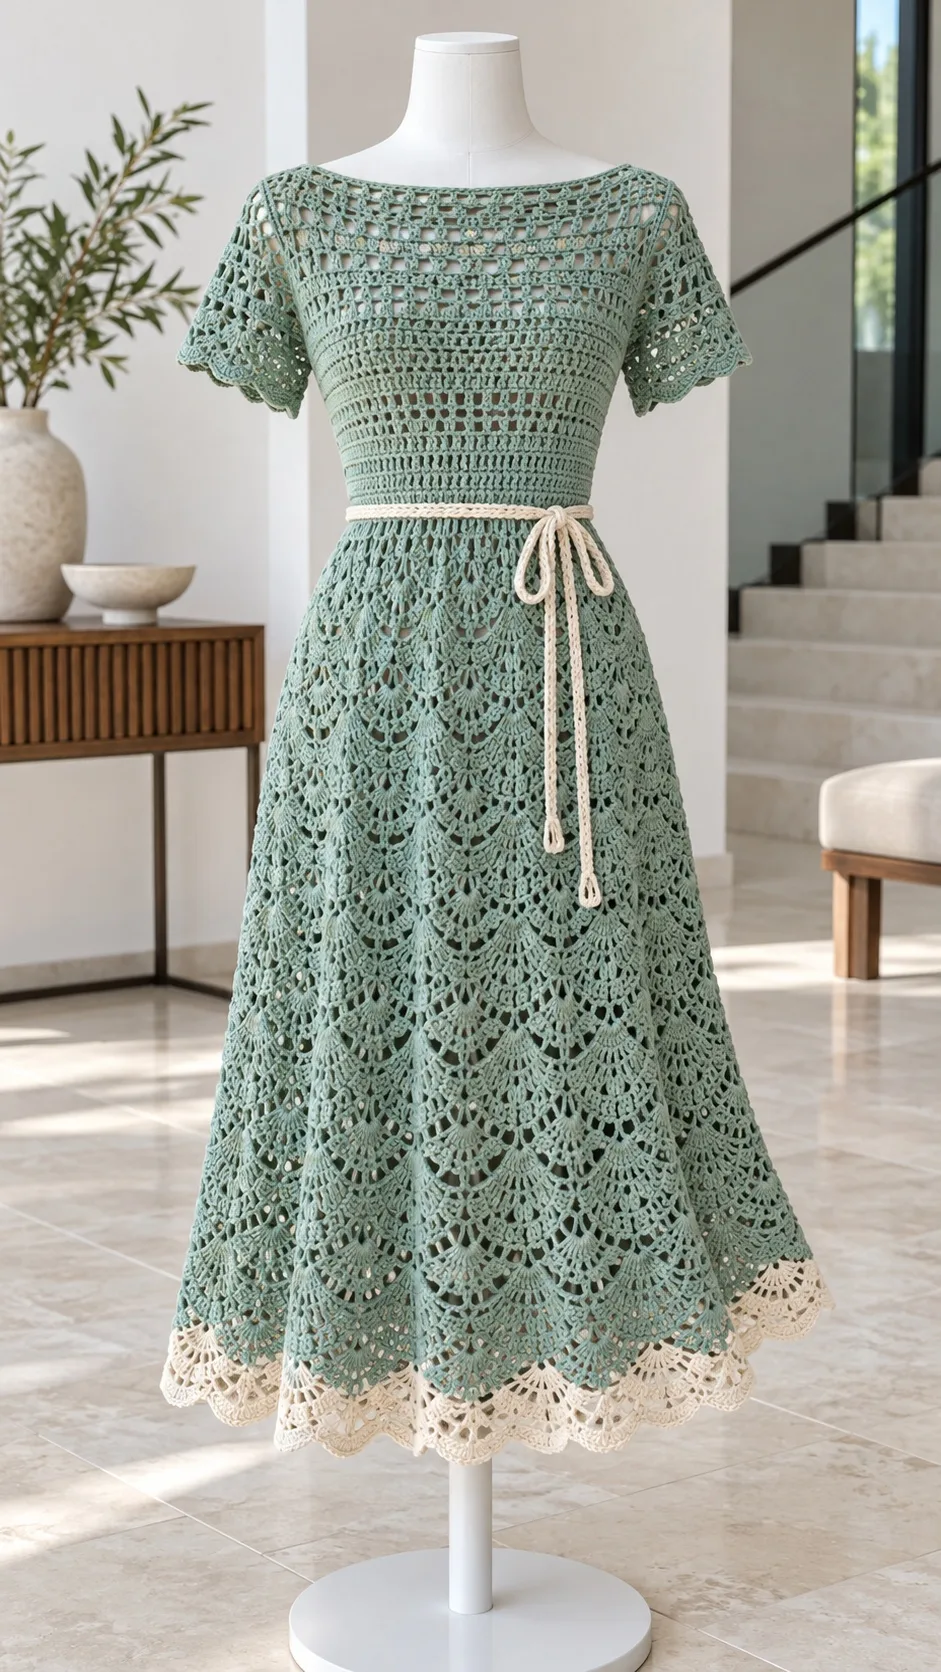
Looking for a stunning handmade dress that works up beautifully for summer weddings, garden parties, or any occasion that calls for something truly special? This Seafoam Scallop Midi Dress delivers elegant vintage charm with its gorgeous shell stitch pattern, flattering midi length, and delicate ivory accents at the hem. The boat neckline and short sleeves keep things breezy, while the slim tie belt cinches the waist for a feminine silhouette.
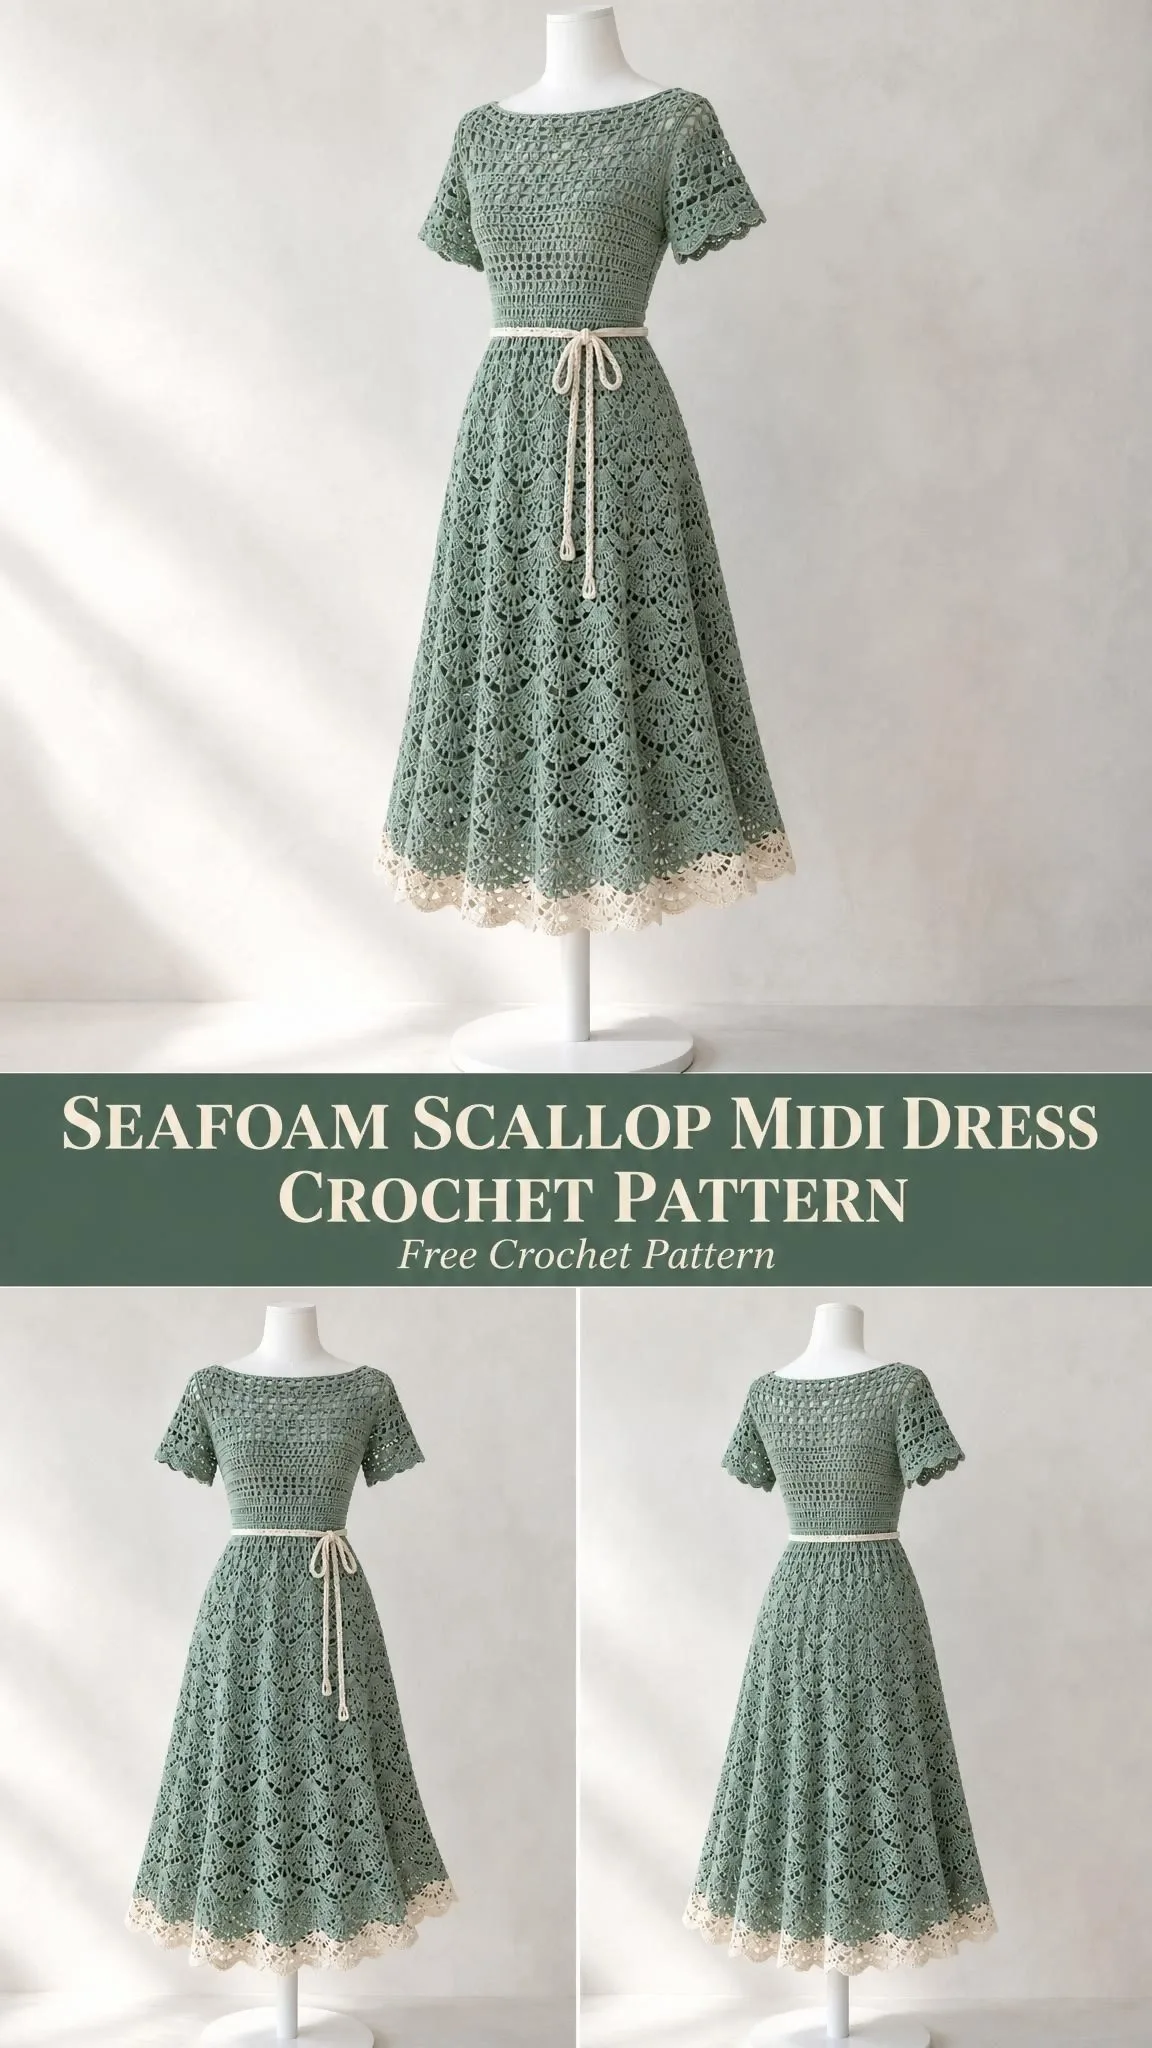
This intermediate to advanced crochet pattern uses smooth sport weight cotton yarn and a classic five double crochet fan stitch that creates those signature scalloped waves throughout the bodice and skirt. The construction is straightforward once you understand the rhythm: flat panels joined at the waist, with separately made sleeves attached during assembly. You will need approximately 1010 grams of seafoam green yarn and 120 grams of ivory for the contrast details.
Whether you are building your handmade wardrobe or creating a memorable gift for someone special, this dress makes a real statement. The finished bust measures approximately 100 centimeters, fitting a body bust of 90 to 94 centimeters with comfortable ease. Let me walk you through everything you need to bring this beautiful design to life.
Why This Crochet Dress Pattern Stands Out
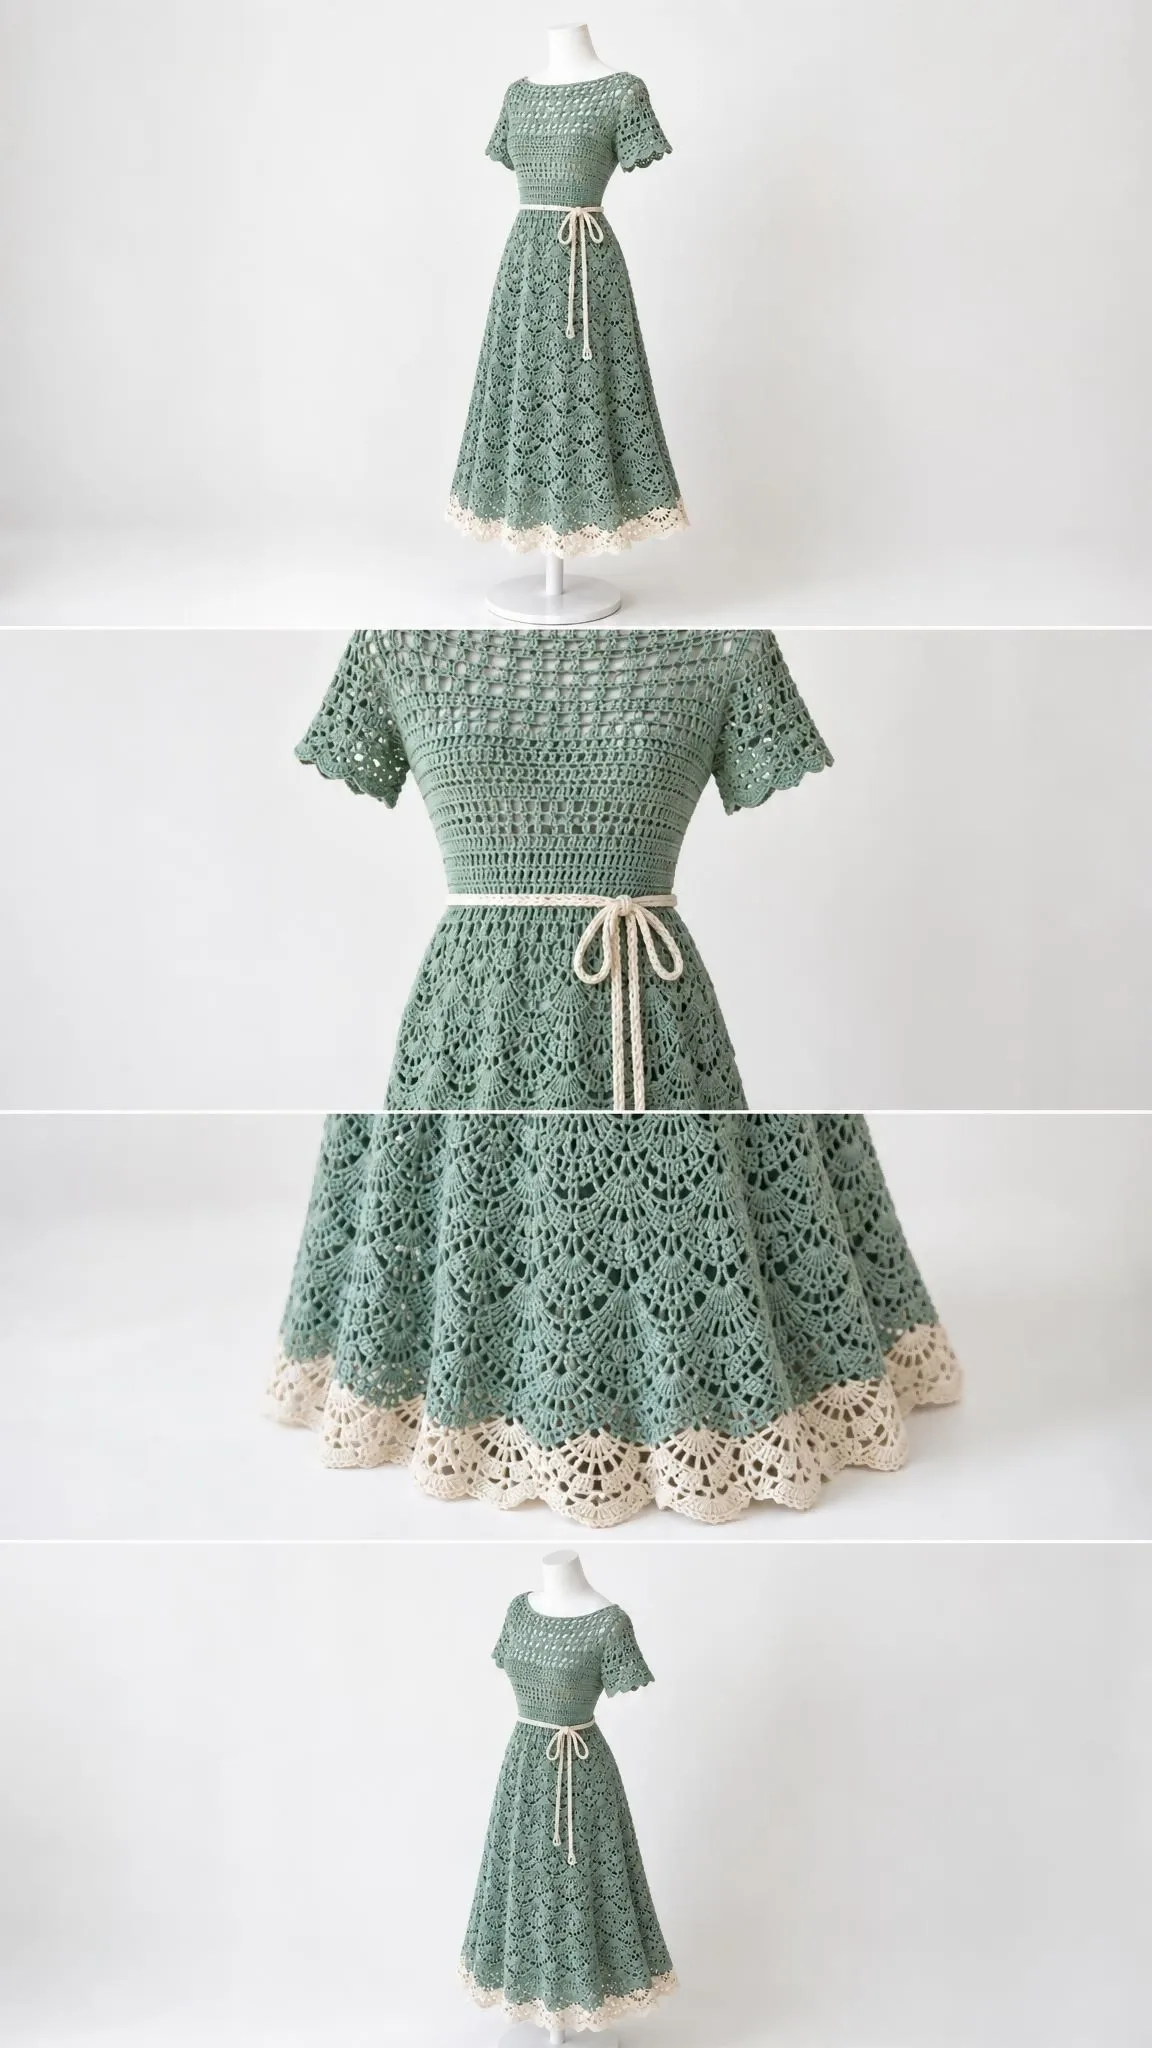
The shell stitch, also called the fan stitch, creates an incredibly feminine texture that drapes beautifully in cotton yarn. Each fan consists of five double crochet stitches (dc) worked into a single stitch or chain space, producing those lovely scalloped edges you see cascading down the skirt. The alternating fan rows and supporting arch rows give the fabric both structure and movement.
What makes this dress particularly appealing is the construction method. Rather than working in the round and dealing with complex shaping, you will create flat panels: two bodice pieces, six skirt panels, and two sleeve rectangles. This approach lets you focus on maintaining consistent tension and stitch counts without juggling increases and decreases mid-row.
The ivory accent row at the hem adds a beautiful finishing touch that frames the entire design. Combined with the matching ivory tie belt threaded through the waist, these details elevate the dress from lovely to truly special.
Materials and Tools You Will Need
Yarn Requirements:
- Main color (seafoam green): 1010 grams, approximately 3030 meters of smooth sport weight cotton at 300 meters per 100 grams
- Accent color (ivory): 120 grams, approximately 360 meters of the same weight cotton
Hooks:
- 3.5 mm hook for main fabric
- 3.0 mm hook for firm borders and belt
Additional Supplies:
- Tapestry needle
- Removable stitch markers
- Tape measure
- Scissors
- Blocking mats and rust resistant pins
- Sewing needle and matching thread
- 40 cm dress zipper (for side seam)
- 1 meter of 10 mm cotton tape (to stabilize waist seam)
- Separate opaque slip for wearing underneath the openwork
The yarn amounts include a planning allowance, but you should confirm your needs by weighing your gauge swatch. Cotton yarn can vary significantly between brands, so matching the recommended gauge matters more than matching the exact yarn.
Gauge Information
Getting gauge right is essential for this dress to fit properly. Your blocked main stitch gauge should measure:
3 fan repeats and 14 rows = 10 x 10 cm
One fan repeat is approximately 3.33 cm wide. Measure away from edges for accuracy.
Making Your Gauge Swatch:
Using the stitch recipe below with N equals 6 repeats, work at least 28 rows. Wet block your swatch, dry it flat for 24 hours, then hang it for 12 hours to check for cotton growth. Cotton tends to stretch lengthwise over time, so this hanging test helps you anticipate how the finished dress will behave.
If your gauge does not match, adjust your hook size. A larger hook gives you fewer stitches per 10 cm, while a smaller hook gives you more.
Border gauge: 20 single crochet (sc) and 24 sc rows equal 10 cm.
Abbreviations and Special Stitches
Before diving into the pattern, familiarize yourself with these terms:
- ch = chain
- sc = single crochet (insert hook, yarn over, pull through, yarn over, pull through both loops)
- hdc = half double crochet
- dc = double crochet (yarn over, insert hook, yarn over, pull through, yarn over, pull through two loops twice)
- tr = treble crochet
- sl st = slip stitch
- st(s) = stitch(es)
- sp = space
- RS/WS = right side/wrong side
- BLO = back loop only
- rep = repeat
- N = number of horizontal motif repeats in a piece
The Fan Stitch:
A fan equals 5 dc worked into one stitch or one ch-5 arch. The fabric alternates between a fan row and a supporting arch row. The beginning ch 1 never counts as a stitch.
The Basic Stitch Pattern Recipe
This recipe forms the foundation for every piece of the dress. Master it on your swatch before starting the actual garment.
Foundation: Chain 6N plus 2.
Row 1: Sc in second ch from hook, then work [skip 2 ch, 5 dc in next ch, skip 2 ch, sc in next ch] N times.
Count: N fans and N plus 1 sc, totaling 6N plus 1 stitches.
Row 2: Ch 1, turn, sc in first sc, then work [ch 5, skip entire fan, sc in next sc] N times.
Count: N arches and N plus 1 sc.
Row 3: Ch 1, turn, sc in first sc, then work [5 dc in next ch-5 arch, sc in next sc] N times.
Count: N fans and N plus 1 sc, totaling 6N plus 1 stitches.
Repeat Rows 2 and 3 for the pattern. The rhythm becomes intuitive quickly: arch row, fan row, arch row, fan row.
Finished Measurements
Understanding the measurements helps you decide if adjustments are needed before you begin:
| Piece | Width/Circumference | Length |
|---|---|---|
| Bodice, each panel | 50 cm | 40 cm |
| Neck gap | 16.7 cm | Shaped at front |
| Armhole, each | 40 cm perimeter | 20 cm depth |
| Skirt hem | 180 cm total | 70 cm below waist |
| Sleeve, each | 40 cm | 18 cm |
| Belt | 3 to 4 cm wide | 160 cm long |
The finished bust measures approximately 100 cm, intended for a body bust of 90 to 94 cm with 6 to 10 cm of ease. The untied waist is 100 cm, cinched with the belt to 80 to 90 cm.
Pattern Instructions
Back Bodice
With main color and 3.5 mm hook, start the foundation with N equals 15. You will work upward from the waist.
Row 1: Work the foundation row as described above.
Count: 15 fan repeats.
Rows 2 through 52: Continue working the plain recipe rows, alternating between arch rows and fan rows.
Count: 15 fan repeats each row.
Neckline Shaping (Row 53 onward):
Mark the central 5 repeats as the back neck opening. Work the outer 5 repeats at each side separately, restarting yarn at the outer edge or neck edge as required by row direction. Leave the marked center unworked.
Rows 53 through 56, each shoulder: Continue the recipe over the outer 5 repeats only.
Count: 5 fan repeats per shoulder.
Fasten off with a 20 cm tail.
Front Bodice
Begin exactly as the back with N equals 15. Work the following rows as one panel. Any decorative button placket is applied later and does not actually open.
Rows 1 through 50: Work the plain recipe rows.
Count: 15 fan repeats each row.
Neckline Shaping (Row 51 onward):
Leave the central 5 repeats unworked. Work each shoulder separately over 5 repeats. The square boat neckline width is fixed by this opening.
Rows 51 through 56, each shoulder: Continue the next recipe row over this shoulder only.
Count: 5 fan repeats per shoulder.
Note that the front neckline begins two rows earlier than the back, creating a slightly deeper front opening while keeping the shoulders aligned.
Skirt Panels (Make Six)
Work from waist downward with N equals 9. Each rectangular panel measures 30 cm wide. When joined, the combined 180 cm top edge gathers into the 100 cm bodice waist, creating the lovely skirt fullness.
Row 1: Work the foundation row.
Count: 9 fan repeats.
Rows 2 through 99: Work the next plain recipe row, following the color plan.
Count: 9 fan repeats each row.
Color Plan: Work the first 97 rows in seafoam green. Switch to ivory for the final two rows to create the contrast hem detail.
Checkpoint: Block all six panels to 70 cm length, within one row of tolerance. Width should be 30 cm. End the fan fabric on a fan row.
Sleeves (Make Two)
Use main color, 3.5 mm hook, and N equals 12. Work from shoulder edge to cuff. Both sleeve rectangles start at 40 cm wide.
Sleeve Row 1: Work the foundation row.
Count: 12 fan repeats.
Sleeve Rows 2 through 25: Continue the plain recipe row.
Count: 12 fan repeats each row.
Checkpoint: Each rectangle should measure 40 cm wide and approximately 18 cm long before the border. Ensure both sleeves match exactly.
For a puff sleeve effect, gather the upper edge slightly while attaching. For a bell sleeve, leave the lower edge loose and add the scalloped border.
Waist Tie Belt
Belt Row 1: With 3.0 mm hook and ivory (or your chosen belt color), ch 8. Sc in second chain from hook and in next 6 chains.
Count: 7 sc.
Belt Row 2 and all following rows: Ch 1, turn, sc BLO in each stitch.
Count: 7 sc per row.
Continue until the belt measures 160 cm. Record your total row count, as row gauge varies with hook and yarn.
Checkpoint: Belt should measure 160 cm by approximately 3.5 cm. Do not stretch while measuring. Make it longer only if needed to tie comfortably.
Assembly Instructions
Gather your seafoam green yarn tails, tapestry needle, 3.5 mm hook for optional slip stitch seams, zipper, sewing needle, thread, and cotton waist tape.
Join 1: Shoulders
Mattress stitch the corresponding outer shoulder edges together, aligning 5 complete motifs on each seam.
Result: 2 shoulder seams, 5 motifs each.
Join 2: Sleeves
Mark 20 cm down each side of front and back from the shoulder seam. Match the sleeve midpoint to the shoulder seam, then sew the 40 cm upper edge around this opening. For puff styling, ease 2 cm at the sleeve midpoint.
Result: 2 sleeves attached.
Join 3: Side Seams
Sew from waist to armhole on the right side. On the left side, leave the bodice portion open for the 40 cm zipper opening, continuing that opening into the skirt below the waist as needed. Close sleeve underarms.
Result: 2 side seams, 1 zipper opening.
Join 4: Skirt
Align equal row ends and mattress stitch the six panels into a ring, retaining the left side zipper gap.
Result: 6 panel joins, including the partial zipper seam.
Join 5: Waist
Quarter mark both bodice and skirt. Run two gathering threads through the skirt foundation loops and draw to 100 cm, matching quarter marks. Sew to the bodice waist. Sew the stabilizing cotton tape inside the waist without stretching.
Result: 1 continuous 100 cm waist join.
Join 6: Closure
Hand baste then backstitch the zipper tapes to the inside of the left opening. Keep teeth clear of crochet loops. Secure top and lower stops.
Result: 1 working zipper, 40 cm opening closed.
Assembly Checkpoint: Shoulders should be level. Waist should measure 100 cm before belt. Armholes should be approximately 40 cm perimeter. Zipper should open without catching. Try the dress over the intended slip before trimming any tails.
Edgings and Details
Switch to the 3.0 mm hook and accent color for borders.
Neckline Border
Neck Round 1: Join at back neck. Sc evenly around, working approximately 2 sc per dc row end and 1 sc per stitch. Adjust at steps to lie flat. At square inside corners, work sc2tog (insert hook in next stitch, pull up a loop, repeat in following stitch, yarn over and draw through all 3 loops) across the corner. Join with sl st.
Neck Round 2: Ch 1, sc in each sc, join. For square or boat neck, the count remains the same if lying flat.
Hem Border
Hem Round 1: Sc evenly along the lower edge without drawing it in. For fans, work one sc in each stitch. Do not count seam loops twice.
Hem Round 2: Starting at any sc, work [skip 2 sc, 5 dc in next sc, skip 2 sc, sl st in next sc] around. Work any residual stitches as sl sts beside the seam.
Armhole and Cuff Borders
Round 1: Sc evenly around each opening, using about 2 sc per row end. Join.
Round 2: Sc in each sc for a plain edge, or use the Hem Round 2 scallop pattern for decorative sleeves.
Finishing Your Dress
Weaving Ends: Pass each tail through at least 5 cm of solid stitches, reverse direction twice, and trim only after the first wash.
Blocking: Soak according to your yarn label, lift the garment while supported, press between towels, and lay flat to finished measurements. Shape each scallop gently.
Final Check: After fully dry, hang for 12 hours. Remeasure length and check the zipper, belt, and all details. Cotton can grow in wear, so shorten only after this hanging check.
Store your finished dress folded, not suspended from the shoulders, to maintain its shape.
Care Instructions
Follow your yarn’s care label. For cotton, cool gentle hand washing and flat drying are recommended. Test colors first if you are concerned about bleeding. Support the full wet garment when lifting and avoid wringing. Remove the belt before washing if desired.
Keep in mind that openwork catches easily on jewelry and furniture, so wear with care.
This Seafoam Scallop Midi Dress is a true labor of love, and the results speak for themselves. The combination of delicate shell stitches, thoughtful construction, and beautiful color contrast creates a garment you will be proud to wear or gift. If you enjoyed working through this crochet dress pattern, save it to your Pinterest boards so you can find it again whenever inspiration strikes. And please leave a comment below if you make this dress. I would love to hear how it turns out for you!
You Might Also Like
- Mustard Yellow Sunshine Slipper Boots Free Crochet Pattern
- Dusty Rose Heart Cutout Crochet Top Free Pattern
- Berry Blossom Lace Cardigan Free Crochet Pattern
- Coral Sunset Textured Handbag Free Crochet Pattern