Sage Green Summer Tote with Cream Tassels Free Crochet Pattern
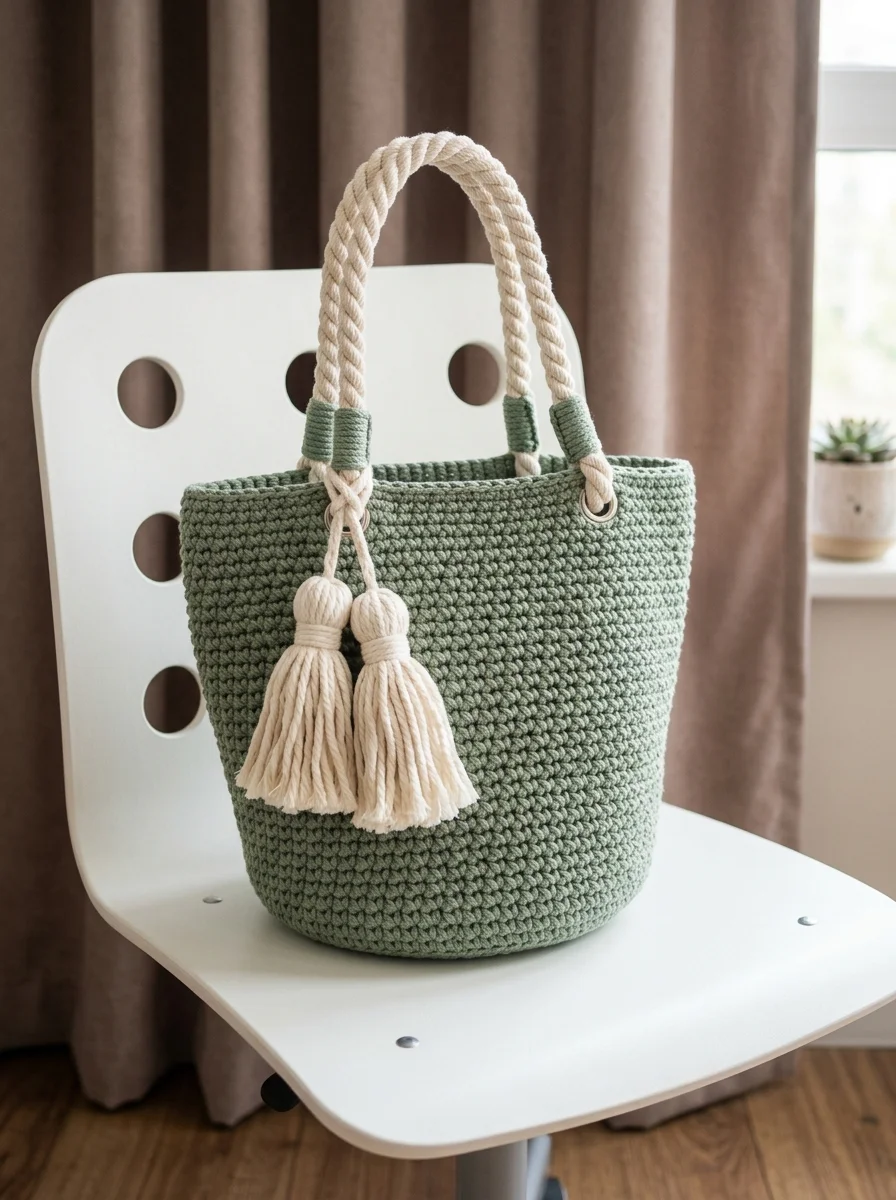
There is something so satisfying about making a bag you will actually use every single day. This sage green summer tote is exactly that kind of project. Sturdy enough for farmers market hauls, pretty enough for brunch with friends, and beginner friendly enough that you will not want to throw your hook across the room.
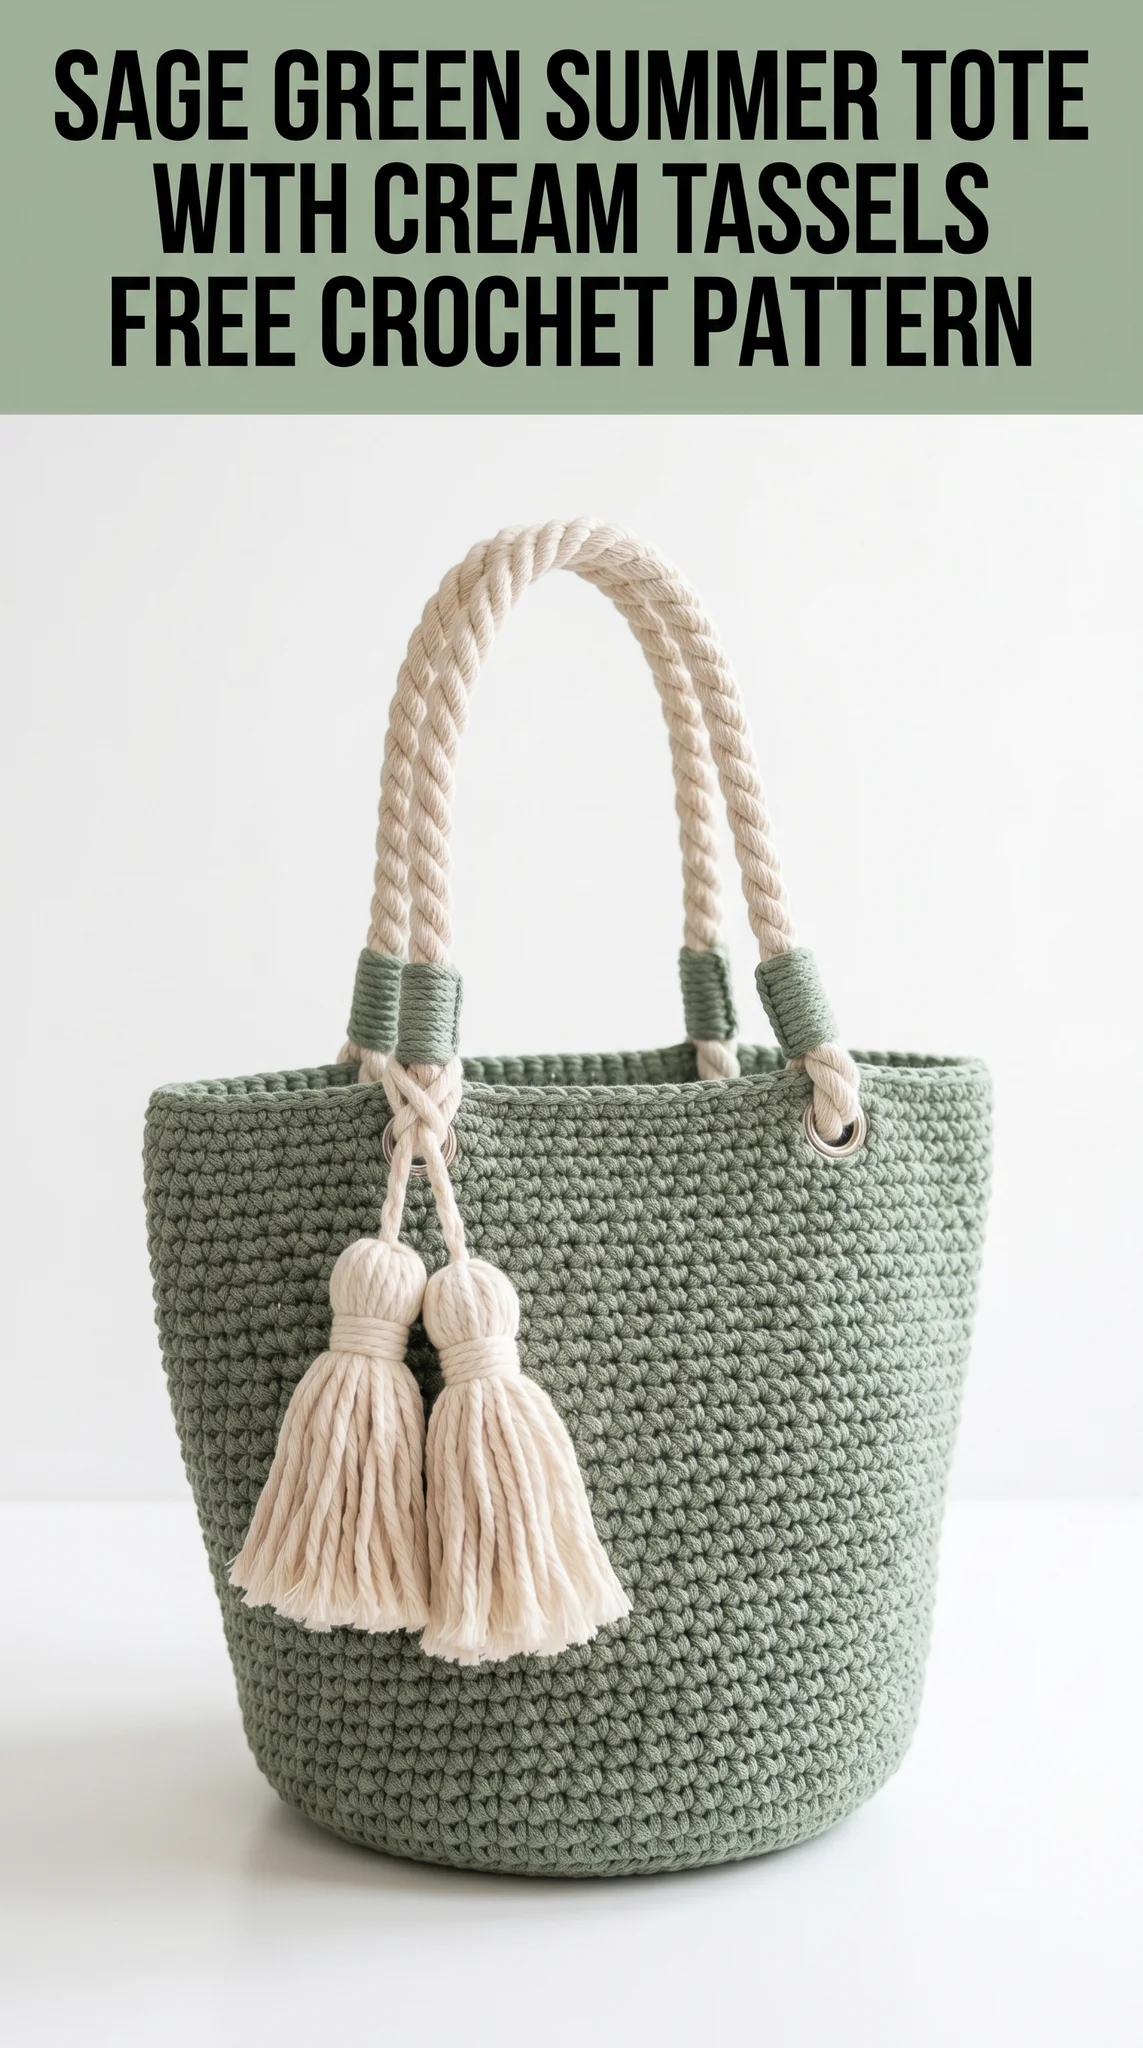
I designed this crochet pattern using simple single crochet stitches worked in continuous rounds. No complicated colorwork. No confusing shaping. Just straightforward construction that builds a beautifully structured tote with a rounded base and straight sides. The cream rope handles and matching tassels add that elevated boho touch without any extra crochet work required.
If you can single crochet and work in the round, you can absolutely make this bag. Let me walk you through every step.
Why This Summer Tote Pattern Works So Well
Before we dive into the crochet tutorial, let me tell you what makes this tote special.
The stitch choice matters. Single crochet creates an incredibly dense, sturdy fabric. Your lipstick will not poke through. Your keys will not catch on gaps. The tight texture holds its shape beautifully without any lining required, though you can certainly add one if you prefer.
The yarn choice matters even more. This bag uses cotton rope yarn, sometimes called tube yarn or macrame cord. It gives that structured, almost woven look you see in high end market bags. Plus cotton is machine washable, which is essential for something you will toss on the ground at picnics.
The construction is forgiving. We work from the bottom up in one continuous piece. No seaming the base to the sides. No complicated assembly. Just crochet in spirals until it is tall enough, then attach your handles.
Materials You Will Need
Gather these supplies before you start. Having everything ready makes the process so much smoother.
Yarn:
Hook:
Notions:
Gauge:
14 single crochet stitches and 16 rows equals 10cm (4 inches) square in single crochet using 5.0mm hook and cotton rope yarn.
Take time to check your gauge. A bag that is too loose will stretch and sag under weight. A bag that is too tight will be stiff and smaller than intended.
Finished Dimensions
Skill Level
Confident Beginner to Intermediate
You should be comfortable with:
If you have never worked in continuous rounds before, do not worry. I will explain exactly how it works.
Abbreviations and Stitch Definitions
Let me define every abbreviation before we begin. I will use these short forms throughout the pattern.
ch = chain: Wrap yarn over hook, pull through loop on hook. Creates foundation or turning chains.
sc = single crochet: Insert hook into stitch, yarn over, pull up a loop (2 loops on hook), yarn over, pull through both loops.
inc = increase: Work 2 single crochet stitches into the same stitch. This adds one stitch to your total count.
sl st = slip stitch: Insert hook, yarn over, pull through stitch and loop on hook in one motion. Used for joining.
st(s) = stitch(es)
rnd(s) = round(s)
Understanding Continuous Rounds
Here is something that trips up many crocheters new to amigurumi or bag making.
Continuous rounds means you do not join at the end of each round. You do not chain up. You simply keep spiraling around and around like walking up a spiral staircase.
This creates a seamless fabric without that visible jog line you get with joined rounds. It is perfect for bags and baskets.
Your stitch marker is essential. Place it in the first stitch of each round. When you reach the marker, you have completed one round. Move the marker to the new first stitch and keep going.
If you lose track of where you are, count your stitches. The stitch count at the end of each round should match what the pattern says.
Step by Step Crochet Pattern for the Sage Green Summer Tote
The Base
We start at the center bottom and work outward in flat circular rounds, increasing evenly to create a flat circle.
Rnd 1: Using sage green yarn and 5.0mm hook, create a magic ring. Work 6 sc into the ring. Pull the tail to close. Place stitch marker in the first sc. (6 sts)
*Tip: If the magic ring intimidates you, chain 2 and work 6 sc into the second chain from hook instead. It works just fine.*
Rnd 2: Work 2 sc in each st around. Move marker. (12 sts)
Rnd 3: *Sc in next st, inc in next st.* Repeat from * to * around. (18 sts)
Rnd 4: *Sc in next 2 sts, inc in next st.* Repeat around. (24 sts)
Rnd 5: *Sc in next 3 sts, inc in next st.* Repeat around. (30 sts)
Rnd 6: *Sc in next 4 sts, inc in next st.* Repeat around. (36 sts)
Rnd 7: *Sc in next 5 sts, inc in next st.* Repeat around. (42 sts)
Rnd 8: *Sc in next 6 sts, inc in next st.* Repeat around. (48 sts)
Rnd 9: *Sc in next 7 sts, inc in next st.* Repeat around. (54 sts)
Rnd 10: *Sc in next 8 sts, inc in next st.* Repeat around. (60 sts)
Rnd 11: *Sc in next 9 sts, inc in next st.* Repeat around. (66 sts)
Rnd 12: *Sc in next 10 sts, inc in next st.* Repeat around. (72 sts)
Rnd 13: *Sc in next 11 sts, inc in next st.* Repeat around. (78 sts)
Your base should now measure approximately 20cm (8 inches) across. If it is significantly smaller or larger, check your gauge and adjust hook size.
The Sides
Now we build the walls of the tote. No more increasing. We simply work even rounds in single crochet.
This is where the magic happens. To create that crisp angle between the base and walls, we work the first side round through the back loops only.
Rnd 14: Working in back loops only this round, sc in each st around. (78 sts)
*This creates a visible ridge on the inside of the bag and makes the sides stand up straight. It is a small detail that makes a big difference.*
Rnds 15 through 54: Sc in each st around, working through both loops as normal. (78 sts per round)
That is 40 rounds of plain single crochet. Yes, it takes a while. Put on a podcast, settle into your favorite chair, and enjoy the meditative rhythm of it.
Your sides should measure approximately 25cm (10 inches) tall when finished.
Finishing the Top Edge
Rnd 55: Sl st in each st around. Fasten off and weave in ends.
This slip stitch round creates a neat, slightly rolled edge at the top opening. It also helps the bag keep its shape.
Installing the Grommets and Handles
This is the only part that does not involve crochet, but it is straightforward.
Step 1: Mark grommet placement.
Find the center front of your bag. Measure 5cm (2 inches) down from the top edge. Mark this spot. Repeat for the center back.
Step 2: Cut small holes.
Using sharp scissors, carefully cut a small X shape at each marked spot. The hole should be just large enough for your grommet.
*Be conservative with your cutting. You can always make the hole bigger, but you cannot make it smaller.*
Step 3: Install grommets.
Follow the instructions that came with your grommet kit. Typically you place the front piece through the hole from outside, place the back piece on the inside, and use the setting tool to crimp them together.
Step 4: Thread the rope handle.
Take your twisted cotton rope and thread each end through a grommet from inside to outside. The handle should arc above the bag.
Step 5: Secure handle ends.
On the outside, tie a simple overhand knot in each rope end to prevent it from pulling back through. For a cleaner look, wrap the knot area with sage green yarn as shown in the photos. Simply wrap tightly around the rope for about 2cm, then tuck the end under your wraps with a tapestry needle.
Making the Tassels
You can purchase pre-made tassels or make your own. Here is a quick method.
Step 1: Cut a piece of cardboard about 12cm tall.
Step 2: Wrap cream yarn around the cardboard approximately 30 times.
Step 3: Cut a 20cm length of yarn. Thread it under the wrapped yarn at the top of the cardboard and tie tightly.
Step 4: Cut the wrapped yarn at the bottom of the cardboard.
Step 5: Cut another 30cm length of yarn. Wrap it around the tassel about 1.5cm below the top tie, going around approximately 10 times. Tie off securely and tuck ends inside.
Step 6: Trim tassel ends evenly.
Make two tassels. Attach them to the handle using the top tie, letting them dangle at slightly different lengths as shown.
Tips for Success
Keep your tension consistent. Cotton rope yarn has no stretch, so tension variations will show. If your hands get tired, take breaks.
Use a larger hook than you think. Cotton rope is dense. Going up a hook size often helps achieve proper gauge without fighting the yarn.
Block the base. After finishing, dampen the base and let the bag dry flat with something heavy inside. This helps the bottom lay perfectly flat.
Consider adding a fabric liner. While not required, a simple drawstring liner protects contents and adds a professional touch.
What I Love About This Bag
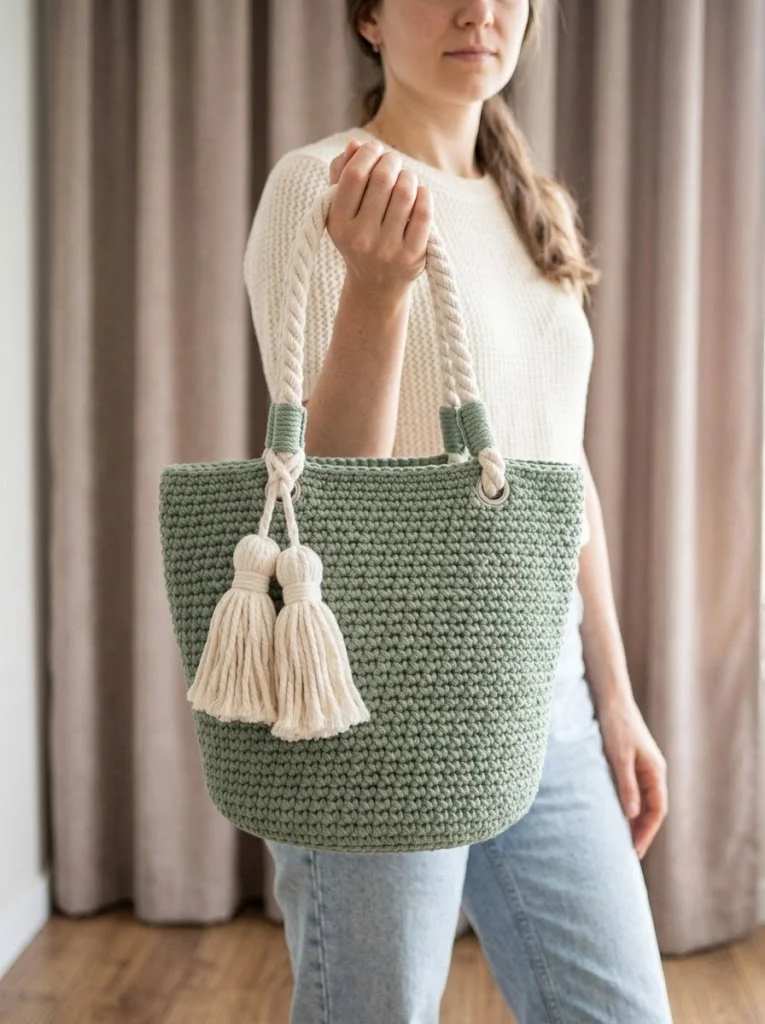
This sage green summer tote has become my go-to for everything. It holds a surprising amount without looking bulky. The neutral color works with every outfit. And honestly, I just feel proud carrying something I made with my own hands.
The cream rope handles feel substantial and comfortable on my shoulder. The tassels swing cheerfully as I walk. It is the kind of accessory that starts conversations.
Your Turn to Create
I hope this step by step crochet pattern gives you everything you need to make your own summer tote. Take your time with the base increases. Embrace the rhythm of those side rounds. And do not stress about perfection. Handmade means personality.
When you finish your bag, I would absolutely love to see it. Tag me on Instagram or share in my Facebook group. Seeing your creations genuinely makes my day.
Thank you for being here and for trusting me with your next project. Happy crocheting, friend.
*Looking for more beginner friendly crochet patterns? Check out my other bag tutorials and market tote designs. Each one comes with the same detailed instructions and tips you found here.*