Sage Green Botanical Lace Maxi Skirt Free Crochet Pattern
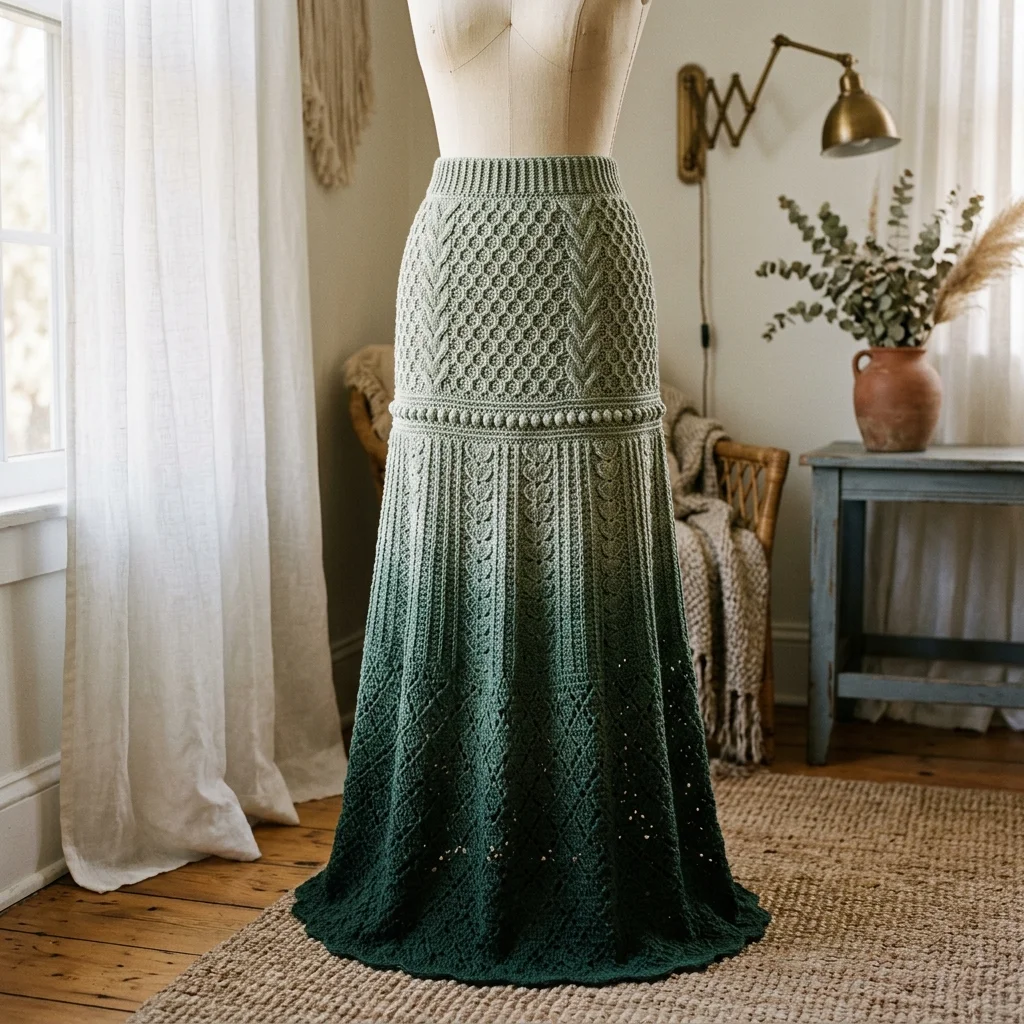
This is a stunning floor-length crochet maxi skirt featuring botanical lace panels, honeycomb texture, and a gorgeous ombré effect from sage to deep forest green. The construction uses intermediate stitches worked in the round. You will need experience with cables, bobbles, and textured stitch patterns. The finished piece creates a fitted waistband that flows into a dramatic flared hem.
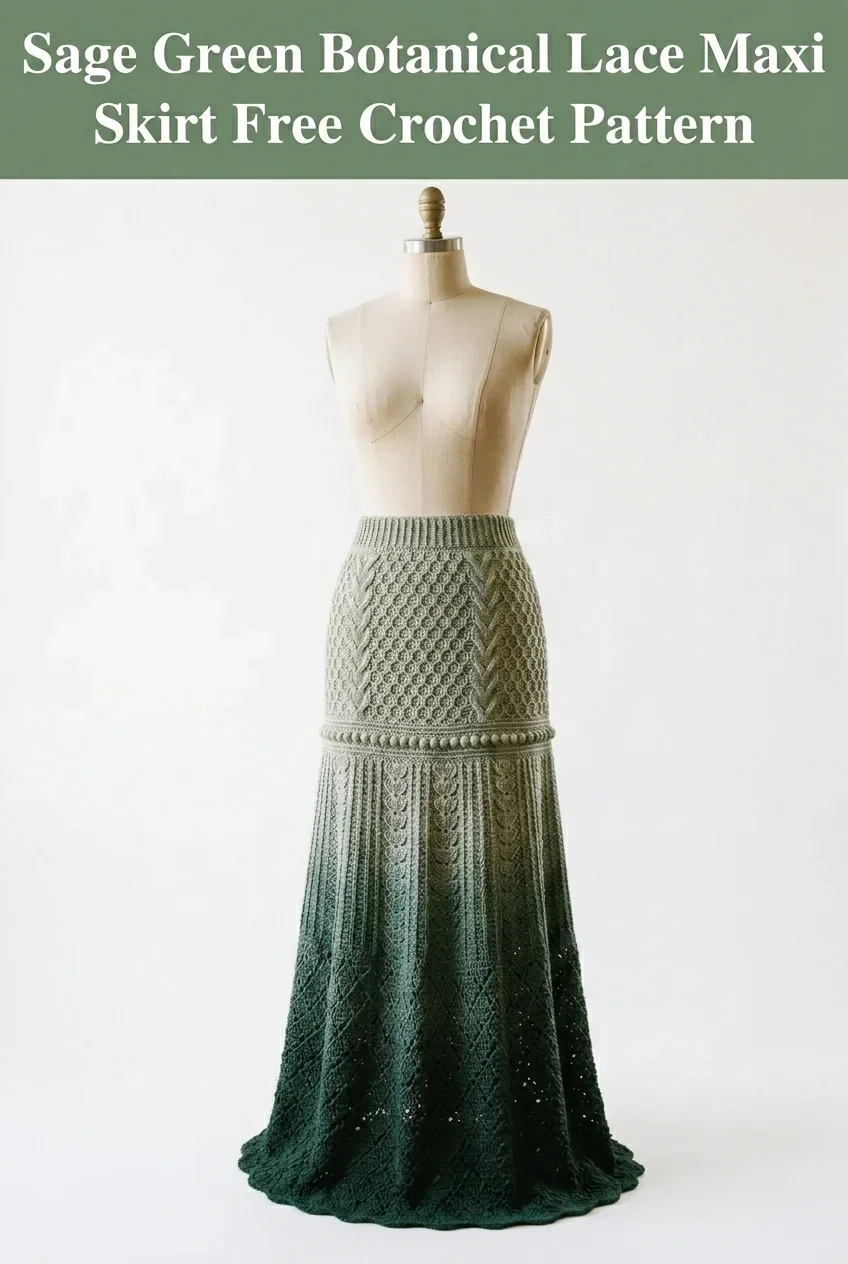
Why You Will Love This Crochet Pattern
I have been obsessed with this skirt since finishing the last stitch. The combination of honeycomb texture at the hip, chevron detailing, and those cascading leaf panels creates something truly special. Every time the light catches the stitch definition, I find a new detail to admire.
This crochet pattern works best for confident intermediate crocheters who want a statement piece for their handmade wardrobe. The construction teaches you multiple texture techniques in one gorgeous project. You will learn honeycomb stitch, front post cables, bobble borders, and leaf motif panels.
Fair warning: this is not a weekend project. But every hour you invest pays off in a wearable work of art that will turn heads and spark conversations wherever you go.
Skill Level
Intermediate to Advanced
This crochet tutorial requires comfort with working in the round, managing stitch patterns across multiple repeats, and maintaining consistent tension through textured sections. If you have made cable blankets or textured garments before, you are ready for this.
Finished Measurements
| Size | Waist | Hip | Length |
|---|---|---|---|
| Small | 26 inches | 36 inches | 42 inches |
| Medium | 30 inches | 40 inches | 42 inches |
| Large | 34 inches | 44 inches | 43 inches |
| XL | 38 inches | 48 inches | 43 inches |
The skirt has negative ease at the waist for a snug fit and positive ease at the hip and hem for beautiful drape and movement.
Materials Needed
Yarn:
Hook:
Notions:
Gauge
22 stitches and 26 rows = 4 inches in half double crochet with larger hook
Please check your gauge. This is a fitted garment. Taking ten minutes to swatch will save you hours of frustration later.
Abbreviations and Stitch Definitions
Before we dive into the step by step instructions, let me define every stitch you will encounter:
ch = chain: yarn over, pull through loop on hook
sl st = slip stitch: insert hook, yarn over, pull through stitch and loop on hook in one motion
sc = single crochet: insert hook, yarn over, pull up a loop (2 loops on hook), yarn over, pull through both loops
hdc = half double crochet: yarn over, insert hook, yarn over, pull up a loop (3 loops on hook), yarn over, pull through all 3 loops
dc = double crochet: yarn over, insert hook, yarn over, pull up a loop (3 loops on hook), yarn over, pull through 2 loops, yarn over, pull through remaining 2 loops
FPdc = front post double crochet: yarn over, insert hook from front to back around the post of the indicated stitch, complete as regular dc. This creates raised texture on the front of your work.
BPdc = back post double crochet: yarn over, insert hook from back to front around the post of the indicated stitch, complete as regular dc. This recesses the stitch.
bob = bobble: work 5 dc in same stitch but stop each dc before the final yarn over (6 loops on hook after all 5 dc started), yarn over and pull through all 6 loops. This creates a textured bump.
sk = skip: miss the indicated number of stitches
inc = increase: work 2 stitches in the same stitch
Special Techniques
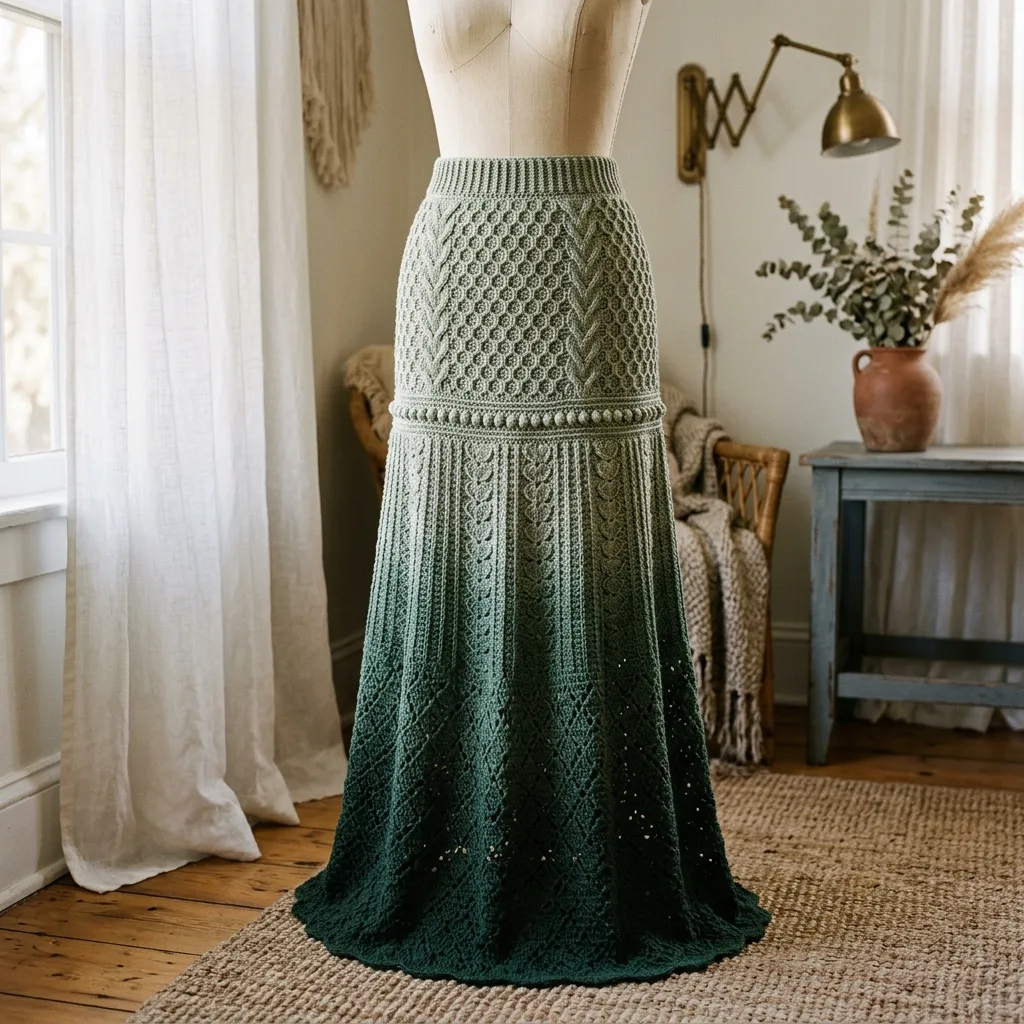
Honeycomb Stitch Pattern (multiple of 6 + 2)
This creates the beautiful textured panels at the hip section.
Round 1: *FPdc around next st, dc in next 2 sts, FPdc around next st, dc in next 2 sts* repeat around
Round 2: *BPdc around FPdc, dc in next 2 sts* repeat around
Rounds 3-4: Repeat rounds 1-2
Round 5: Dc in first st, *FPdc around next st, dc in next 2 sts* repeat, ending with dc in last st
Round 6: Dc in first st, *BPdc around FPdc, dc in next 2 sts* repeat around
This shifts the cable columns to create the honeycomb effect.
Chevron Panel (worked over 15 stitches)
Row 1: Dc in next 7 sts, 3 dc in next st (center point), dc in next 7 sts
Row 2: FPdc around first dc, dc in next 5 sts, FPdc around next dc, 3 FPdc in center st, FPdc around next dc, dc in next 5 sts, FPdc around last dc
Continue this pattern, alternating between dc and FPdc to create the raised V shape.
Leaf Motif Panel (worked over 11 stitches)
This is the gorgeous botanical element that runs down the lower skirt.
Rounds 1-2: Dc across all 11 sts
Round 3: Dc in 4 sts, FPdc in next 3 sts (leaf spine), dc in 4 sts
Round 4: Dc in 3 sts, FPdc in next st, dc in next 3 sts (leaf center), FPdc in next st, dc in 3 sts
Round 5: Dc in 2 sts, FPdc in next st, dc in next 5 sts, FPdc in next st, dc in 2 sts
Continue building outward for 6 more rounds, then decrease back to spine for the next leaf.
The Pattern Instructions
Waistband
Using smaller hook, ch 8.
Row 1: Sc in 2nd ch from hook and each ch across. (7 sc)
Row 2: Ch 1, turn. Working in back loops only (BLO), sc in each st across. (7 sc)
Repeat Row 2 until waistband measures your waist measurement minus 1 inch. The ribbing has stretch.
Join short ends with sl st to form a circle. Do not cut yarn.
Transition Round
Switch to larger hook.
Round 1: Ch 1, work 1 sc evenly along the long edge of the waistband, placing approximately 3 sc for every 4 rows. Join with sl st. Place marker for beginning of round.
You should have a stitch count divisible by 6. For size small, aim for 144 stitches. Adjust by adding or skipping stitches evenly as needed.
Round 2: Ch 2 (counts as hdc here and throughout), hdc in each st around. Join. (144 sts for size S)
Rounds 3-4: Repeat Round 2.
Upper Hip Section: Honeycomb with Chevron Panels
Now we begin the beautiful textured section. Take a deep breath. We will break this down.
Setup Round: Ch 2, *hdc in next 15 sts (chevron panel area), place marker, hdc in next 57 sts (honeycomb area), place marker* repeat once more. Join. (144 sts)
This divides your skirt into 4 sections: 2 chevron panels at center front and center back, 2 honeycomb sections at the sides.
Round 1 of Pattern:
*Chevron section:* Work Row 1 of Chevron Panel over 15 sts
*Honeycomb section:* Work Round 1 of Honeycomb Pattern over 57 sts
Repeat for second chevron and honeycomb section. Join.
Continue working both patterns simultaneously for 24 rounds. The honeycomb will complete 6 full repeats while the chevron builds 4 complete V shapes.
Do not panic if this feels overwhelming at first. After 3 or 4 rounds, your fingers will find the rhythm. Count after every section until you feel confident.
Bobble Divider Row
This creates the beautiful textured band between the fitted hip and the flared lower section.
Round 1: Ch 2, *hdc in next 2 sts, bob in next st* repeat around, ending with hdc in any remaining sts. Join.
Round 2: Ch 2, hdc in each st and bobble around. (This round sits behind the bobbles and evens the fabric)
Rounds 3-4: Ch 2, hdc around. Join.
Lower Skirt: Flared Panels with Leaf Motifs
Here is where we add gradual increases for the beautiful flare and introduce the leaf motif panels.
Setup Round: Ch 2, *hdc in next 11 sts (leaf panel), place marker, inc in next st, hdc in next 22 sts, inc in next st, place marker* repeat around. Join. (152 sts)
We added 8 stitches. These increase rounds happen every 6th round to create gradual flare.
Rounds 1-6: Work leaf motif Round 1-6 over each 11-st panel, hdc in all stitches between panels.
Round 7 (Increase Round): Work leaf motif pattern over panels. *Inc in first st after marker, hdc to 1 st before next marker, inc in that st* repeat around. (160 sts)
Rounds 8-12: Continue leaf motif pattern, hdc between panels.
Round 13 (Increase Round): Repeat increase placement. (168 sts)
Continue in this manner, working increases every 6th round and progressing through the leaf motif pattern (each leaf takes approximately 14 rounds to complete).
Complete 8 full leaf motifs along the length of the skirt, with increases on rounds 7, 13, 19, 25, 31, 37, 43, and 49.
Final stitch count for size small: approximately 200 stitches.
Diamond Lace Section
The lower portion transitions to an open diamond mesh that adds lightness and movement.
Round 1: Ch 3 (counts as dc), *dc in next st, ch 1, sk 1 st* repeat around. Join to top of ch 3.
Round 2: Ch 3, dc in ch-1 space, *ch 1, dc in next ch-1 space* repeat around. Join.
Rounds 3-12: Repeat Round 2, creating an offset mesh pattern.
Hem Border
Round 1: Ch 1, sc in each st and ch-1 space around. Join.
Round 2: Ch 1, working in BLO, sc around. Join.
Rounds 3-5: Repeat Round 2.
Fasten off. Weave in ends.
Finishing Your Crochet Maxi Skirt
Adding the Elastic Waistband
Fold the ribbed waistband in half toward the inside of the skirt. Using tapestry needle and matching yarn, whip stitch the bottom edge of the waistband to the transition round, leaving a 2-inch opening.
Thread elastic through the casing. Overlap ends by 1 inch and stitch securely. Finish closing the casing.
Blocking
This skirt absolutely requires blocking. Fill a basin with lukewarm water and a small amount of wool wash. Submerge the skirt and let it soak for 20 minutes.
Gently press out excess water. Never wring or twist.
Lay flat on blocking mats or clean towels. Pin the waistband to your measurements. Gently stretch the hem to its full width, pinning at regular intervals to open up the lace and define the leaf motifs.
Allow to dry completely. This may take 24 to 48 hours.
Care Instructions
Hand wash in cool water with gentle detergent. Lay flat to dry. Store folded, never hanging, to prevent stretching.
Tips for Success
On managing the stitch patterns: I recommend using different colored stitch markers for different sections. Blue for chevron panels, green for honeycomb, gold for leaf motifs. This visual system prevents confusion.
On the gradient effect: If you are using solid yarns to create your own gradient, change colors at the bobble divider row and at least twice in the lower flared section. The texture helps disguise any color change bumps.
On sizing: This pattern has intentional negative ease at the waist. If you are between sizes, size down. The ribbed waistband and elastic provide comfortable stretch.
On making it longer or shorter: Adjust the length by adding or removing rounds in the lower flared section. Each 6-round repeat adds approximately 1 inch of length.
Customization Ideas
Want to make this crochet pattern your own? Here are some options:
Work the entire skirt in a single solid color for a more classic look. Navy, burgundy, or charcoal would be stunning.
Add beads to the diamond lace section for evening wear.
Shorten the pattern to knee length by stopping after 4 leaf motifs and proceeding directly to the diamond lace section.
Replace the elastic waistband with a drawstring channel if you prefer adjustable fit.
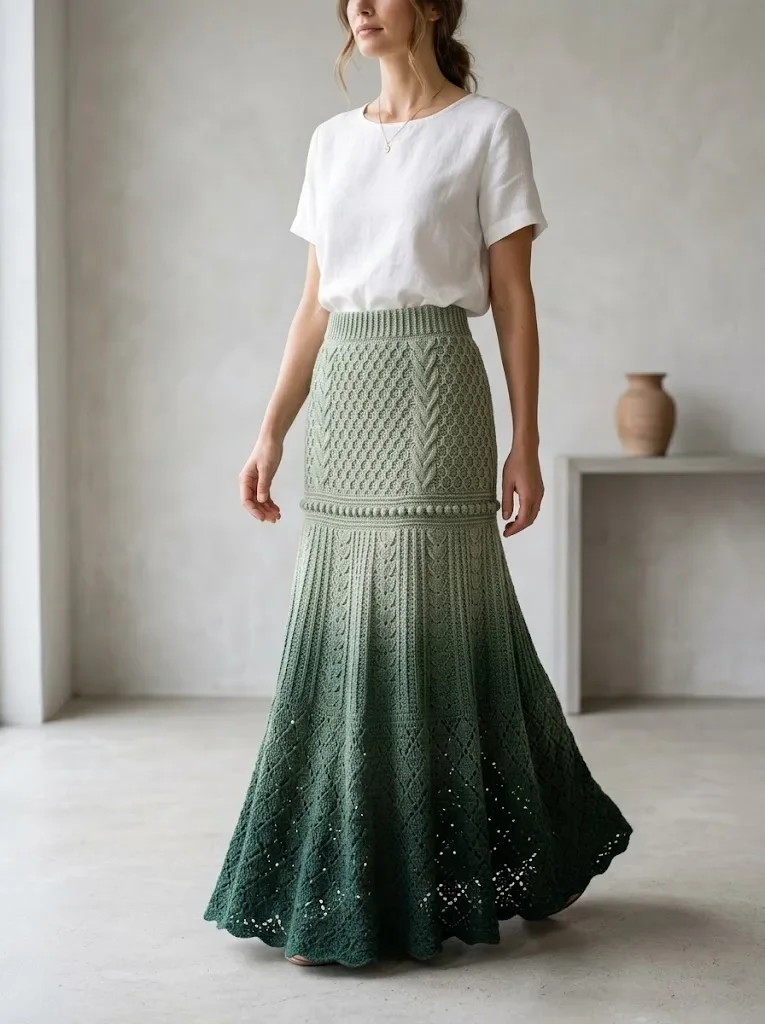
Wrapping Up This Botanical Lace Maxi Skirt Crochet Pattern
Thank you so much for choosing this pattern for your next crochet project. I truly hope you love making this skirt as much as I loved designing it. The moment you slip it on and see those leaf panels cascade down, you will understand why every stitch was worth it.
I would absolutely love to see your finished skirt. Tag me on Instagram or share in our Facebook group. Seeing your color choices and styling ideas is honestly the best part of my week.
If this crochet pattern inspired you, go ahead and save it to your Pinterest boards so you can find it when you are ready to cast on. And please drop a comment below if you make one. I read every single comment and love hearing about your crochet adventures.
You Might Also Like
- Rainbow Pastel Snake Plushie Free Crochet Pattern
- Blush Pink Spiral Envelope Clutch Free Crochet Pattern
- Lavender Jellyfish Baby Blanket Free Crochet Pattern
- Dusty Rose Floral Lace Bucket Bag Free Crochet Pattern