Sage Green Boho Crochet Backpack Free Pattern
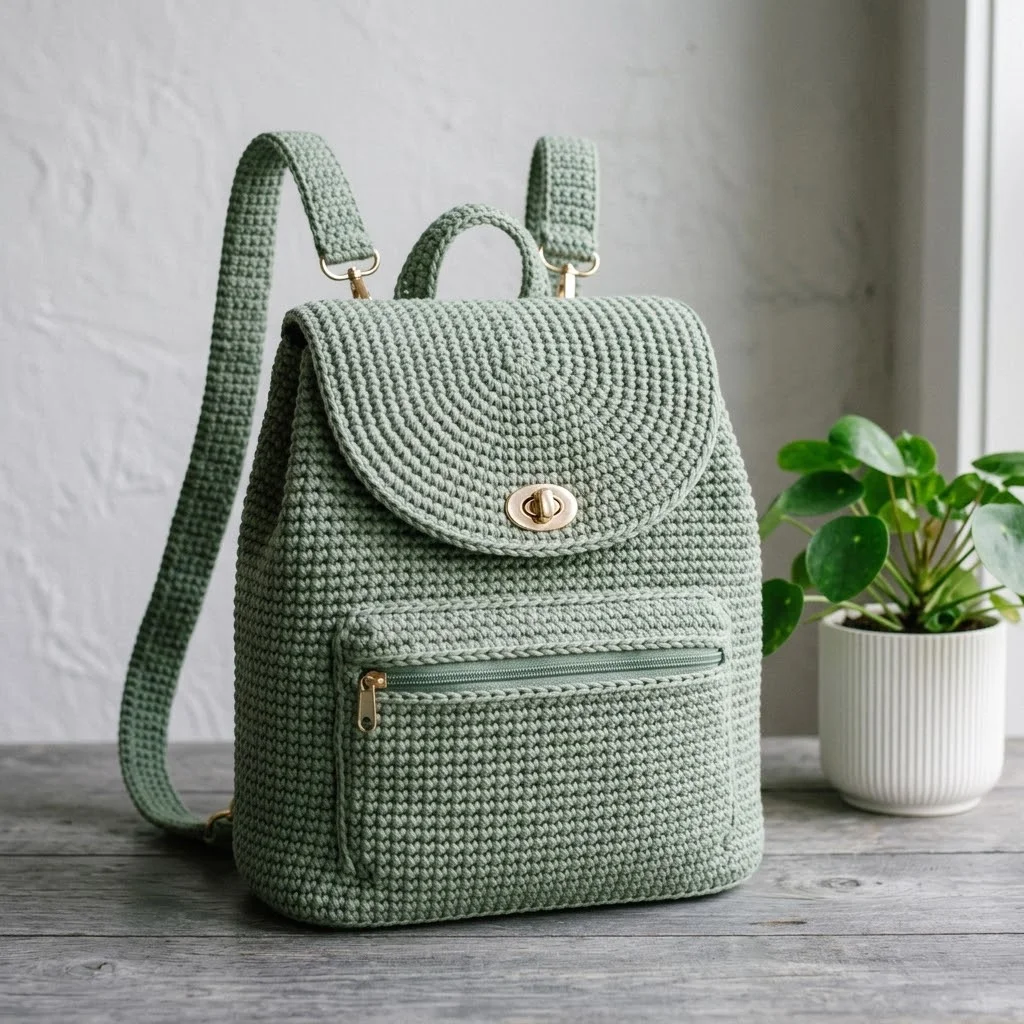
Looking for a practical, stylish project that doubles as the perfect handmade gift? This sage green boho crochet backpack works up beautifully using single crochet stitches throughout, making it accessible for confident beginners while still impressive enough to excite intermediate crocheters. The structured design holds its shape well, fits everyday essentials, and the neutral sage color pairs with everything from jeans to sundresses. Whether you are making this for yourself, a college student heading back to school, or a friend who appreciates handmade accessories, this crochet backpack pattern delivers both function and style.
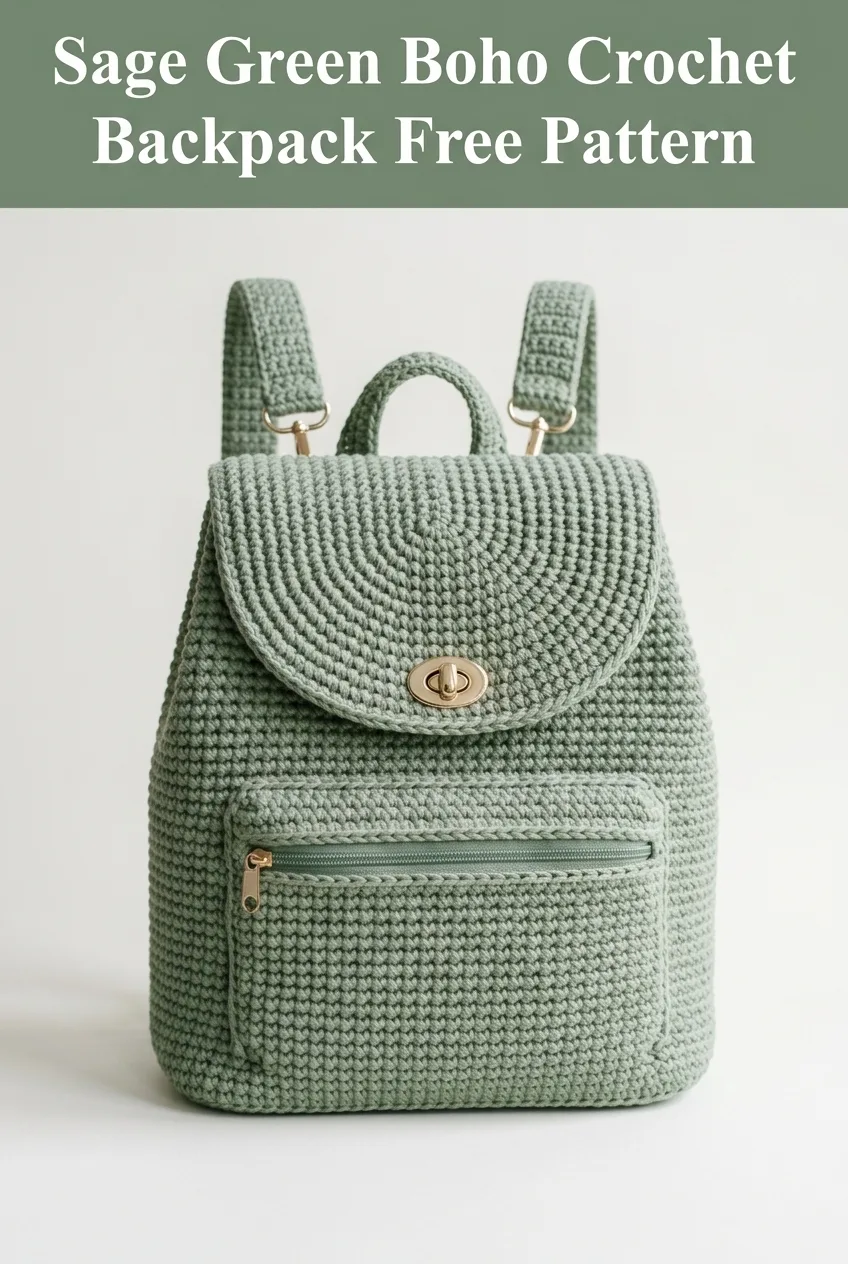
Why You Will Love This Crochet Backpack Pattern
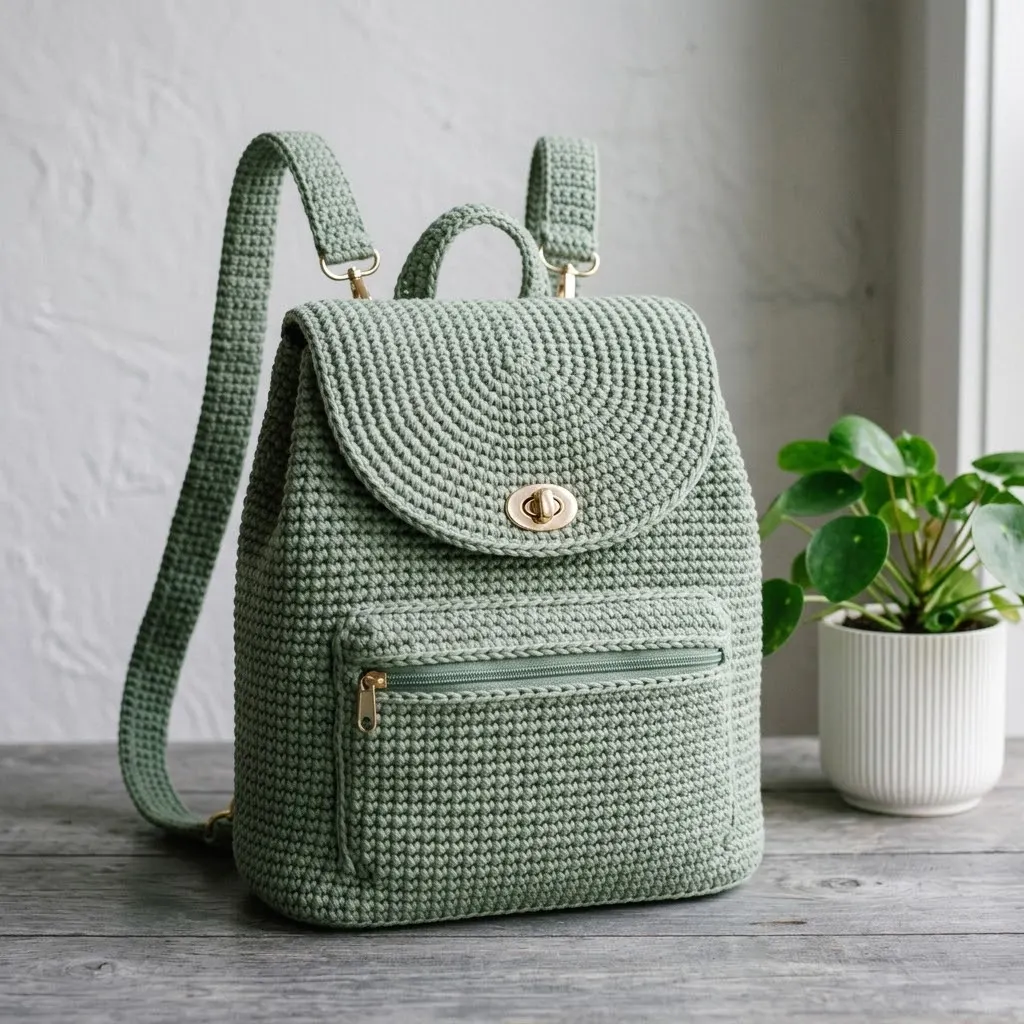
This boho crochet backpack stands out because of its clean, modern construction. Unlike floppy market bags, this design has structure. The tight single crochet fabric creates a dense, durable material that protects your belongings. The rounded flap with a twist lock closure adds a professional, boutique-quality finish. And those gold hardware accents? They elevate the entire piece from craft project to genuine fashion accessory.
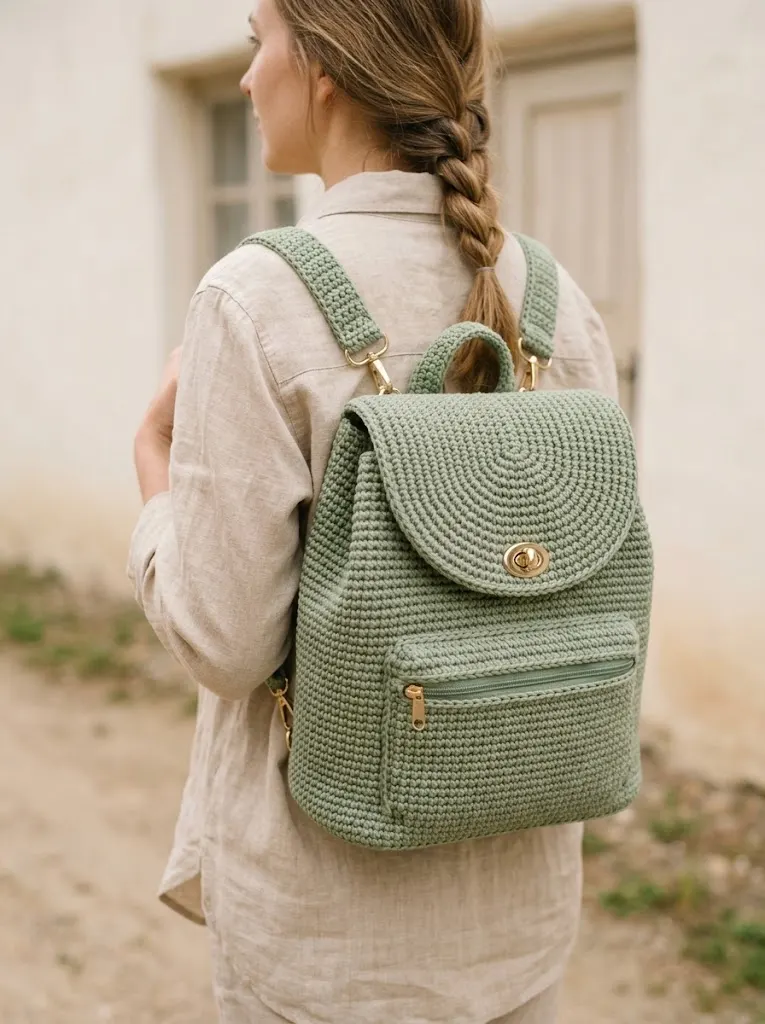
The backpack features adjustable straps, a convenient top handle for grabbing on the go, and a front zippered pocket for quick-access items like your phone or keys. Every element serves a purpose while contributing to that effortlessly chic boho aesthetic.
Best of all, this crochet tutorial breaks down each component into manageable sections. You will work the body, base, flap, straps, and pocket separately before assembling everything together. This approach makes the project feel less overwhelming and gives you natural stopping points.
Materials Needed
Before you begin this step by step crochet pattern, gather the following supplies:
Yarn:
Hook:
Hardware:
Tools:
Gauge
Gauge matters for bags. Work 18 single crochet stitches and 20 rows to equal 4 inches square in single crochet. If your gauge is too loose, the bag will stretch and lose shape when filled. Go down a hook size if needed. A tighter fabric is better for this project.
Skill Level
This crochet backpack pattern is rated intermediate due to the multiple components, hardware installation, and zipper sewing. However, if you are a confident beginner who has completed a few projects and feels comfortable with single crochet, you can absolutely tackle this. Take it one piece at a time.
Abbreviations and Stitch Definitions
Ch = Chain: Yarn over, pull through loop on hook. This creates your foundation row and is used for turning.
Sc = Single Crochet: Insert hook into stitch, yarn over and pull up a loop (2 loops on hook), yarn over and pull through both loops. For example, “sc in next 10 sts” means you repeat this stitch 10 times across 10 stitches.
Inc = Increase: Work 2 single crochet stitches into the same stitch. This adds one stitch to your count.
Sl st = Slip Stitch: Insert hook, yarn over, pull through stitch and loop on hook in one motion. Used for joining rounds.
St(s) = Stitch(es)
Rnd = Round
Pattern Instructions
Base of Backpack (Worked in Continuous Rounds)
The base is worked as an oval, which forms the bottom of your backpack.
Rnd 1: Ch 25. Sc in 2nd ch from hook, sc in next 22 ch, 3 sc in last ch (this turns the corner). Working along the opposite side of the foundation chain, sc in next 22 sts, 2 sc in last st. Do not join. Place stitch marker to mark beginning of round. (50 sts)
Rnd 2: Inc in first st, sc in next 22 sts, inc in next 3 sts, sc in next 22 sts, inc in next 2 sts. (56 sts)
Rnd 3: Sc in first st, inc in next st, sc in next 22 sts, (sc in next st, inc in next st) 3 times, sc in next 22 sts, (sc in next st, inc in next st) 2 times. (62 sts)
Rnd 4: Sc in next 2 sts, inc in next st, sc in next 22 sts, (sc in next 2 sts, inc in next st) 3 times, sc in next 22 sts, (sc in next 2 sts, inc in next st) 2 times. (68 sts)
Rnd 5: Sc in next 3 sts, inc in next st, sc in next 22 sts, (sc in next 3 sts, inc in next st) 3 times, sc in next 22 sts, (sc in next 3 sts, inc in next st) 2 times. (74 sts)
Rnd 6: Sc in next 4 sts, inc in next st, sc in next 22 sts, (sc in next 4 sts, inc in next st) 3 times, sc in next 22 sts, (sc in next 4 sts, inc in next st) 2 times. (80 sts)
Your completed base should measure approximately 9 inches long by 4 inches wide.
Body of Backpack (Worked in Continuous Rounds)
Now you will build up the sides of the backpack by working in continuous rounds without increasing.
Rnd 7: Working in back loops only for this round (this creates a defined edge at the base), sc in each st around. (80 sts)
Rnds 8 through 55: Sc in each st around. (80 sts)
Continue until the body measures approximately 10 inches from the base. This creates a nice tall backpack that holds books, a water bottle, and daily essentials.
Quick tip: Place a different colored stitch marker every 10 rounds so you can easily track your progress. Counting 48 rounds of single crochet can get tedious otherwise.
Front Zippered Pocket
The front pocket is worked as a flat rectangle, then attached to the front of the bag with the zipper sewn in.
Row 1: Ch 36. Sc in 2nd ch from hook, sc in each ch across. Ch 1, turn. (35 sts)
Rows 2 through 20: Sc in each st across. Ch 1, turn. (35 sts)
After Row 20, fasten off and weave in ends.
Your pocket piece should measure approximately 7.5 inches wide by 4 inches tall.
To attach the zipper: Position the zipper along the top edge of the pocket on the wrong side. Using a sewing needle and matching thread, whipstitch the zipper tape to the crocheted fabric. Work slowly and keep your stitches small.
To attach the pocket to the bag: Position the completed pocket piece on the front center of the backpack body, approximately 1 inch up from the base. Use a tapestry needle and yarn to whipstitch the bottom and sides to the backpack, leaving the zippered top open.
Flap (Worked in Rows, Then Rounds for Edging)
The flap features that beautiful spiral detail you see in the photo. This is achieved by working in continuous rounds from the center outward.
Rnd 1: Create a magic ring. Work 6 sc into the ring. Pull tight. Do not join. (6 sts)
Rnd 2: Inc in each st around. (12 sts)
Rnd 3: (Sc in next st, inc in next st) around. (18 sts)
Rnd 4: (Sc in next 2 sts, inc in next st) around. (24 sts)
Rnd 5: (Sc in next 3 sts, inc in next st) around. (30 sts)
Rnd 6: (Sc in next 4 sts, inc in next st) around. (36 sts)
Rnd 7: (Sc in next 5 sts, inc in next st) around. (42 sts)
Rnd 8: (Sc in next 6 sts, inc in next st) around. (48 sts)
Rnd 9: (Sc in next 7 sts, inc in next st) around. (54 sts)
Rnd 10: (Sc in next 8 sts, inc in next st) around. (60 sts)
Rnd 11: (Sc in next 9 sts, inc in next st) around. (66 sts)
Rnd 12: (Sc in next 10 sts, inc in next st) around. (72 sts)
Continue increasing in this manner until your circle measures approximately 7 inches in diameter.
Sl st to join. Do not fasten off.
Shaping the flap: You will now work back and forth in rows to create the straight edge that attaches to the backpack.
Row 1: Ch 1, sc in next 50 sts. Ch 1, turn. (50 sts)
Rows 2 through 4: Sc in each st across. Ch 1, turn. (50 sts)
Fasten off, leaving a long tail for sewing.
Strap Tabs (Make 4)
These small rectangular pieces hold the D-rings and create attachment points for your straps.
Row 1: Ch 10. Sc in 2nd ch from hook, sc in each ch across. Ch 1, turn. (9 sts)
Rows 2 through 6: Sc in each st across. Ch 1, turn. (9 sts)
Fasten off, leaving a long tail.
Fold each tab in half, insert a D-ring into the fold, and sew the ends together to secure the hardware.
Top Handle
Row 1: Ch 8. Sc in 2nd ch from hook, sc in each ch across. Ch 1, turn. (7 sts)
Rows 2 through 40: Sc in each st across. Ch 1, turn. (7 sts)
Fasten off. Your handle should measure approximately 8 inches long. Fold the ends under and sew to the top back of the backpack, centered and spaced about 2 inches apart.
Adjustable Shoulder Strap
Row 1: Ch 10. Sc in 2nd ch from hook, sc in each ch across. Ch 1, turn. (9 sts)
Rows 2 through 160: Sc in each st across. Ch 1, turn. (9 sts)
Fasten off. Your strap should measure approximately 32 inches long. You will thread this through the rectangular sliders to create adjustable length.
To assemble the adjustable strap: Thread one end through a lobster clasp, fold back 1 inch, and sew securely. Thread the strap through the slider hardware, back through a second slider, and attach the other lobster clasp to the opposite end. The sliders allow the wearer to adjust the strap length.
Assembly Instructions
Now comes the satisfying part. Putting it all together.
1. Attach the strap tabs: Sew two tabs to the top back corners of the backpack (these connect to the top of the shoulder strap). Sew two tabs to the bottom back corners (these connect to the bottom of the shoulder strap).
2. Attach the flap: Position the straight edge of the flap along the back top edge of the backpack body. Whipstitch securely using a tapestry needle and matching yarn.
3. Install the twist lock: The twist lock has two parts. The decorative twist piece attaches to the flap (centered, about 1 inch up from the rounded edge). The base plate attaches to the front of the backpack body, positioned to align with the twist piece when the flap closes. Follow your hardware manufacturer’s instructions.
4. Clip on the shoulder strap: Use the lobster clasps to attach the strap to the D-rings on all four tabs.
5. Attach the top handle: Sew securely to the top back of the bag, positioning it between the upper strap tabs.
Finishing Touches
Weave in all remaining ends. For extra durability, you can line the interior with cotton fabric, though this is optional. A fabric lining adds structure, protects items from snagging on the crochet texture, and gives a polished finish.
Blocking is not necessary for this project since the tight single crochet fabric holds its shape well. However, if your edges look uneven, you can lightly steam block.
Customization Ideas
This crochet backpack pattern is wonderfully versatile. Here are some ways to make it your own:
Care Instructions
Hand wash your crochet backpack in cool water with mild detergent. Reshape while damp and lay flat to dry. Avoid machine washing, as this can stretch the fabric and damage the hardware. Spot clean when possible.
I hope you love making this boho crochet backpack as much as I enjoyed designing it. The finished bag is sturdy, stylish, and genuinely useful. If you have any questions as you work through the pattern, drop them in the comments below. I check regularly and love helping troubleshoot.
If this pattern caught your eye, save it to your Pinterest boards so you can find it easily when you are ready to start. And please, if you make this backpack, leave a comment or tag me on social media. Seeing your finished projects is honestly the best part of sharing patterns. Happy hooking!
You Might Also Like
- Lavender Dream Mesh Crochet High Tops Free Pattern
- Mint Garden Baby Crochet Dress Free Pattern
- Lavender Purple Drawstring Bucket Bag Free Crochet Pattern
- Sage Green Woodland Baby Dress Free Crochet Pattern