Sage Green Bobble Stitch Sweater Vest Free Crochet Pattern
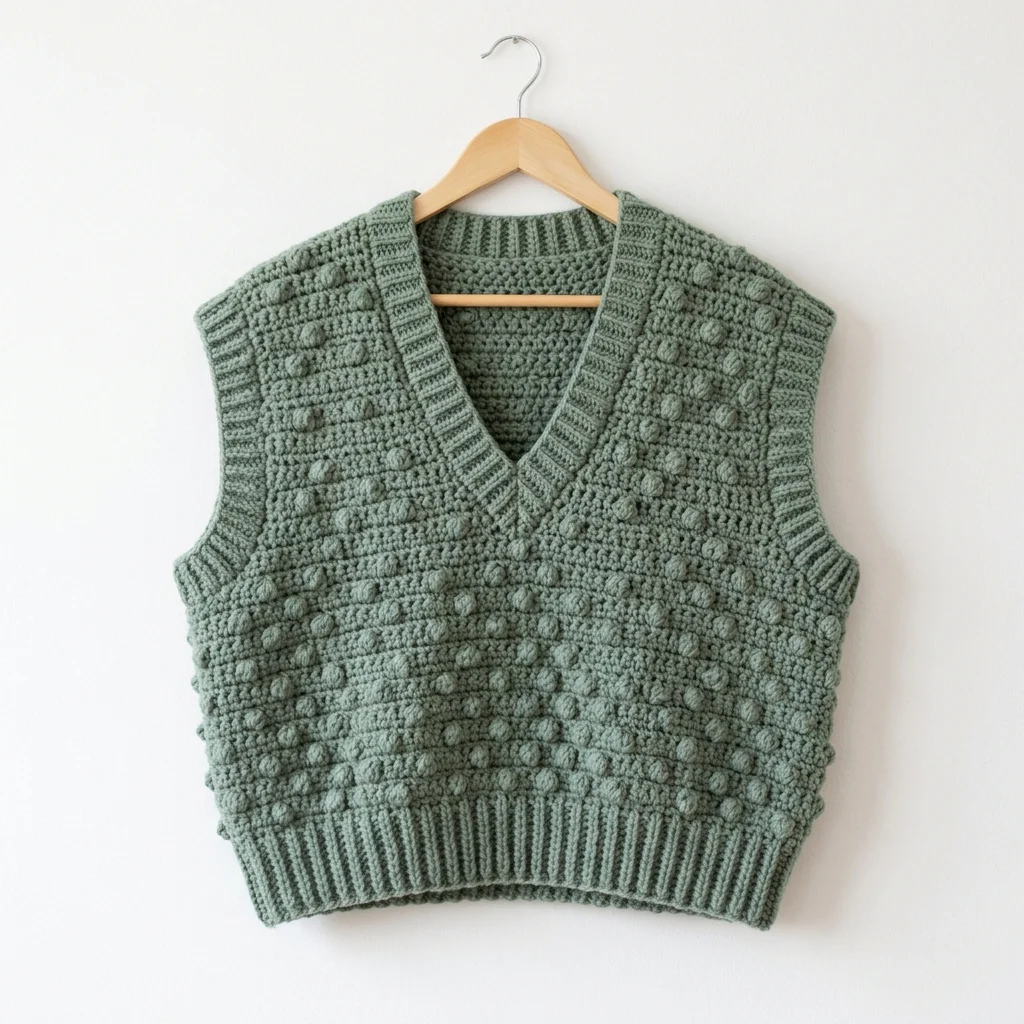
This is a classic V-neck sweater vest with bobble stitch texture and ribbed trim. The construction uses basic stitches with bobbles scattered throughout for visual interest. You will need intermediate crochet skills and about 400 to 500 yards of worsted weight yarn.
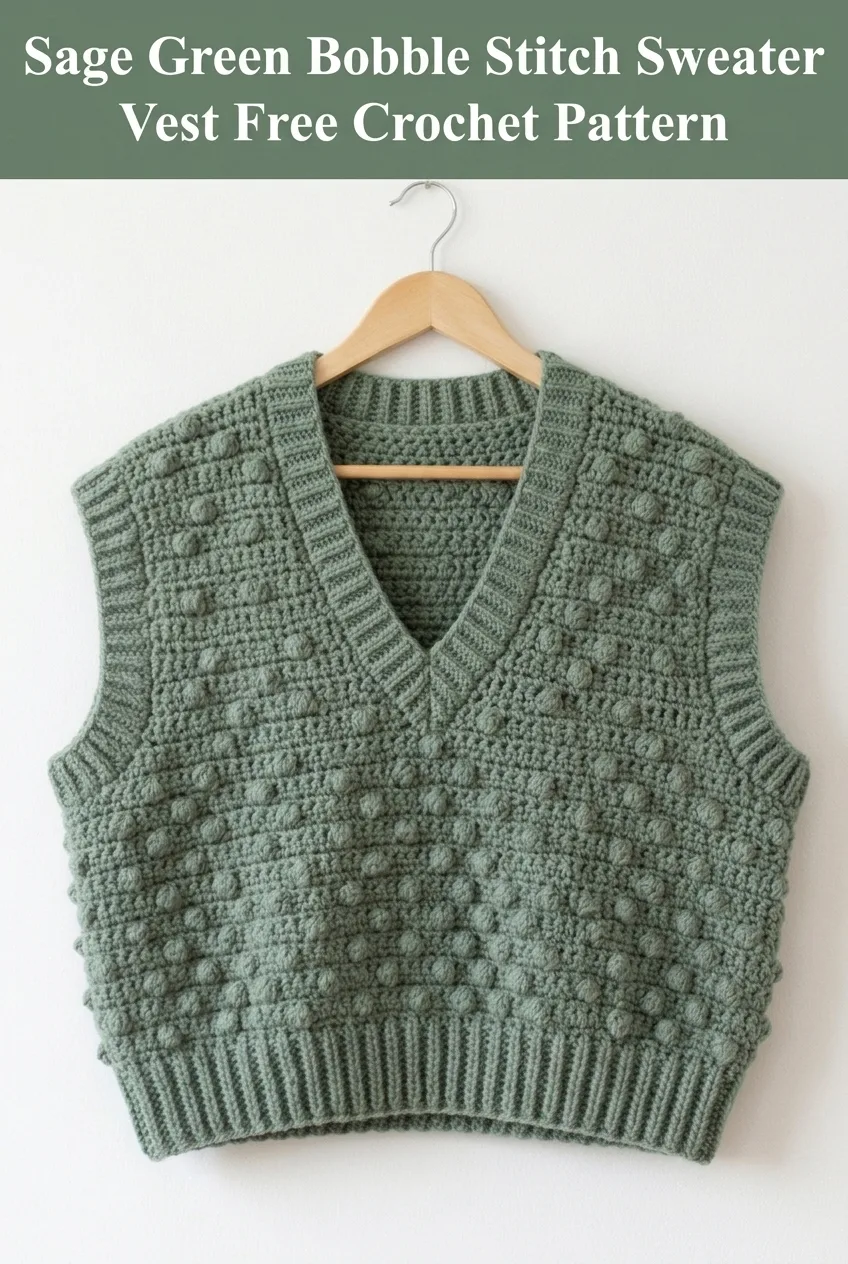
I have been wanting to design a sweater vest pattern for months now, and I finally sat down to work out the details. The combination of the ribbed edging and those chunky bobbles creates such a satisfying texture. This crochet pattern works up in panels that you seam together at the end, which makes it much less intimidating than working in the round for garments.
Why You Will Love This Bobble Stitch Sweater Vest Pattern
This sweater vest hits that perfect balance between simple construction and impressive results. The body uses a combination of single crochet and double crochet with bobble stitches placed in a scattered pattern. The ribbing at the bottom hem, armholes, and neckline gives it that polished, store-bought look that makes people ask where you got it.
The cropped length sits right at the natural waist, making it incredibly versatile for layering. Wear it over a button-down shirt, a turtleneck, or even just a plain long-sleeve tee. The sage green color shown here is gorgeous for spring and fall, but honestly any solid color would let those bobbles really pop.
Materials Needed for Your Crochet Sweater Vest
Yarn: Worsted weight yarn, approximately 400 to 500 yards depending on your size. Look for a yarn with good stitch definition so those bobbles really stand out. A wool blend or cotton blend works beautifully. The sample appears to use a matte finish yarn with a slight heathered quality.
Hook: 5.0mm (H/8) crochet hook for the main body, 4.5mm (G/7) hook for the ribbing. Always check your gauge and adjust hook size as needed.
Notions: Tapestry needle for weaving in ends and seaming, stitch markers, scissors, measuring tape.
Gauge: 14 stitches and 16 rows equals 4 inches in the main stitch pattern using 5.0mm hook. Gauge is critical for garments, so please take time to make a swatch.
Skill Level
This crochet tutorial is rated intermediate. You should be comfortable with basic stitches, working in rows, increasing and decreasing, and seaming pieces together. If you have never made a bobble stitch before, do not worry. I will walk you through it step by step below.
Finished Measurements
This pattern is written for size Small with a finished bust measurement of approximately 36 inches and a length of 18 inches from shoulder to hem. The cropped, relaxed fit allows for 2 to 4 inches of positive ease.
For larger sizes, add multiples of 4 stitches to your foundation chain to maintain the bobble stitch pattern repeat.
Abbreviations and Stitch Definitions
Before we dive into the pattern, let me define every stitch you will use:
ch = chain: Wrap yarn over hook, pull through loop on hook. This creates your foundation.
sl st = slip stitch: Insert hook, yarn over, pull through both loops at once. Used for joining and creating a tight, flat stitch.
sc = single crochet: Insert hook, yarn over, pull up a loop (2 loops on hook), yarn over, pull through both loops. Creates a short, dense stitch.
dc = double crochet: Yarn over, insert hook, yarn over, pull up a loop (3 loops on hook), yarn over, pull through 2 loops, yarn over, pull through remaining 2 loops. Creates a taller stitch with nice drape.
hdc = half double crochet: Yarn over, insert hook, yarn over, pull up a loop (3 loops on hook), yarn over, pull through all 3 loops at once.
BLO = back loop only: Work into only the back loop of the stitch, leaving the front loop unworked. This creates the ribbed texture.
bob = bobble stitch: Work 5 double crochet stitches into the same stitch, but do not complete them. Stop each dc when you have 2 loops remaining on hook. After all 5 incomplete dc stitches, you will have 6 loops on your hook. Yarn over and pull through all 6 loops at once. The bobble will pop out on the opposite side of your work.
dec = decrease: For single crochet decrease (sc2tog), insert hook in first stitch, pull up loop, insert hook in next stitch, pull up loop, yarn over and pull through all 3 loops.
Pattern Notes
The back and front panels are worked separately from the bottom up. The ribbing is added after the main pieces are complete. The V-neck shaping on the front is created by working two separate sections that mirror each other.
The bobble stitches are worked on wrong side rows so they pop out on the right side of your work. If your bobbles are appearing on the wrong side, simply push them through to the front with your finger as you go.
Turning chains count as a stitch unless otherwise noted.
Back Panel Instructions
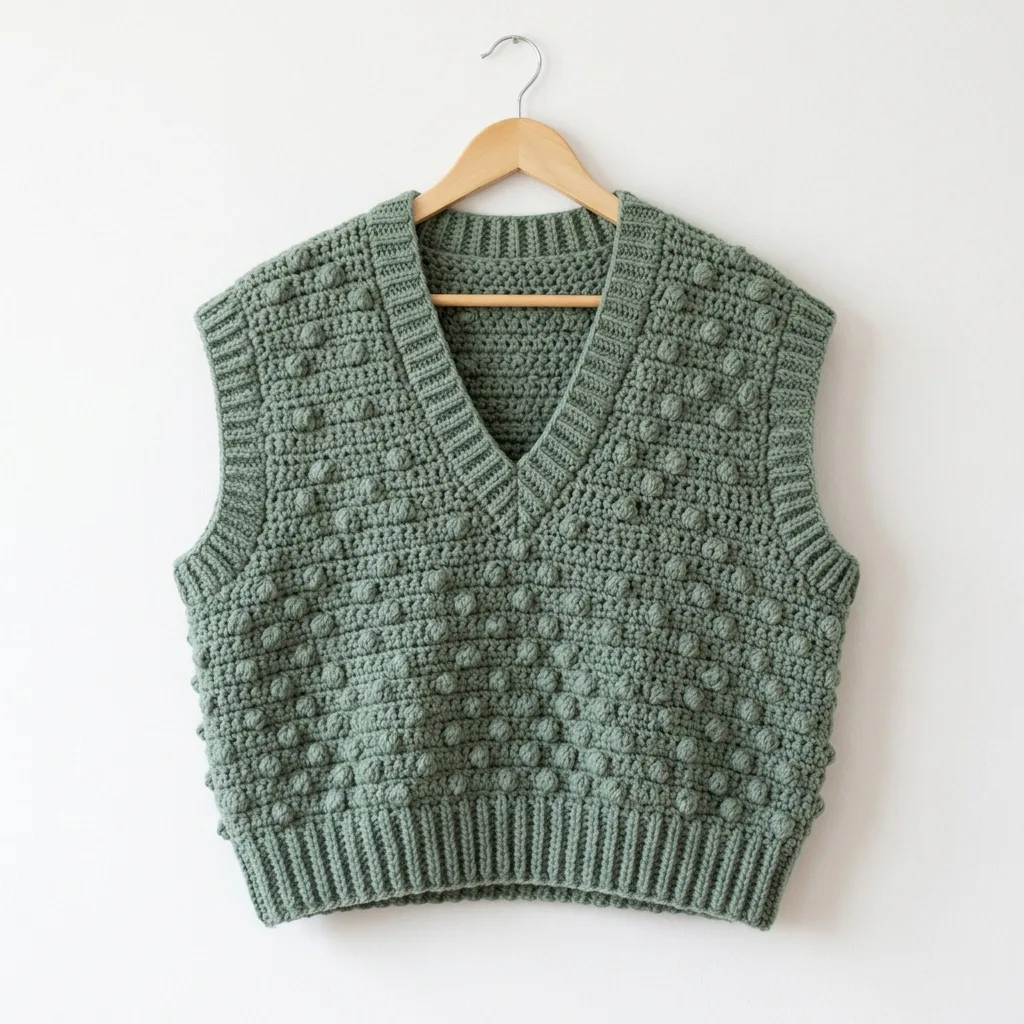
Ribbed Bottom Band
Using 4.5mm hook, ch 11.
Row 1: Sc in 2nd ch from hook and in each ch across. (10 sc)
Row 2: Ch 1, turn. Sc in BLO of each st across. (10 sc)
Rows 3 through 52: Repeat Row 2. This creates the ribbed band that stretches to fit. Adjust row count for your size by adding or subtracting rows in multiples of 4.
Do not fasten off. Rotate work 90 degrees to work along the long edge of the ribbing.
Main Body
Switch to 5.0mm hook.
Row 1 (RS): Ch 1, work 52 sc evenly across the long edge of the ribbing. (52 sc)
Row 2 (WS): Ch 3 (counts as dc), turn. Dc in each st across. (52 dc)
Row 3 (RS): Ch 1, turn. Sc in each st across. (52 sc)
Row 4 (WS, Bobble Row): Ch 3, turn. Dc in next 3 sts, *bob in next st, dc in next 5 sts*, repeat from * to * across, ending with dc in last 3 sts. (52 sts including bobbles)
Row 5: Ch 1, turn. Sc in each st across. (52 sc)
Row 6: Ch 3, turn. Dc in each st across. (52 dc)
Row 7: Ch 1, turn. Sc in each st across. (52 sc)
Row 8 (Bobble Row): Ch 3, turn. Dc in next 6 sts, *bob in next st, dc in next 5 sts*, repeat from * to * across, ending with dc in last st. (52 sts)
Rows 9 through 36: Repeat Rows 5 through 8 seven more times, maintaining the offset bobble pattern.
Armhole Shaping
Row 37: Ch 1, turn. Sl st in first 4 sts, ch 1, sc in same st, sc across to last 4 sts, leave remaining sts unworked. (44 sc)
Row 38: Ch 3, turn. Dec over first 2 sts, dc across to last 2 sts, dec over last 2 sts. (42 dc)
Rows 39 through 42: Continue in pattern, decreasing 1 st at each edge every row. (34 sts after Row 42)
Rows 43 through 52: Work even in established pattern without shaping. (34 sts)
Fasten off and weave in ends.
Front Panel Instructions
Ribbed Bottom Band
Work exactly as for Back Panel ribbing.
Main Body
Work Rows 1 through 28 exactly as for Back Panel.
Begin V-Neck Shaping
Row 29 (RS): Ch 1, turn. Sc in first 25 sts, leave remaining sts unworked. You will return to work the other side later. (25 sc)
Row 30: Ch 3, turn. Dec over first 2 sts (neck edge decrease), work in pattern across. (24 sts)
Row 31: Ch 1, turn. Sc across to last 2 sts, dec over last 2 sts. (23 sc)
Rows 32 through 36: Continue decreasing 1 st at neck edge every row while maintaining pattern. (18 sts after Row 36)
Left Front Armhole Shaping
Row 37: Ch 1, turn. Sl st in first 4 sts, ch 1, sc in same st, sc across to last 2 sts, dec. (13 sc)
Rows 38 through 42: Continue decreasing at armhole edge and neck edge as established. (7 sts after Row 42)
Rows 43 through 52: Work even, continuing neck decreases only until 4 sts remain for shoulder.
Fasten off.
Right Front
Join yarn at center front on Row 29, leaving center 2 stitches unworked for the V.
Work as a mirror image of left front, reversing all shaping.
Assembly and Finishing
Seaming
Block all pieces to measurements before seaming. Lay pieces flat, mist with water, and pin to blocking mats. Allow to dry completely.
Using tapestry needle and mattress stitch or whip stitch, join front and back panels at shoulders. Then join side seams from bottom of armhole to bottom of ribbing.
Armhole Ribbing
Using 4.5mm hook, join yarn at underarm seam.
Round 1: Ch 1, work approximately 60 sc evenly around armhole opening. Join with sl st to first sc.
Round 2: Ch 1, sc in BLO of each st around. Join. (60 sc)
Rounds 3 through 6: Repeat Round 2.
Fasten off. Repeat for second armhole.
V-Neck Ribbing
Using 4.5mm hook, join yarn at center back neck.
Round 1: Ch 1, sc evenly around entire neckline, working 3 sc at the point of the V and placing a stitch marker in the center stitch. Join with sl st. (approximately 80 sc)
Round 2: Ch 1, sc in BLO around, working sc3tog at the V point (using the marked stitch and one stitch on each side). Join.
Rounds 3 through 6: Repeat Round 2.
Fasten off and weave in all remaining ends.
Helpful Tips for This Crochet Pattern
Bobble Placement: If you lose track of your bobble pattern, lay your work flat and look at where the previous bobbles sit. Each row of bobbles should be offset from the row below, creating that scattered look.
Tension Consistency: Bobble stitches tend to pull tighter than regular stitches. Try to keep your tension relaxed when working the yarn over and pull through for the bobble.
Blocking Matters: Seriously, do not skip blocking. It evens out your stitches, helps the ribbing lay flat, and makes seaming so much easier.
Yarn Substitution: If you want to use a different yarn weight, recalculate your stitch counts based on your gauge swatch. The construction method stays the same.
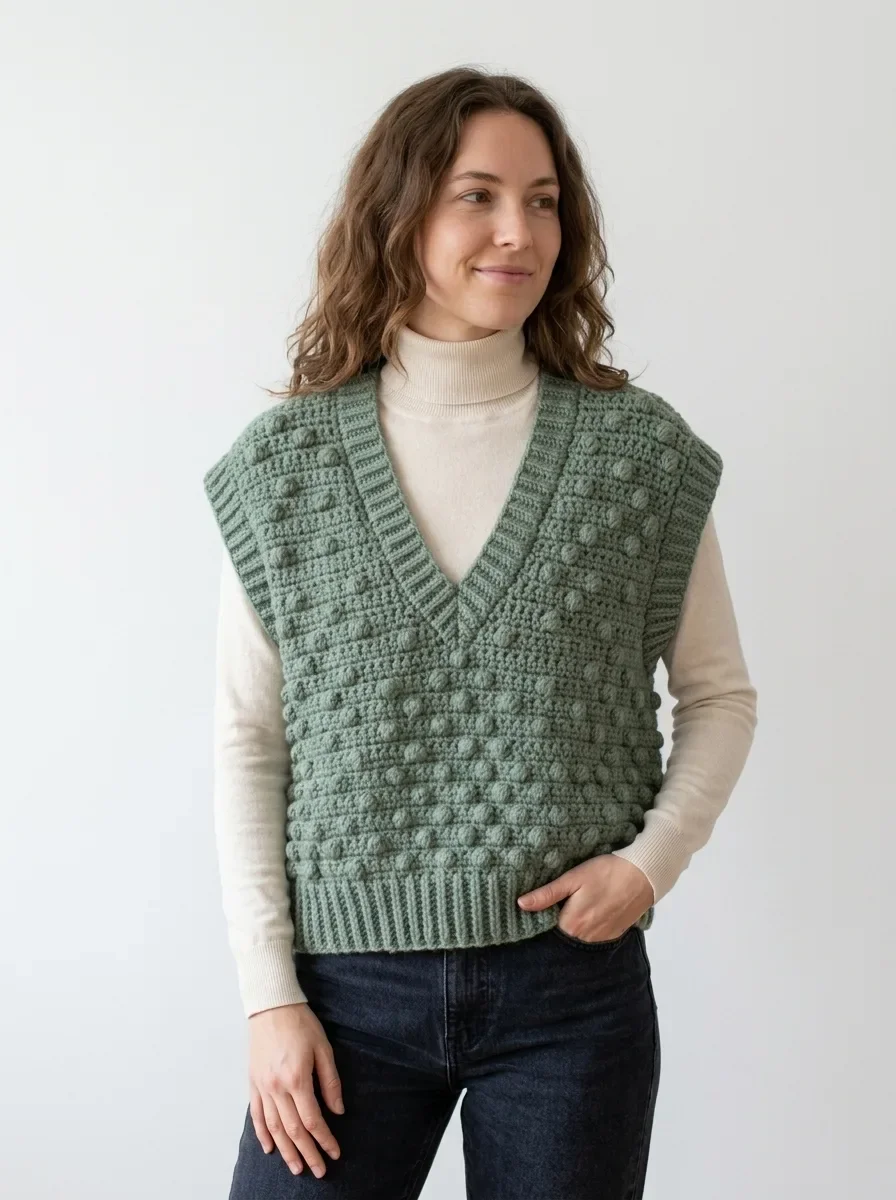
Customization Ideas
Want to make this sweater vest your own? Here are some ideas:
Change the bobble placement to create a different pattern. Try diagonal lines, a heart shape, or clusters of bobbles instead of the scattered placement.
Add stripes by changing colors every few rows. The bobbles look especially fun in a contrasting color.
Adjust the length by adding or removing rows before the armhole shaping. Just make sure you end on the correct pattern row.
Skip the bobbles entirely for a simpler textured vest using just the sc and dc rows.
I really hope you enjoy making this bobble stitch sweater vest as much as I enjoyed designing it. It is one of those projects that looks complicated but feels so satisfying once you get into the rhythm of the bobble rows. Thank you for choosing to make this pattern. I would absolutely love to see your finished vest, so please tag me on Instagram or share a photo in my Facebook group.
If this pattern is going on your project list, make sure to save it to your Pinterest boards so you can find it easily when you are ready to start. And please drop a comment below if you make one. I love hearing which colors you choose and seeing how your versions turn out.
You Might Also Like
- Ocean Wave Hexagon Throw Free Crochet Pattern
- Ocean Blue Coastal Granny Square Backpack Crochet Pattern
- Sky Blue Dragon Amigurumi Plush Free Crochet Pattern
- Sage Green Romantic Peplum Crochet Top Free Pattern