Rainbow Drip Cake Beanie Free Crochet Pattern
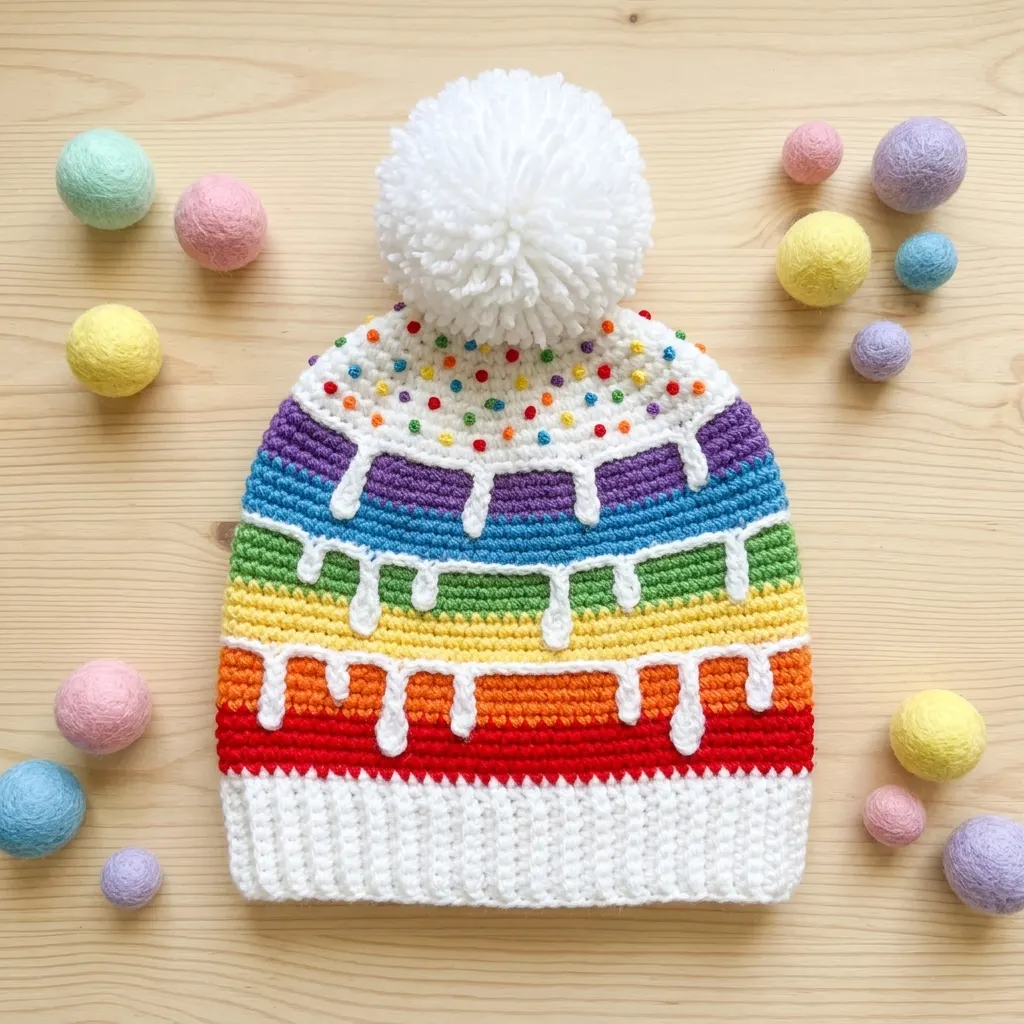
When I set out to design this beanie, I had one goal: create something that looks like it belongs in a bakery window but keeps your head toasty warm. I wanted rainbow stripes that pop, frosting drips that actually look like frosting, and a sprinkle-covered top that makes people smile. The whole thing needed to work up in single crochet for a dense, cozy fabric.
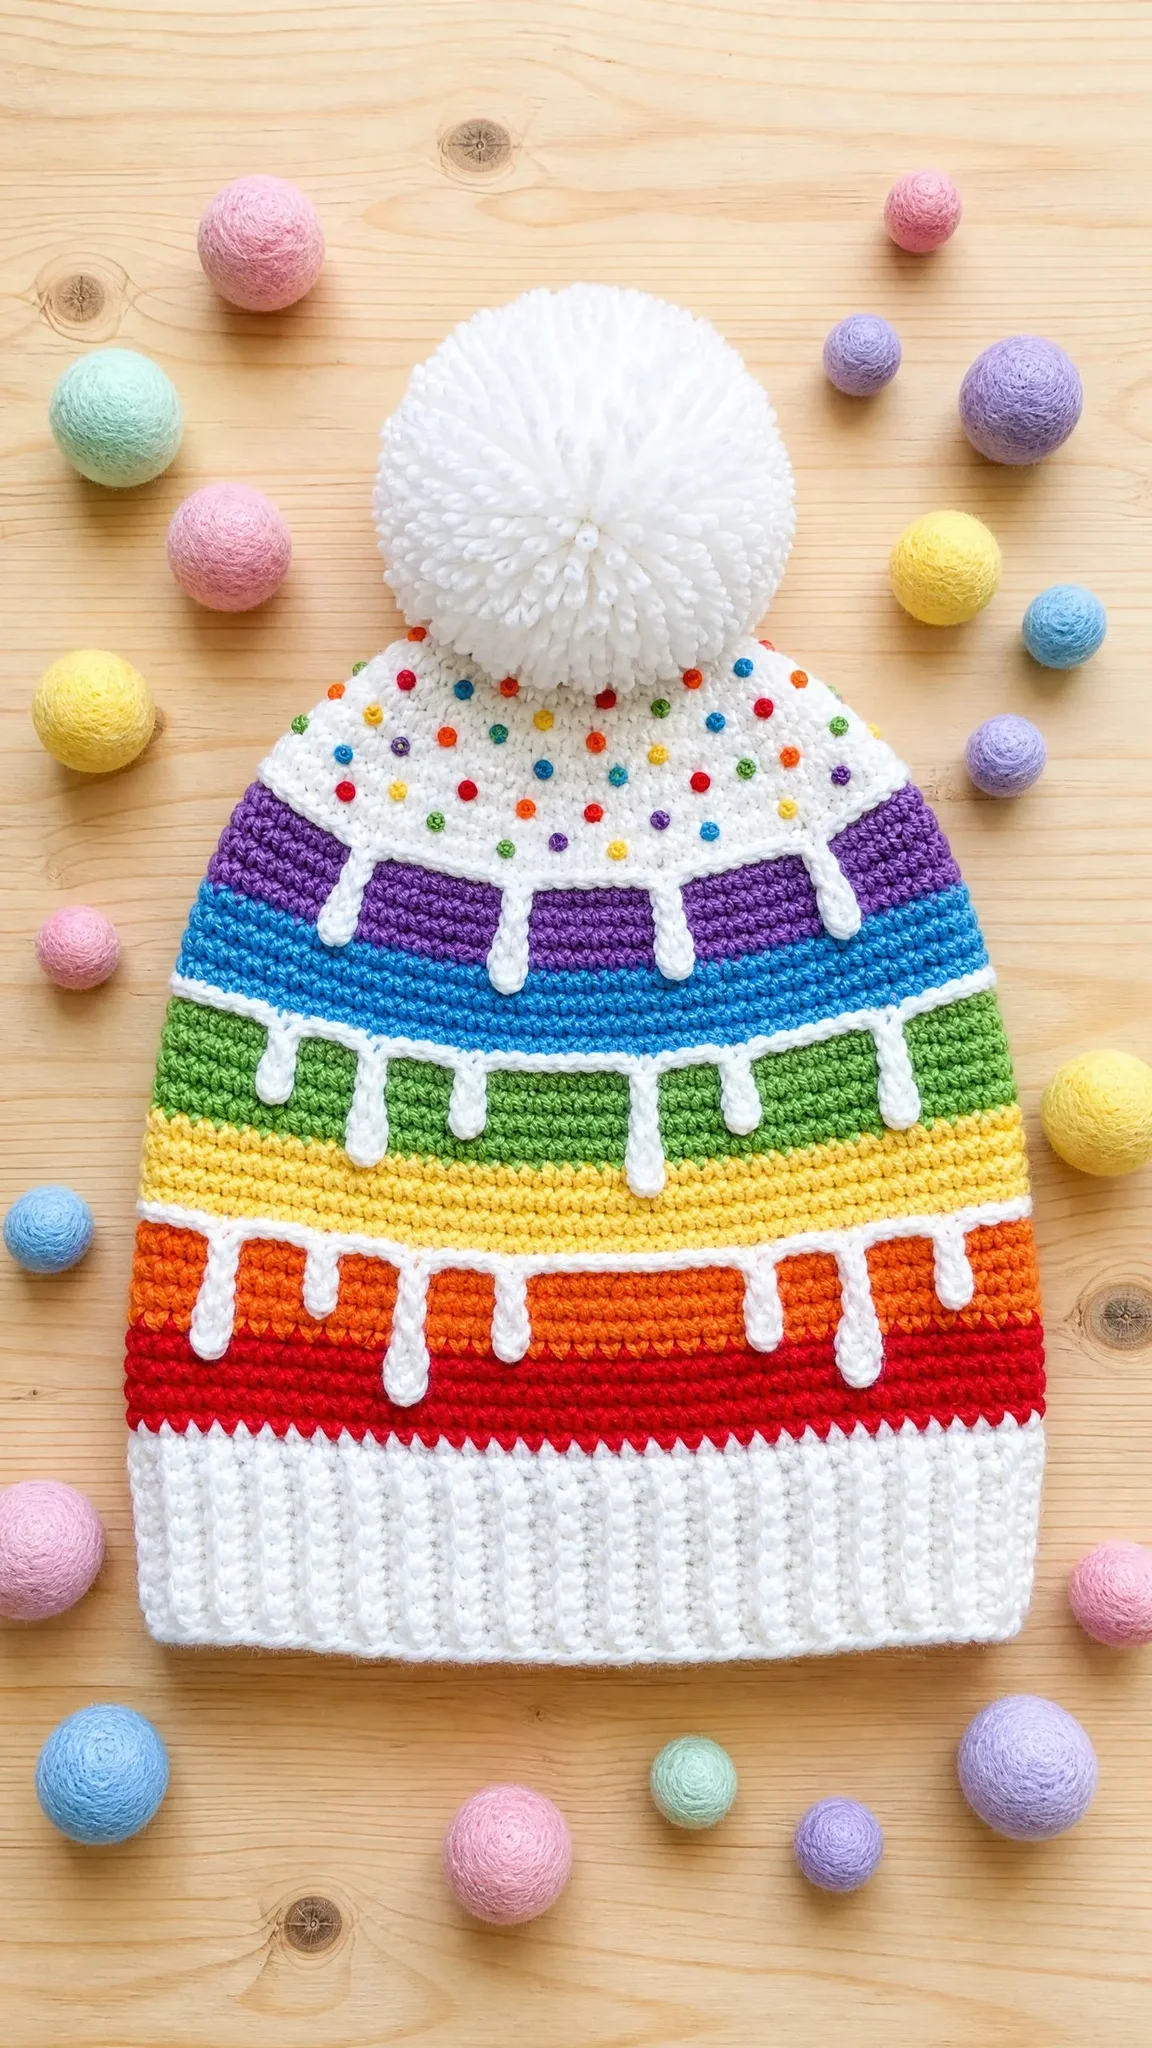
I am SO pleased with how it turned out. The drip effect uses surface slip stitches with little chain loops, which sounds fancy but is surprisingly straightforward once you get the rhythm. And those sprinkles? Just French knots scattered across the white crown. Simple embroidery, big impact.
If you have been looking for a statement piece that combines whimsy with wearability, this rainbow drip cake beanie crochet pattern is exactly what you need. Let me walk you through every single step.
About This Crochet Pattern
This beanie mimics a slice of rainbow layer cake, complete with white frosting drips cascading down each colorful stripe and multicolored sprinkles dotting the top. The construction moves from the brim upward, starting with a stretchy ribbed band worked flat in rows, then seamed into a tube. From there, you pick up stitches and work the body in joined rounds using single crochet (sc) for that classic, tidy fabric.
The rainbow stripes go in order from bottom to top: red, orange, yellow, green, blue, and purple. After finishing each stripe section, you add the frosting drip details using surface slip stitches (sss) with chain loops that hang down like real icing. The crown decreases gradually to create a nice rounded dome, and a big fluffy white pom-pom finishes it off perfectly.
Skill level: Intermediate. You should be comfortable working in the round, changing colors cleanly, and following a decrease sequence. The surface slip stitch technique and French knot embroidery add extra steps, but neither is difficult on its own. If you have made a couple of hats before and practiced color changes, you will manage this beautifully with a little patience.
Time estimate: Approximately 6 to 9 hours total, including the pom-pom and French knot sprinkles. Those finishing touches add roughly 1 to 1.5 hours.
Finished Dimensions
Size: Adult Medium/Large
| Measurement | Dimension |
|---|---|
| Circumference (unstretched) | approximately 19 inches / 48 cm |
| Circumference (stretched to fit) | approximately 21 to 22 inches / 53 to 56 cm |
| Height (brim folded up) | approximately 9 inches / 23 cm |
| Height (brim unfolded) | approximately 11 inches / 28 cm |
The ribbed brim adds approximately 2 inches / 5 cm when folded up. Size customization tips are included at the end of the pattern.
Materials Needed
Yarn
You will need worsted weight yarn in the following colors and amounts:
Recommended Yarn Brands
1. Lion Brand Pound of Love (worsted weight, 100% acrylic) offers excellent stitch definition for clean stripes. It is widely available, machine washable, and very budget friendly.
2. Paintbox Yarns Simply DK (used at worsted tension) has a smooth finish that makes color transitions especially crisp. Their full color range covers all six rainbow shades plus white.
3. Cascade 220 (worsted weight, 100% Peruvian Highland wool) gives beautiful stitch definition and excellent elasticity for the ribbed brim. Note that this yarn requires hand washing.
Substitution tip: Choose any smooth worsted weight yarn that achieves the stated gauge. Avoid fuzzy or heavily textured yarns since the drip and sprinkle details will get lost in the fuzz. Keep the weight consistent across all colors so your stripes sit at even heights.
Hook and Notions
Gauge
16 single crochet x 18 rows = 4 inches / 10 cm, worked in rows (single crochet flat swatch, blocked)
Gauge matters for a well-fitting hat. If your swatch is too small, go up a hook size. If it is too large, go down. Working in the round often produces a slightly looser gauge than flat work, so swatch in the round if possible.
Abbreviations
Let me define every abbreviation you will encounter in this pattern:
Special Stitches and Techniques
Ribbed Single Crochet (for the brim)
Work sc in BLO only throughout the entire brim section. This creates a stretchy, vertically ridged fabric that looks and behaves like knit ribbing. The texture comes from leaving the front loops unworked, which pushes them forward to form visible ridges.
Surface Slip Stitch (sss)
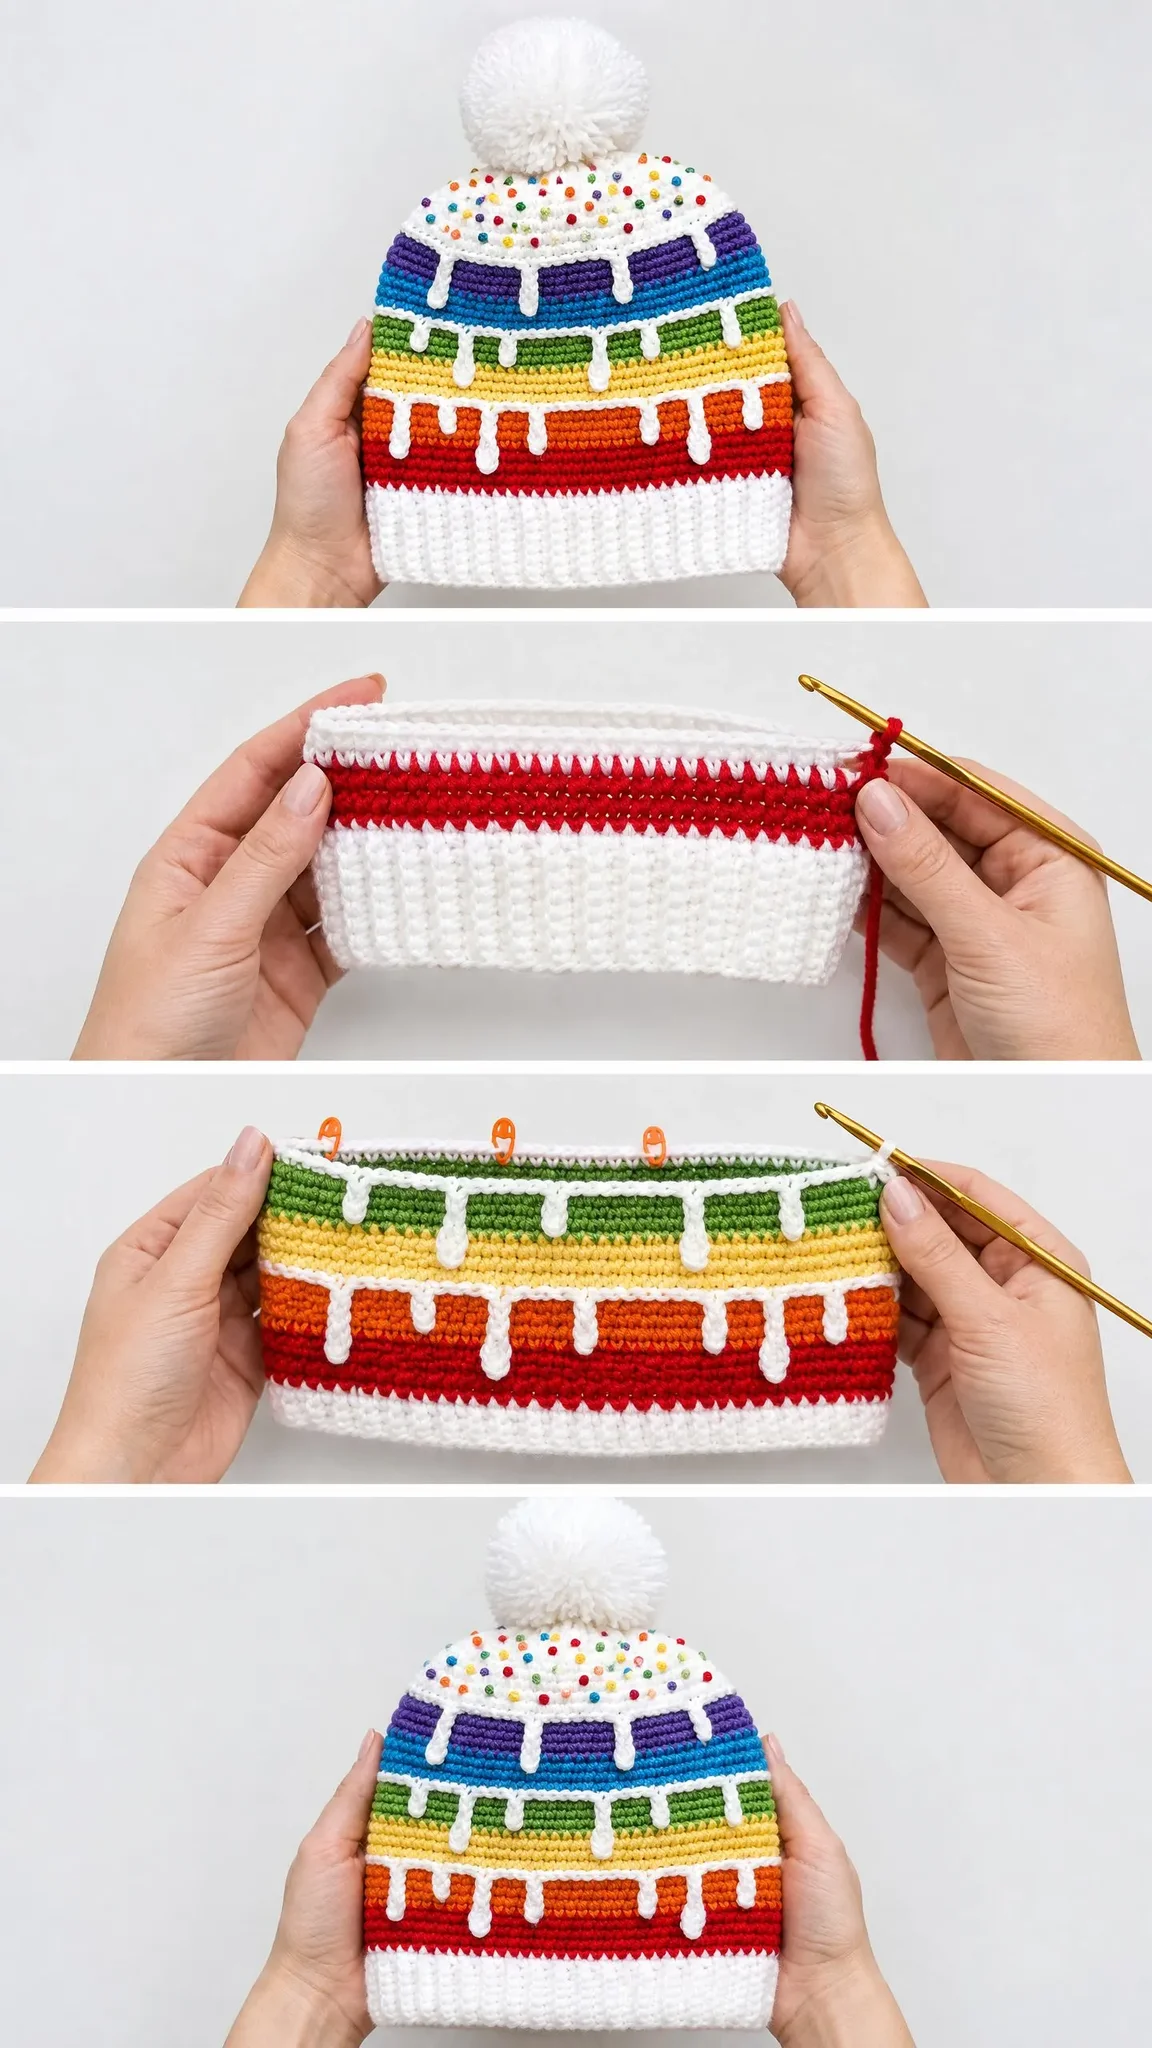
This technique adds a raised line of stitches on top of your finished fabric. Do not turn the work. Hold your yarn behind the fabric on the wrong side. Insert your hook from the front through a stitch, catch the yarn from behind, and pull a loop through to the front. Insert your hook through the next stitch, catch the yarn, and pull through both the fabric and the loop on your hook. Continue this way across. The result looks like a neat raised line sitting on the surface.
Drip Loop
While working a surface slip stitch row, at each drip position: chain 5, slip stitch back into the same stitch the chain emerged from. This creates a small dangling loop that resembles a frosting drip. After completing the loop, continue the surface slip stitch line to the next drip position.
French Knot (FKnot)
Thread your embroidery needle with approximately 8 inches / 20 cm of yarn. Bring the needle up through the fabric from the wrong side at your desired sprinkle location. Wrap the yarn around the needle two times. Insert the needle back into the fabric very close to (but not the exact same hole as) the entry point while holding the wraps against the fabric with your thumb. Pull the needle through to the wrong side, allowing the wraps to form a small raised knot on the surface. Secure on the wrong side and repeat.
Pom-Pom
Using a pom-pom maker or two cardboard circles approximately 3.5 inches / 9 cm in diameter, wrap MC (white) yarn around the form approximately 150 to 200 times for a full, dense pom-pom. Cut around the circumference, tie securely with a long strand at the center, and trim into a neat sphere approximately 3 inches / 7.5 cm in diameter. Leave two long tails for attaching to the hat crown.
Pattern Notes Before You Begin
1. The brim is worked flat in rows, then seamed to form a tube.
2. After seaming, you pick up stitches along the long edge of the brim tube to begin working the hat body in rounds.
3. The hat body uses joined rounds: join with sl st at the end of each round, ch 1 (does not count as a stitch), then begin the next round. Use a stitch marker to track the beginning of each round.
4. Carry unused colors loosely up the inside when possible. If a color will not be used for more than 2 rounds, cut and rejoin to avoid long floats.
5. Change colors on the last pull-through of the last stitch of the previous round so the new color appears cleanly at the start of the next round.
6. The frosting drip rows are worked after the main body rounds are complete for each section. You can add each drip immediately after its stripe or wait and add all six drips at once.
7. The sprinkle French knots are added last, after all crochet and drip embellishment is finished.
8. Right side faces outward throughout the body rounds.
Step-by-Step Crochet Tutorial
Section 1: Ribbed Brim
Using MC (white) and your J / 6.0 mm hook, ch 19.
Row 1 (RS): Sc in second ch from hook and in each ch across. Turn. (18 sc)
Row 2: Ch 1, sc in BLO of each st across. Turn. (18 sc)
Repeat Row 2 until the brim measures approximately 21 inches / 53 cm from beginning (unstretched). This will be approximately 84 rows total. Count your rows as you go and stop when the piece measures correctly.
Do not fasten off. Fold the brim so the short ends meet. Sl st through corresponding stitches of both ends to seam the brim into a tube. Fasten off. Weave in ends.
Checkpoint: Your seamed brim tube should measure approximately 21 inches / 53 cm in circumference and approximately 4 inches / 10 cm wide.
Section 2: Picking Up Stitches for the Hat Body
With RS facing, join MC (white) to the brim tube along one long edge. You will pick up and sc evenly around the entire long edge to establish your working round.
Work 80 sc evenly around the top edge of the brim tube. Join with sl st to first sc. (80 sc)
Pickup note: Your brim has approximately 84 rows. Pick up approximately 1 sc for every row, skipping every 4th or 5th row as needed to arrive at exactly 80 stitches. Distribute skipped rows evenly for a consistent look.
Place a stitch marker in the first stitch and move it up with each new round.
Section 3: Hat Body Stripes
Work each round by crocheting into each stitch of the previous round. At the end of each round, join with sl st to first sc, ch 1 (does not count as a stitch), and begin the next round.
Rounds 1 to 2: With MC (white), sc in each st around. Join. (80 sc each round)
Round 3: Change to Color A (red) on last pull-through of joining sl st of Round 2. With Color A, sc in each st around. Join. (80 sc)
Round 4: With Color A, sc in each st around. Join. (80 sc)
Round 5: With Color A, sc in each st around. Join. (80 sc)
Round 6: Change to Color B (orange). Sc in each st around. Join. (80 sc)
Round 7: With Color B, sc in each st around. Join. (80 sc)
Round 8: With Color B, sc in each st around. Join. (80 sc)
Round 9: Change to Color C (yellow). Sc in each st around. Join. (80 sc)
Round 10: With Color C, sc in each st around. Join. (80 sc)
Round 11: With Color C, sc in each st around. Join. (80 sc)
Round 12: Change to Color D (green). Sc in each st around. Join. (80 sc)
Round 13: With Color D, sc in each st around. Join. (80 sc)
Round 14: With Color D, sc in each st around. Join. (80 sc)
Round 15: Change to Color E (blue). Sc in each st around. Join. (80 sc)
Round 16: With Color E, sc in each st around. Join. (80 sc)
Round 17: With Color E, sc in each st around. Join. (80 sc)
Round 18: Change to Color F (purple). Sc in each st around. Join. (80 sc)
Round 19: With Color F, sc in each st around. Join. (80 sc)
Round 20: With Color F, sc in each st around. Join. (80 sc)
Round 21: Change to MC (white). Sc in each st around. Join. (80 sc)
Round 22: With MC, sc in each st around. Join. (80 sc)
Round 23: With MC, sc in each st around. Join. (80 sc)
Checkpoint: After Round 23, the hat body (not including brim) should measure approximately 5 inches / 12.7 cm tall. Your rainbow stripes should be clearly visible and even.
Section 4: Frosting Drip Embellishment
Using MC (white), add surface slip stitch drip rows along the top edge of each color stripe.
For each drip row, join MC with a sl st to the top edge of the completed stripe (the round just before the color changes). Work a sss across the full round, creating Drip Loops at regular intervals:
Work 4 sss, then work 1 Drip Loop (ch 5, sl st into same st), then work 4 sss, then work 1 Drip Loop, continuing around. With 80 stitches per round, this places 16 drip loops evenly spaced around each drip row. Fasten off and weave in ends after each drip row.
Apply drip rows at these boundaries:
Checkpoint: All six drip rows should be applied. The white drip loops should hang downward over the top edge of each stripe. Check that chain loops are consistent in length.
Section 5: Crown Shaping
Continue with MC (white) in joined rounds.
Round 24: (Sc in next 8 sts, sc2tog) repeat 8 times. Join. (72 sc)
Round 25: Sc in each st around. Join. (72 sc)
Round 26: (Sc in next 7 sts, sc2tog) repeat 8 times. Join. (64 sc)
Round 27: Sc in each st around. Join. (64 sc)
Round 28: (Sc in next 6 sts, sc2tog) repeat 8 times. Join. (56 sc)
Round 29: Sc in each st around. Join. (56 sc)
Round 30: (Sc in next 5 sts, sc2tog) repeat 8 times. Join. (48 sc)
Round 31: Sc in each st around. Join. (48 sc)
Round 32: (Sc in next 4 sts, sc2tog) repeat 8 times. Join. (40 sc)
Round 33: (Sc in next 3 sts, sc2tog) repeat 8 times. Join. (32 sc)
Round 34: (Sc in next 2 sts, sc2tog) repeat 8 times. Join. (24 sc)
Round 35: (Sc in next st, sc2tog) repeat 8 times. Join. (16 sc)
Round 36: (Sc2tog) repeat 8 times. Join. (8 sc)
Fasten off, leaving a tail of approximately 10 inches / 25 cm.
Thread tail onto yarn needle. Working from the outside, pass the needle through the front loop of each of the 8 remaining stitches in sequence. Pull firmly to cinch the crown closed. Pass the needle through the center opening to the wrong side. Weave in securely.
Checkpoint: The crown should be fully closed with no gap visible at the top.
Section 6: Sprinkle Embroidery
Using your embroidery needle and short lengths of each sprinkle color yarn, scatter French knots across the white crown section (Rounds 21 to 23) and across the upper portion of the white frosting area. Aim for 30 to 50 knots total, distributed in all six rainbow colors in a random pattern. Vary placement so no single color clusters together too heavily.
Weave in all yarn tails from French knots on the wrong side.
Section 7: Pom-Pom Attachment
Following the pom-pom instructions from the Special Stitches section, make one large white pom-pom approximately 3 inches / 7.5 cm in diameter.
Thread the two long center tails onto a yarn needle. Insert needle into the center of the closed crown from the outside. Pull both tails through to the wrong side. Tie the tails securely together in a double knot on the inside of the hat. Trim tails to approximately 1 inch / 2.5 cm. The pom-pom should sit firmly and not flop to one side.
Finishing and Blocking
Wet block the brim lightly by dampening with cool water and gently shaping. The ribbed brim benefits from gentle stretching to encourage elasticity. Allow to dry flat.
The hat body does not need aggressive blocking. Gentle steam blocking can even out any uneven stitch rows between color changes if desired. Hold a steam iron approximately 2 inches / 5 cm above the fabric and allow steam to penetrate without pressing down.
Weave in all remaining yarn ends securely on the wrong side, splitting yarn tails in two directions for extra security.
Size Customization Tips
For a smaller hat (child large / adult small, approximately 19 to 20 inch head): Reduce the brim to approximately 56 rows and pick up 72 stitches instead of 80. Adjust the crown shaping so decreases work over 9 stitches at a time initially.
For a larger hat or slouchy fit: Work the brim to 90 rows and pick up 88 stitches. Add one additional plain round between each decrease round in the crown shaping.
To adjust stripe height: Each stripe in this pattern is 3 rounds tall. Adding 1 to 2 more rounds per stripe increases overall height proportionally. The drip loop formula stays the same as long as your stitch count is divisible by 5.
Care Instructions
Machine wash cold on a gentle cycle, inside out to protect the surface embellishments and pom-pom. Lay flat to dry. Do not wring, twist, or put in a clothes dryer.
If using wool yarn, hand wash only in cool water with wool wash. Press water out gently and lay flat to dry.
Thank you so much for choosing this rainbow drip cake beanie crochet pattern! I had the best time designing it and I truly hope you love making it as much as I did. If you give it a try, I would absolutely love to see your finished piece. Tag me on Instagram or share it in my Facebook group so I can cheer you on.
If this pattern caught your eye, go ahead and save it to your Pinterest boards so you can find it when you are ready to cast on. And please drop a comment below if you make one. I read every single one and your photos always make my day!
You Might Also Like
- Blush Pink Butterfly Lace Earrings Free Crochet Pattern
- Lavender Daisy Wrist Cuff Free Crochet Pattern
- Mint Garden Baby Crochet Dress Free Pattern
- Pastel Rainbow Flower Granny Square Tote Free Crochet Pattern