Pink Rose Garden Crochet Vase Free Crochet Pattern
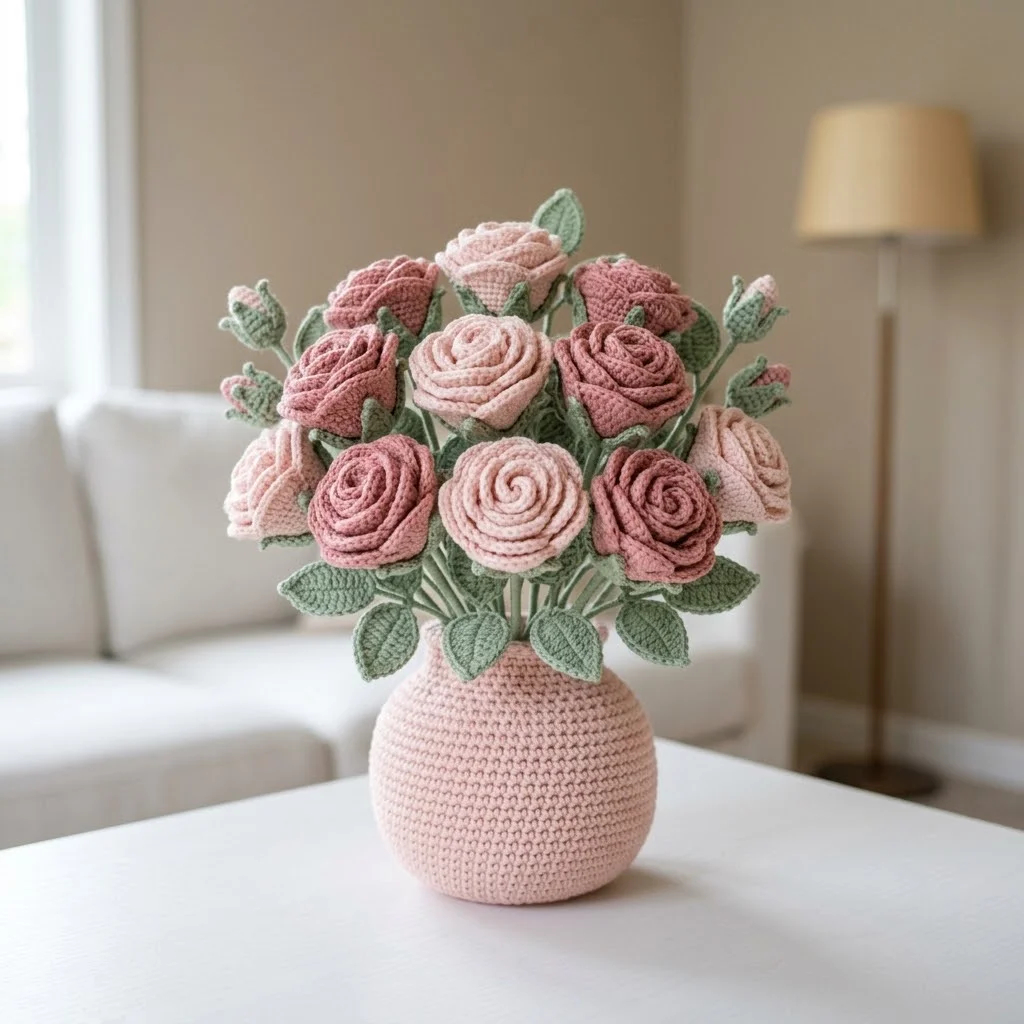
I’ve been looking for the perfect everlasting floral centerpiece pattern for months, and this pink rose garden vase is my absolute favorite. It combines everything I love about crochet flowers. The realistic spiral roses, delicate leaves, and a sturdy vase that actually holds its shape. If you want a stunning display piece that never wilts and always impresses, this is the one.
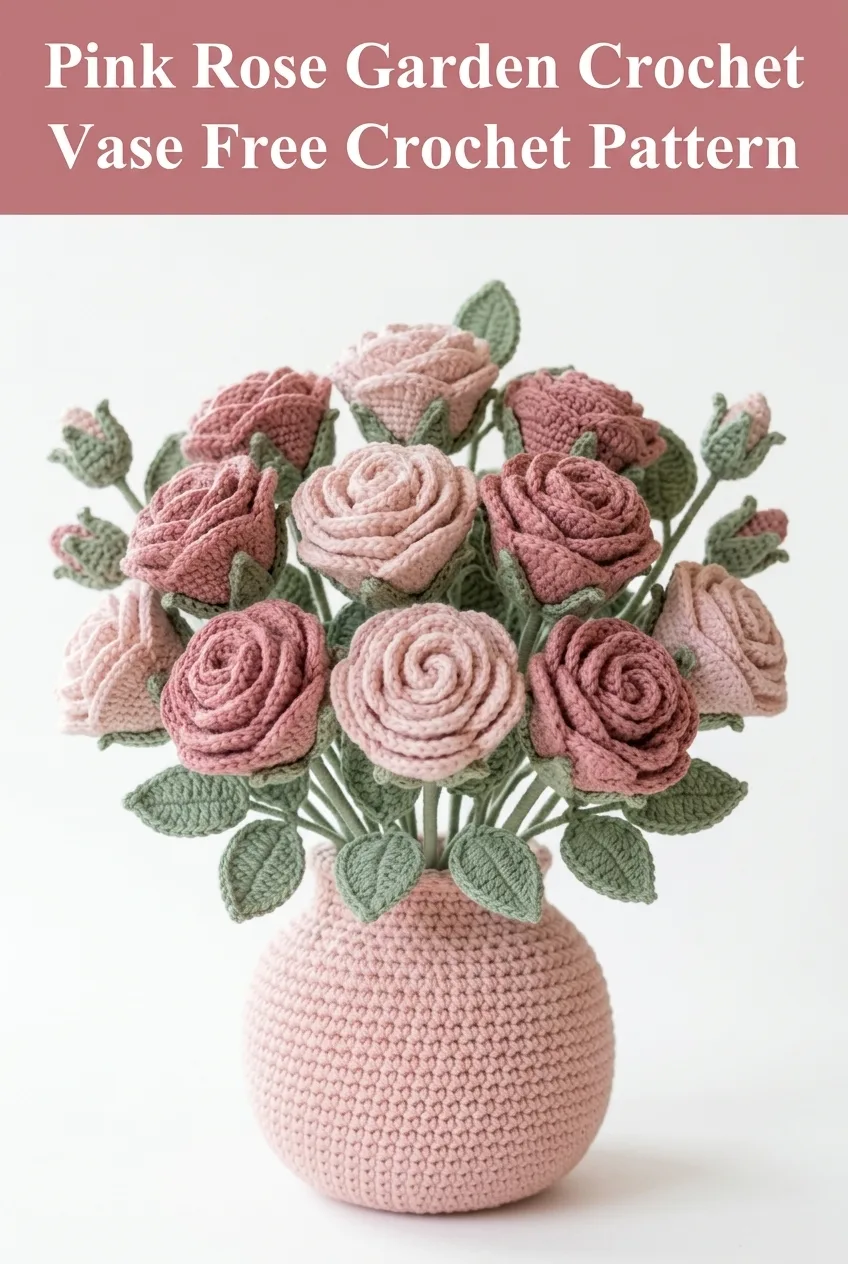
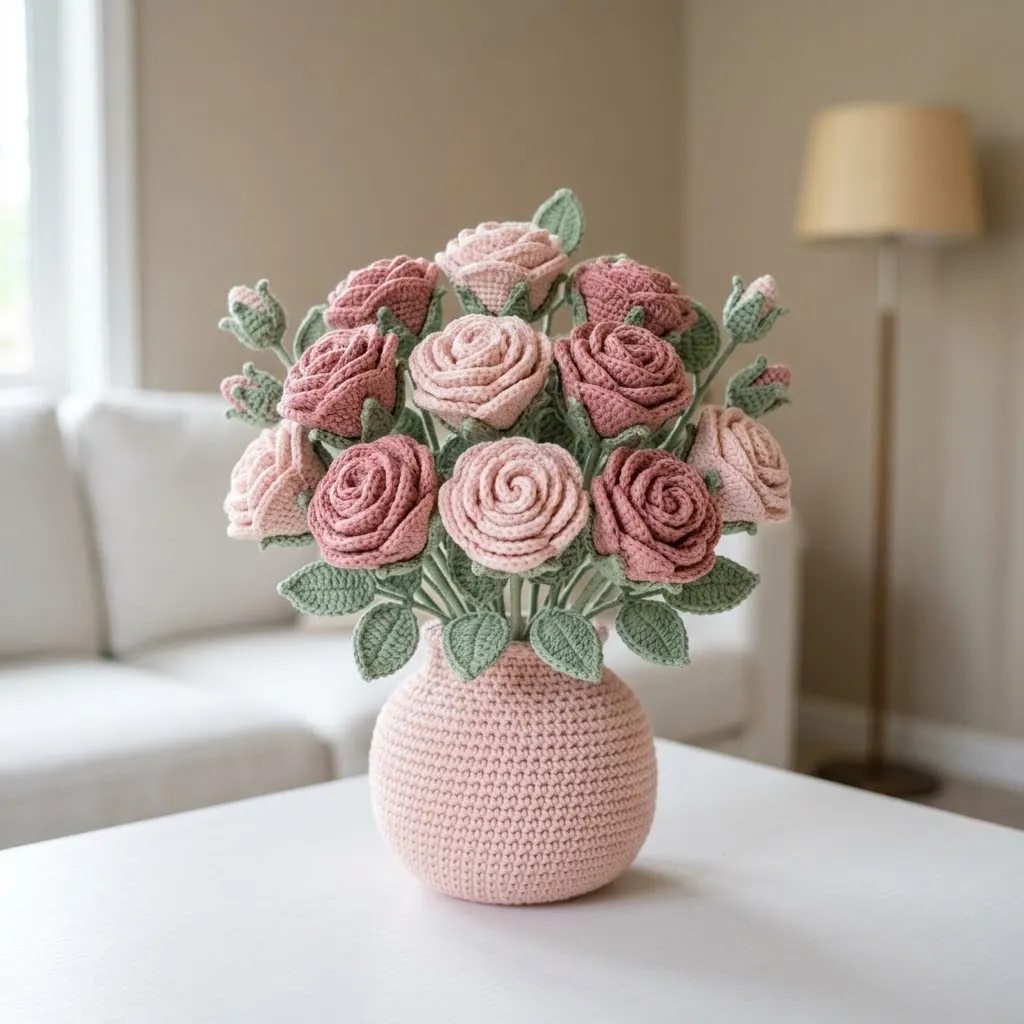
This crochet rose bouquet pattern creates a complete arrangement with multiple roses in soft pink and dusty rose shades, sage green leaves, and a rounded vase worked in the same blush tone. The whole thing sits beautifully on a table or shelf and makes an incredible handmade gift for someone who deserves flowers that last forever.
Why You’ll Love This Crochet Rose Vase Pattern
This project hits that sweet spot between impressive and achievable. The roses look complex with their spiral construction, but each one builds from a simple long strip that you roll up at the end. Seriously, if you can crochet a rectangle and sew a seam, you can make these roses.
The vase uses basic single crochet (sc) worked in continuous rounds with simple increases and decreases to create that classic rounded shape. No fancy stitches required. The leaves add a lovely realistic touch with their pointed tips and center vein detail.
I love that this pattern uses small amounts of yarn in several colors. It’s perfect for using up those partial skeins you’ve been saving for “something special.” This is that something special.
Skill Level
Intermediate beginner. If you can work in the round, increase, decrease, and sew pieces together, you have all the skills you need. The roses look advanced but the technique is surprisingly simple once you understand how the spiral forms.
Finished Dimensions
Vase: Approximately 4 inches tall and 5 inches wide at the widest point
Large roses: Approximately 2.5 to 3 inches in diameter
Small roses and buds: Approximately 1.5 to 2 inches in diameter
Leaves: Approximately 2 inches long
Complete arrangement: Approximately 10 to 12 inches tall when assembled
Materials Needed
Yarn:
– Blush pink for vase and light roses, approximately 150 yards
– Dusty rose for darker roses, approximately 100 yards
– Sage green for leaves and stems, approximately 80 yards
I recommend a cotton or cotton blend yarn for this project. Cotton holds its shape beautifully and gives the flowers a crisp, defined look. Acrylic works too but may be slightly softer.
Hook:
Additional supplies:
Abbreviations and Stitch Definitions
Ch = Chain. Wrap yarn over hook, pull through loop on hook. This creates the foundation for your work.
Sl st = Slip stitch. Insert hook, yarn over, pull through stitch and loop on hook in one motion. Used for joining and creating invisible seams.
Sc = Single crochet. Insert hook into stitch, yarn over and pull up a loop (2 loops on hook), yarn over and pull through both loops.
Hdc = Half double crochet. Yarn over, insert hook, yarn over and pull up a loop (3 loops on hook), yarn over and pull through all 3 loops.
Dc = Double crochet. Yarn over, insert hook, yarn over and pull up a loop (3 loops on hook), yarn over and pull through 2 loops, yarn over and pull through remaining 2 loops.
Inc = Increase. Work 2 stitches into the same stitch. This adds one stitch to your count.
Dec = Decrease (invisible decrease for sc). Insert hook through front loops only of next 2 stitches, yarn over, pull through both front loops, yarn over, pull through both loops on hook. This removes one stitch from your count.
FLO = Front loop only. Work into just the front loop of the stitch instead of both loops.
BLO = Back loop only. Work into just the back loop of the stitch.
Gauge
For the vase: 16 sc and 18 rows = 4 inches with 4.0mm hook
Gauge is not critical for this project, but a tighter gauge will help the vase hold its shape better when stuffed.
Crochet Vase Pattern
The vase is worked from the bottom up in continuous rounds. Do not join rounds unless specified. Use a stitch marker to track the beginning of each round.
With blush pink yarn and 4.0mm hook:
Round 1: Create a magic ring. Work 6 sc into the ring. Pull tight to close. (6 sts)
Round 2: Inc in each st around. (12 sts)
Round 3: *Sc 1, inc* repeat around. (18 sts)
Round 4: *Sc 2, inc* repeat around. (24 sts)
Round 5: *Sc 3, inc* repeat around. (30 sts)
Round 6: *Sc 4, inc* repeat around. (36 sts)
Round 7: *Sc 5, inc* repeat around. (42 sts)
Round 8: *Sc 6, inc* repeat around. (48 sts)
This completes the flat bottom of the vase. Now you’ll work the sides.
Round 9: Working in BLO only, sc in each st around. (48 sts)
This creates a nice defined edge at the base.
Rounds 10 to 14: Sc in each st around. (48 sts)
Round 15: *Sc 6, dec* repeat around. (42 sts)
Round 16: Sc in each st around. (42 sts)
Round 17: *Sc 5, dec* repeat around. (36 sts)
Round 18: Sc in each st around. (36 sts)
Round 19: *Sc 4, dec* repeat around. (30 sts)
Rounds 20 to 22: Sc in each st around. (30 sts)
Begin stuffing the vase now. Add more stuffing as you continue to the top.
Round 23: *Sc 3, dec* repeat around. (24 sts)
Rounds 24 to 26: Sc in each st around. (24 sts)
Finish stuffing firmly. The vase should feel solid and hold its shape upright.
Round 27: Sl st in each st around. Fasten off and weave in ends. (24 sts)
Crochet Rose Pattern
Make approximately 12 to 15 roses in a mix of blush pink and dusty rose. Vary the sizes by adjusting the starting chain length.
Large Spiral Rose (make 6 to 8)
With rose color and 3.5mm hook:
Row 1: Ch 52. Starting in 2nd ch from hook, sc in first ch, *skip 1 ch, 5 dc in next ch (shell made), skip 1 ch, sc in next ch* repeat across. (12 to 13 shells)
Fasten off, leaving a 12 inch tail for sewing.
To form the rose: Starting at the beginning of the strip (where you first started crocheting), begin rolling the strip tightly. The shells will naturally fan out and create petals. After the first few rolls, continue rolling more loosely so the outer petals open up. Use the long tail to sew through the bottom layers as you roll, securing the shape. Stitch through the base several times to lock everything in place.
Small Rose or Bud (make 6 to 8)
With rose color and 3.5mm hook:
Row 1: Ch 28. Starting in 2nd ch from hook, sc in first ch, *skip 1 ch, 5 dc in next ch, skip 1 ch, sc in next ch* repeat across. (6 to 7 shells)
Fasten off and form the same way as the large rose. Rolling more tightly creates a bud shape. Rolling more loosely creates a small open rose.
Don’t stress if your roses look slightly different from each other. Real roses aren’t identical either, and the variety makes the arrangement look more natural.
Crochet Leaf Pattern
Make approximately 20 to 24 leaves.
With sage green yarn and 3.5mm hook:
Ch 11.
Row 1: Starting in 2nd ch from hook, sl st, sc, hdc, dc, dc, dc, hdc, sc, sl st, ch 3 for the point.
Now work down the other side of the foundation chain: sl st, sc, hdc, dc, dc, dc, hdc, sc, sl st.
Fasten off, leaving a tail for attaching to stems.
The ch 3 at the tip creates a small point. For a more pronounced center vein, you can add a surface slip stitch line down the middle of the leaf after completing it.
Stem Construction
Cut floral wire into 8 inch pieces. You’ll need one piece per rose and a few extra for leaf sprigs.
Wrapping the stems:
1. Starting at one end, wrap green floral tape around the wire, stretching the tape slightly as you go. The tape sticks to itself when stretched.
2. Continue wrapping in a spiral down the entire length.
3. For stems with leaves, stop partway down, position a leaf against the wire, and continue wrapping to secure it in place.
Attaching roses to stems:
1. Bend one end of a wrapped stem into a small hook or coil.
2. Insert this end into the bottom of a rose.
3. Sew the rose base securely to the wire using matching yarn. Wrap the yarn around both the wire and the rose base several times.
4. Cover the attachment point with additional floral tape.
Assembly Instructions
This is the fun part where everything comes together.
Step 1: Attach all roses to their stems. Mix up the stem lengths slightly for a natural look. Some roses should sit higher, some lower.
Step 2: Create a few leaf-only stems by wrapping wire and attaching 2 to 3 leaves at intervals.
Step 3: If you want the stems to stay in position, you can add a small piece of floral foam or dense stuffing inside the vase opening before inserting stems. This is optional but helpful.
Step 4: Begin arranging your roses in the vase. Start with taller roses in the center and back, shorter roses toward the front and edges. Tuck leaf stems throughout to fill gaps.
Step 5: Adjust and bend stems until you’re happy with the fullness and balance of the arrangement.
Take your time with this step. Step back and look at it from different angles. Bend stems, rotate roses, and add more leaves if needed.
Tips for Success
Rose rolling tip: The tighter you roll the center, the more “bud-like” your rose will look. Looser rolling creates more open, full-bloom roses. Mix both styles in your arrangement.
Color placement: Alternate your pink shades throughout the arrangement rather than grouping them. This creates better visual balance.
Leaf positioning: Angle leaves in different directions. Some pointing up, some out to the sides, some slightly downward. This mimics how real leaves grow.
Vase stability: If your vase tips over, add a small bag of rice or dried beans to the bottom before stuffing. This adds weight to the base.
Pattern Variations
Different flower colors: Red and cream for a classic Valentine’s look. Yellow and orange for autumn. White and pale pink for weddings.
Larger arrangement: Double all quantities and use a larger vase base (add 2 more increase rounds).
Single rose in bud vase: Make one large rose with 3 leaves and create a tall narrow vase by working fewer increase rounds and more straight side rounds.
What Makes This Crochet Rose Pattern Special
Unlike real flowers, this handmade arrangement will never wilt, need water, or require sunlight. It’s the perfect centerpiece for anyone with allergies, pets who eat flowers, or simply a love of handmade home decor.
This crochet tutorial walks you through every step, from the basic vase construction to forming realistic spiral roses. Even if you’ve never crocheted flowers before, the step by step instructions make it completely achievable.
The completed piece makes an unforgettable gift for Mother’s Day, housewarmings, anniversaries, or just because. Imagine giving someone a bouquet that lasts a lifetime.
Final Thoughts on This Crochet Rose Bouquet
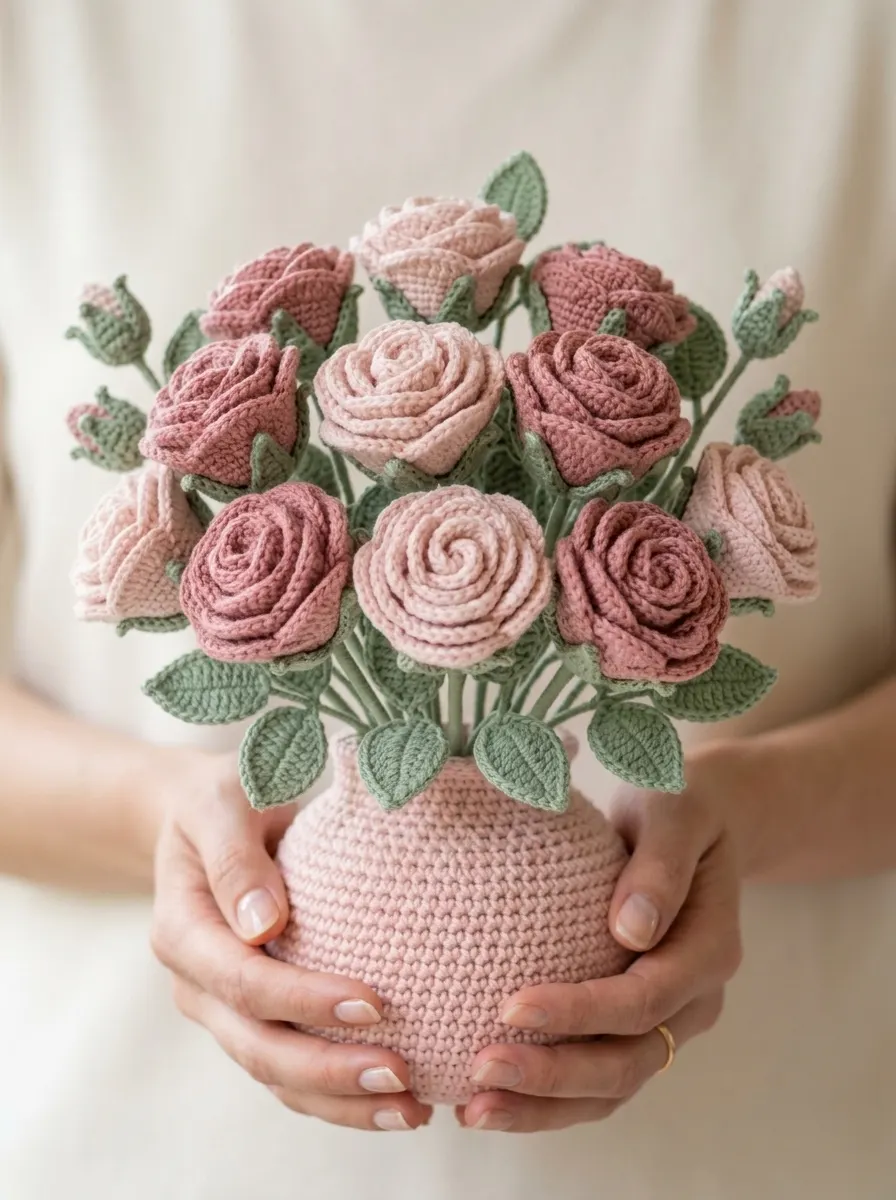
I hope this pink rose garden crochet vase pattern brings you as much joy to make as it brought me. The process is meditative, the results are stunning, and you’ll have a beautiful handmade piece that sparks conversation every time someone sees it.
Thank you so much for choosing this pattern for your next project. I truly appreciate you being here. If you make this rose arrangement, I would absolutely love to see it. Tag me on Instagram or share a photo in our Facebook group. Seeing your creations is the best part of sharing patterns.
If you loved this crochet rose pattern, save it to your Pinterest boards so you can find it whenever you’re ready to start. And please drop a comment below if you make this arrangement or have any questions along the way. I read every single one and love hearing from you.
You Might Also Like
- Terracotta Desert Shell Purse Free Crochet Pattern
- Sunshine Lemon Tiered Baby Dress Free Crochet Pattern
- Ocean Waves Ombre Granny Square Blanket Free Crochet Pattern
- Sunshine Daisy Bow Crochet Vest Free Crochet Pattern