Pastel Rainbow Unicorn Granny Square Blanket Free Pattern
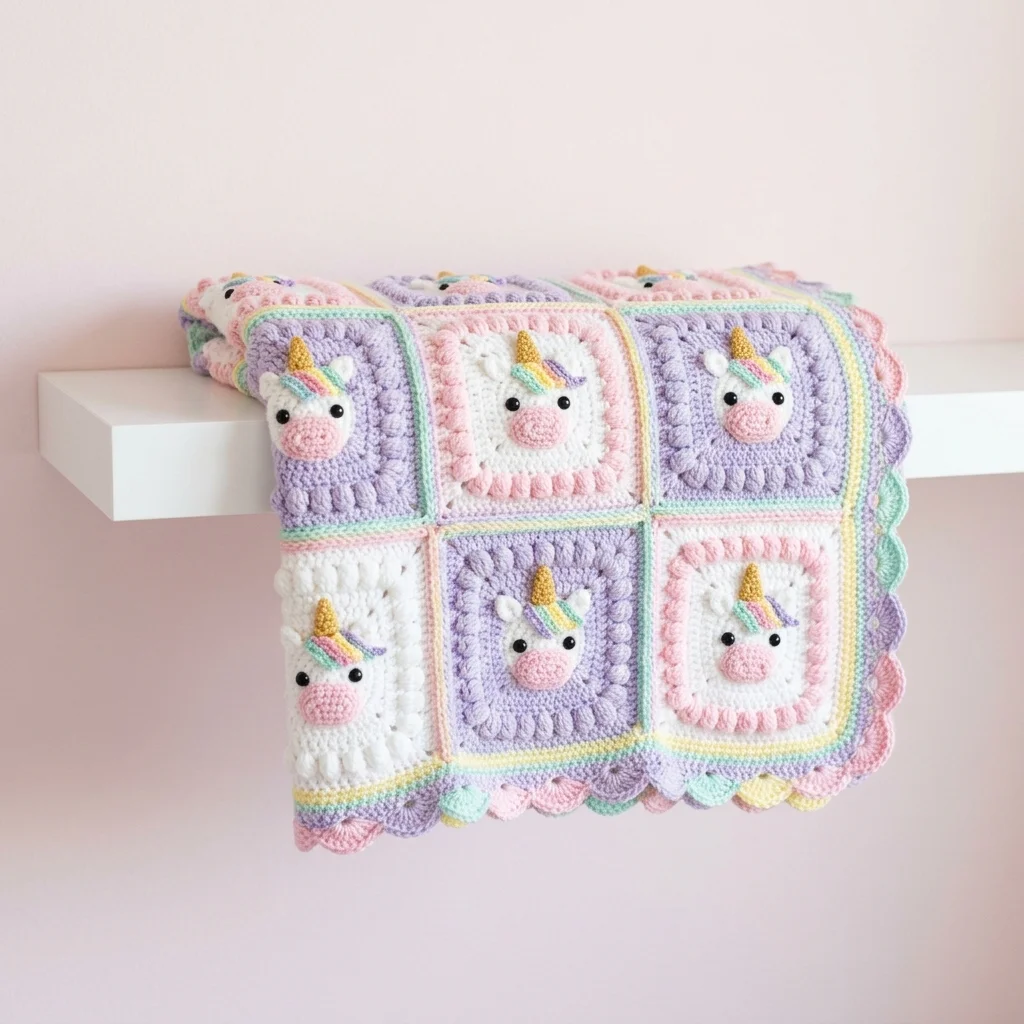
I don’t know about you, but I have a soft spot for baby blankets that make people gasp when they see them. You know the ones. The kind that gets passed down, photographed at every milestone, and becomes *the* blanket that travels everywhere. This pastel rainbow unicorn granny square blanket is exactly that kind of project. All the whimsy, all the charm, and honestly, it’s way more approachable than it looks.
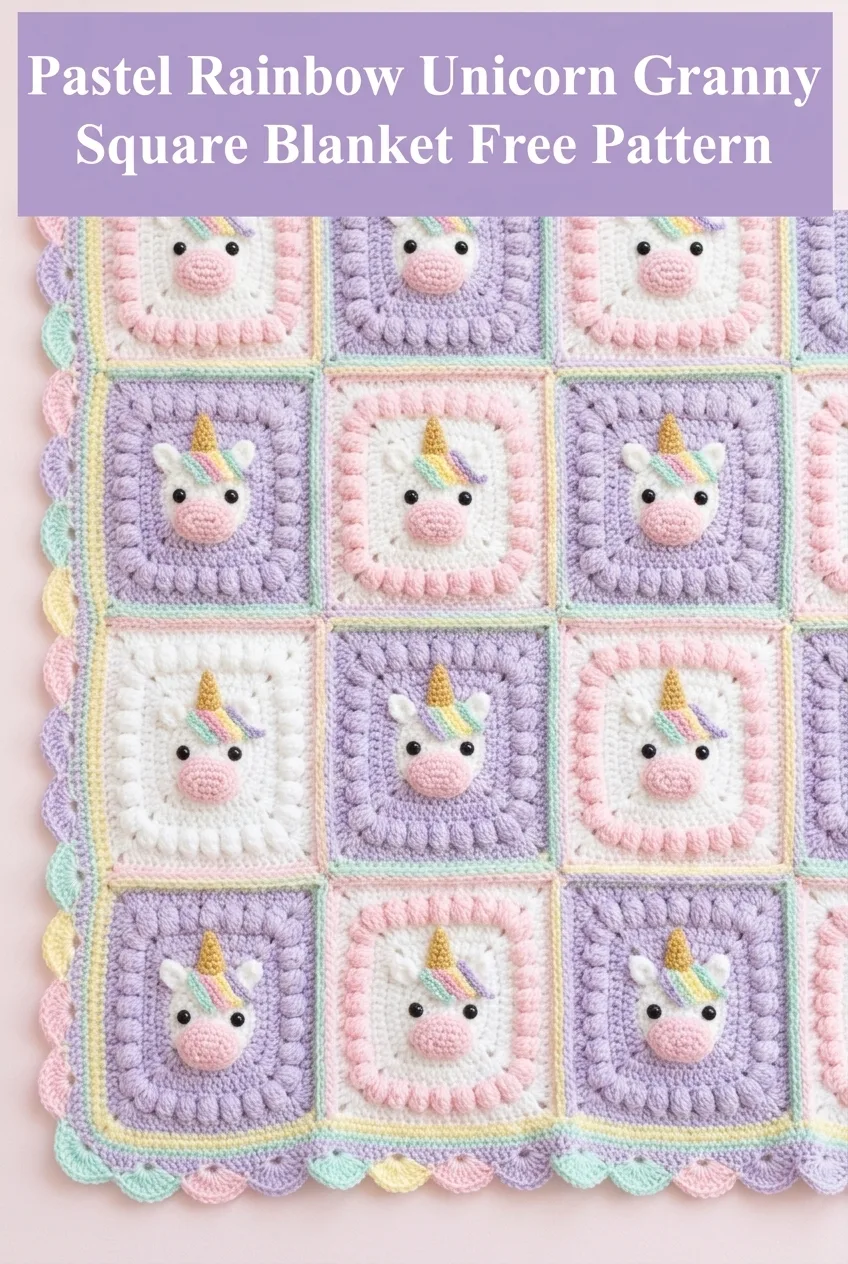
Those sweet little unicorn faces might seem intimidating at first glance. But here’s the truth: if you can crochet a basic granny square and follow simple shaping, you can absolutely make this blanket. I’m going to walk you through every single step, from the unicorn face construction to that gorgeous scalloped border.
Why This Unicorn Blanket Pattern Works So Well
This crochet unicorn blanket pattern combines a few tried and true techniques in a fresh way. The construction uses individual granny squares, each featuring an adorable unicorn face in the center. The squares are then joined and finished with a layered border that brings everything together beautifully.
What makes this design special is the color play. The alternating lavender and white background squares create visual interest, while the consistent pink unicorn faces, golden horns, and rainbow mane details tie everything together. The pastel palette of soft purple, mint green, pale yellow, and pink gives this blanket that dreamy nursery feel without being overwhelming.
The step by step crochet tutorial below will guide you through making the unicorn appliqué, constructing the granny square around it, joining your squares, and adding that beautiful multi-colored scalloped edge.
Materials You’ll Need
Yarn: Worsted weight (medium weight, category 4) acrylic yarn in the following colors:
I recommend a soft acrylic like Paintbox Yarns Simply Aran or Stylecraft Special DK held double. You want something machine washable for a baby blanket, and these yarns have excellent stitch definition for the textured border.
Hook: 5.0mm (H/8) crochet hook for main work, 3.5mm (E/4) hook for small details
Notions:
Finished Size: Approximately 32 inches by 40 inches (baby blanket size with 12 squares arranged 3 across by 4 down)
Gauge: Each completed granny square measures approximately 8 inches by 8 inches after blocking
Skill Level: Intermediate. You should be comfortable with basic crochet stitches, working in the round, and simple increases.
Abbreviations and Stitch Definitions
Let me define every stitch you’ll encounter so there’s no confusion:
ch = chain. Wrap yarn over hook, pull through loop on hook.
sl st = slip stitch. Insert hook, yarn over, pull through stitch AND loop on hook in one motion.
sc = single crochet. Insert hook, yarn over, pull up a loop (2 loops on hook), yarn over, pull through both loops.
hdc = half double crochet. Yarn over, insert hook, yarn over, pull up a loop (3 loops on hook), yarn over, pull through all 3 loops.
dc = double crochet. Yarn over, insert hook, yarn over, pull up a loop, yarn over, pull through 2 loops, yarn over, pull through remaining 2 loops.
inc = increase. Work 2 stitches into the same stitch.
puff stitch = Yarn over, insert hook, pull up a loop (3 loops on hook). Repeat this 2 more times in the same stitch (7 loops on hook). Yarn over, pull through all 7 loops.
shell = Multiple stitches worked into the same stitch or space to create a fan shape. In this pattern, shells are typically 5 dc in one space.
Unicorn Face Appliqué Instructions
This is the heart of each square, so take your time here. Don’t worry if your first one looks a bit wonky. By your third unicorn, you’ll be a pro.
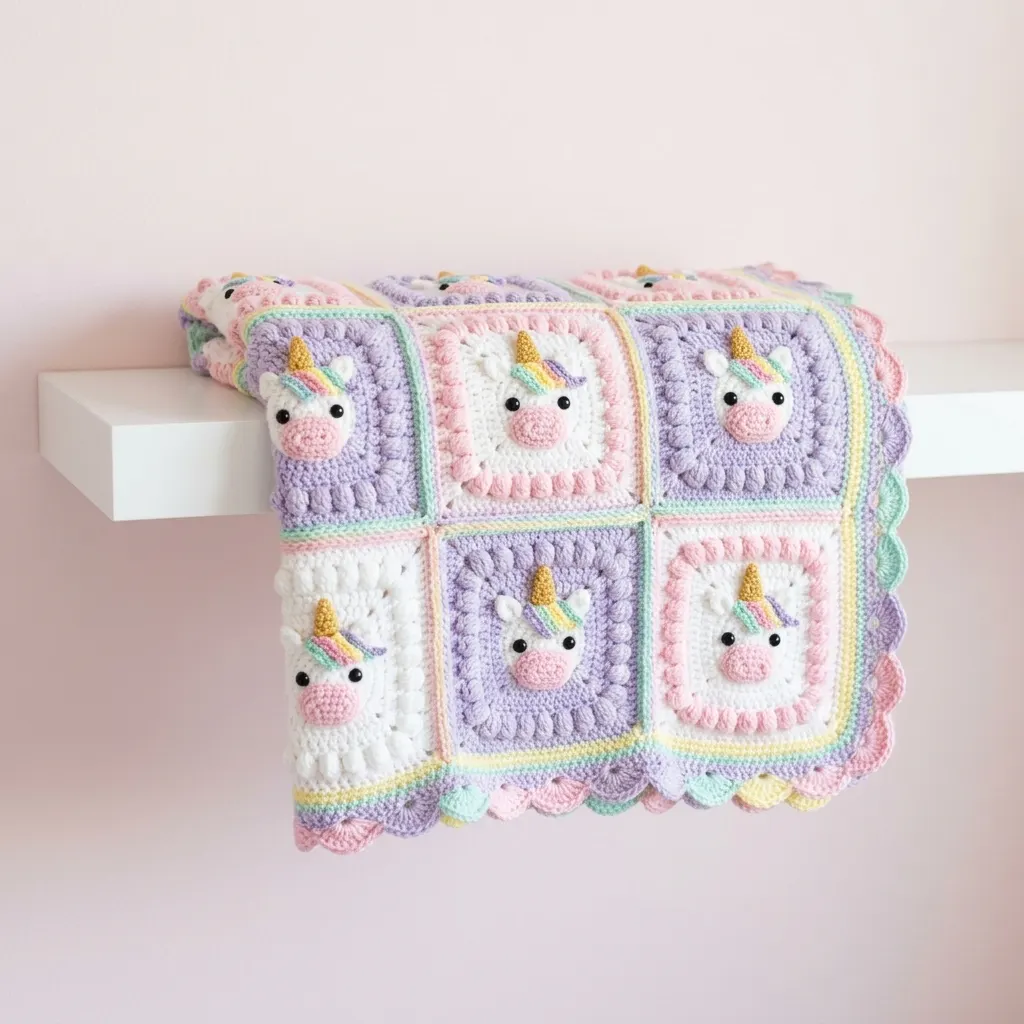
Unicorn Head (make in white)
Round 1: Using white yarn and 5.0mm hook, make a magic ring. Ch 2 (counts as first hdc), work 11 hdc into the ring. Join with sl st to top of beginning ch-2. Pull ring closed. (12 hdc)
Round 2: Ch 2, hdc in same st, 2 hdc in each st around. Join with sl st. (24 hdc)
Round 3: Ch 2, hdc in same st, hdc in next st, *2 hdc in next st, hdc in next st* around. Join with sl st. (36 hdc)
Round 4: Ch 1, sc in each st around. Join with sl st. (36 sc)
Fasten off, leaving a long tail for sewing.
Unicorn Muzzle (make in pale pink)
Round 1: Using pale pink yarn, make a magic ring. Ch 1, work 6 sc into the ring. Join with sl st. (6 sc)
Round 2: Ch 1, 2 sc in each st around. Join with sl st. (12 sc)
Round 3: Ch 1, sc in each st around. Join with sl st. (12 sc)
Fasten off, leaving a tail. Stuff lightly with fiberfill before attaching to give it that adorable 3D effect.
Unicorn Horn (make in golden yellow)
Row 1: Using golden yellow yarn and 3.5mm hook, ch 2. Work 3 sc in second ch from hook. Turn. (3 sc)
Row 2: Ch 1, sc2tog, sc in last st. Turn. (2 sc)
Row 3: Ch 1, sc2tog. (1 sc)
Fasten off, leaving a tail. The horn should form a small triangle.
Unicorn Ears (make 2 in white)
Ch 4. Work 3 dc in 4th ch from hook. Fasten off, leaving a tail for sewing.
Rainbow Mane Detail
This is optional but adds so much charm. Using your 3.5mm hook, chain 8 in pink, fasten off. Chain 8 in yellow, fasten off. Chain 8 in mint, fasten off. These small chains get tucked between the horn and ear to suggest a colorful mane.
Assembly of Unicorn Face
Position the muzzle on the lower third of the head circle and whip stitch in place, leaving the top open to add a tiny bit more stuffing if needed, then close.
Attach safety eyes above the muzzle, spacing them about 6 stitches apart. If using embroidered eyes, use black yarn to create French knots or small satin stitch circles.
Sew the horn to the top center of the head. Tuck the rainbow chain pieces behind the horn, fanning them slightly to one side. Sew the ears on either side of the horn.
Granny Square Construction
Now we build the square around your finished unicorn face. This is where the beginner friendly crochet pattern techniques really shine.
For Lavender Background Squares (make 6)
Round 1: Holding your completed unicorn face with the right side facing you, join lavender yarn to any stitch on the outer edge of the head. Ch 3 (counts as dc), work 35 more dc evenly around the entire unicorn head, placing stitches through the outer round. Join with sl st to top of ch-3. (36 dc)
Here’s a tip: try to space your stitches so you have roughly 9 dc on each “side” of the head, treating it like a square already.
Round 2: Ch 3, dc in next 7 sts, *3 dc in next st (corner made), dc in next 8 sts* 3 times, 3 dc in next st, join with sl st. (44 dc)
Round 3: Ch 3, dc in each st to corner, *3 dc in corner st, dc in each st to next corner* around, join with sl st. (52 dc)
Round 4: Repeat Round 3. (60 dc)
Round 5: Repeat Round 3. (68 dc)
Round 6 (Puff Stitch Round): Ch 2, *puff st in next st, ch 1, skip 1 st* around, working 3 puff sts in each corner space. Join with sl st.
This puff stitch round creates that beautiful textured border you see in the finished blanket.
Round 7: Join pink yarn. Ch 1, sc in each puff and ch-1 space around, working 3 sc in each corner. Join with sl st. Fasten off.
For White Background Squares (make 6)
Follow the same instructions as above, but use white yarn for Rounds 1 through 6 instead of lavender. The pink final round remains the same.
Joining Your Squares
Arrange your 12 completed squares in a pleasing pattern. I recommend alternating lavender and white squares in a checkerboard layout, 3 squares across and 4 squares down.
Joining Method: Using lavender yarn, hold two squares with wrong sides together. Working through both layers, sl st through the back loops only across one edge. This creates a neat, slightly raised seam on the right side.
Join all squares into rows first, then join the rows together.
Multi-Colored Border Instructions
This border is what takes the blanket from lovely to absolutely stunning. Take your time and enjoy watching it come together.
Round 1 (Yellow): Join pale yellow yarn to any corner. Ch 1, sc evenly around the entire blanket, working 3 sc in each corner. Join with sl st. Fasten off.
Round 2 (Mint Green): Join mint green yarn. Ch 1, sc in each st around, working 3 sc in each corner. Join with sl st. Fasten off.
Round 3 (Lavender): Join lavender yarn. Ch 3, dc in each st around, working 5 dc in each corner. Join with sl st.
Round 4 (Lavender Puff Round): Ch 2, *puff st, ch 1, skip 1* around. Join with sl st. Fasten off.
Round 5 (Pink Scallop): Join pink yarn. *Sc in next st, skip 2 sts, 5 dc in next st (shell made), skip 2 sts* around. Join with sl st. Fasten off.
Round 6 (Lavender Scallop): Join lavender yarn. Working behind the pink scallops, *sc between shells, 5 dc in center of pink shell* around. Join with sl st. Fasten off.
Weave in all ends thoroughly. Block your blanket by laying it flat on a towel, spritzing with water, and allowing to dry completely.
Care Instructions
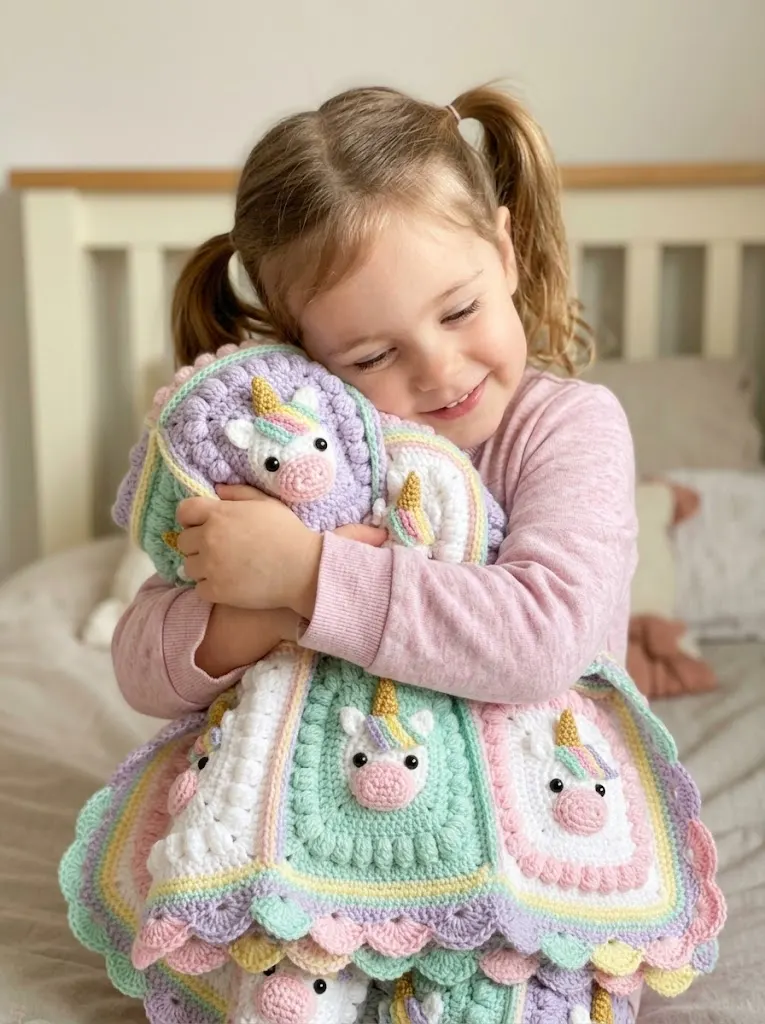
This blanket is designed to be loved hard. Machine wash on gentle cycle with cold water. Tumble dry low or lay flat to dry. The acrylic yarn will soften beautifully with each wash.
I really hope you love making this pastel rainbow unicorn granny square blanket as much as I loved designing it. The combination of sweet unicorn faces, textured stitches, and that gorgeous layered border creates a blanket that’s truly heirloom quality.
Thank you so much for choosing this pattern for your next project. I’d absolutely love to see your finished blanket, so please tag me on Instagram or share in our Facebook group. Seeing your creations genuinely makes my day.
If this pattern made you smile, go ahead and save it to your Pinterest boards so you can find it easily when you’re ready to start. And if you make one, please drop a comment below. I read every single one, and I can’t wait to hear which color combination you choose for your unicorn blanket!
You Might Also Like
- Watermelon Slice Couple Amigurumi Free Crochet Pattern
- Ocean Blue Chameleon Amigurumi Free Crochet Pattern
- Blush Pink Tiered Baby Romper Free Crochet Pattern
- Cream Boho Tassel Fringe Clutch Free Crochet Pattern