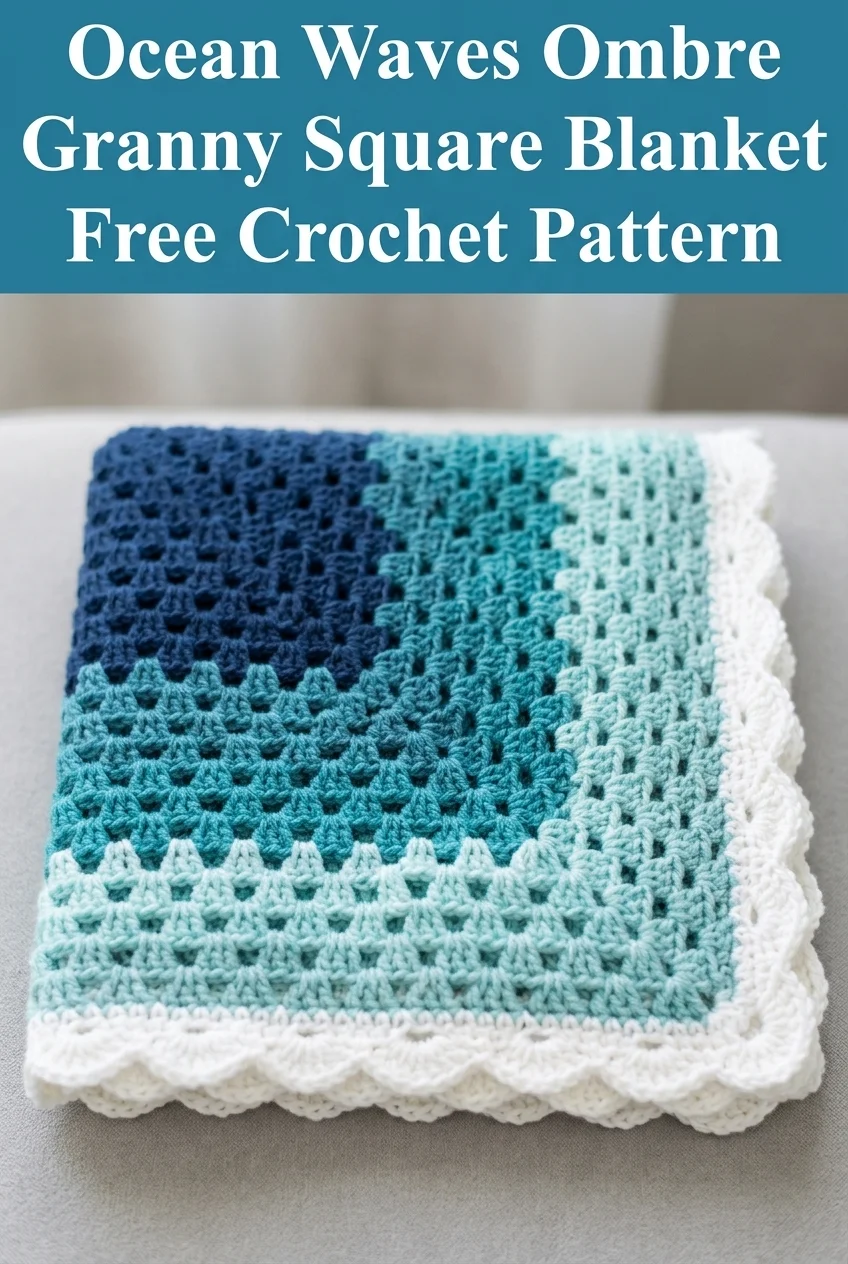
Ocean Waves Ombre Granny Square Blanket Free Crochet Pattern
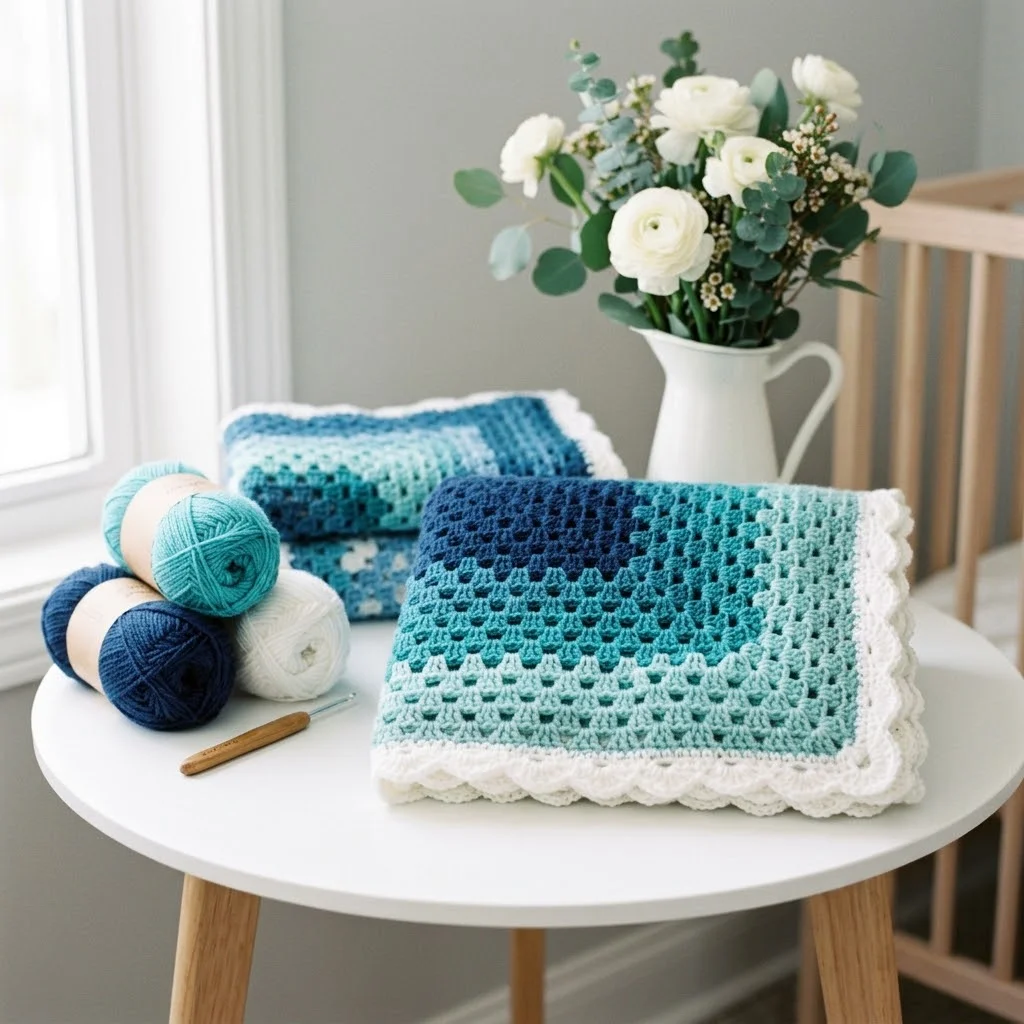
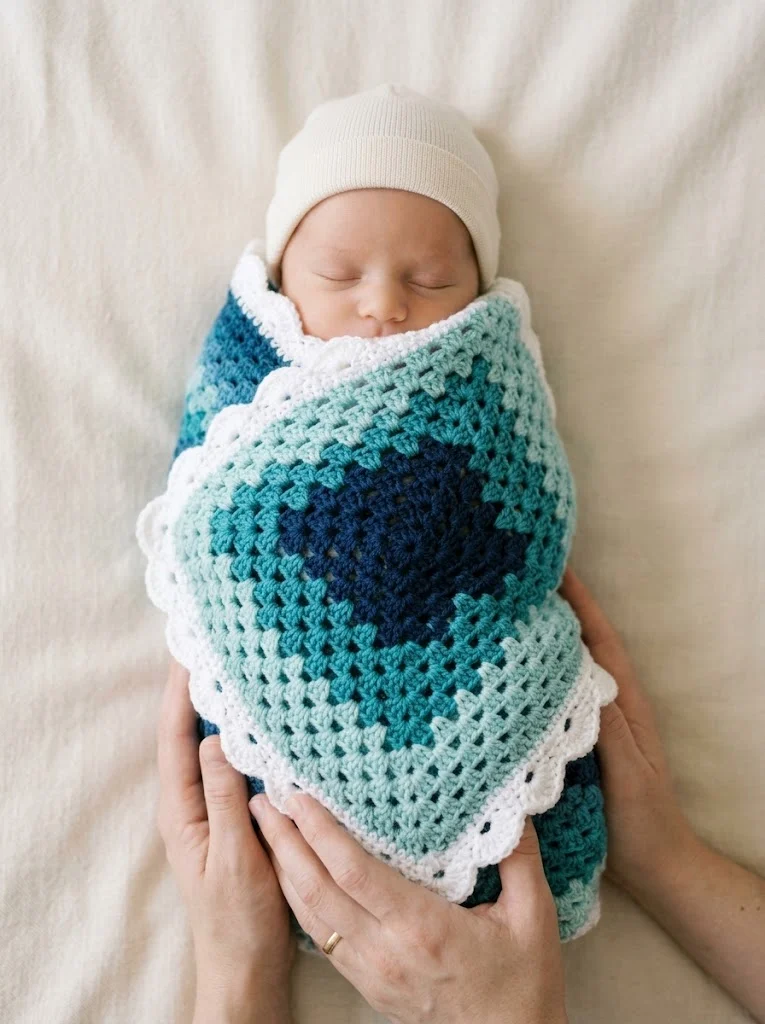
Think granny squares are too complicated? That ombre effect looks impossible to achieve? I’m here to tell you that this stunning blanket is far easier than it appears. If you can double crochet and chain, you already have every skill you need. Seriously. The gorgeous color gradient happens automatically as you work from the center outward, switching colors at natural breaking points. Whether you’ve never made a granny square before or you’re a seasoned crocheter looking for a satisfying project, this Ocean Waves Ombre Granny Square Blanket will meet you exactly where you are. The classic granny stitch creates that beautiful lacy texture, while the scalloped white border gives it a polished, finished look perfect for baby showers, nursery decor, or snuggling on the couch.
Why You’ll Love This Crochet Pattern
This blanket works up in one continuous piece from the center out. No joining dozens of tiny squares. No complicated color work charts. Just simple rounds that grow naturally, with color changes happening at the end of complete rounds so you never have to carry yarn or deal with messy color switches mid-row.
The ombre effect moves from deep navy in the center through rich teal, soft aqua, pale mint, and finally crisp white at the border. Each color section spans several rounds, giving that smooth gradient transition that looks so impressive but takes zero extra effort on your part.
The granny stitch pattern creates natural openings in the fabric, which means this blanket is lighter and more breathable than solid stitch blankets. Perfect for layering in a crib or using as a year-round throw.
Skill Level
Easy to Intermediate
If you’ve completed even one basic crochet project, you can absolutely make this blanket. The pattern uses only fundamental stitches repeated in a simple rhythm. The “intermediate” label comes from managing the corner increases and keeping your work flat, but I’ll walk you through both.
Finished Dimensions
Approximately 32 inches by 32 inches (81 cm by 81 cm)
This is a generous baby blanket size, also called a “receiving blanket” or “stroller blanket” size. You can easily make it larger by continuing the pattern with additional rounds before adding the border.
Materials Needed
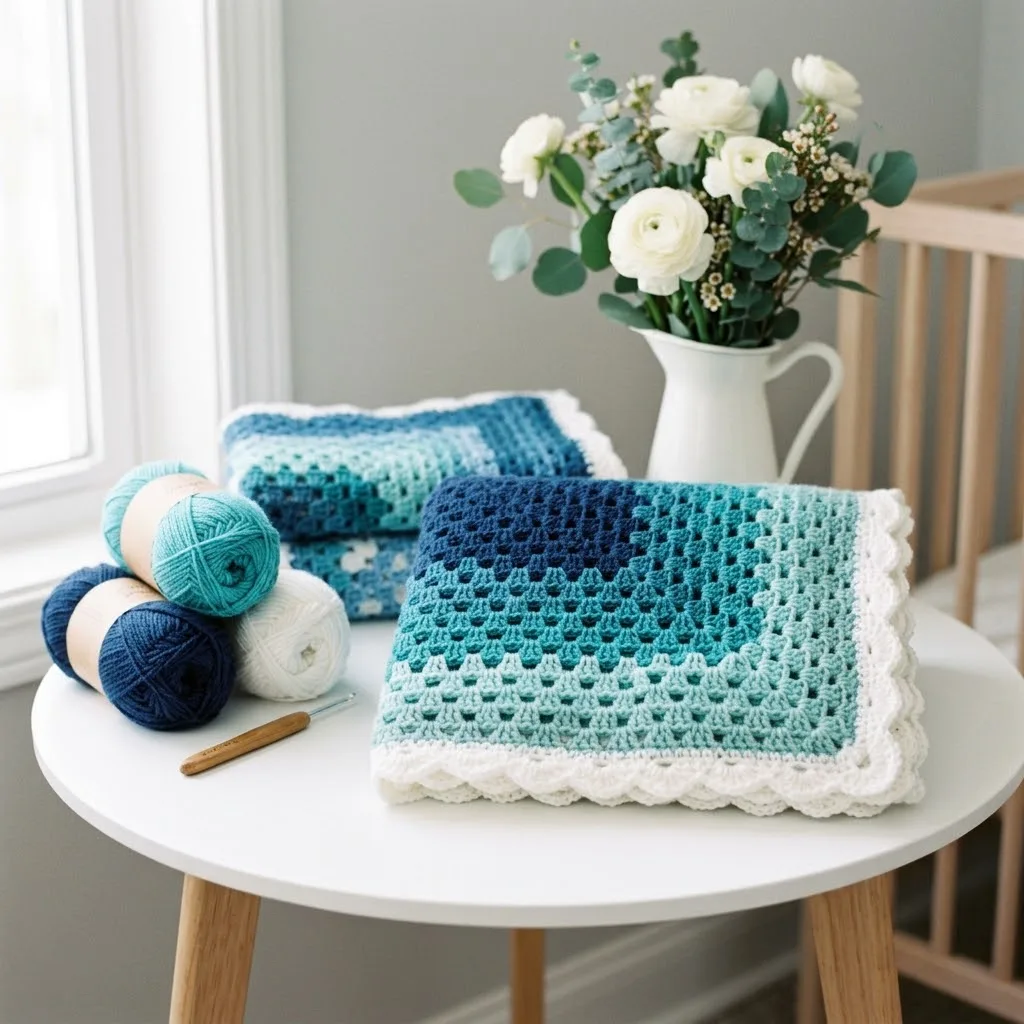
Yarn
Worsted weight yarn (weight category 4) in five colors:
Total yarn needed: approximately 870 yards / 796 meters
I recommend a soft acrylic blend or 100% cotton for baby items. Look for yarn labeled “baby soft” if this is for a little one. Acrylic is machine washable, which new parents will thank you for endlessly.
Suggested yarn brands: Lion Brand Pound of Love, Caron Simply Soft, Bernat Softee Baby, or any worsted weight yarn with good stitch definition.
Hook
Size H/8 (5.0 mm) crochet hook
Adjust your hook size up or down if needed to achieve gauge. A slightly larger hook will create a lacier, more open fabric. A smaller hook will make the blanket denser and smaller.
Notions
Gauge
One completed granny square unit (3 dc cluster, ch 2, 3 dc cluster) = approximately 1.5 inches
First 4 rounds = approximately 4 inches corner to corner
Gauge is less critical for blankets than for garments. If your gauge is slightly off, your blanket will simply be a bit larger or smaller. Just use consistent tension throughout.
Abbreviations and Stitch Definitions
Let me break down every stitch and term you’ll encounter:
Ch (Chain): The foundation stitch. Yarn over, pull through the loop on your hook. Creates one chain.
Sl st (Slip Stitch): Insert hook into stitch, yarn over, pull through both the stitch and the loop on your hook in one motion. Used for joining rounds.
Dc (Double Crochet): Yarn over, insert hook into stitch, yarn over and pull up a loop (3 loops on hook), yarn over and pull through 2 loops (2 loops remain), yarn over and pull through remaining 2 loops. One double crochet completed.
Ch-sp (Chain Space): The gap or hole created by chain stitches in the previous round. You’ll work into these spaces, not into individual chains.
3-dc cluster: A group of 3 double crochet stitches worked into the same stitch or space. This is the building block of the granny square.
Corner: Where you work (3 dc, ch 2, 3 dc) all into the same chain-2 space. This creates the increases that keep your square growing and flat.
Pattern Notes Before You Begin
Read this section first. It will save you frustration later.
1. This blanket is worked in continuous rounds from the center outward. You will not turn your work. The right side always faces you.
2. Each round begins with a chain-3, which counts as your first double crochet. This is important for your stitch counts.
3. Color changes happen at the end of complete rounds. When you slip stitch to join, finish the slip stitch with the new color. Simply drop the old color, insert hook, yarn over with new color, and pull through to join.
4. Weave in ends as you go or save them all for the end. Your choice. I prefer weaving in after each color section so I don’t face a mountain of ends at the finish.
5. The corners are what make this a square instead of a wonky circle. Every round, you’ll work (3 dc, ch 2, 3 dc) into each corner ch-2 space. Don’t skip this. Don’t modify it. Trust the math.
Ocean Waves Ombre Granny Square Blanket Crochet Pattern
Center Start with Color A (Navy)
Magic Ring Method (recommended): Create an adjustable loop. If you’re not comfortable with magic rings, you can chain 4 and slip stitch to form a ring instead.
Round 1: Ch 3 (counts as first dc here and throughout), 2 dc into ring, ch 2, *3 dc into ring, ch 2* repeat 3 more times. Sl st to top of ch-3 to join. (12 dc, 4 ch-2 spaces)
You should now have a small square shape with 4 corners (the ch-2 spaces) and 4 sides (the 3-dc clusters).
Round 2: Sl st into next 2 dc and into corner ch-2 space. Ch 3, 2 dc in same ch-2 space, ch 2, 3 dc in same ch-2 space (first corner made), ch 1, *(3 dc, ch 2, 3 dc) in next corner ch-2 space, ch 1* repeat around. Sl st to top of ch-3 to join. (24 dc, 4 corner ch-2 spaces, 4 ch-1 spaces)
Round 3: Sl st to corner ch-2 space. Ch 3, 2 dc in same space, ch 2, 3 dc in same space (corner), ch 1, 3 dc in next ch-1 space, ch 1, *(3 dc, ch 2, 3 dc) in corner, ch 1, 3 dc in next ch-1 space, ch 1* repeat around. Sl st to join. (36 dc, 4 corners, 8 ch-1 spaces)
Round 4: Work corner in each corner ch-2 space. Work 3 dc in each ch-1 space along the sides with ch 1 between each cluster. Sl st to join. (48 dc, 4 corners, 12 ch-1 spaces)
Round 5: Continue pattern. Corner in each corner. 3-dc clusters in each ch-1 space with ch 1 between. Sl st to join. Change to Color B (Teal) on final sl st. (60 dc, 4 corners, 16 ch-1 spaces)
Cut Color A, leaving a 6-inch tail for weaving in.
Color B Section (Teal)
Rounds 6 through 10: Continue the established pattern. Each round adds one more 3-dc cluster per side.
Change to Color C (Aqua) on the final slip stitch of Round 10.
Color C Section (Aqua)
Rounds 11 through 16: Continue pattern.
Change to Color D (Mint).
Color D Section (Mint)
Rounds 17 through 23: Continue pattern.
Change to Color E (White).
Color E and Scallop Border (White)
Rounds 24 through 26: Continue granny pattern for 3 more rounds.
Scallop Border
Round 27 (Scallop Round): Ch 1. Work 1 sc (single crochet) in same st. *Skip 2 sts, work 5 dc in next st or space (shell made), skip 2 sts, 1 sc in next st.* Repeat around entire blanket, adjusting slightly at corners to keep the scallops even. At each corner ch-2 space, work (2 dc, ch 2, 2 dc) to maintain the corner shape. Sl st to first sc to join.
Round 28: Ch 1, sc in each st around, working 3 sc in each corner ch-2 space. Sl st to join. Fasten off.
Finishing Your Blanket
Weave in all ends using your yarn needle. Work each tail through several stitches on the wrong side, then double back in the opposite direction. This prevents ends from working loose during washing.
Block your blanket for a professional finish. Wet blocking works beautifully for this project. Soak the blanket in lukewarm water for 15 minutes, gently squeeze out excess water (don’t wring), lay flat on blocking mats or towels, and pin the corners to square them up. Let dry completely.
Steam blocking also works well if you’re short on time. Hold your steam iron a few inches above the fabric and let the steam relax the fibers without touching the iron to the yarn.
Customization Ideas
Make it bigger: Simply continue the granny pattern for additional rounds before starting the border. Each round adds approximately 1 inch to the overall size.
Change the colorway: Try sunset shades (yellow to orange to red to burgundy), rainbow progression, or monochromatic tones in your favorite color family.
Add texture: Substitute front post double crochets in the border for a raised effect.
Different border: Swap the scallop edge for a simple single crochet border, a picot edge, or a shell border for a different look.
Care Instructions
For acrylic yarn: Machine wash cold on gentle cycle, tumble dry low or lay flat to dry.
For cotton yarn: Machine wash cold, lay flat to dry to prevent stretching.
Always check your specific yarn label for care recommendations.
Troubleshooting Common Issues
Blanket is curling or cupping: Your tension may be too tight. Try going up one hook size, or consciously loosen your grip as you work.
Blanket is ruffling or wavy: Your tension may be too loose, or you may have added extra stitches somewhere. Count your stitches at the end of each round.
Corners look wonky: Make sure you’re working the full corner sequence (3 dc, ch 2, 3 dc) in every corner ch-2 space, every single round.
Color change looks messy: Complete the final yarn over of your joining slip stitch with the new color. This makes the transition cleaner.
I truly hope you enjoy making this Ocean Waves Ombre Granny Square Blanket as much as I enjoyed designing it. This crochet pattern makes such a thoughtful handmade gift, and those gradient colors are endlessly satisfying to watch develop round by round.
Thank you so much for choosing this pattern for your next project. If you make one, I would absolutely love to see it. Tag me on Instagram or share a photo in my Facebook group. Seeing your creations genuinely makes my whole week.
If this pattern is going on your project list for later, save it to your Pinterest boards so you can find it easily when you’re ready to start. And please drop a comment below if you make this blanket. I love hearing how your projects turn out and seeing what colors you choose.
You Might Also Like
- Pastel Pink Dragon Amigurumi Plush Free Crochet Pattern
- Galaxy Purple Chameleon Amigurumi Free Crochet Pattern
- Tinkerbell Green Fairy Baby Dress Free Crochet Pattern
- Sunshine Lemon Tiered Baby Dress Free Crochet Pattern