Ocean Teal Woven Purse on Linen Free Pattern
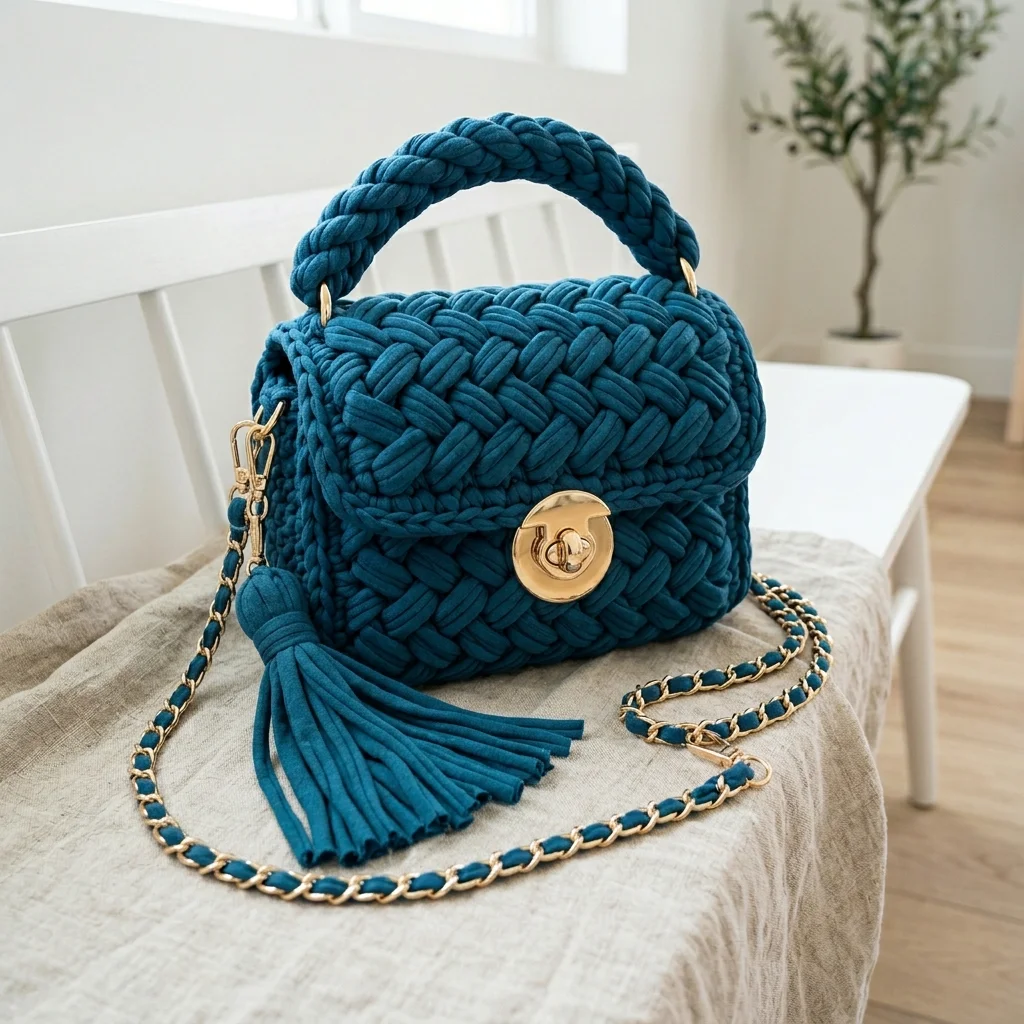
Last month, I was getting ready for a friend’s birthday dinner and realized I had absolutely nothing that matched my new dress. My closet was full of bags, but they were all wrong. Too casual. Too bulky. Too boring. I stood there staring at my yarn stash and thought, “What if I just made something?” Three days later, I walked into that restaurant with this purse on my arm, and honestly? I got more compliments on the bag than the dress. This Ocean Teal Woven Purse has become my go-to project to recommend when someone asks me for a crochet pattern that looks expensive but costs a fraction of designer prices.
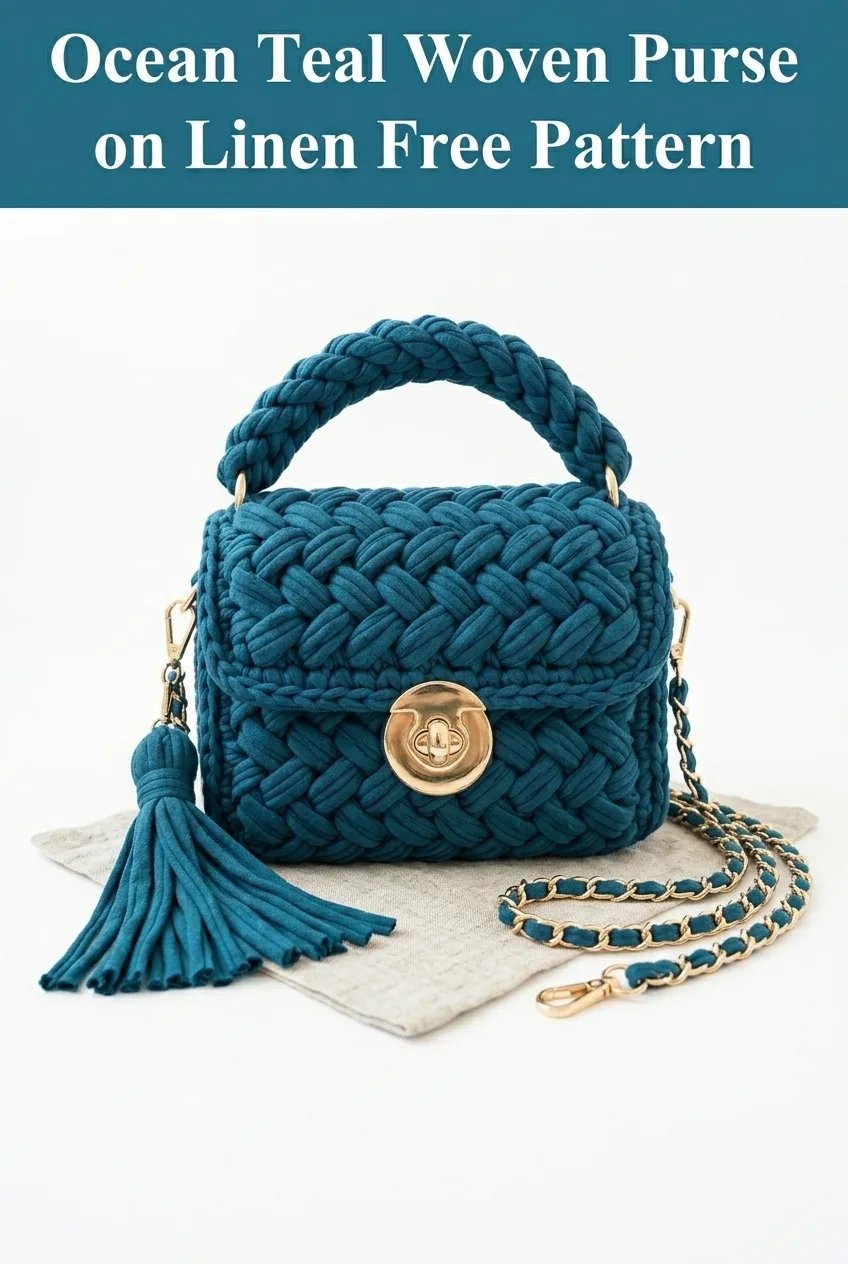
This structured crochet purse uses a gorgeous woven-look stitch pattern that creates the illusion of basket weaving. The texture is absolutely stunning in person. You will learn how to work with t-shirt yarn, create a sturdy base, attach hardware like a pro, and finish with a trendy chain strap. Whether you are intermediate or adventurous beginner ready for a challenge, this crochet tutorial walks you through every single step.
Why You Will Love This Crochet Purse Pattern
This is not your average crochet bag. The woven stitch texture gives it a high-end, boutique look that people genuinely mistake for a purchased designer piece. The structured shape holds its form beautifully, and the gold hardware elevates the entire design.
What makes this pattern special:
This step by step crochet pattern gives you everything you need to recreate this exact purse from scratch.
Finished Dimensions
Materials Needed
Yarn:
Hook:
Hardware:
Tools:
Abbreviations and Stitch Definitions
Before we begin, let me walk you through every stitch and term you will encounter. Even if you know these already, a quick refresher never hurts.
Chain (ch): The foundation stitch. Yarn over, pull through the loop on your hook. This creates your starting row.
Single Crochet (sc): Insert hook into stitch, yarn over, pull up a loop (2 loops on hook), yarn over, pull through both loops. This is your basic building block stitch.
Half Double Crochet (hdc): Yarn over, insert hook into stitch, yarn over, pull up a loop (3 loops on hook), yarn over, pull through all 3 loops at once.
Slip Stitch (sl st): Insert hook into stitch, yarn over, pull through both the stitch and the loop on your hook in one motion. Used for joining and moving across stitches.
Front Post Double Crochet (FPdc): Yarn over, insert your hook from front to back to front around the post (the vertical part) of the stitch in the row below, yarn over, pull up a loop, then complete as a regular double crochet. This pushes the stitch forward toward you.
Back Post Double Crochet (BPdc): Yarn over, insert your hook from back to front to back around the post of the stitch in the row below, yarn over, pull up a loop, then complete as a regular double crochet. This pushes the stitch backward away from you.
Increase (inc): Work 2 stitches into the same stitch.
Magic Ring (MR): An adjustable starting loop that can be pulled tight to close completely. If you are not comfortable with magic rings, you can chain 4 and slip stitch to join, then work your first round into the center.
Gauge
Gauge in t-shirt yarn is a bit forgiving because we want a tight, sturdy fabric. Work a small swatch in single crochet.
Target gauge: 8 sc x 8 rows = 4 inches (10 cm) square
If your swatch is too loose, go down a hook size. Too tight? Go up. A loose gauge will result in a floppy bag that does not hold its shape.
Pattern Notes
The Pattern
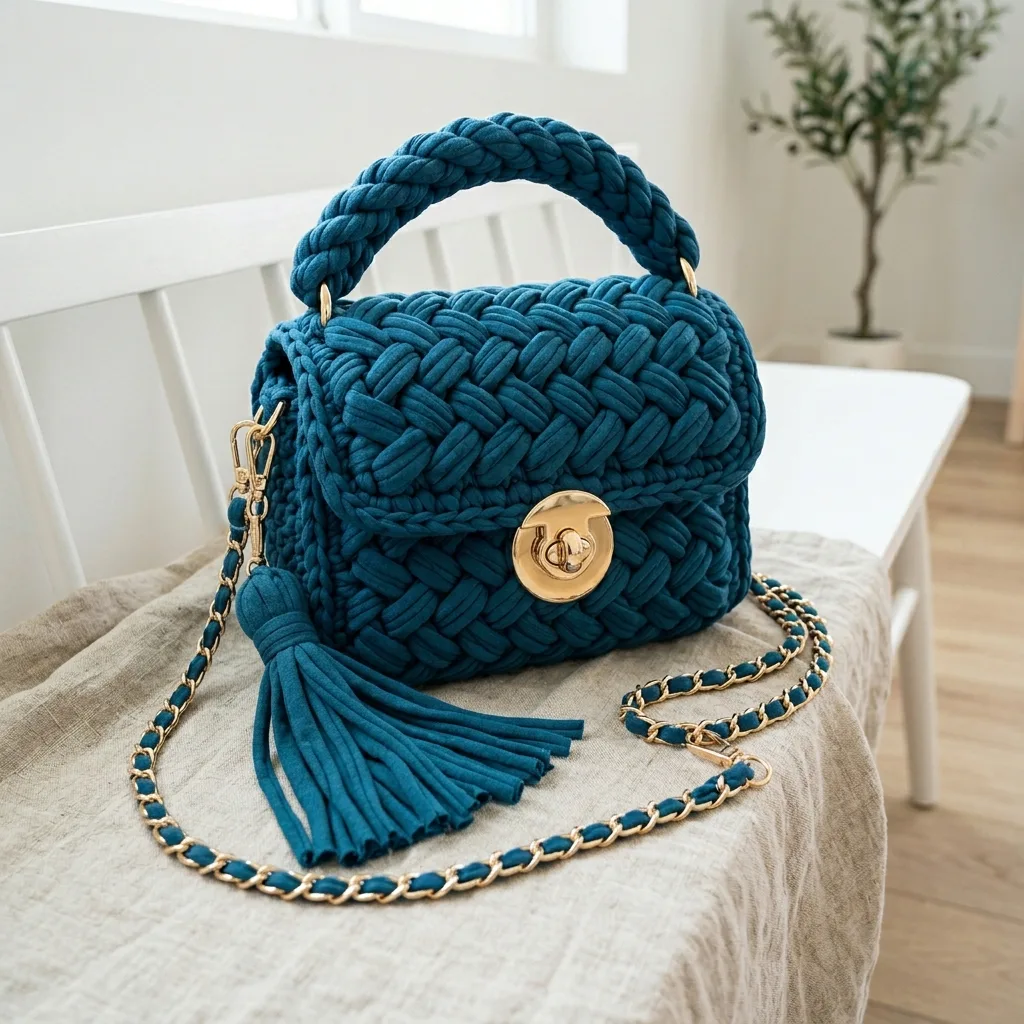
Part 1: Base
The base creates the rectangular bottom of your purse.
Row 1: Ch 17. Starting in the 2nd ch from hook, sc in each ch across. (16 sc)
Row 2: Ch 1, turn. Sc in each st across. (16 sc)
Rows 3 through 10: Repeat Row 2. (16 sc)
You should have a rectangle approximately 8 inches by 3 inches.
Do not fasten off. We will continue directly into the body.
Part 2: Body (Woven Texture)
Now comes the fun part. We will work around the entire edge of the base, then build up the sides using post stitches for that beautiful woven look.
Setup Round: Ch 1. Work 16 sc across the top of the base, 10 sc evenly down the short side, 16 sc across the bottom (working into the foundation chain), 10 sc up the remaining short side. Sl st to first sc to join. (52 sc)
Place a stitch marker at the beginning of your round.
Round 1: Ch 2 (counts as first hdc here and throughout). Hdc in each st around. Sl st to top of ch-2 to join. (52 hdc)
Round 2 (Establish Woven Pattern):
Ch 2. *FPdc around next st, BPdc around next st* repeat around. Sl st to join. (52 sts)
This is where the magic happens. Your FPdc stitches will pop forward, and your BPdc stitches will recede, creating that woven texture.
Round 3: Ch 2. *BPdc around FPdc from previous round, FPdc around BPdc from previous round* repeat around. Sl st to join. (52 sts)
Do you see it? By reversing which stitches get front posts and which get back posts, you create that basketweave effect.
Rounds 4 through 14: Continue alternating the pattern. On even rounds, work FPdc over the stitches that were BPdc, and BPdc over the stitches that were FPdc. On odd rounds, reverse again. (52 sts each round)
After Round 14, your body should measure approximately 5 to 6 inches tall.
Round 15 (Top Edge): Ch 1. Sc in each st around. Sl st to join. (52 sc)
Fasten off and weave in your end.
Part 3: Flap
The flap is worked flat and then attached to the back of the purse.
Row 1: Ch 17. Starting in 2nd ch from hook, hdc in each ch across. (16 hdc)
Row 2: Ch 2, turn. *FPdc around next st, BPdc around next st* repeat across. (16 sts)
Row 3: Ch 2, turn. *BPdc around FPdc, FPdc around BPdc* repeat across. (16 sts)
Rows 4 through 10: Continue alternating the woven pattern as established. (16 sts)
Row 11 (Shaping): Ch 2, turn. Skip first st, work in pattern to last 2 sts, skip next st, work last st. (14 sts)
Row 12: Ch 2, turn. Work in pattern across. (14 sts)
Row 13: Ch 2, turn. Skip first st, work in pattern to last 2 sts, skip next st, work last st. (12 sts)
Row 14: Ch 1, turn. Sc in each st across. (12 sc)
Edging: Ch 1, do not turn. Work sc evenly around the entire flap (approximately 3 sc per 2 rows on the sides). Sl st to join.
Fasten off, leaving a long tail for sewing.
Part 4: Braided Handle
This handle gives the purse that professional, boutique look.
Step 1: Cut 6 strands of t-shirt yarn, each approximately 30 inches long.
Step 2: Tie them together with an overhand knot at one end, leaving a 2-inch tail.
Step 3: Separate into 3 groups of 2 strands each.
Step 4: Braid tightly until your braid measures approximately 7 inches.
Step 5: Tie off with another overhand knot.
Step 6: Use your tapestry needle and a separate strand of yarn to wrap around each knotted end several times, creating a clean, finished look.
Part 5: Tassel
This is totally optional, but it adds such a lovely finishing touch.
Step 1: Cut approximately 20 strands of yarn, each 8 inches long.
Step 2: Fold them in half.
Step 3: Take a separate strand and wrap it tightly around the bundle about 1 inch from the folded top, creating the tassel head.
Step 4: Knot securely and hide the ends inside the tassel.
Step 5: Trim the bottom ends evenly.
Assembly Instructions
Attaching the Flap
Step 1: Position the flap along the back of the purse, centered and aligned with the top edge.
Step 2: Using your long tail and tapestry needle, whip stitch the flap to the purse body. Work through both layers, keeping stitches even and tight.
Step 3: Weave in the end securely.
Installing the Twist Lock
This is easier than it looks. I promise.
Step 1: Close the flap over the front of the purse naturally. Mark where the center of the flap sits.
Step 2: Your twist lock will have two parts: the decorative turn piece and the backing plate with prongs.
Step 3: For the flap: Position the backing plate on the inside of the flap, push the prongs through the yarn fabric. On the outside, place the decorative piece and secure. Most twist locks simply require bending the prongs flat with a small screwdriver.
Step 4: For the purse body: Position the catch plate on the front of the purse, aligned with the turn piece. Push prongs through, secure backing on the inside.
Take your time with this step. If the holes feel too small, gently widen them with your hook.
Attaching the Handle
Step 1: Position the handle ends on the sides of the purse, at the seam where the front and back meet the sides.
Step 2: Thread each handle end through a D-ring.
Step 3: Fold the handle end back on itself and sew securely using your tapestry needle.
Attaching the Chain Strap
Step 1: Hook a swivel clasp onto each D-ring.
Step 2: Attach the chain strap to each swivel clasp.
Many chain straps come with yarn already woven through. If yours does not, simply weave a strand of your t-shirt yarn through the chain links for that cohesive look.
Adding the Tassel
Attach your tassel to one of the D-rings using a simple loop or yarn strand. This adds movement and personality to your finished purse.
Troubleshooting Tips
My bag is too floppy: Your tension is too loose. Start over with a smaller hook, or work with tighter tension throughout.
The woven pattern is not showing: Make sure you are truly alternating your front and back post stitches each round. Mark your first stitch of each round so you do not lose track.
My hardware keeps spinning: Add a small amount of clear nail polish or fabric glue behind the backing plate to secure it.
The flap does not lay flat: Block your flap before attaching. Wet it lightly, shape it, and let it dry completely.
Care Instructions
Pattern Variations to Try
Once you have mastered this beginner friendly crochet purse, try these variations:
Final Thoughts on This Crochet Purse Pattern
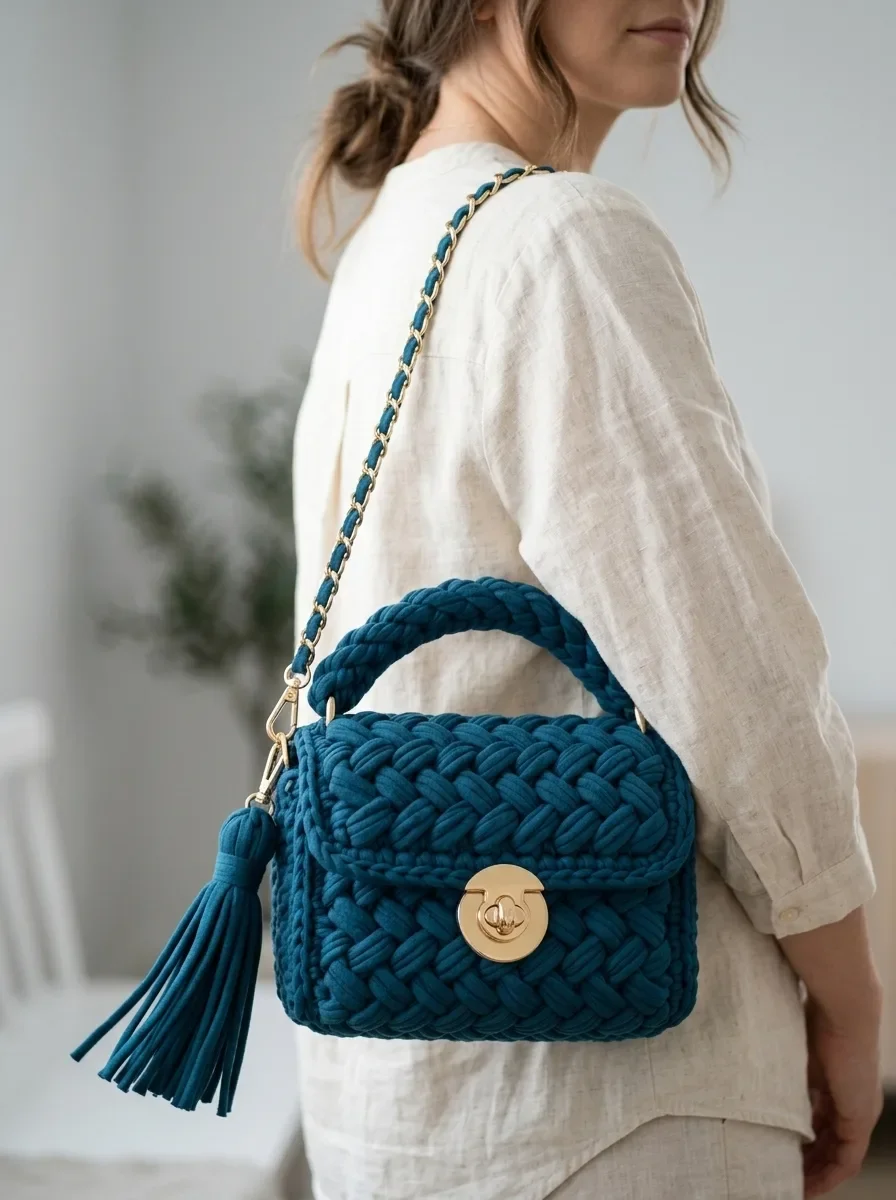
I cannot tell you how satisfying it is to carry something you made yourself. This Ocean Teal Woven Purse looks like it belongs in a boutique window, but you made it with your own two hands and a hook. Every time someone asks where you got it, you get to say, “I made it.” And that never gets old.
Thank you so much for choosing this pattern. I truly hope you love making it as much as I loved designing it. If you create your own version, I would absolutely love to see it. Tag me on Instagram or share it in our Facebook group. Seeing your finished projects genuinely makes my day.
If you loved this pattern, go ahead and save it to your Pinterest boards so you can find it easily when you are ready to start. And please, drop a comment below if you make one. I read every single comment and would love to hear how yours turns out.
You Might Also Like
- Terracotta Rust Textured Clutch Bag Free Crochet Pattern
- Sage Green Mesh Tie Cardigan Free Crochet Pattern
- Dusty Rose Mesh Crochet Sneaker Boots Free Pattern
- Blush Pink Spiral Envelope Clutch Free Crochet Pattern