Ocean Breeze Ombre Braided Purse Free Crochet Pattern
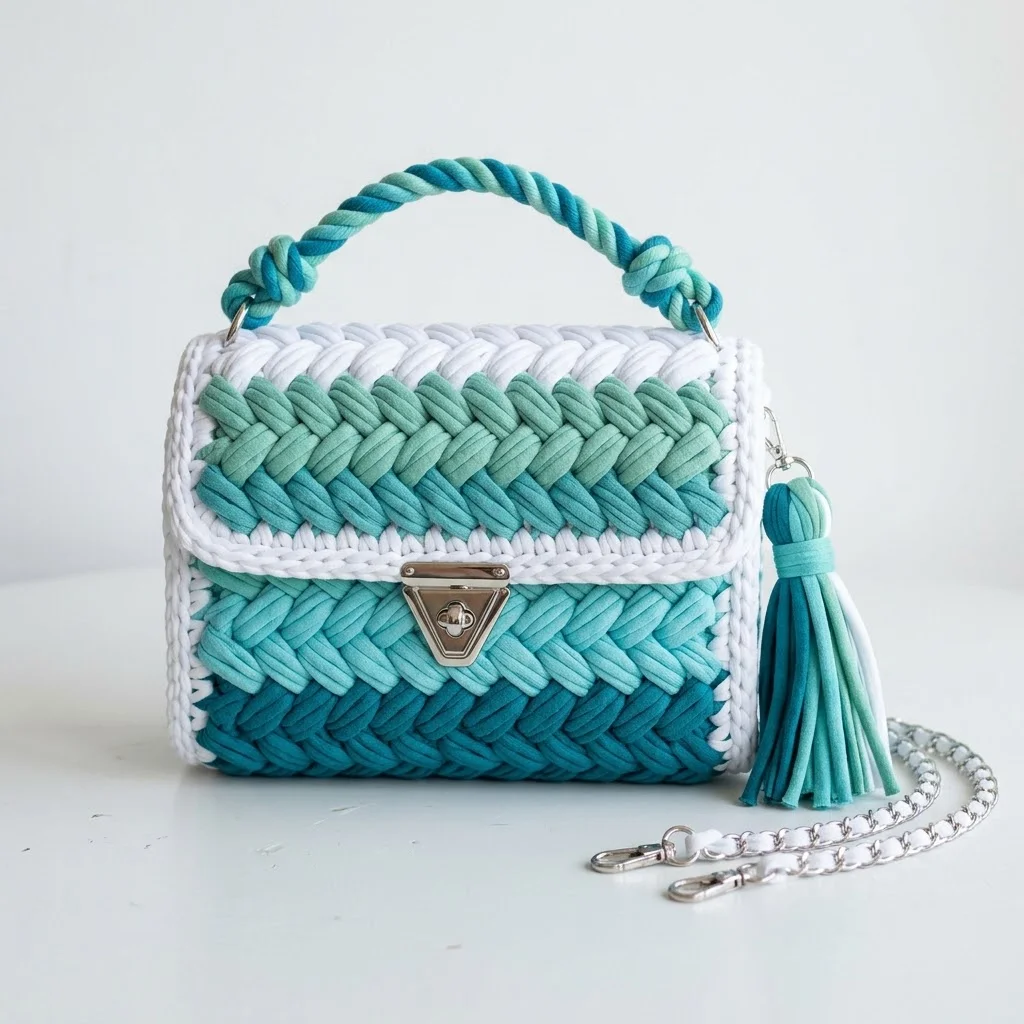
OKAY, this one is a SHOWSTOPPER. I am not exaggerating when I say this Ocean Breeze Ombre Braided Purse works up faster than you would expect for something this stunning. We are talking a weekend project that looks like you spent weeks on it. The braided stitch creates this gorgeous woven texture that screams high-end boutique, but honestly? If you can work basic stitches, you can absolutely make this bag. It is one of those projects where people will stop you on the street asking where you bought it. Gift potential? Through the roof. Treat yourself potential? Even higher.
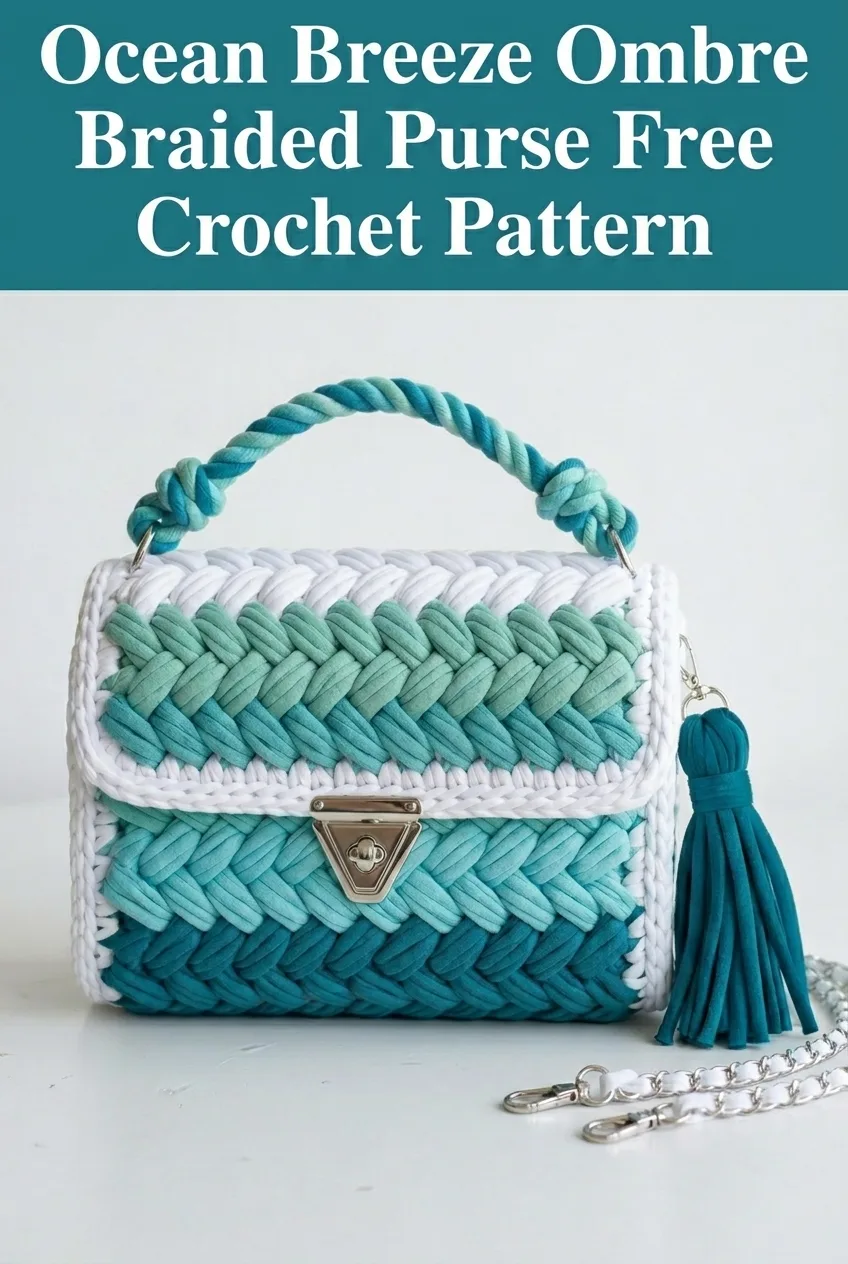
Why You Will Love This Crochet Purse Pattern
This structured handbag combines the softness of t-shirt yarn with professional hardware for a polished, designer look. The ombre color palette transitions beautifully from deep teal through soft sage to crisp white, giving the bag visual depth without complicated colorwork techniques.
What makes this crochet tutorial special is the braided stitch pattern. It mimics the look of woven leather or knit herringbone, but it is worked entirely in crochet. The texture is substantial, the structure is firm, and the finished product holds its shape perfectly.
Whether you are new to bag making or a seasoned crocheter looking for your next statement piece, this step by step pattern walks you through every detail.
Skill Level
Intermediate. You should be comfortable with basic stitches and working in continuous rounds. The braided stitch technique requires attention to yarn placement, but I will break it down completely. If this is your first structured bag, take your time and you will do great.
Finished Dimensions
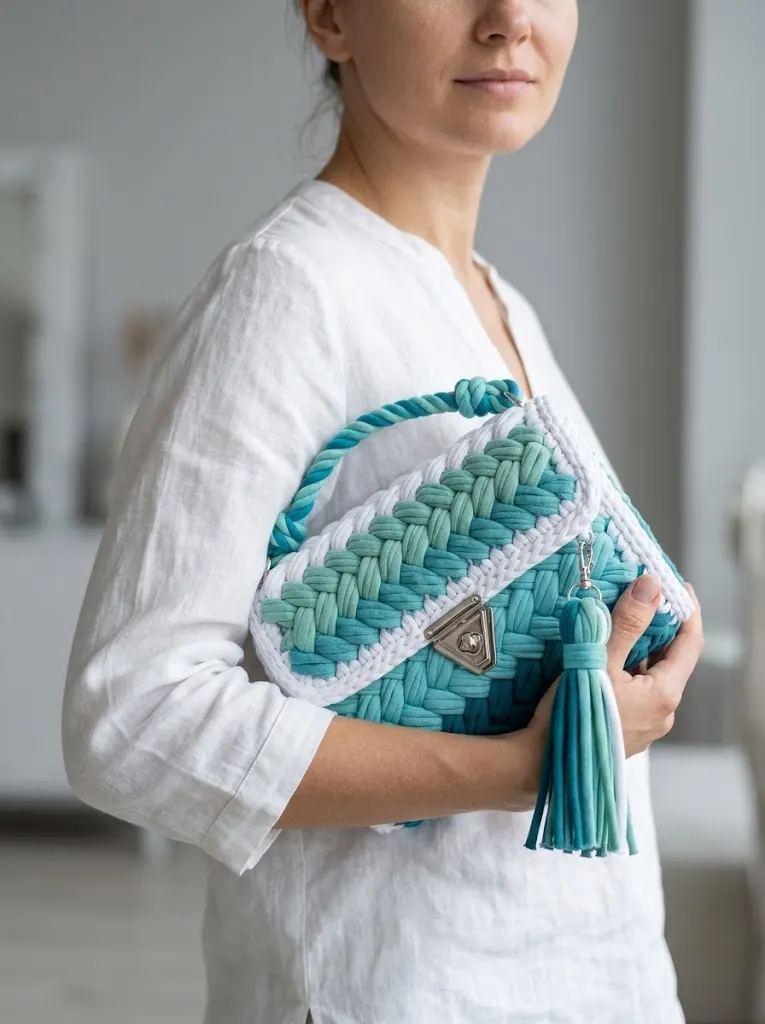
These measurements create a perfect small handbag size, ideal for essentials like your phone, wallet, keys, and lipstick.
Materials Needed
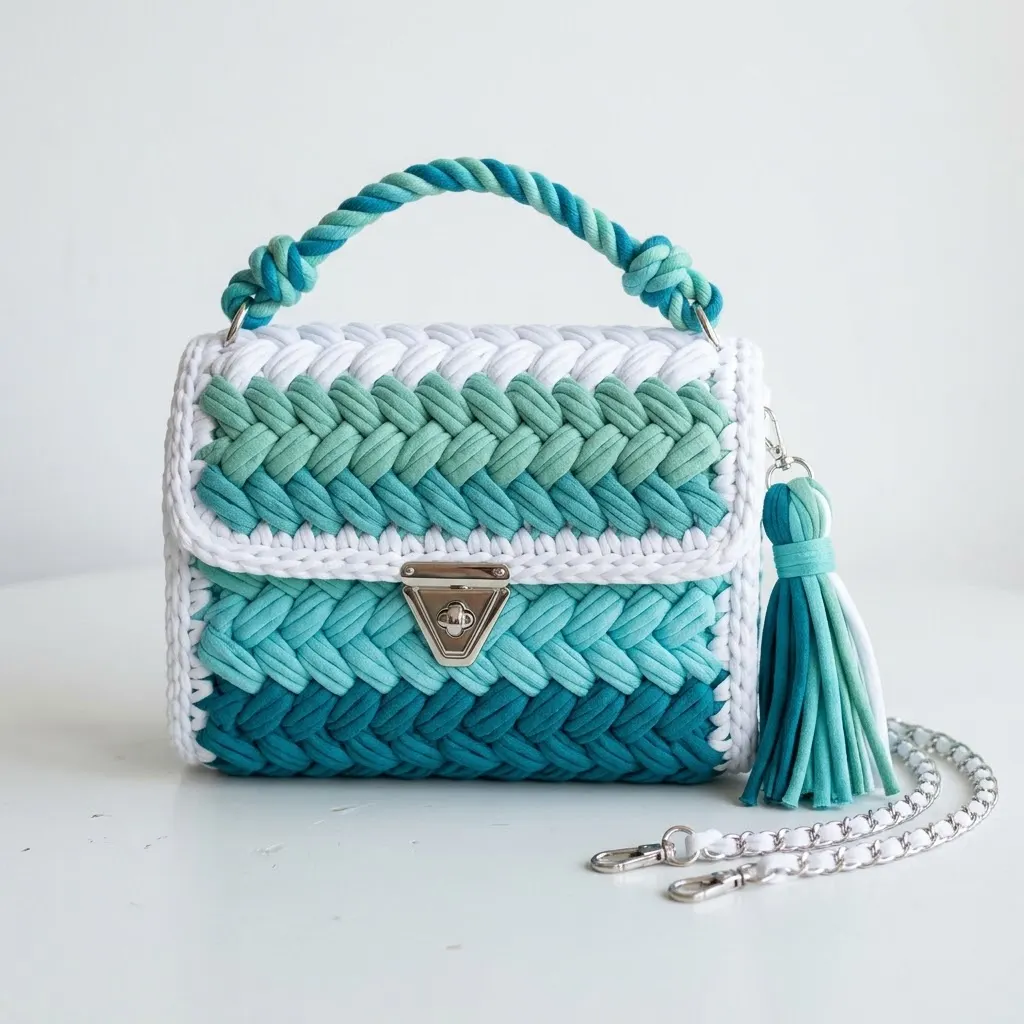
Yarn
– Deep teal: approximately 150 yards
– Medium teal/aqua: approximately 100 yards
– Soft sage green: approximately 100 yards
– Light mint: approximately 75 yards
– White: approximately 200 yards
T-shirt yarn is a super bulky weight yarn made from jersey cotton fabric strips. It creates substantial, structured fabric perfect for bags. Popular brands include Hoooked Zpagetti, Lily Sugar’n Cream Scrub Off, or you can cut your own from old t-shirts.
Hook
T-shirt yarn varies widely in thickness between brands. Make a small swatch first to ensure your fabric is firm enough to hold structure but not so tight you cannot work the stitches.
Hardware and Notions
Optional Supplies
Abbreviations and Stitch Definitions
Before we dive into the pattern, let me define every stitch and abbreviation you will encounter.
ch = chain: Yarn over, pull through loop on hook. This creates the foundation for your work.
sl st = slip stitch: Insert hook, yarn over, pull through both the stitch and the loop on your hook in one motion. Used for joining and creating invisible seams.
sc = single crochet: Insert hook into stitch, yarn over and pull up a loop (2 loops on hook), yarn over and pull through both loops.
hdc = half double crochet: Yarn over, insert hook into stitch, yarn over and pull up a loop (3 loops on hook), yarn over and pull through all 3 loops.
BrSt = braided stitch: This is our star technique. It creates the woven, herringbone appearance by working stitches around the post of previous stitches in a specific sequence.
FPdc = front post double crochet: Yarn over, insert hook from front to back around the post (vertical part) of the stitch below, yarn over and pull up a loop, complete as a regular double crochet.
Understanding the Braided Stitch
The braided stitch creates that beautiful woven texture you see on the bag body and flap. Here is how it works in plain terms.
You are essentially working front post stitches that cross over each other, creating an X pattern. Think of it like braiding hair, but with yarn and your hook.
To work the braided stitch:
1. Skip one stitch
2. Work a FPdc around the post of the next stitch
3. Work a FPdc around the post of the skipped stitch, crossing in front of the first FPdc you made
4. Repeat across
The crossing action is what creates the braided appearance. Your hook goes behind the first FPdc to grab the skipped stitch post.
Beginner tip: Practice this on a small swatch before starting the bag. Make a chain of 20, work one row of hdc, then try the braided stitch on the next row. Once you get the rhythm, it becomes almost meditative.
The Pattern
Bag Base
The base is worked flat in rows, then you will work up the sides.
With white yarn:
Row 1: Ch 17, sc in 2nd ch from hook and in each ch across. (16 sc)
Rows 2 through 8: Ch 1, turn, sc in each st across. (16 sc)
You now have a rectangular base approximately 3 inches by 8 inches. Fasten off white.
Bag Body
Now we work up from the base in continuous rounds, incorporating the color changes and braided stitch pattern.
Round 1 (joining round): With deep teal, join with sl st to any corner of the base. Ch 1, work sc evenly around the entire base perimeter. Work 16 sc along each long side and 8 sc along each short side, with 2 sc in each corner. Place marker at start of round. (52 sc)
Round 2: Hdc in each st around. (52 hdc)
Rounds 3 through 4: Work braided stitch pattern around. Remember to skip one stitch, FPdc around the next, then FPdc around the skipped stitch. (52 sts)
Round 5: Change to medium teal. Hdc in each st around. (52 hdc)
Rounds 6 through 7: Work braided stitch pattern around. (52 sts)
Round 8: Change to sage green. Hdc in each st around. (52 hdc)
Rounds 9 through 10: Work braided stitch pattern around. (52 sts)
Round 11: Change to light mint. Hdc in each st around. (52 hdc)
Rounds 12 through 13: Work braided stitch pattern around. (52 sts)
Round 14: Change to white. Sc in each st around. (52 sc)
Round 15: Sc in each st around. Sl st to first sc to join. Fasten off. (52 sc)
The bag body is now complete. It should measure approximately 5.5 inches tall from base to top edge.
Bag Flap
The flap is worked flat and attached to the back of the bag.
With white yarn:
Row 1: Ch 17, sc in 2nd ch from hook and in each ch across. (16 sc)
Row 2: Ch 1, turn, sc in each st across. (16 sc)
Row 3: Change to light aqua. Ch 2 (counts as first hdc), turn, hdc in each st across. (16 hdc)
Rows 4 through 5: Work braided stitch pattern across. (16 sts)
Row 6: Change to medium teal. Ch 2, turn, hdc in each st across. (16 hdc)
Rows 7 through 8: Work braided stitch pattern across. (16 sts)
Row 9: Change to deep teal. Ch 2, turn, hdc in each st across. (16 hdc)
Rows 10 through 11: Work braided stitch pattern across. (16 sts)
Border round: Change to white. Ch 1, do not turn. Work sc evenly around entire flap edge, working 3 sc in each corner for smooth turning. Sl st to first sc to join. Fasten off.
Twisted Handle
The handle creates that gorgeous twisted rope effect.
Cut 6 strands of t-shirt yarn, each approximately 36 inches long. Use 2 strands each of deep teal, medium teal, and sage green.
1. Knot all 6 strands together at one end
2. Secure this end (clip it to something stable or have a friend hold it)
3. Twist all strands together tightly in one direction until the yarn starts to kink
4. Fold the twisted length in half, holding the middle
5. Let the two halves twist around each other naturally
6. Knot the loose ends together
Trim ends and attach to D-rings on each side of the bag using small wraps of matching yarn to secure.
Tassel
Cut 8 strips of t-shirt yarn, each approximately 8 inches long. Use a mix of sage green and light mint.
1. Fold strips in half
2. Use a separate small strip to wrap tightly around the folded end, about 1 inch from the top
3. Secure the wrap with a knot
4. Trim tassel ends evenly
Attach tassel to a small jump ring or directly to the chain strap using a slip knot.
Assembly and Finishing
Attaching the Hardware
Twist lock placement: Center the twist lock on the bag front, approximately 1 inch from the top edge. Mark the placement, then carefully cut small slits through the crochet fabric for the prongs. Push prongs through and secure on the inside by bending them flat. Attach the corresponding turn piece to the flap in the same manner.
D-ring attachment: Use white yarn to create small loops on each side of the bag opening, approximately 0.5 inch from the top edge. Thread the D-rings through these loops and secure tightly with several wraps and a firm knot.
Attaching the Flap
Position the flap along the back top edge of the bag, with the white border row aligned with the bag opening. Using white yarn and a tapestry needle, whip stitch the flap securely to the bag back, working through both layers.
Optional Lining
For a polished interior, cut fabric to fit inside the bag with a 0.5 inch seam allowance. Fold seams under, press, and hand stitch the lining inside the bag using small, invisible stitches.
Chain Strap
Clip the metal chain to the D-rings on each side. The chain provides a crossbody option while the twisted handle works perfectly for hand carrying.
Customization Ideas
Color variations: Try sunset shades (coral, peach, cream), monochromatic grays, or bold jewel tones. The ombre effect works with any palette.
Size adjustments: For a larger bag, increase your base chain and add more rounds to the body. For a clutch version, skip the handle and chain entirely.
Hardware swaps: Rose gold hardware creates a warmer feel. Matte black hardware gives an edgier vibe.
Care Instructions
T-shirt yarn bags can be spot cleaned with mild soap and cool water. Lay flat to dry, reshaping gently. Remove hardware before any cleaning. Store stuffed with tissue paper to maintain shape.
Troubleshooting Common Issues
Bag is too floppy: Your tension may be too loose. Try going down a hook size or adding a plastic canvas insert to the base.
Braided stitches look uneven: This gets easier with practice. Keep your tension consistent and make sure you are crossing the stitches in the same direction every time.
Colors pooling oddly: T-shirt yarn can be inconsistent in thickness. If one section looks different, embrace it as part of the handmade charm, or unravel and reposition.
I truly hope you love making this Ocean Breeze Ombre Braided Purse as much as I loved designing it. Thank you so much for choosing this pattern for your next project. I would absolutely love to see your finished bags, so please tag me on Instagram or share in our Facebook group when yours is complete!
If this pattern inspired you, go ahead and save it to your Pinterest boards so you can find it easily when you are ready to start. And please drop a comment below if you make one. I read every single comment and it genuinely makes my day to see your creations come to life!
You Might Also Like
- Midnight Silver Lace Bucket Bag Free Crochet Pattern
- Pastel Rainbow Unicorn Granny Square Blanket Free Pattern
- Dusty Rose Floral Lace Bucket Bag Free Crochet Pattern
- Stormy Gray Neutral Granny Square Blanket Free Crochet Pattern