Ocean Blue Daisy Granny Square Blanket Free Crochet Pattern
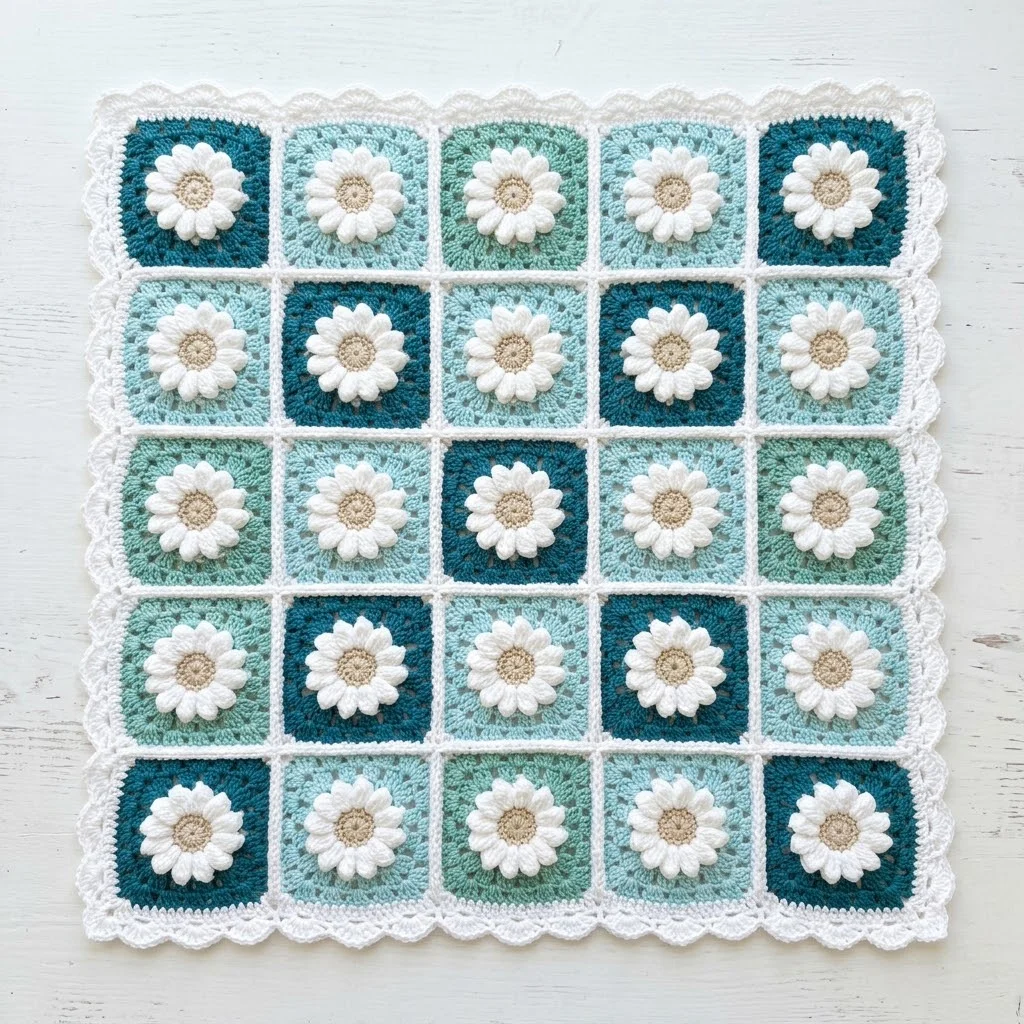
I call this one the “Coastal Garden Blanket,” and it has quite the story behind it. About three years ago, I sketched out this exact design in my little crochet notebook while sitting on my porch watching a summer storm roll in. The way the teal sky met the white clouds got me thinking about daisies growing near the ocean. I made a mental note to create something that captured that feeling, then promptly forgot about it. Last month, I found that notebook buried in my craft room, and I finally brought this blanket to life. It turned out even better than I imagined, and I cannot wait to walk you through every single step.
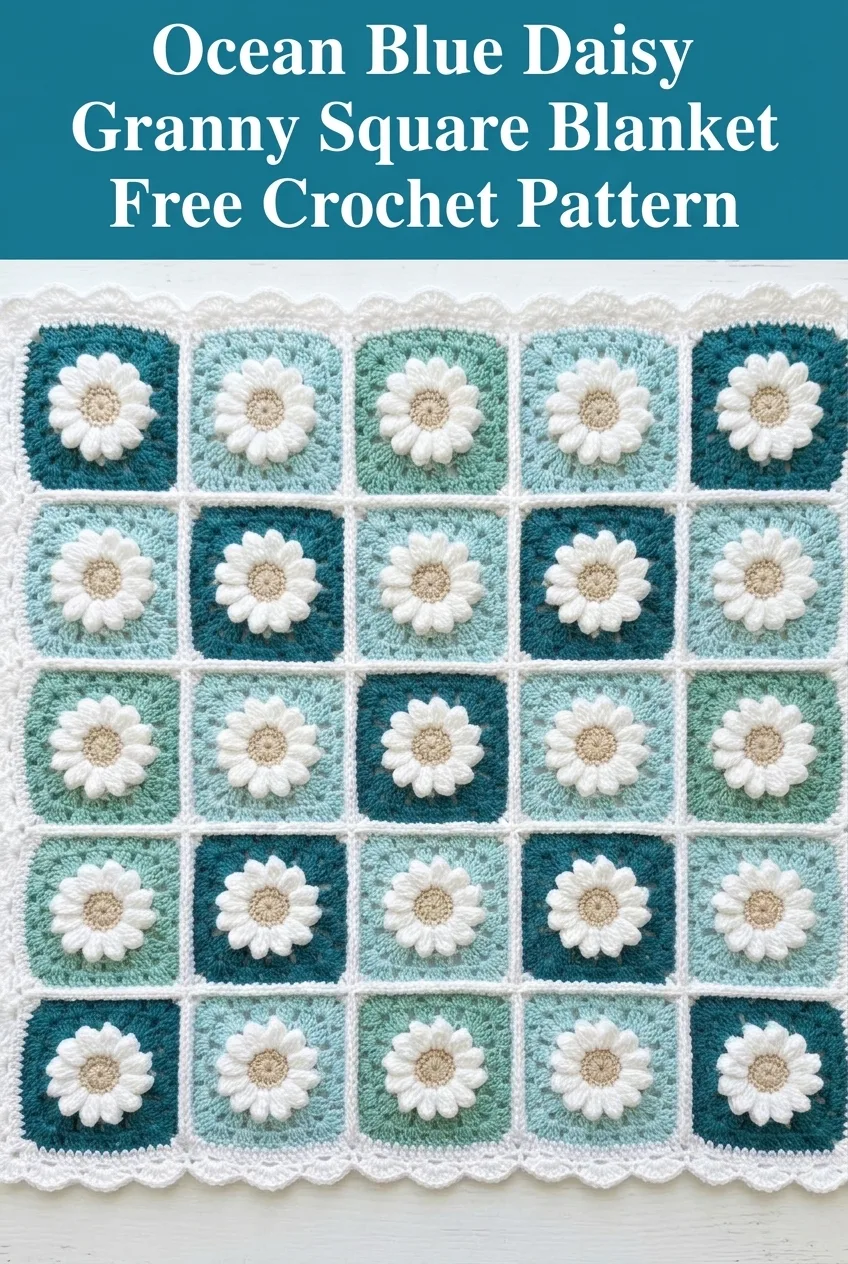
This Ocean Blue Daisy Granny Square Blanket combines classic granny square construction with stunning three-dimensional daisy motifs. The result is a showstopper that looks incredibly complex but breaks down into simple, repeatable steps. If you can crochet a basic granny square and work a few puff stitches, you absolutely have what it takes to make this beauty.
Why This Crochet Pattern Works So Well
The design features 25 individual granny squares arranged in a 5 by 5 grid. Each square showcases a raised daisy flower with white petals and a soft tan center. The background colors alternate between deep teal, medium teal, and soft seafoam green, creating that gorgeous ocean-inspired gradient effect.
What makes this blanket special is the textured daisy center sitting in each square. These flowers pop right off the fabric, adding dimension and visual interest that flat stitches simply cannot achieve. The white scalloped border frames everything beautifully and ties all those lovely blue-green tones together.
This crochet tutorial walks you through making one complete daisy granny square, then explains how to join them and add that pretty border. Once you master the first square, the rest are pure repetition. Many crafters find this type of project meditative once they hit their rhythm.
Skill Level
I would rate this pattern as intermediate. You should feel comfortable with basic crochet stitches and working in the round. If you have never made a granny square before, I recommend practicing a plain one first just to get the rhythm down.
The daisy portion uses puff stitches for the center and treble crochet clusters for the petals. Neither technique is difficult, but they do require a bit of attention until you get the hang of them. I will explain everything step by step, so do not worry if these stitches are new to you.
Finished Dimensions
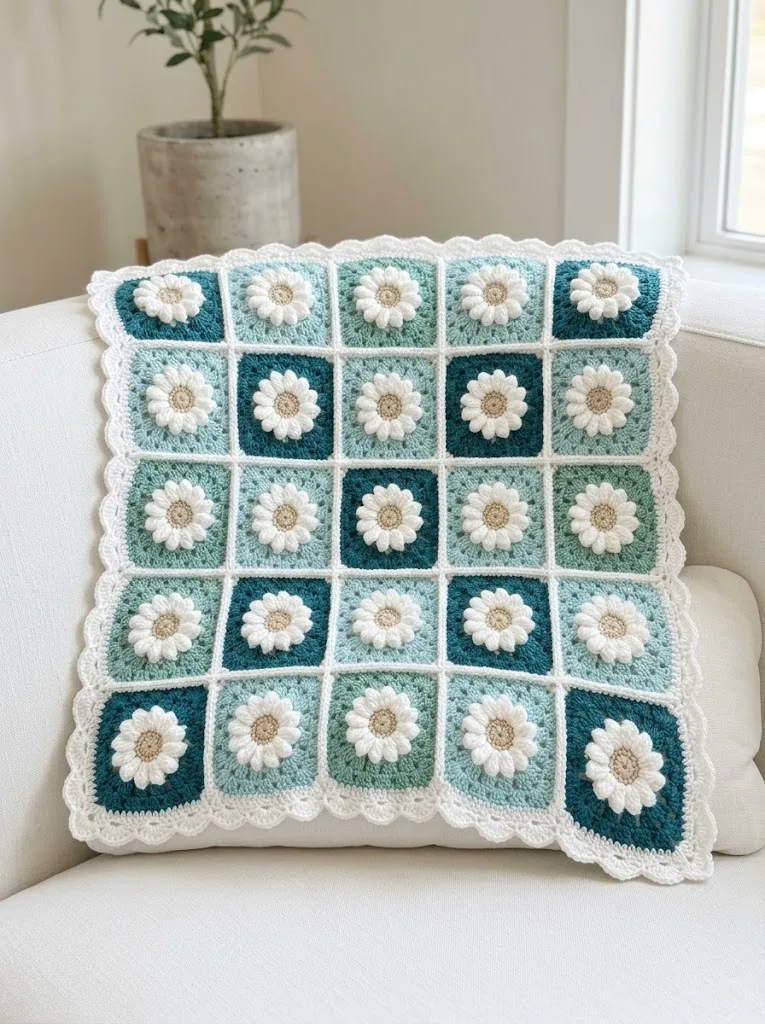
The completed blanket measures approximately 30 inches by 30 inches (76 cm by 76 cm). This makes it perfect as a baby blanket, lap throw, or decorative accent piece.
Each individual granny square measures approximately 5.5 inches by 5.5 inches (14 cm by 14 cm) after blocking.
Want a larger blanket? Simply make more squares. A 6 by 7 arrangement gives you a nice throw size, while 8 by 10 squares creates a generous twin bed blanket.
Materials Needed
Yarn:
I recommend using worsted weight yarn (weight category 4) in acrylic or a cotton blend. Acrylic works wonderfully for blankets because it washes well and holds up to regular use. The blanket pictured appears to use a slightly shiny yarn with good stitch definition, so look for something smooth rather than fuzzy.
Hook:
Notions:
Gauge
4 rounds of granny square pattern = 5.5 inches square
Gauge matters here because all your squares need to be the same size for joining. If your squares come out too large, try dropping down a hook size. Too small? Go up a hook size. Always make a test square first.
Abbreviations and Stitch Definitions
Let me explain every stitch you will use in this pattern. Refer back to this section anytime you need a refresher.
Ch = Chain. Wrap yarn over hook and pull through the loop on your hook. This creates the foundation for most crochet work.
Sl st = Slip stitch. Insert hook into stitch, yarn over, pull through both the stitch and the loop on your hook in one motion. Used for joining rounds.
Sc = Single crochet. Insert hook into stitch, yarn over and pull up a loop (2 loops on hook), yarn over and pull through both loops. The shortest basic crochet stitch.
Dc = Double crochet. Yarn over, insert hook into stitch, yarn over and pull up a loop (3 loops on hook), yarn over and pull through 2 loops, yarn over and pull through remaining 2 loops. A taller stitch that creates the classic granny square look.
Tr = Treble crochet (also called triple crochet). Yarn over twice, insert hook into stitch, yarn over and pull up a loop (4 loops on hook), yarn over and pull through 2 loops three times. Even taller than double crochet, used here for the daisy petals.
Puff stitch = A textured stitch that creates a raised, puffy look. I will explain the specific method in the pattern instructions below.
3-dc cluster = Three double crochet stitches worked together as a group, creating the classic granny square unit.
Sp = Space. The gap or hole created between stitch groups.
How to Crochet the Daisy Granny Square
Each square has four components: the textured center, the daisy petals, the granny square background rounds, and a final border round. Let me walk you through each section.
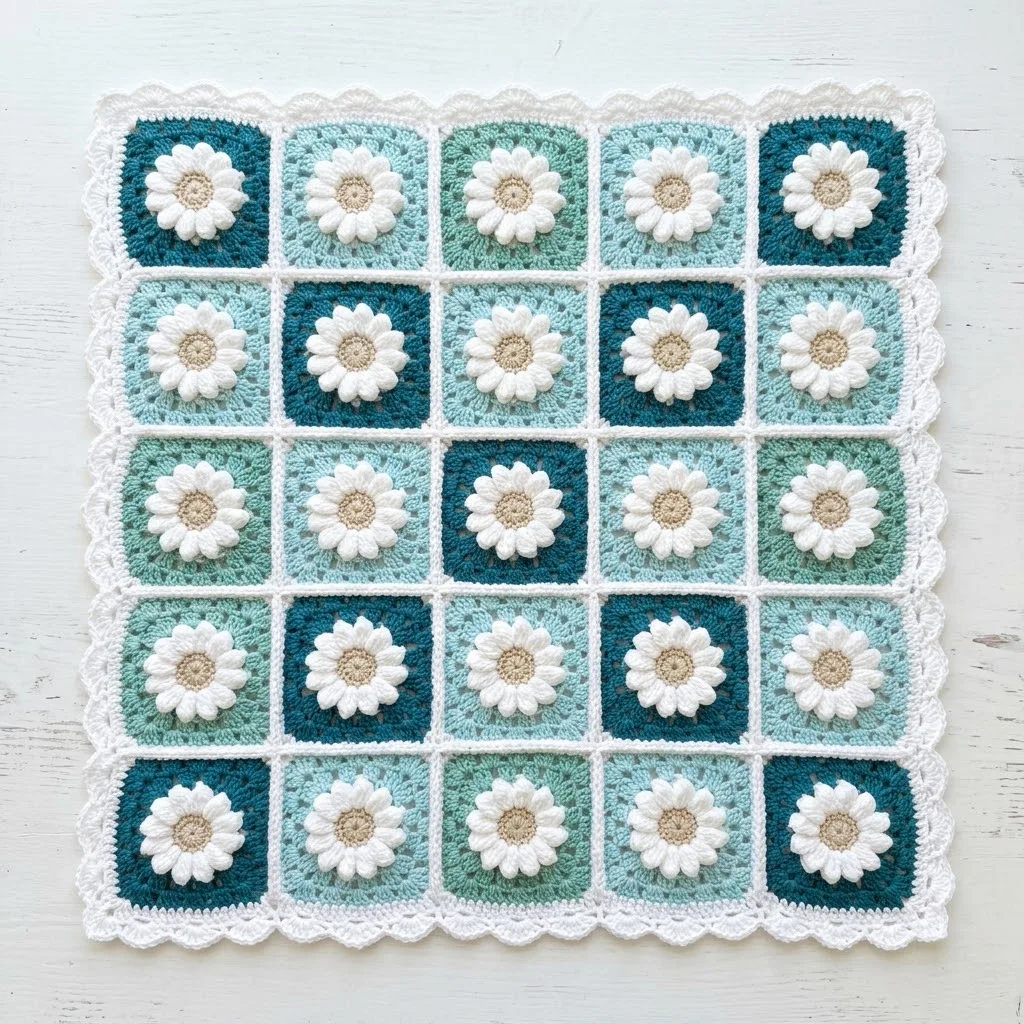
The Daisy Center (Color A)
Magic Ring: Start with a magic ring (also called magic circle or adjustable ring). This creates a tight, closed center with no hole.
Round 1: Ch 2. Work 8 puff stitches into the ring, with ch 1 between each puff stitch. Here is how to make each puff stitch: yarn over, insert hook into ring, yarn over and pull up a loop to about half an inch tall. Repeat this sequence 3 more times in the same spot (you will have 9 loops on your hook). Yarn over and pull through all 9 loops at once. Ch 1 to secure.
After completing 8 puff stitches with ch 1 spaces between them, sl st to the top of the first puff to join. Pull the magic ring tail tight to close the center. Fasten off Color A. (8 puff stitches)
Do not feel discouraged if your first puff stitches look wonky. They improve with practice, I promise.
The Daisy Petals (Color B)
Round 2: Join Color B (white) in any ch-1 space from Round 1. You will create one petal in each space for a total of 8 petals.
For each petal: In the ch-1 space, work (sl st, ch 2, 4 tr, ch 2, sl st). This creates a tall, rounded petal shape.
Move to the next ch-1 space and repeat the petal sequence. Continue around until you have 8 petals total. The petals will naturally cup upward and create that beautiful three-dimensional daisy effect.
Sl st to join at the base of the first petal. Do not fasten off. (8 petals)
Converting to Granny Square (Color B continues, then Background Color)
This is where the magic happens. We transition from the round daisy into a square shape.
Round 3: Ch 3 (counts as first dc). Working behind the petals (push them forward out of your way), work into the puff stitches from Round 1.
*In corner puff stitch:* Work 2 dc, ch 2, 3 dc.
*In next puff stitch:* Work 3 dc.
*Repeat around,* placing (3 dc, ch 2, 3 dc) corner groups in every other puff stitch, and 3 dc in the remaining puff stitches between corners.
You should end up with 4 corners and 4 sides. Sl st to top of ch 3 to join. Fasten off Color B. (4 corner spaces, 4 dc groups per side)
Round 4: Join your background color (C, D, or E) in any corner ch-2 space.
Ch 3 (counts as dc), 2 dc in same corner space, ch 2, 3 dc in same corner space. This establishes your first granny square corner.
*Ch 1, 3 dc in space between dc groups, ch 1.* Repeat to next corner.
*In corner space:* (3 dc, ch 2, 3 dc).
Continue around, working 3-dc groups in each space along the sides and (3 dc, ch 2, 3 dc) in each corner. Sl st to join. (4 corners, 2 dc groups per side)
Round 5: Continue with the same background color. Sl st to corner space.
Ch 3, 2 dc, ch 2, 3 dc in corner space.
*Ch 1, 3 dc in next space.* Repeat along each side to corner.
*Corner:* (3 dc, ch 2, 3 dc).
Continue around. Sl st to join. Fasten off and weave in ends. (4 corners, 3 dc groups per side)
Your completed daisy granny square should measure approximately 5.5 inches.
Making All 25 Squares
Repeat the daisy granny square pattern 25 times total. For the color arrangement shown in the blanket, alternate your background colors in a pleasing pattern. Here is a suggested layout reading left to right, top to bottom:
Row 1: Deep Teal, Seafoam, Medium Teal, Seafoam, Deep Teal
Row 2: Medium Teal, Deep Teal, Seafoam, Deep Teal, Medium Teal
Row 3: Seafoam, Medium Teal, Deep Teal, Medium Teal, Seafoam
Row 4: Medium Teal, Deep Teal, Seafoam, Deep Teal, Medium Teal
Row 5: Deep Teal, Seafoam, Medium Teal, Seafoam, Deep Teal
Feel free to arrange your colors however you like. Lay all 25 squares out on the floor before joining to make sure you love the arrangement.
Joining the Squares
I recommend using a flat slip stitch join or whip stitch with Color B (white) for a clean, visible seam that matches the border.
To join with slip stitch:
1. Hold two squares with right sides facing each other.
2. Join white yarn in corner ch-2 space through both layers.
3. Sl st through both layers, working through the back loops only, across the entire edge.
4. Continue joining squares into rows of 5.
5. Then join the rows together.
Work slowly and check your alignment as you go. Twisted squares are frustrating to fix later.
Adding the Scalloped Border
The pretty scalloped border in white frames the entire blanket beautifully.
Round 1: Join Color B in any corner space.
Ch 1, 3 sc in corner. Sc evenly around the entire blanket, working 3 sc in each corner and approximately 3 sc per dc group along the sides. Adjust as needed to keep the edge flat. Sl st to join.
Round 2 (Scallop Round): Ch 1, sc in same stitch.
*Skip 2 stitches, 5 dc in next stitch (this creates the scallop shell), skip 2 stitches, sc in next stitch.*
Repeat the scallop pattern around the entire blanket. Adjust spacing at corners so they lie flat and the scallops turn the corner smoothly.
Sl st to join. Fasten off and weave in all remaining ends.
Finishing Your Blanket
Block your completed blanket for best results. Wet blocking works wonderfully for acrylic yarn. Soak the blanket in cool water for about 20 minutes, gently squeeze out excess water (never wring), and lay flat on blocking mats. Pin the edges if needed to straighten the border. Allow to dry completely.
Weave in any remaining yarn tails securely, weaving back and forth through several stitches to prevent unraveling during washing.
Care Instructions
Machine wash cold on gentle cycle. Tumble dry low or lay flat to dry. The acrylic yarn holds up beautifully to regular washing, making this blanket perfect for everyday use or as a baby gift.
Tips for Success with This Crochet Pattern
Consistent tension matters. Try to keep your stitches even throughout the project so all squares match in size.
Count your stitches. At the end of each round, verify you have the correct number of stitch groups. Catching mistakes early saves headaches later.
Use stitch markers. Placing a marker in your first stitch of each round helps you know exactly when to join.
Make one complete square first. Before committing to all 25 squares, complete one entirely to check your gauge and ensure you understand the pattern.
Weave ends as you go. With this many color changes, leaving all the ends for the end creates a tangled mess. Weave them in after each square while you can still see what goes where.
This beginner friendly approach to the granny square technique creates stunning results without overwhelming complexity. The step by step instructions break down each section so you always know exactly what comes next.
Make It Your Own
Consider these variations to personalize your Ocean Blue Daisy Granny Square Blanket:
The modular nature of granny squares means you control the final size completely. Make it as big or small as you need.
I really hope you enjoyed working through this Ocean Blue Daisy Granny Square Blanket crochet pattern as much as I enjoyed designing it. These dimensional daisies against those gorgeous teal backgrounds create something truly special that you will be proud to display or gift. If you found this crochet tutorial helpful, I would love for you to save it to your Pinterest boards so you can find it easily when you are ready to start. And please, drop me a comment below if you make one. Seeing your finished blankets absolutely makes my day.
You Might Also Like
- Tropical Octopus Baby Blanket Free Crochet Pattern
- Blush Pink Round Chain Bag Free Crochet Pattern
- Sage Green Woodland Baby Dress Free Crochet Pattern
- Coral Sunset Gradient Chain Purse Free Crochet Pattern