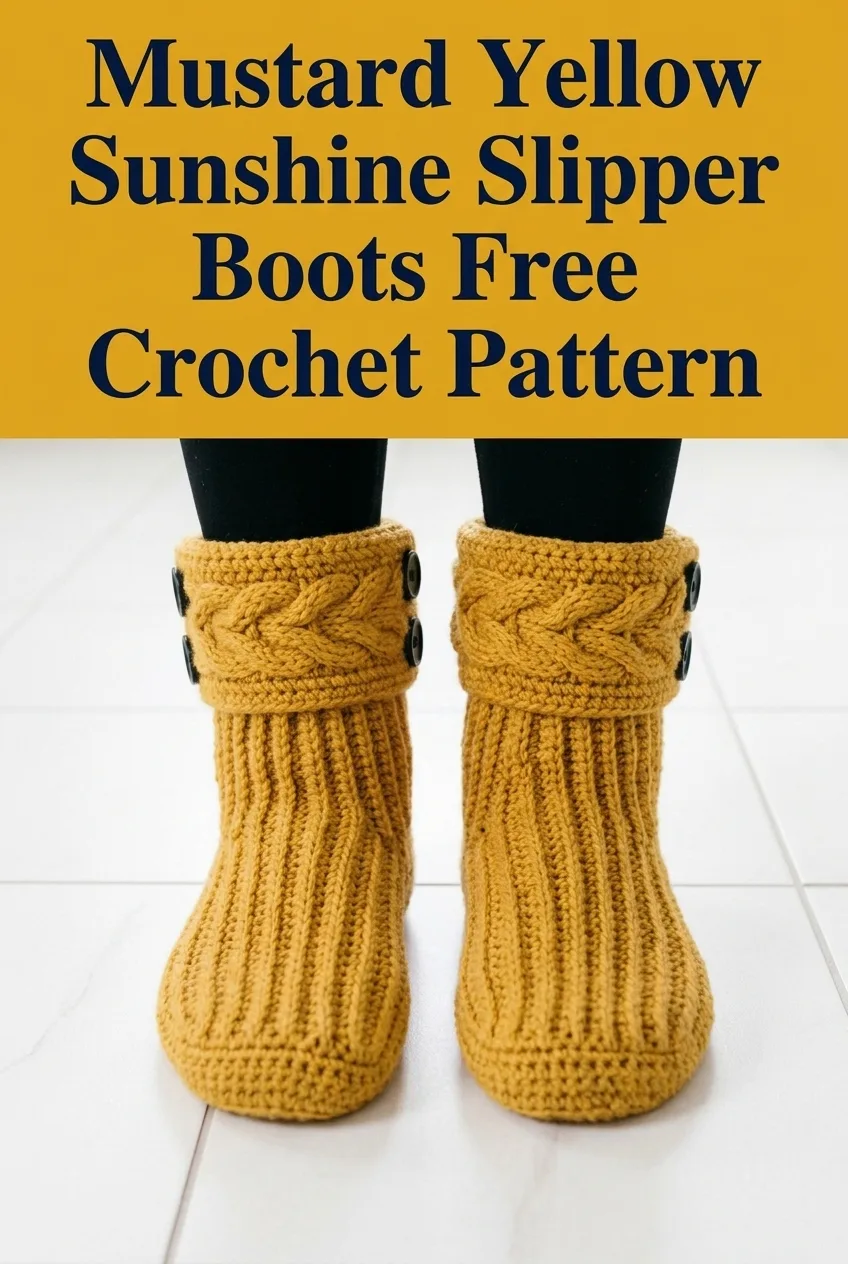
Mustard Yellow Sunshine Slipper Boots Free Crochet Pattern
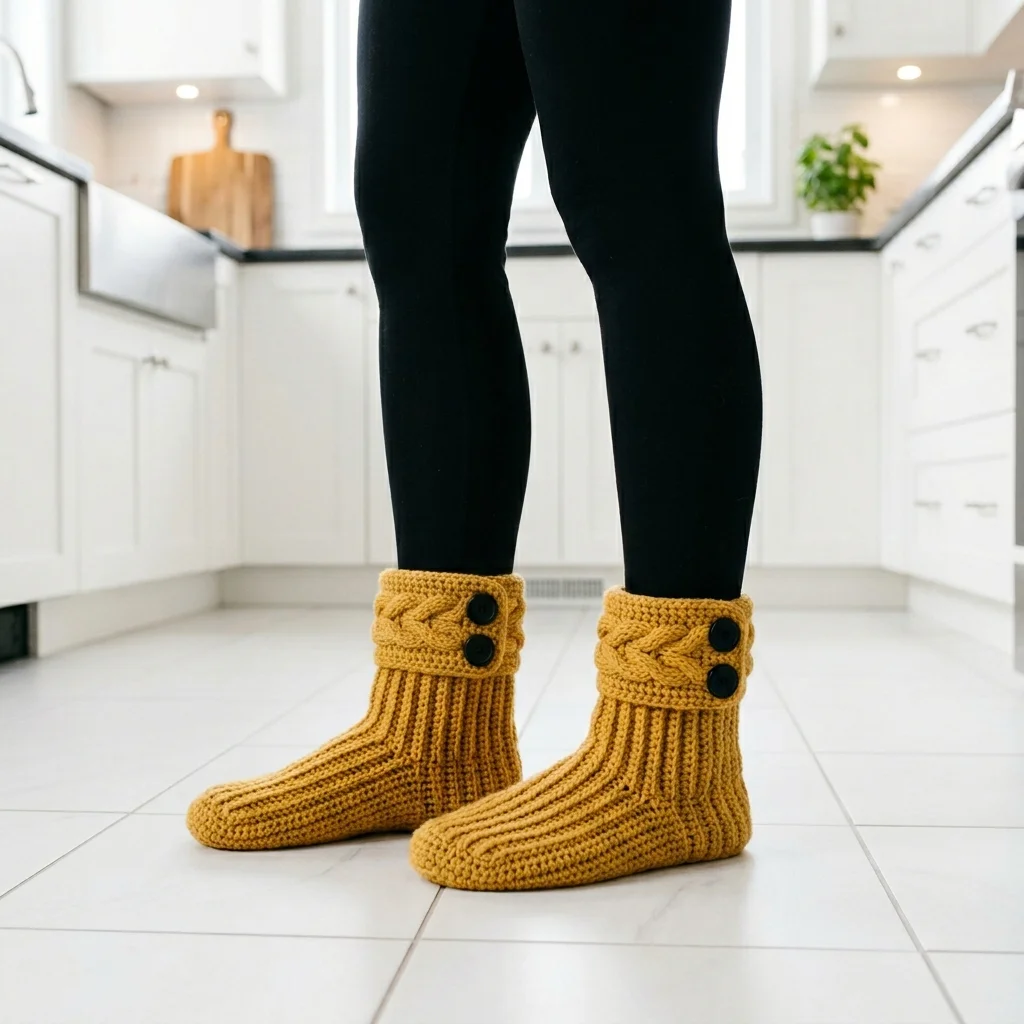
Last winter, I found myself padding around my kitchen on a freezing Saturday morning, my feet absolutely frozen on the tile floor. I kept thinking, “I have an entire craft room full of yarn. Why am I suffering like this?” That morning, I grabbed a skein of golden mustard yarn from my stash and started designing these cozy slipper boots. They took me through countless cups of coffee, lazy Sunday mornings, and even a few late-night snack runs to the fridge. Now they’re my absolute favorite thing to slip on the moment I get home, and I’m so excited to share the pattern with you.
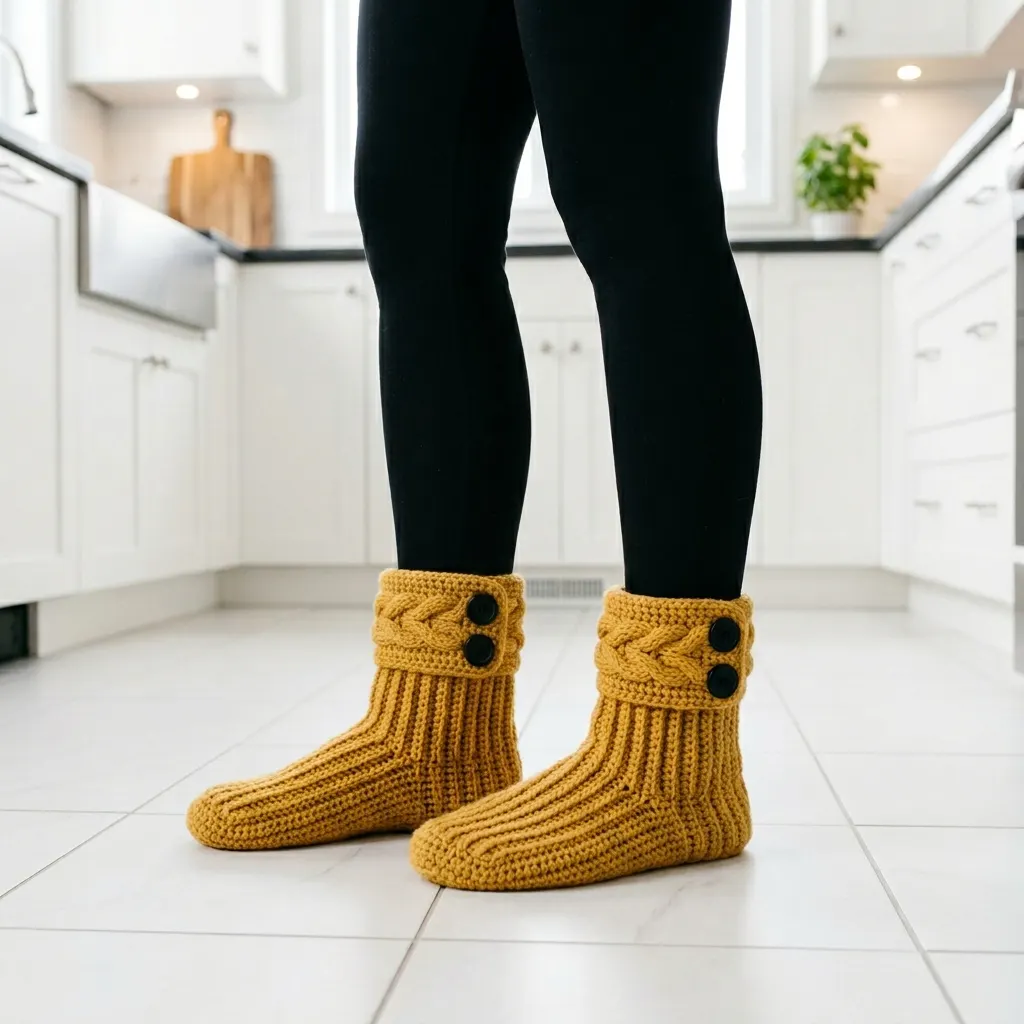
These Mustard Yellow Sunshine Slipper Boots combine a beautifully textured ribbed body with an elegant cable cuff detail and decorative buttons. If you’ve never tried crochet cables before, don’t panic. I’ll walk you through every single step, and I promise the technique is much more approachable than it looks.
Why You’ll Love This Slipper Boot Pattern
These aren’t your average crochet slippers. The construction creates a sturdy, structured boot that actually stays on your feet as you walk around the house. The ribbed texture gives lovely stretch and a knit-like appearance, while the cable cuff adds a sophisticated touch that makes these feel like something you’d find in a boutique.
What makes this crochet pattern special:
This is an intermediate level crochet pattern, but confident beginners who have mastered basic stitches can absolutely tackle this project. I’ll explain every technique clearly so you feel supported throughout.
Materials Needed for Your Crochet Slipper Boots
Gathering your supplies before you start makes the whole process smoother. Here’s everything you’ll need:
Yarn:
Hook:
Notions:
Gauge:
14 stitches and 16 rows = 4 inches in single crochet ribbing
*Always check your gauge before starting. Your slippers’ fit depends on it.*
Sizing Information
This pattern is written for Women’s Medium (US shoe size 7-8). The finished slipper measures approximately 9 inches in foot length and 7 inches tall from sole to top of cuff.
To adjust sizing:
Stitches and Abbreviations Used
Let me break down every stitch you’ll encounter in this crochet tutorial. Understanding these before you begin will make the pattern feel much less overwhelming.
ch = chain: Wrap yarn over hook, pull through loop on hook. This creates the foundation for your work.
sl st = slip stitch: Insert hook into stitch, yarn over, pull through both the stitch and the loop on your hook in one motion. Used for joining and creating invisible seams.
sc = single crochet: Insert hook into stitch, yarn over and pull up a loop (2 loops on hook), yarn over and pull through both loops.
hdc = half double crochet: Yarn over, insert hook into stitch, yarn over and pull up a loop (3 loops on hook), yarn over and pull through all 3 loops.
dc = double crochet: Yarn over, insert hook into stitch, yarn over and pull up a loop (3 loops on hook), yarn over and pull through 2 loops, yarn over and pull through remaining 2 loops.
BLO = back loop only: Work your stitch into only the back loop of the stitch below, leaving the front loop unworked. This creates the ribbed texture.
FPdc = front post double crochet: Yarn over, insert hook from front to back to front around the post of the indicated stitch, complete as a regular dc. This creates raised texture for cables.
BPdc = back post double crochet: Yarn over, insert hook from back to front to back around the post of the indicated stitch, complete as a regular dc.
Cable Cross: Skip 2 stitches, work FPdc around next 2 stitches, then work FPdc around the 2 skipped stitches (working in front of stitches just made).
Step by Step Crochet Pattern Instructions
Part 1: The Sole
We’re starting from the bottom and working our way up. The sole is worked in rows, then we’ll work up around the sides.
Row 1: Ch 29. Sc in 2nd ch from hook and in each ch across. (28 sts)
Row 2: Ch 1, turn. Sc in BLO of each st across. (28 sts)
Rows 3-10: Repeat Row 2. (28 sts)
At this point, you should have a rectangular piece measuring approximately 8 inches long and 3 inches wide. This forms the base of your sole.
Part 2: Building the Foot
Now we’ll work in joined rounds to build up the sides and shape the foot.
Round 1: Do not turn. Working along the short edge, work 10 sc evenly across. Working along the starting chain edge, sc 28 across. Working along the opposite short edge, work 10 sc evenly. Working along the top edge of your rectangle, sc 28 across. Sl st to first sc to join. (76 sts)
Place a stitch marker at the beginning of your round and move it up as you go.
Rounds 2-4: Ch 1, sc in BLO of each st around. Sl st to join. (76 sts)
Round 5 (Begin Toe Shaping): Ch 1, sc in BLO of next 28 sts, sc2tog in BLO 5 times, sc in BLO of next 28 sts, sc2tog in BLO 5 times. Sl st to join. (66 sts)
*The sc2tog (single crochet 2 together) is a decrease. Insert hook into first stitch, pull up a loop, insert hook into next stitch, pull up a loop, yarn over and pull through all 3 loops on hook.*
Round 6: Ch 1, sc in BLO of next 26 sts, sc2tog in BLO 4 times, sc in BLO of next 26 sts, sc2tog in BLO 4 times. Sl st to join. (58 sts)
Round 7: Ch 1, sc in BLO of next 24 sts, sc2tog in BLO 3 times, sc in BLO of next 24 sts, sc2tog in BLO 3 times. Sl st to join. (52 sts)
Rounds 8-14: Ch 1, sc in BLO of each st around. Sl st to join. (52 sts)
Your foot portion should now be taking shape nicely. Try it on if you can to check the fit. The ribbed texture should stretch comfortably around your foot.
Part 3: The Ankle and Leg
Continue working up the leg with the same ribbed technique.
Rounds 15-28: Ch 1, sc in BLO of each st around. Sl st to join. (52 sts)
These 14 rounds create the ankle portion and lower leg. The total height should be approximately 5 inches from the top of the foot.
Part 4: The Cable Cuff
This is where the magic happens. Don’t be intimidated by the cables. Take it slow, and you’ll be amazed at the beautiful texture you create.
Setup Round: Ch 2 (counts as hdc), hdc in each st around. Sl st to top of ch-2 to join. (52 sts)
Round 1 (Establish Cuff Pattern): Ch 2, *FPdc around next 2 sts, BPdc around next 2 sts, repeat from * around. Sl st to join. (52 sts)
Round 2: Ch 2, work in established pattern (FPdc over FPdc, BPdc over BPdc) around. Sl st to join. (52 sts)
Round 3 (Cable Round): Ch 2, *Cable Cross over next 4 sts (skip 2 FPdc, FPdc around next 2, then FPdc around the 2 skipped sts working in front), BPdc around next 2 sts, repeat from * around. Sl st to join. (52 sts)
Helpful tip: When working the cable cross, you’re essentially crossing 2 stitches over 2 other stitches. Work loosely to make this easier.
Rounds 4-5: Ch 2, work in established pattern around (FPdc over FPdc, BPdc over BPdc). Sl st to join. (52 sts)
Round 6: Repeat Round 3 (Cable Round). (52 sts)
Round 7: Ch 2, work in established pattern around. Sl st to join. (52 sts)
Round 8 (Final Round): Ch 1, sc in each st around. Sl st to join. Fasten off and weave in ends. (52 sts)
Part 5: Finishing Touches
Weaving in Ends:
Thread your yarn needle with each tail and weave through several stitches on the wrong side. I recommend weaving back and forth in a zigzag pattern for security, then trimming close to the work.
Attaching Buttons:
Position 2 buttons on the outer side of each cuff, spacing them evenly within the cable section. Using matching yarn or thread, sew buttons securely in place. The buttons are decorative, but sew them firmly since the slippers will get regular use.
Optional: Non-Slip Soles:
For safety on hard floors, consider adding puffy fabric paint dots to the soles, or attach leather or suede patches.
Tips for Success with This Crochet Pattern
Gauge matters here. Because these are wearable items that need to fit properly, checking your gauge saves frustration later. If your stitches are too tight, size up your hook. Too loose? Size down.
The ribbing should have stretch. If your fabric feels stiff, you’re likely crocheting too tightly. Relax your tension and let the BLO technique create that lovely elastic quality.
Mark your rounds. I cannot stress this enough. Moving a stitch marker up each round prevents the dreaded “wait, where am I?” moment.
Try them on as you go. Especially before starting the cable cuff, slip your slipper on and check the fit. It’s much easier to add or remove rows now than to rip back later.
Making These Slipper Boots as Gifts
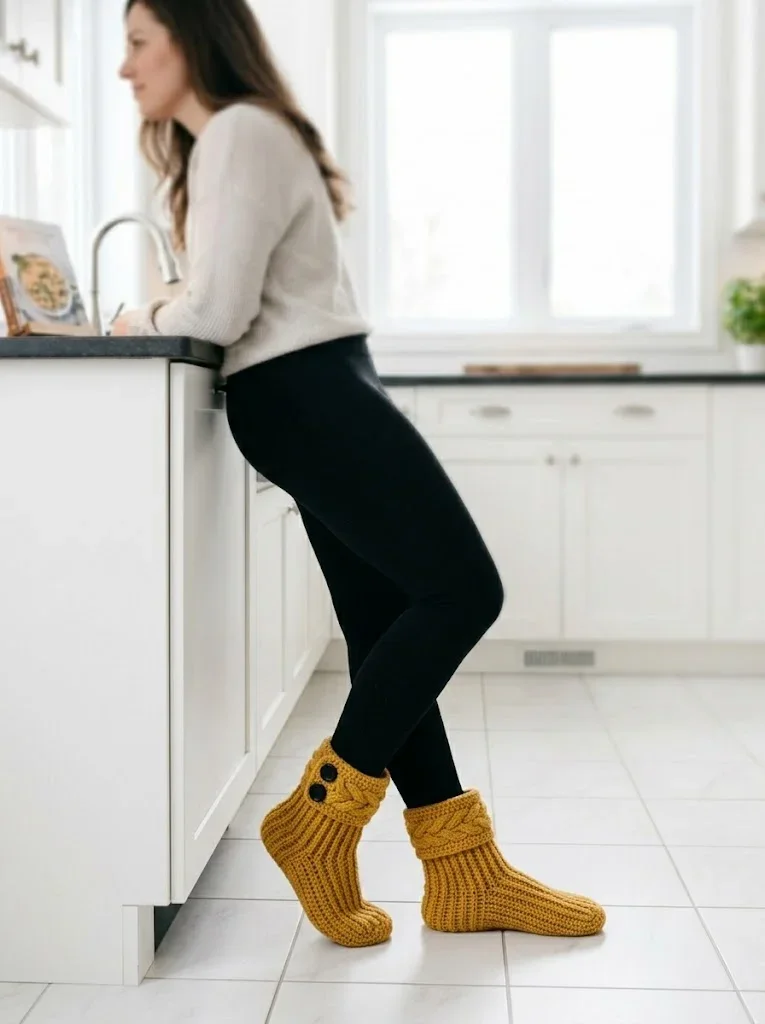
These cozy slipper boots make wonderful handmade gifts. The sophisticated cable detail and button embellishments give them a polished, boutique quality that recipients love.
Consider making them in different colors to match personalities. Neutral grays and creams feel elegant. Bold colors like this mustard yellow add cheerful warmth. Deep burgundy or forest green would be perfect for the holidays.
Each pair takes approximately 8 to 12 hours to complete, depending on your speed. Plan accordingly if you’re making multiple pairs for gifts.
I hope you love making these Mustard Yellow Sunshine Slipper Boots as much as I loved designing them. Your feet will thank you, especially on those chilly mornings.
If you make these slippers, I would absolutely love to see them! Tag me on Instagram or share your finished project in my Facebook group. Seeing your creations honestly makes my whole day.
If this pattern made your day a little cozier, go ahead and pin it to your favorite Pinterest board so you can find it whenever the mood strikes. And please drop a comment below if you give these a try. I read every single one and love hearing how your projects turn out!
You Might Also Like
- Lavender Jellyfish Baby Blanket Free Crochet Pattern
- Blush Pink Tiered Baby Romper Free Crochet Pattern
- Cinderella Blue Baby Dress Set Free Crochet Pattern
- Tinkerbell Green Fairy Baby Dress Free Crochet Pattern