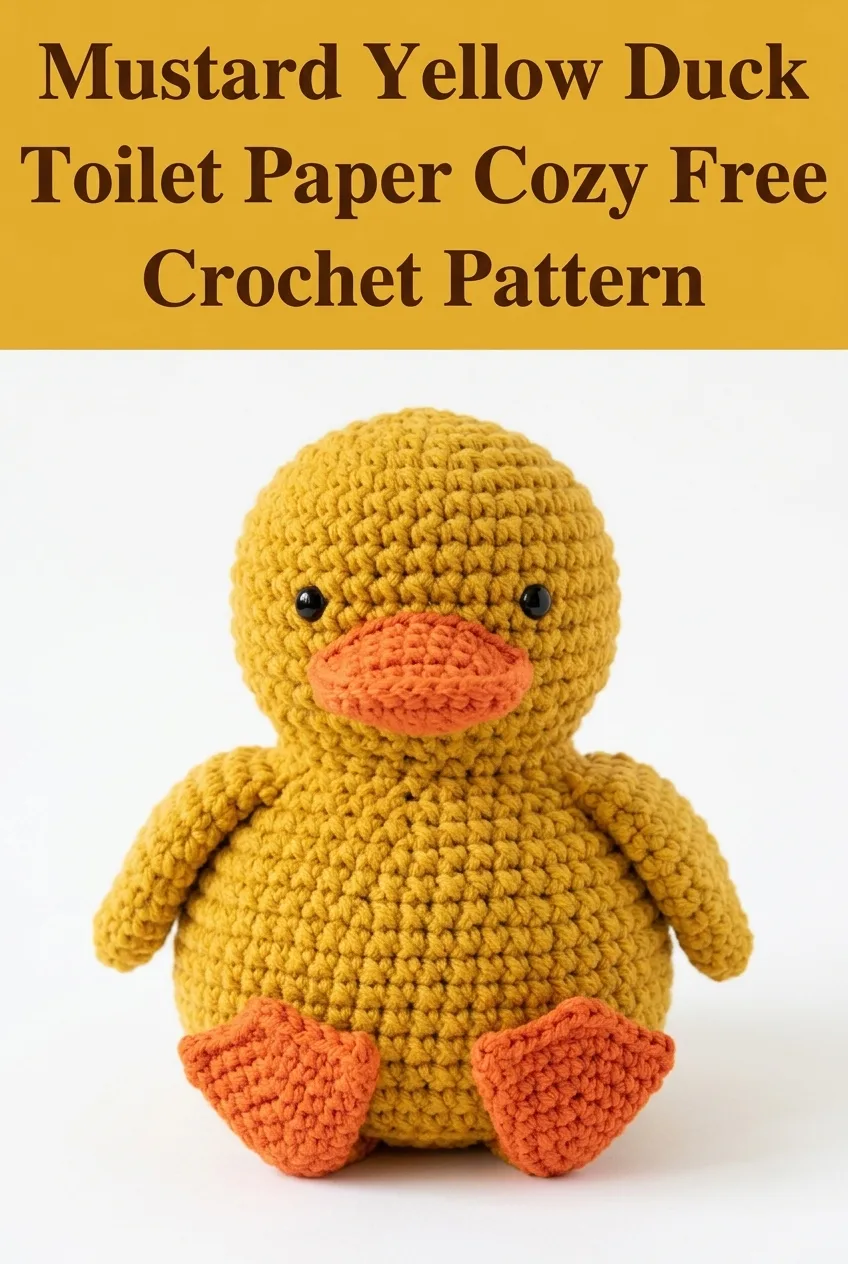
Mustard Yellow Duck Toilet Paper Cozy Free Crochet Pattern
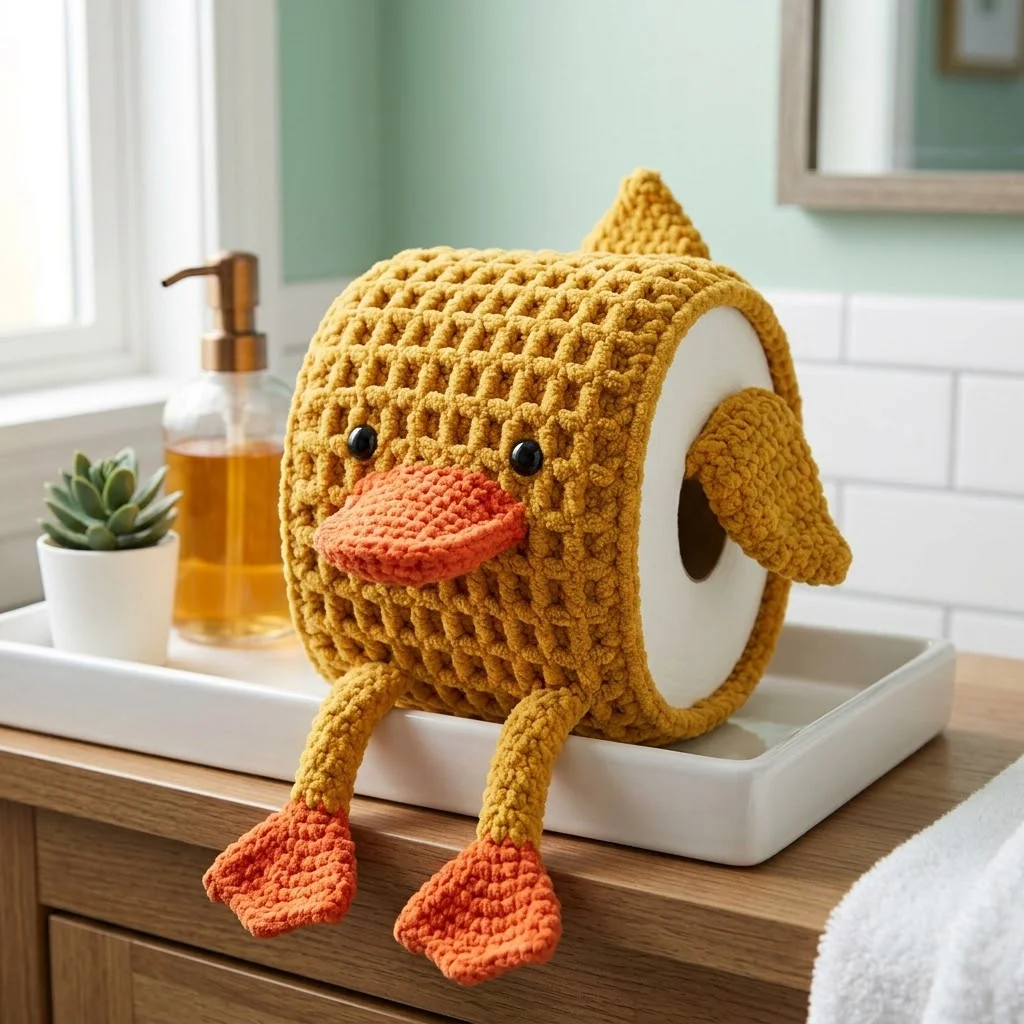
I’ve been looking for the perfect bathroom accessory pattern that actually makes people smile, and this mustard yellow duck toilet paper cozy is my absolute favourite find. This quirky little project transforms an ordinary toilet paper roll into an adorable duck character, complete with orange webbed feet, a sweet bill, and tiny wings. If you want to add personality to your bathroom or create a gift that guarantees a laugh, this is the pattern you need.
Why This Duck Toilet Paper Cozy Works
This crochet toilet paper cozy combines function with pure whimsy. The chunky texture created by the stitch pattern gives your duck that signature plush look while keeping the cover snug around a standard toilet paper roll. The construction is simpler than it appears. You will make the main body as a tube, then add small individual pieces for the bill, wings, feet, and tail.
What makes this pattern special:
Skill Level
This pattern is rated easy to intermediate. If you can crochet in the round, increase, decrease, and seam pieces together, you have all the skills you need. The individual components are straightforward, and I will walk you through each step.
Don’t worry if you have never made amigurumi style pieces before. The duck features on this cozy are flat or lightly stuffed, so they are much easier than a full stuffed animal.
Finished Measurements
Materials Needed
Yarn:
I recommend a chenille or velvet style bulky yarn for that plush textured look you see in the photos. Bernat Blanket yarn or similar would work beautifully.
Hook:
Notions:
Gauge
14 single crochet stitches and 16 rows = 4 inches (10 cm) in single crochet using bulky weight yarn and 5.0 mm hook.
Gauge is important for this pattern so your cozy fits snugly around a standard toilet paper roll. Take time to check your gauge before starting.
Abbreviations and Stitch Definitions
Let me explain each stitch you will use in this pattern:
Pattern Notes
1. The main body is worked in continuous rounds. Do not join at the end of each round unless instructed. Use a stitch marker to track the beginning of each round.
2. All pieces except the main body are worked in rows or joined rounds as specified.
3. When working with chenille or velvet yarn, use a slightly tighter tension than normal to prevent gaps.
4. Weave in ends as you go. Chenille yarn can be slippery, so weave through at least 6 stitches in different directions.
Main Body (Toilet Paper Cover)
The body is worked from the bottom up in continuous spiral rounds.
With MC (mustard yellow), ch 44.
Rnd 1: Being careful not to twist the chain, sl st to first ch to form a ring. Sc in each ch around. (44 sts)
Place your stitch marker in the first stitch. Move it up each round.
Rnds 2 through 18: Sc in each st around. (44 sts)
At this point, your tube should measure approximately 4.5 inches tall. If your toilet paper rolls are taller, continue working additional rounds until the cover reaches the top of the roll.
Rnd 19: Sl st in each st around. Fasten off and weave in ends. (44 sts)
The slip stitch round creates a neat finished edge at the top of your cozy.
Duck Bill (Make 1)
The bill gives your duck its adorable face. This piece has a rounded triangular shape.
With CC (orange), ch 12.
Row 1: Sc in 2nd ch from hook, sc in each ch across. Ch 1, turn. (11 sts)
Row 2: Skip first st, sc in next 9 sts, skip last st. Ch 1, turn. (9 sts)
Row 3: Skip first st, sc in next 7 sts, skip last st. Ch 1, turn. (7 sts)
Row 4: Skip first st, sc in next 5 sts, skip last st. Ch 1, turn. (5 sts)
Row 5: Skip first st, sc in next 3 sts, skip last st. Ch 1, turn. (3 sts)
Row 6: Sc3tog (single crochet 3 together). Fasten off, leaving a long tail for sewing. (1 st)
To work sc3tog: Insert hook in first st, yarn over, pull up loop. Insert hook in second st, yarn over, pull up loop. Insert hook in third st, yarn over, pull up loop. Yarn over, pull through all 4 loops on hook.
Wings (Make 2)
The wings are simple flat ovals that attach to the sides of the body.
With MC (mustard yellow), ch 8.
Row 1: Sc in 2nd ch from hook, sc in next 5 ch, 3 sc in last ch. Working along the opposite side of the foundation chain, sc in next 5 sts, 2 sc in last st. Do not join. (16 sts)
Row 2: Sc in next 6 sts, inc in next 2 sts, sc in next 6 sts, inc in next 2 sts. Sl st to first st to join. (20 sts)
Fasten off, leaving a long tail for sewing.
Tail (Make 1)
The tail is a small pointed piece that adds charm to the back of your duck.
With MC (mustard yellow), ch 6.
Row 1: Sc in 2nd ch from hook, sc in next 3 ch, 3 sc in last ch. Working along the opposite side of the foundation chain, sc in next 4 sts. Ch 1, turn. (12 sts)
Row 2: Sc in each st around. Ch 1, turn. (12 sts)
Row 3: Dec, sc in next 3 sts, dec, sc in next 3 sts, dec. (9 sts)
Fasten off, leaving a long tail for sewing.
Legs (Make 2)
The legs are simple tubes that connect the body to the webbed feet.
With CC (orange), make a magic ring.
Rnd 1: 6 sc into magic ring. Pull tight to close. (6 sts)
Rnds 2 through 12: Sc in each st around. (6 sts)
Fasten off, leaving a long tail. Do not stuff the legs. They should hang loosely.
Webbed Feet (Make 2)
These adorable orange feet complete the duck look.
With CC (orange), ch 10.
Row 1: Sc in 2nd ch from hook, sc in next 7 ch, 3 sc in last ch. Working along the opposite side of the foundation chain, sc in next 8 sts. Ch 1, turn. (20 sts)
Row 2: Sc in next 8 sts, inc in next 3 sts, sc in next 9 sts. Ch 1, turn. (23 sts)
Row 3: Sc in next 9 sts, inc, sc in next 3 sts, inc, sc in next 9 sts. Ch 1, turn. (25 sts)
Now create the webbed toe divisions:
Row 4: Sc in next 8 sts. Ch 1, turn. (8 sts) This creates the first toe section.
Row 5: Sc in next 8 sts. Fasten off.
Rejoin yarn to the 9th stitch of Row 3.
Row 4b: Sc in next 8 sts. Ch 1, turn. (8 sts)
Row 5b: Sc in next 8 sts. Fasten off.
Rejoin yarn to the 17th stitch of Row 3.
Row 4c: Sc in remaining 9 sts. Ch 1, turn. (9 sts)
Row 5c: Sc in next 9 sts. Fasten off, leaving a long tail.
Assembly Instructions
Take your time with assembly. This is where your duck comes to life.
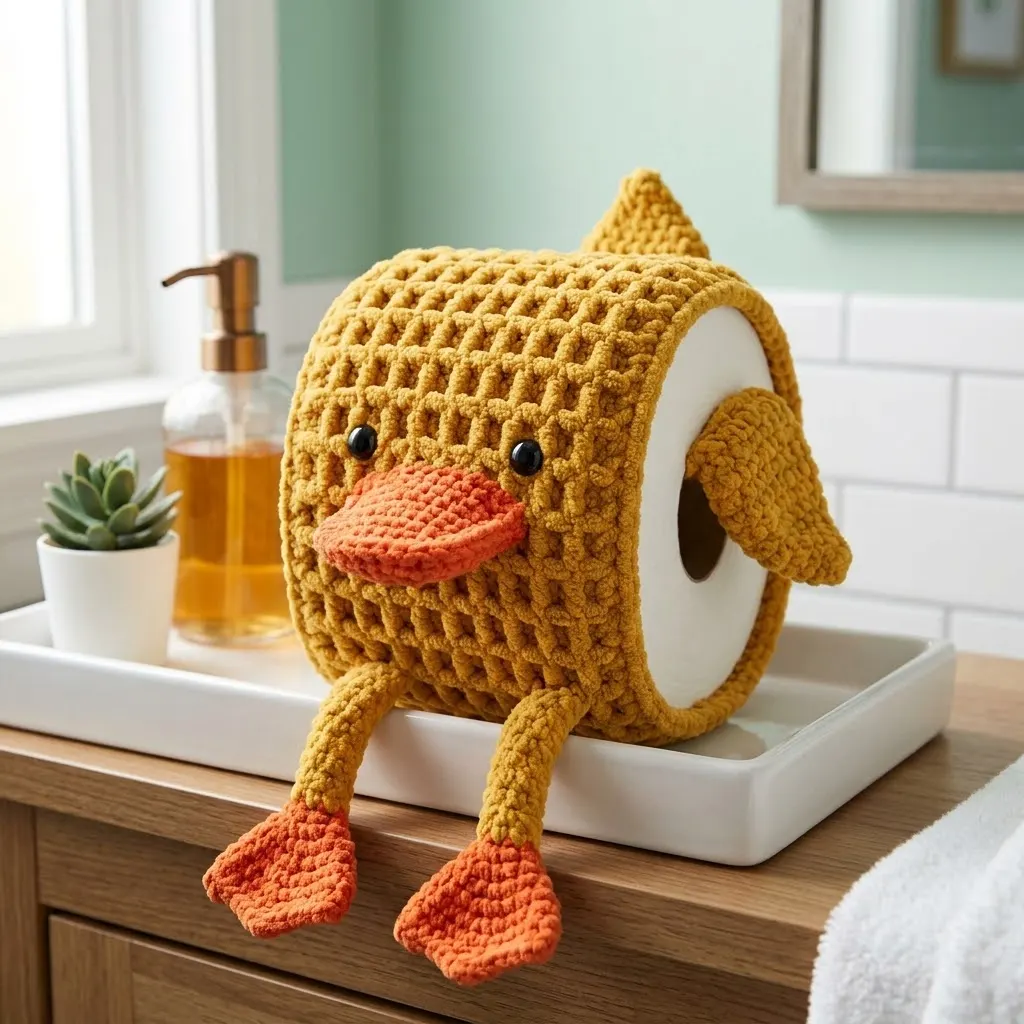
Step 1: Attach the Eyes
Position the two 12mm black safety eyes on the front of the main body, approximately 2 inches down from the top edge. Space them about 1.5 inches apart. Make sure they are even before securing the backs.
If you prefer not to use safety eyes, you can embroider eyes with black yarn or sew on black buttons.
Step 2: Attach the Bill
Center the bill directly below and between the eyes. The wider edge of the bill should be at the top, closest to the eyes. Pin in place first, then use the long orange tail to whip stitch around all edges. If you want a slightly puffy bill, insert a tiny bit of fiberfill before closing.
Step 3: Attach the Wings
Position one wing on each side of the body, roughly centered vertically. The wings should sit at a slight downward angle, like a duck resting. Whip stitch around the edges, leaving a small opening if you want to add a tiny bit of stuffing for dimension.
Step 4: Attach the Tail
Center the tail on the back of the body, opposite the face. Position it about 1 inch up from the bottom edge. Whip stitch securely in place.
Step 5: Attach the Legs
Turn the main body so the bottom edge faces you. Position the legs on the front half of the bottom edge, spacing them about 2 inches apart. Whip stitch the open end of each leg tube securely to the bottom edge of the body.
Step 6: Attach the Feet
Sew the narrow end of each webbed foot to the bottom of each leg. The toes should point forward. Stitch securely around the entire base of the leg.
Step 7: Final Details
Weave in all remaining ends. Shape the feet so they lay flat. Adjust the wings and tail as needed.
Helpful Tips for Success
Yarn choice matters. The textured, bumpy look in the photos comes from using a chenille or velvet style bulky yarn. Regular acrylic bulky yarn will work, but the texture will look different.
Check your fit. Before adding all the features, slip the body tube over a toilet paper roll to make sure it fits. It should be snug but not stretched tight.
Secure those eyes. If this cozy will be in a home with small children, skip the safety eyes entirely. Embroider the eyes with black yarn instead for a safer option.
Don’t stress about perfection. The chunky yarn and fun design hide minor imperfections beautifully. This is a forgiving project.
Care Instructions
If your duck cozy needs cleaning, hand wash in cool water with a gentle detergent. Squeeze out excess water gently without wringing. Lay flat to dry. Chenille and velvet yarns can become matted if machine washed, so hand washing is best.
Customization Ideas
Once you master this basic duck design, try these variations:
Why Handmade Bathroom Accessories Make Great Gifts
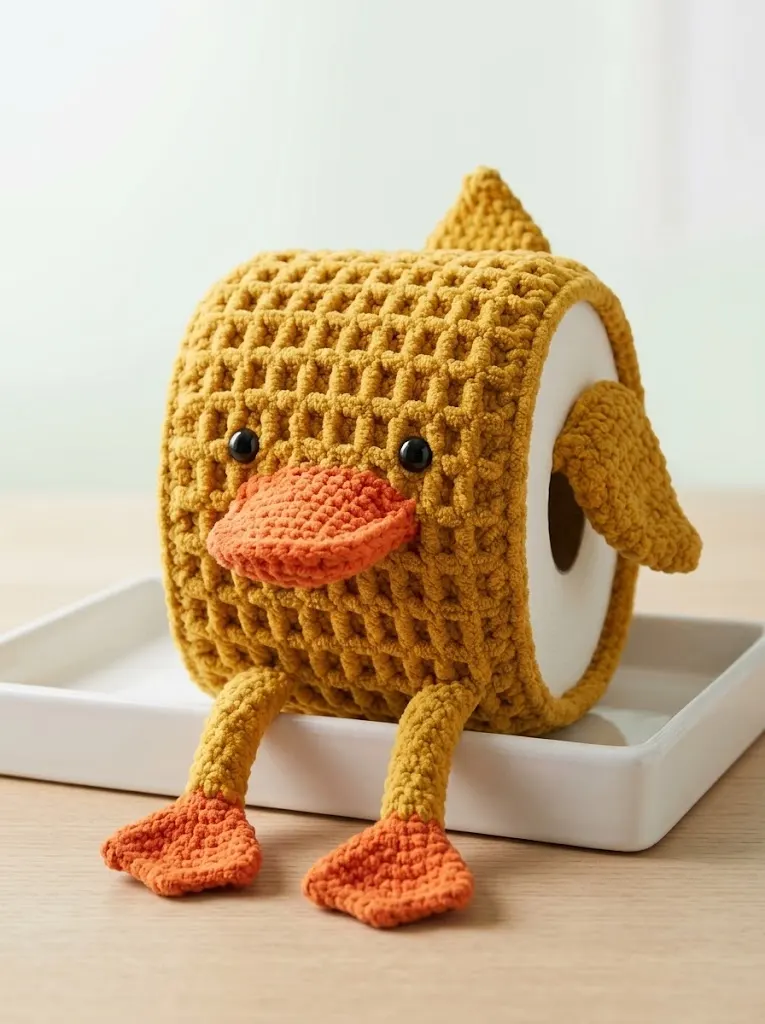
A handmade toilet paper cozy might seem like an unusual gift, but it is genuinely one of the most memorable things you can give. Everyone needs toilet paper, and everyone appreciates a good laugh. This duck cozy combines practicality with personality in a way that store bought accessories simply cannot match.
Consider making these for housewarming parties, white elephant gift exchanges, or just because someone in your life needs a smile.
I hope you have so much fun making this adorable duck toilet paper cozy. It is one of those projects that makes you grin the entire time you are working on it. Thank you for choosing this pattern, and I truly appreciate you being here.
If you make this cozy, I would absolutely love to see it. Tag me on Instagram or share a photo in my Facebook group. Seeing your finished projects is the best part of sharing patterns.
Save this mustard yellow duck toilet paper cozy crochet pattern to your Pinterest boards so you can find it whenever you are ready to start. And please leave a comment below if you make one. I love hearing how your projects turn out and seeing the creative twists you add.
You Might Also Like
- Mustard Yellow Boho Tote with Brown Leather Tassels Pattern
- Lavender Dream Ankle Socks Free Crochet Pattern
- Lavender Crochet Sandals in Modern Bedroom Free Pattern
- Coral Peach Tie Front Crochet Cardigan Free Pattern