Mustard Yellow Circle Purse Free Crochet Pattern
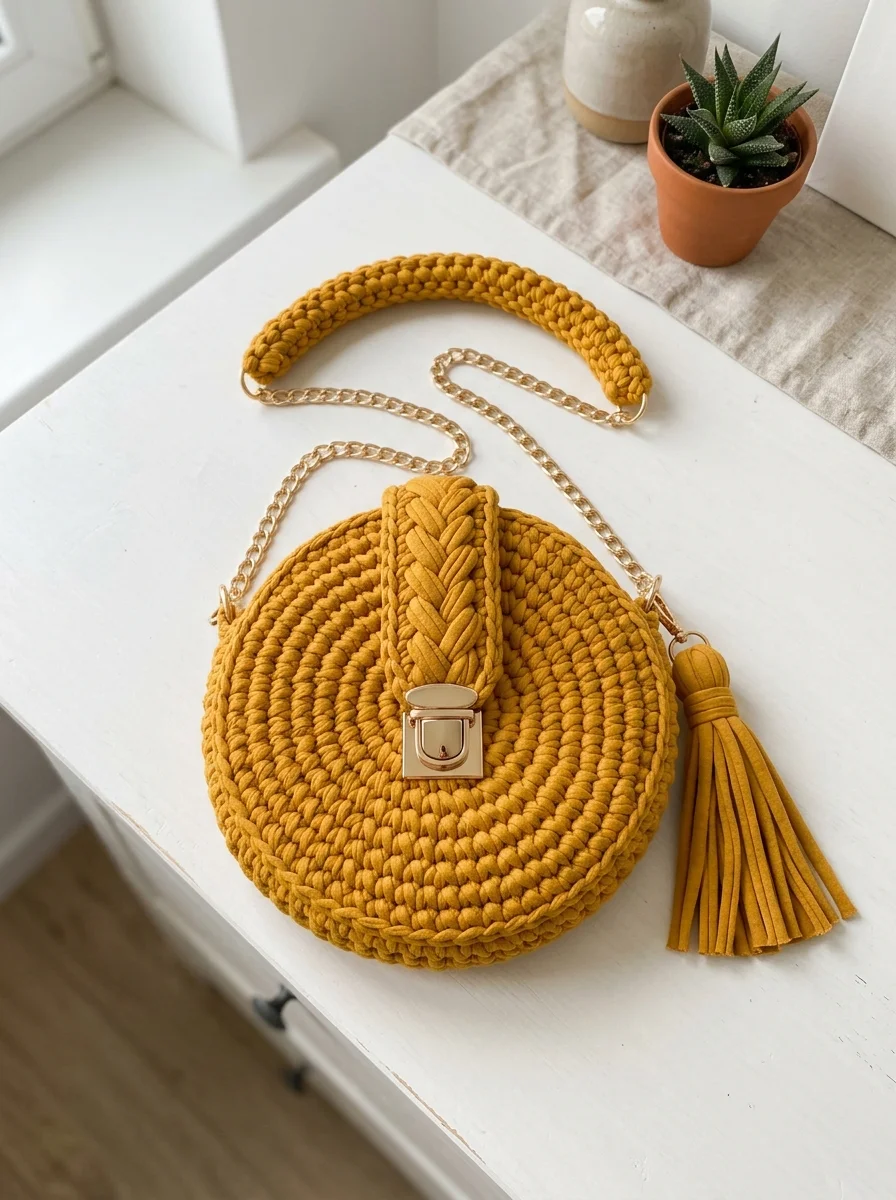
This gorgeous little circle purse is about to become your new favorite accessory. I fell in love with the modern shape, the chunky texture, and those gold hardware details the moment I finished mine. And honestly? It works up so much faster than you might think.
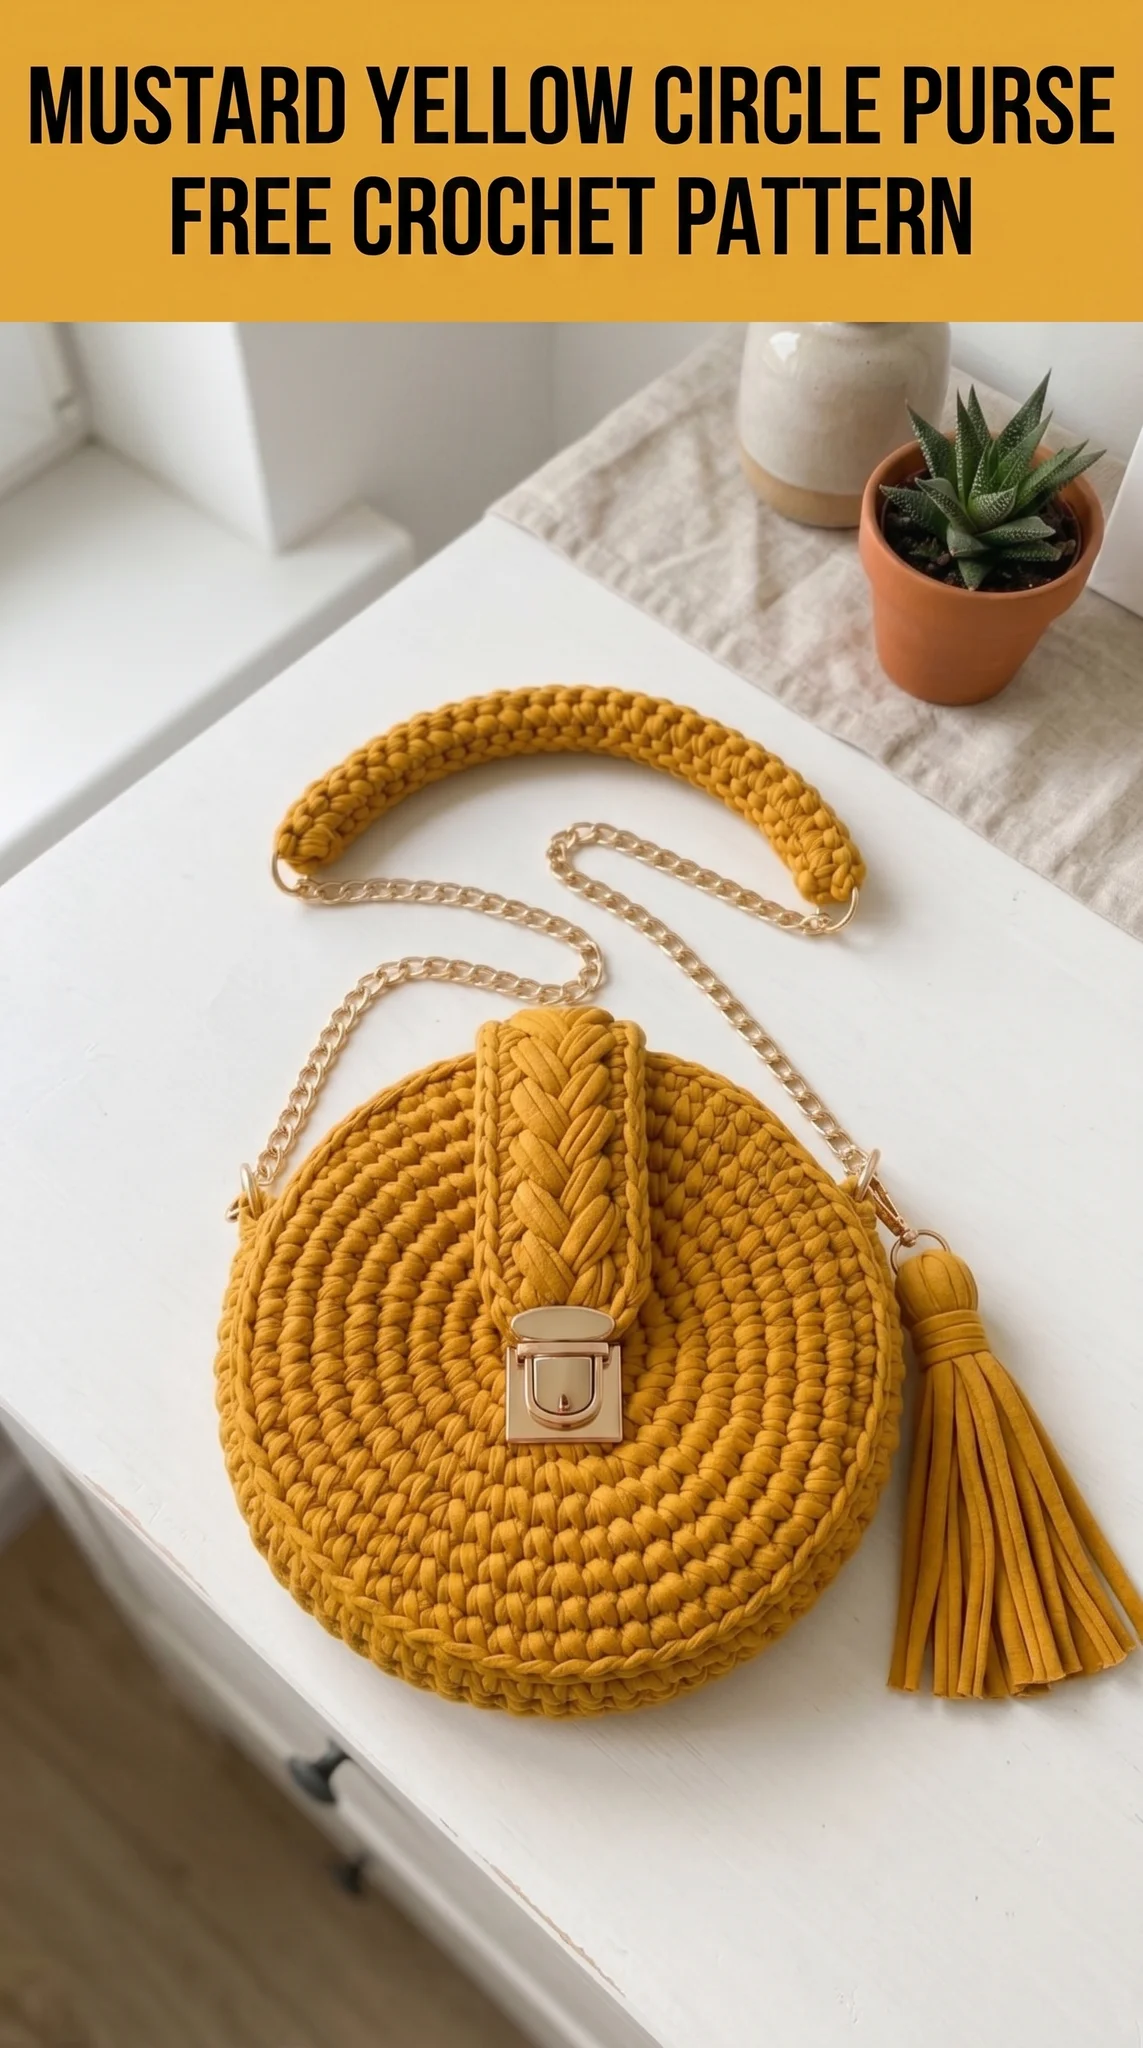
If you can crochet in the round and know your basic stitches, you can absolutely make this bag. The construction is straightforward. Two flat circles, joined together, plus a simple flap and strap. That’s it. I promise this crochet pattern is more approachable than it looks.
Let me walk you through everything you need to recreate this mustard yellow circle purse from scratch. By the end, you will have a stunning handmade bag perfect for date nights, brunch, or anytime you want to carry just the essentials.
Why This Circle Purse Crochet Pattern Works So Well
Circle bags have been trending for a few seasons now, and I totally get the appeal. The round shape is eye catching without being fussy. It holds more than you expect. And the structured silhouette looks polished with almost any outfit.
This particular design uses t-shirt yarn, which is that thick, stretchy ribbon yarn made from jersey knit fabric. It creates a dense, sturdy fabric that holds its shape beautifully. No liner needed. The stitches have that satisfying chunky look that photographs so well too.
The gold chain strap with a crocheted shoulder pad adds a designer touch. Same with the push lock clasp on the front. These hardware pieces elevate the whole project from craft fair cute to genuinely boutique worthy.
Skill Level
Confident Beginner to Intermediate
You should be comfortable with:
If you have made a crocheted coaster or the bottom of a basket, you already have the skills for this bag.
Finished Dimensions
Materials Needed
Yarn
T-shirt yarn comes in varying thicknesses depending on the brand. Aim for a medium weight variety, roughly 7 to 9mm wide when laid flat.
Hook
Your hook size may vary based on your yarn thickness. You want a dense fabric with minimal gaps, so go down a hook size if your stitches look loose.
Hardware
Tools
Optional
Abbreviations and Stitch Definitions
Let me define every stitch before we begin. If any of these are new to you, there are tons of video tutorials online. Just search the full stitch name.
Understanding the Construction
Before you start, let me explain how this bag comes together. This helps you visualize the end goal.
1. Front Circle: Crocheted flat in a spiral, starting from center
2. Back Circle: Identical to the front
3. Side Band: A short strip that creates the depth/gusset
4. Flap: An extension from the back circle that folds over the front
5. Strap Pad: A crocheted rectangle that covers part of the chain for comfort
6. Assembly: Everything gets joined, hardware gets attached
We work each piece separately, then sew or slip stitch them together. Nice and simple.
Step by Step Crochet Pattern
Front Circle (Make 1)
We are working in continuous rounds with a stitch marker. Do not join at the end of each round. Just keep spiraling.
Magic Ring: Start with a magic ring (adjustable loop). If you prefer, chain 2 and work into the first chain instead.
Round 1: 6 sc into magic ring. Pull ring closed. Place stitch marker in first stitch. (6 sts)
Round 2: Inc in each st around. (12 sts)
Round 3: *Sc 1, inc* repeat around. (18 sts)
Round 4: *Sc 2, inc* repeat around. (24 sts)
Round 5: *Sc 3, inc* repeat around. (30 sts)
Round 6: *Sc 4, inc* repeat around. (36 sts)
Round 7: *Sc 5, inc* repeat around. (42 sts)
Round 8: *Sc 6, inc* repeat around. (48 sts)
Round 9: *Sc 7, inc* repeat around. (54 sts)
Round 10: *Sc 8, inc* repeat around. (60 sts)
Slip stitch to next stitch to close. Fasten off, leaving a long tail for sewing.
Your circle should measure approximately 7 inches (18 cm) across. If it is smaller, add another increase round. If larger, stop one round earlier.
Back Circle (Make 1)
Work exactly the same as the Front Circle through Round 10.
Do not fasten off. We will continue directly into the flap.
Flap Extension
The flap is worked in rows back and forth across a portion of the back circle. We are creating a tab that folds over to the front.
Setup: With your working yarn still attached to the back circle, identify the top center of your circle. Count 8 stitches to the left of center. This is where your flap begins.
Row 1: Ch 1, sc in next 16 sts (working across the top portion of the circle). Turn. (16 sts)
Row 2: Ch 1, skip first st, sc in next 14 sts, skip last st. Turn. (14 sts)
Row 3: Ch 1, skip first st, sc in next 12 sts, skip last st. Turn. (12 sts)
Row 4: Ch 1, skip first st, sc in next 10 sts, skip last st. Turn. (10 sts)
Rows 5 through 7: Ch 1, sc in each st across. Turn. (10 sts)
This creates a tapered flap that narrows toward the tip.
Border Round: Ch 1, sc evenly around the entire flap edge, working 2 sc into corners to keep them flat. Sl st to first sc to join. Fasten off.
Braided Detail (Optional): The sample shows a decorative braid on the flap. To recreate this, cut 6 strands of yarn about 14 inches long. Braid tightly, then sew the braid vertically down the center of the flap. Tuck ends under.
Side Band (Gusset)
This strip creates the depth of the bag. It gets sewn between the front and back circles.
Ch 5.
Row 1: Sc in 2nd ch from hook and each ch across. Turn. (4 sts)
Rows 2 through 55: Ch 1, sc in BLO across each row. Turn. (4 sts)
Working in the back loop only creates horizontal ridges that match the texture of the circle panels.
Your strip should measure approximately 20 to 21 inches (51 to 53 cm) long. This wraps around most of the circle, leaving an opening at the top.
Fasten off, leaving a long tail.
Strap Shoulder Pad
This padded section sits on your shoulder and threads through the chain.
Ch 7.
Row 1: Sc in 2nd ch from hook and each ch across. Turn. (6 sts)
Rows 2 through 22: Ch 1, sc in each st across. Turn. (6 sts)
Fasten off, leaving tails for finishing.
This pad should measure approximately 4 to 5 inches (10 to 13 cm) long.
Assembly Instructions
Now for the fun part. Let’s put this circle purse together.
Step 1: Attach Side Band to Front Circle
Pin the side band around the edge of the front circle, starting at the bottom center. The band should wrap around, leaving a gap at the top for the opening.
Using your yarn needle and a long tail, whip stitch the band to the circle edge. Keep your stitches close and even.
Step 2: Attach Back Circle
Repeat the process, sewing the other edge of the side band to the back circle. Make sure the flap is positioned at the top, centered over the opening.
Take your time here. Align the edges carefully so the bag sits flat.
Step 3: Attach D-Rings
On each side of the bag opening, fold a small scrap of yarn (or use a separate short chain) through a D-ring. Sew this loop securely to the inside of the side band, near the top corner.
These rings are where your chain strap will clip on.
Step 4: Attach Push Lock Clasp
Position the clasp base on the front circle, centered about 1 inch from the top edge. Mark the screw holes with a pen.
Use a leather punch or awl to create small holes. Attach the clasp using the included screws or rivets.
Position the clasp catch on the underside of the flap, aligning with the base. Attach the same way.
Test that the flap closes smoothly before finalizing.
Step 5: Prepare the Strap
Thread your chain through the shoulder pad. The pad should sit in the middle of the chain.
Fold the short ends of the pad around the chain and whip stitch closed, encasing the chain inside.
Clip the chain ends onto the D-rings.
Step 6: Add Tassel (Optional)
Attach a matching tassel to one D-ring for extra flair. You can purchase a pre-made faux suede tassel or make one from yarn scraps.
Pro Tips for Success
Tension matters. With t-shirt yarn, you want firm tension so items in your bag do not poke through the stitches. If you can see gaps, try a smaller hook.
Count your stitches. In continuous rounds, it is easy to lose track. Move your stitch marker every round.
Block gently. If your circles are not perfectly flat, wet block by misting with water and pinning flat to dry.
Match your hardware. Gold on gold, silver on silver. Mixing metals can look unintentional.
Customization Ideas
This crochet tutorial gives you a foundation you can easily adapt.
Common Questions
Can I use a different yarn?
Yes, but results will vary. Cotton rope or macrame cord works well. Regular worsted weight yarn will create a smaller, softer bag that may need interfacing.
Where do I buy the hardware?
Check Etsy, Amazon, or local leather craft stores. Search for “purse push lock clasp” and “purse chain strap.”
How long does this take?
Most crocheters finish in 3 to 5 hours, not including assembly. T-shirt yarn works up fast.
You Did It
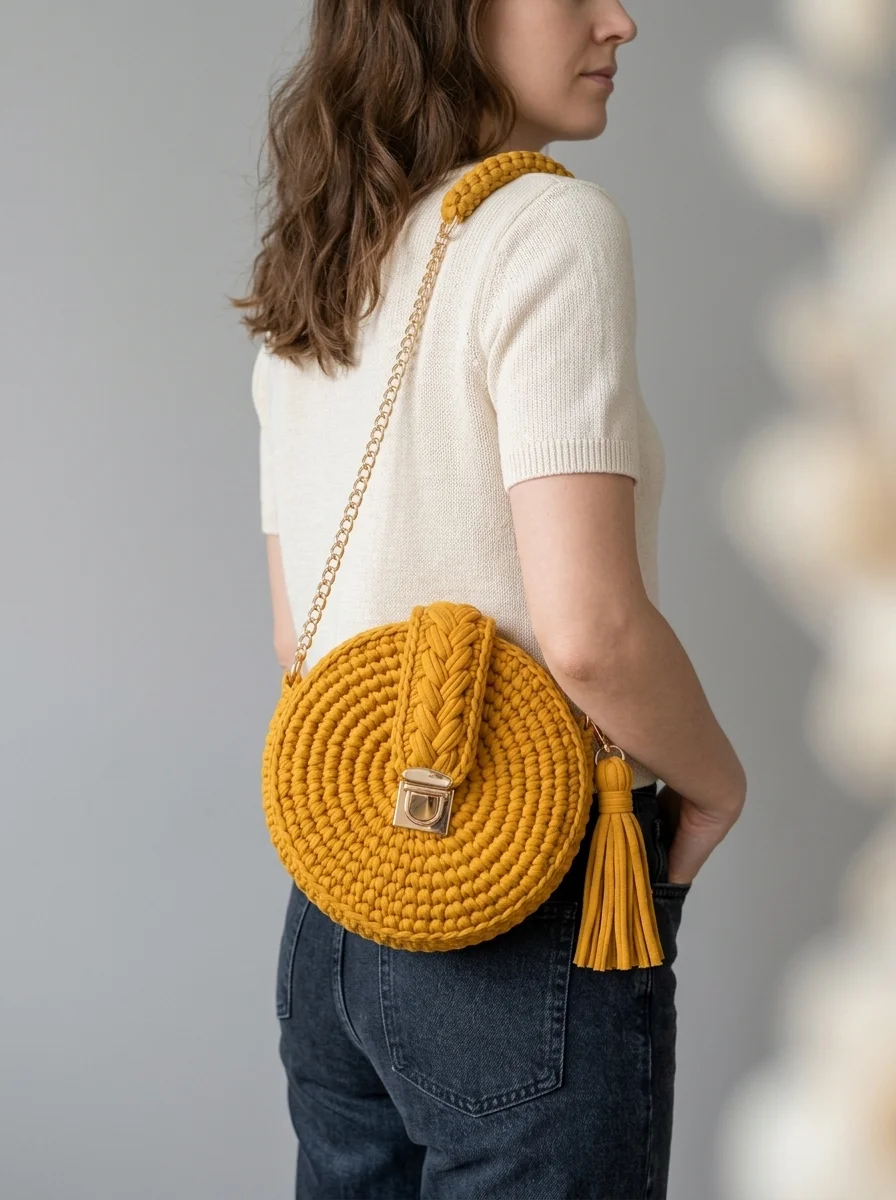
I really hope you enjoy making this mustard yellow circle purse as much as I did. There is something so satisfying about crocheting an accessory you will actually use every day.
When you finish yours, I would absolutely love to see it. Tag me on Instagram or share in our Facebook group. Seeing your versions honestly makes my whole week.
Happy hooking, friend. You have got this.