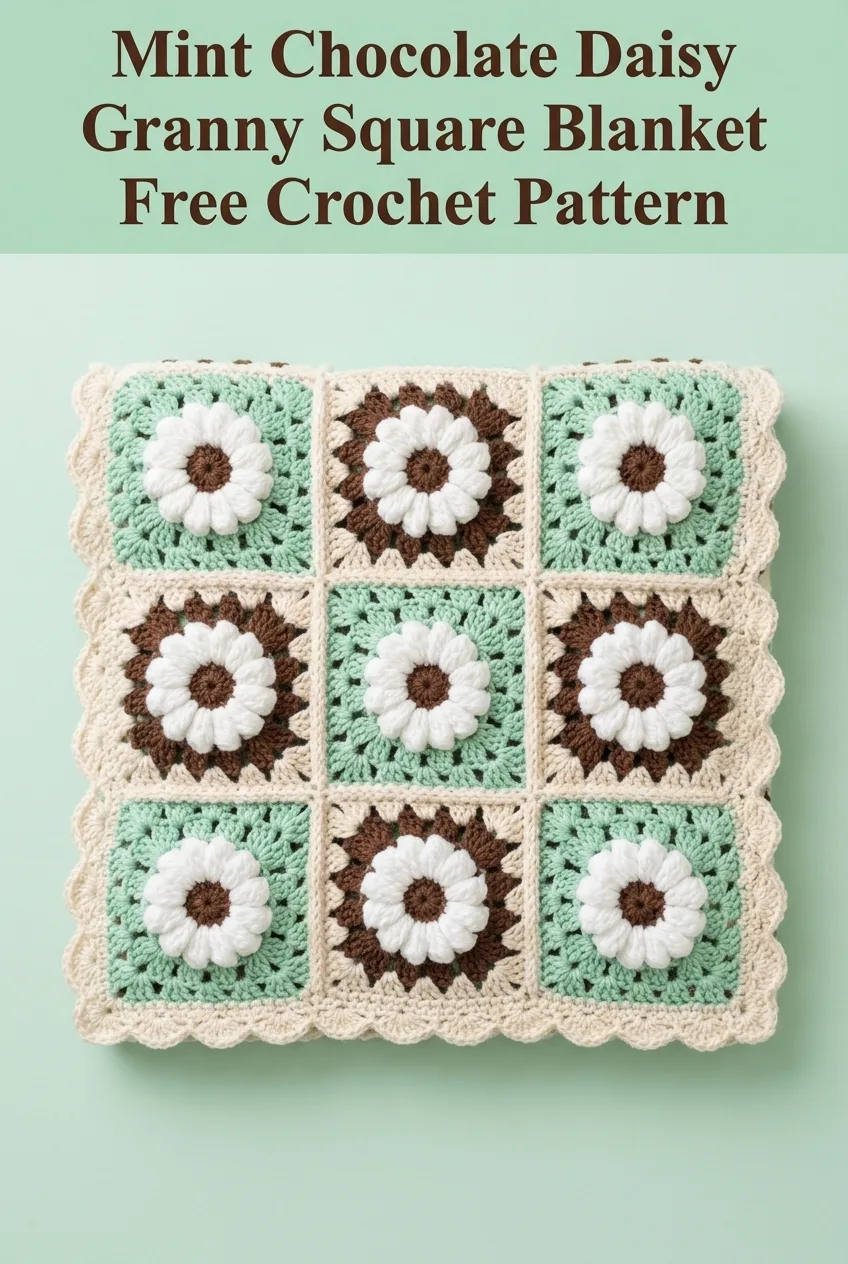
Mint Chocolate Daisy Granny Square Blanket Free Crochet Pattern
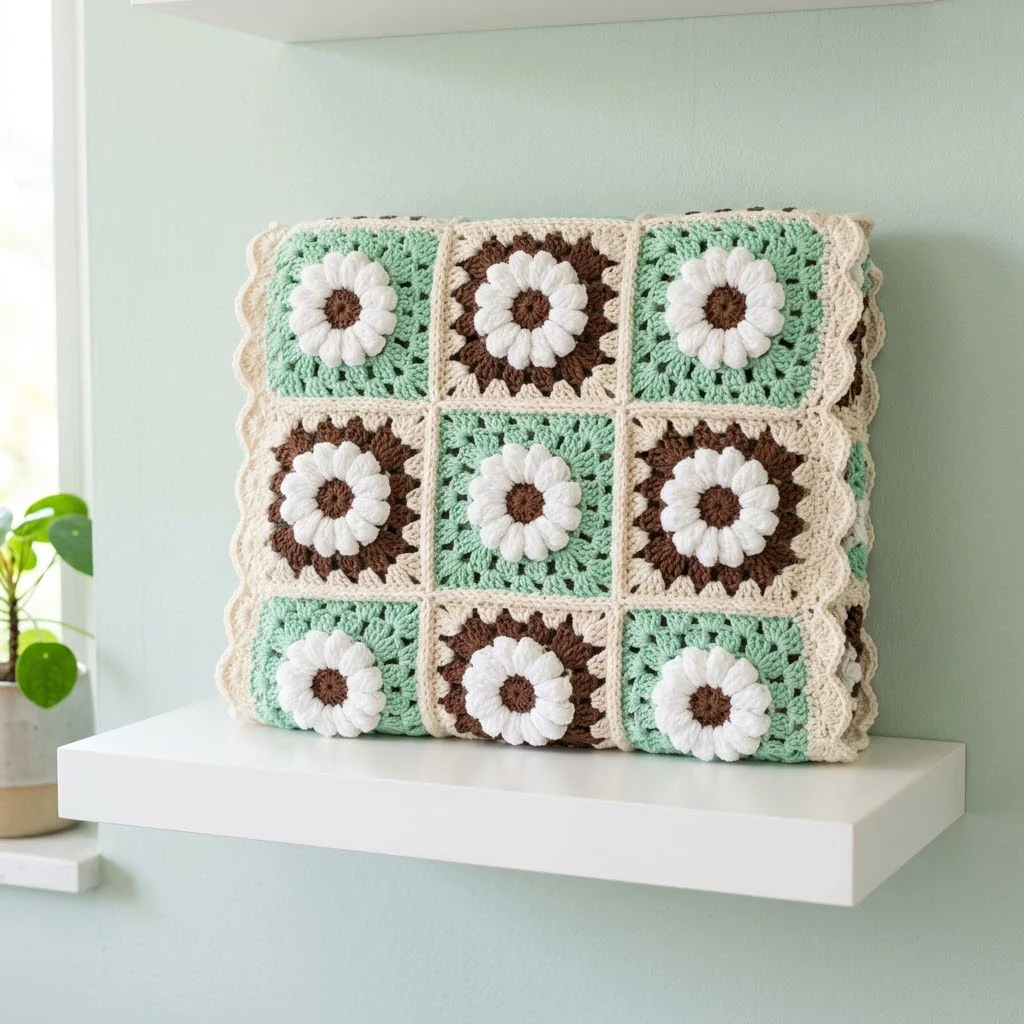
If you have been searching for the perfect handmade gift or a cozy throw to brighten up your living space, this daisy granny square blanket delivers on every front. The combination of mint green, chocolate brown, cream, and white creates a fresh vintage look that works beautifully in modern homes. This pattern uses classic granny square construction with a floral twist, making it ideal for intermediate crocheters ready to try something a bit more detailed. Each square works up relatively quickly, and the join as you go method means less sewing at the end. Whether you are making this for yourself, a new baby, or a friend who loves retro style decor, this blanket makes an impressive and heartfelt gift.
Why You Will Love This Daisy Granny Square Blanket Pattern
This crochet blanket combines two beloved techniques: the traditional granny square and the ever popular sunburst flower motif. The result is a textured, dimensional piece that looks far more complicated than it actually is.
The puff stitch petals create those gorgeous raised daisies in the center of each square. If you have never worked puff stitches before, do not worry. I will walk you through every step. Once you get the hang of it, you will find them almost meditative to make.
What I love most about this design is the modular construction. You make individual squares, then join them together. This makes the project incredibly portable. Toss a few squares in your bag and work on them during lunch breaks, waiting rooms, or while watching your favorite show.
The scalloped border adds a feminine, vintage touch that frames the whole blanket beautifully. It transforms a collection of squares into a cohesive, polished finished piece.
Skill Level
Intermediate
This crochet pattern is perfect for crafters who are comfortable with basic stitches and ready to try puff stitches and color changes. If you have made a basic granny square before, you can absolutely handle this project.
Finished Measurements
Based on the visible grid pattern, this blanket appears to be approximately:
The blanket shown uses a 4 by 6 arrangement of squares, totaling 24 squares. You can easily adjust the size by adding or removing rows and columns.
Materials Needed
Yarn
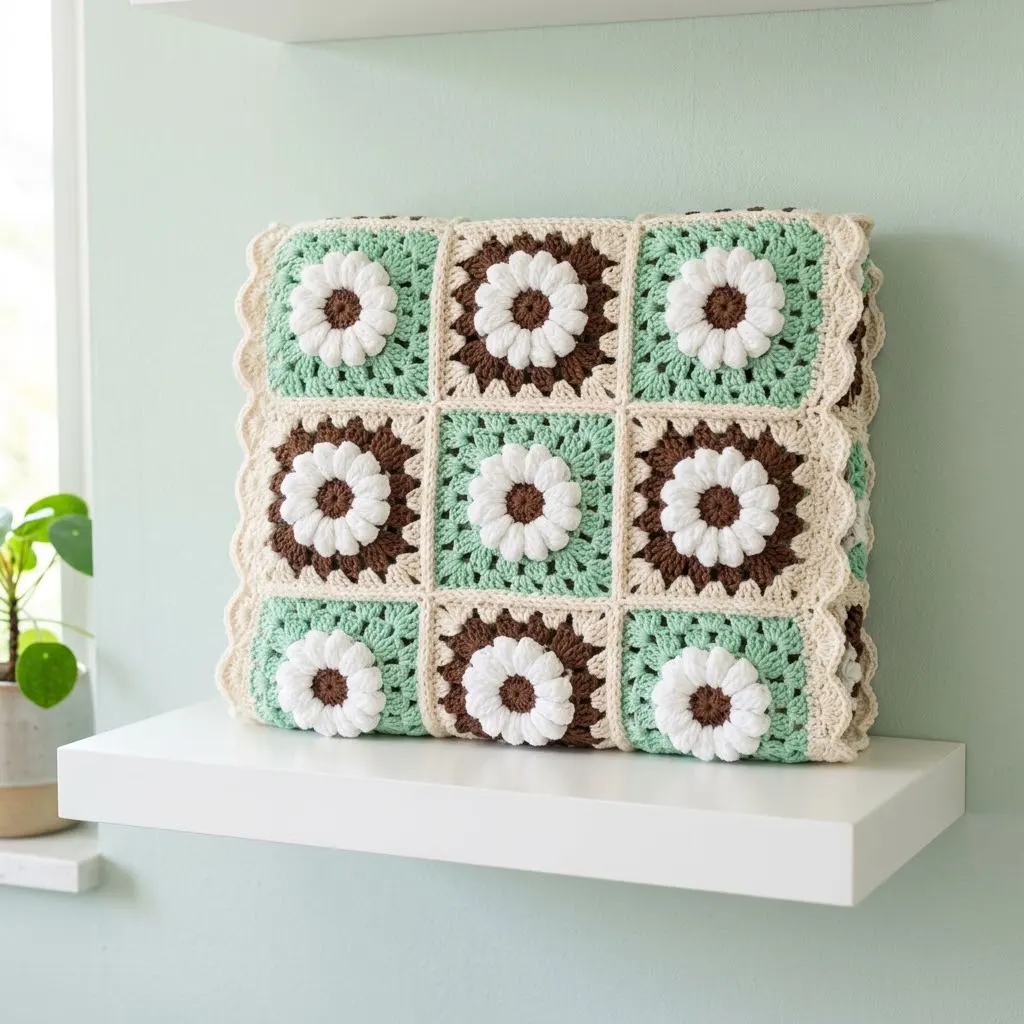
You will need worsted weight yarn (also called medium weight or category 4) in four colors:
Total Yardage: Approximately 1,800 yards
I recommend a soft acrylic yarn like Red Heart Soft, Caron Simply Soft, or Lion Brand Vanna’s Choice. These yarns are machine washable, affordable, and come in a wide range of colors. For a more luxurious feel, consider a cotton blend or merino superwash.
Hook
Notions
Gauge
One completed square = 6 inches (15 cm)
Gauge matters for this project because it determines your final blanket size. If your squares are too small, go up a hook size. If they are too large, go down a hook size.
Abbreviations and Stitch Definitions
Let me break down every stitch you will use in this pattern. Even if you know these stitches, a quick refresher never hurts.
Ch = Chain. Wrap yarn over hook and pull through the loop on your hook. This is the foundation of most crochet projects.
Sl st = Slip stitch. Insert hook into stitch, yarn over, pull through both the stitch and the loop on your hook in one motion. Used for joining and moving across stitches without adding height.
Sc = Single crochet. Insert hook into stitch, yarn over and pull up a loop (2 loops on hook), yarn over and pull through both loops.
Dc = Double crochet. Yarn over, insert hook into stitch, yarn over and pull up a loop (3 loops on hook), yarn over and pull through 2 loops (2 loops remain), yarn over and pull through remaining 2 loops.
Puff stitch = A textured stitch that creates the dimensional flower petals. To make a puff stitch: (yarn over, insert hook into stitch, yarn over and pull up a loop) 4 times in the same stitch. You will have 9 loops on your hook. Yarn over and pull through all 9 loops at once. Chain 1 to secure. This sounds tricky, but I promise it becomes second nature quickly.
3-dc cluster = Three double crochets worked into the same stitch or space. This is the classic granny square grouping.
Daisy Granny Square Pattern Instructions
You will need to make 24 squares total for the blanket size shown. Each square uses all four colors.
Round 1: Flower Center (Color A, Brown)
With Color A, create a magic ring (also called a magic loop or adjustable ring).
If magic rings intimidate you, here is an alternative: chain 4 and slip stitch into the first chain to form a ring. Work all Round 1 stitches into the center of that ring.
Round 1: Ch 3 (counts as first dc), work 11 dc into the magic ring. Sl st to the top of the ch-3 to join. Pull the magic ring closed. (12 dc)
Fasten off Color A. You will see a small brown circle with 12 posts around the edge.
Round 2: Daisy Petals (Color B, White)
Join Color B with a sl st to any dc from Round 1.
Round 2: Ch 1, work 1 puff stitch in the same stitch, ch 1. *Work 1 puff stitch in the next dc, ch 1.* Repeat from * to * around. Sl st to the first puff stitch to join. (12 puff stitches, 12 ch-1 spaces)
You should now see 12 puffy white petals radiating out from the brown center. This is your daisy.
Fasten off Color B.
Round 3: First Granny Round (Color A, Brown)
Join Color A with a sl st to any ch-1 space between puff stitches.
Round 3: Ch 3 (counts as first dc), 2 dc in the same ch-1 space, ch 1. *Skip the next puff stitch, work 3 dc in the next ch-1 space, ch 1.* Repeat from * to * around. Sl st to the top of the ch-3 to join. (6 clusters of 3 dc, 6 ch-1 spaces)
Wait, that math might seem off. Let me clarify. You are working into every other ch-1 space, skipping the ones directly behind each puff stitch. This creates 6 groupings evenly spaced around the flower.
Fasten off Color A.
Round 4: Square Formation (Color C, Mint Green)
This is where the magic happens. We transform the circular flower into a square shape by adding corner increases.
Join Color C with a sl st to any ch-1 space from Round 3.
Round 4: Ch 3, 2 dc in the same space (first cluster made). *Ch 1, work (3 dc, ch 2, 3 dc) in the next ch-1 space for corner, ch 1, work 3 dc in the next ch-1 space.* Repeat from * to * 3 more times, ending with (3 dc, ch 2, 3 dc) in the last corner space. Ch 1, sl st to the top of the ch-3 to join. (4 corners with ch-2 spaces, 8 side clusters)
Look at your work. You should now see a definite square shape forming with corners at four points.
Fasten off Color C.
Round 5: Second Green Round (Color C, Mint Green)
Join Color C with a sl st to any corner ch-2 space.
Round 5: Ch 3, 2 dc in the same corner space, ch 2, 3 dc in the same corner space (corner made). *Ch 1, work 3 dc in the next ch-1 space along the side. Repeat along the side until you reach the next corner. Ch 1, work (3 dc, ch 2, 3 dc) in the corner ch-2 space.* Repeat from * to * around all 4 sides. Ch 1, sl st to the top of the ch-3 to join.
You should have 2 clusters along each side between corners, plus the corner clusters.
Fasten off Color C.
Round 6: Outer Round (Color D, Cream)
Join Color D with a sl st to any corner ch-2 space.
Round 6: Ch 3, 2 dc in the same corner space, ch 2, 3 dc in the same corner space. *Ch 1, work 3 dc in each ch-1 space along the side. Ch 1, work (3 dc, ch 2, 3 dc) in the corner ch-2 space.* Repeat from * to * around. Ch 1, sl st to the top of the ch-3 to join.
You should have 3 clusters along each side between corners.
Fasten off Color D. Weave in all ends before joining squares. Trust me, this saves headaches later.
Repeat to make 24 total squares.
Joining the Squares
Arrange your squares in a 4 by 6 grid before joining. Take a photo so you remember your layout.
Join As You Go Method
This method joins squares on the last round as you work, eliminating the need for sewing.
For the second square and beyond, work Round 6 normally until you reach a side that will connect to an existing square. At each ch-1 space on the joining side, instead of working ch 1, work: sl st into the corresponding ch-1 space on the adjacent square. For corners that connect, work: 3 dc in corner, ch 1, sl st into the adjacent corner ch-2 space, ch 1, 3 dc in same corner.
Alternative: Whip Stitch Join
If joining as you go feels overwhelming, you can whip stitch the squares together after completing all 24.
Using Color D and a yarn needle, place two squares with right sides facing. Working through both loops of the outer stitches on each square, whip stitch along the entire edge. Repeat until all squares are joined.
Scalloped Border Pattern
The wavy scalloped edge gives this blanket its finished, professional look.
Join Color D with a sl st to any corner ch-2 space on the outer edge of the joined blanket.
Round 1: Ch 1, work 3 sc in the corner space. Sc evenly around the entire blanket, working 3 sc in each corner ch-2 space. Sl st to the first sc to join.
Round 2 (Scallop Round): Ch 1, sc in the first sc. *Skip 2 stitches, work 5 dc in the next stitch (shell made), skip 2 stitches, sc in the next stitch.* Repeat from * to * around the entire blanket. Adjust spacing slightly at corners to keep the scallops even. Sl st to the first sc to join.
Fasten off. Weave in all remaining ends.
Helpful Tips for Success
Blocking: For the crispest, most professional look, wet block your finished blanket. Soak it in cool water for 15 minutes, gently squeeze out excess water (do not wring), lay flat on towels, and pin to measurements. Let dry completely.
Color Variations: This pattern works beautifully in countless color combinations. Try classic white daisies with yellow centers and green backgrounds for a spring garden look. Or go bold with rainbow colored petals against a black background.
Size Adjustments: Want a baby blanket? Make 12 squares in a 3 by 4 arrangement. Want a king size bedspread? Make 80 squares in an 8 by 10 arrangement.
Weaving in Ends: With this many color changes, you will have a lot of ends. Weave each one in as you complete each square. Future you will be grateful.
What Makes This Crochet Blanket Pattern Special
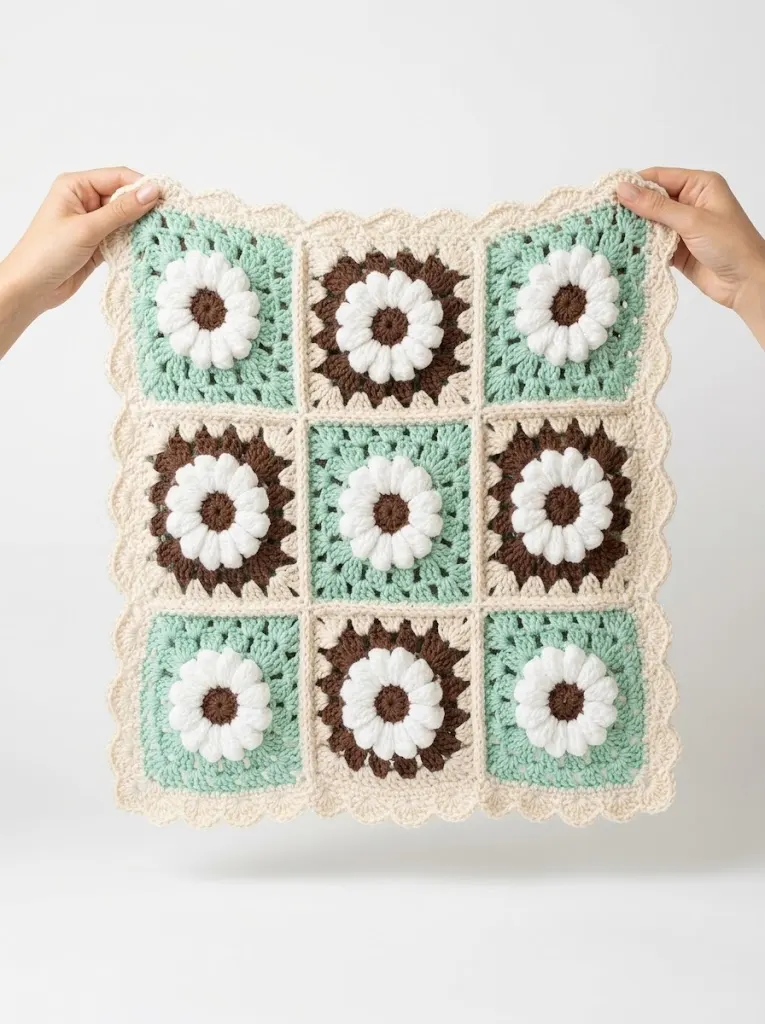
The mint chocolate color palette feels both nostalgic and modern. Those raised daisy petals add incredible texture that you can feel and see. The granny square construction means this project grows quickly, giving you that satisfying sense of progress.
This blanket drapes beautifully over a couch, looks stunning folded at the foot of a bed, and makes an unforgettable handmade gift for baby showers, weddings, or housewarmings.
Thank you so much for choosing this pattern for your next crochet project. I truly hope you enjoy making it as much as I enjoyed designing it. If you make this daisy granny square blanket, I would absolutely love to see your version. Tag me on Instagram or share in our Facebook group.
If this pattern caught your eye, go ahead and save it to your Pinterest boards so you can find it when you are ready to start. And please drop a comment below if you make one. I love hearing which colors you choose and seeing how each blanket turns out with your personal touch.
You Might Also Like
- Ocean Blue Ripple Moon Clutch with Gold Tassel Free Crochet Pattern
- Ocean Wave Hexagon Throw Free Crochet Pattern
- Pink Valentine Highland Cow Amigurumi Free Crochet Pattern
- Coral Poppy Baby Dress Free Crochet Pattern