Mint and Lavender Bunny Baby Blanket Free Crochet Pattern
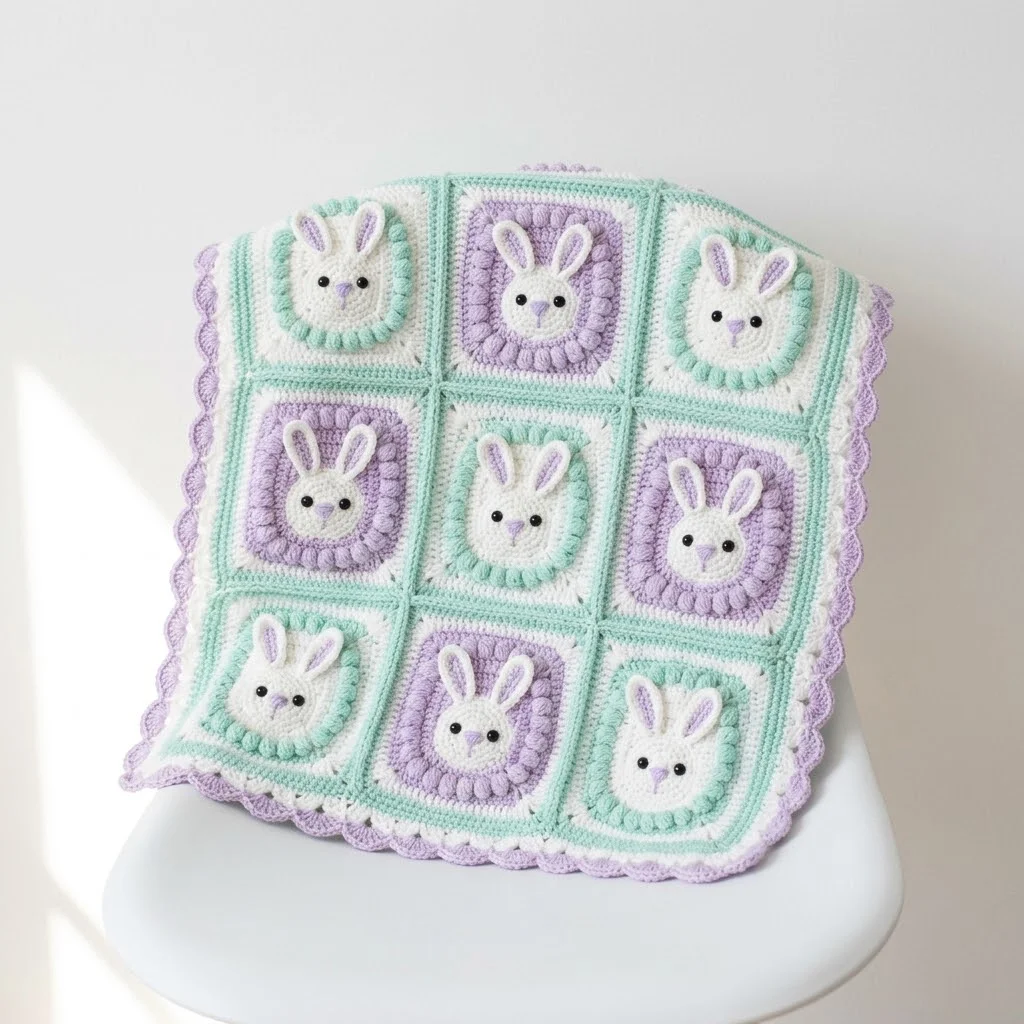
My best friend announced her pregnancy last spring, and I immediately knew I wanted to make something special for the nursery. She had chosen the sweetest mint and lavender color scheme, and I kept picturing a blanket covered in little bunny faces peeking out from cozy squares. I spent weeks sketching ideas on napkins during my lunch breaks, trying to figure out how to make each bunny face pop without the construction being too complicated. The result is this blanket, and honestly, every time I look at it I get a little teary thinking about how much love went into each stitch. I cannot wait for you to make your own version for a little one in your life.
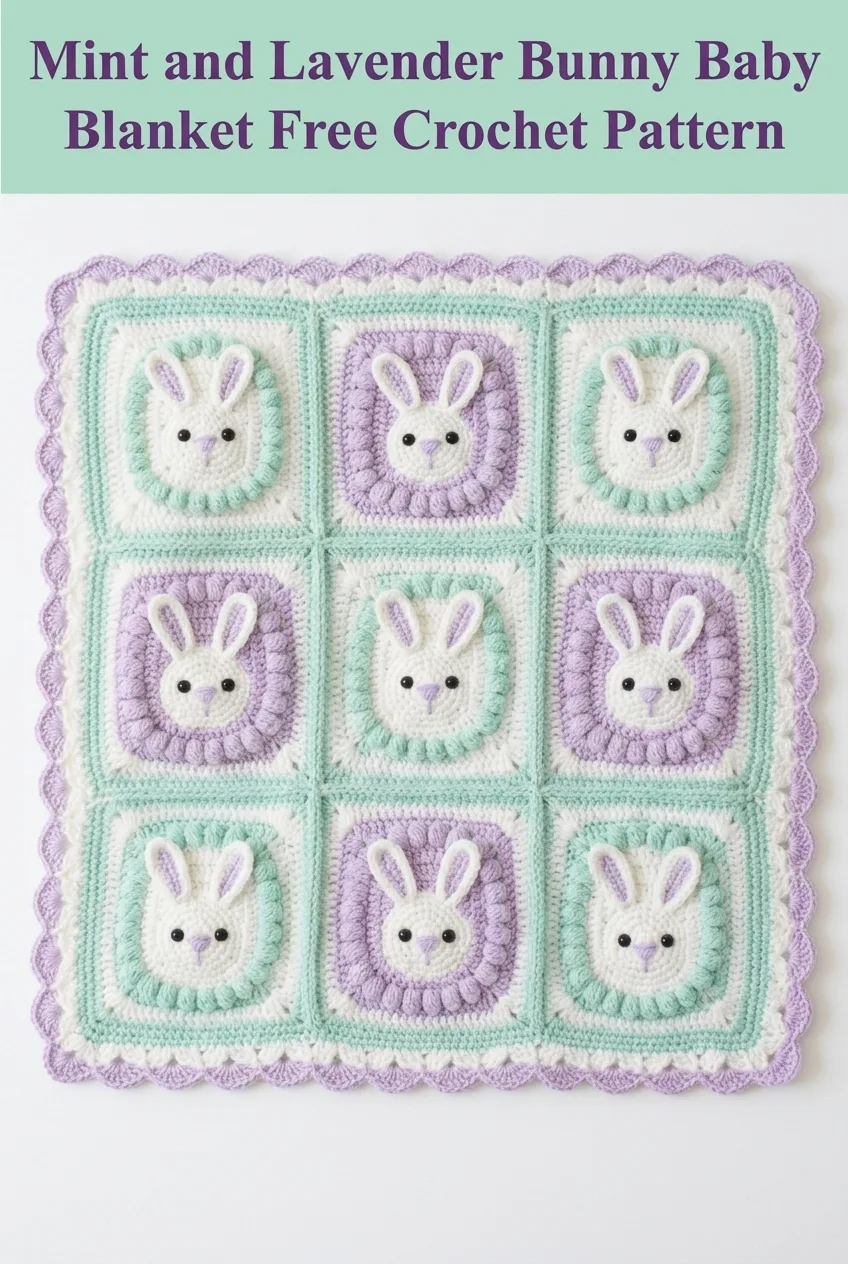
This crochet baby blanket pattern combines granny square construction with adorable appliqué bunny faces, creating a project that looks incredibly impressive but breaks down into manageable pieces. You will work individual squares, attach sweet bunny faces, join everything together, and finish with a scalloped border that ties the whole design together beautifully.
Why This Bunny Baby Blanket Pattern Works So Well
The genius of this crochet blanket tutorial is that nothing happens all at once. You make one square, then another, then another. Each one takes about 30 minutes once you get the hang of it. That means you can work on this during nap times, waiting rooms, or those quiet evenings when you just want to keep your hands busy.
The alternating mint and lavender color scheme creates visual interest without requiring complicated color changes within each square. You simply make some squares with mint borders and some with lavender borders, then arrange them in a checkerboard pattern. The white bunny faces stay consistent throughout, which actually makes the whole project move faster than you might expect.
Skill level: Intermediate. You should be comfortable with basic crochet stitches and working in the round. The bunny faces involve some shaping, but I will walk you through every step.
Materials You Will Need
Yarn:
I recommend a soft acrylic or acrylic blend that is machine washable. Baby blankets need to survive many trips through the laundry, so save your fancy hand wash only yarns for another project.
Hook:
Notions:
Finished Dimensions
This blanket measures approximately 30 inches by 30 inches when complete, which is a perfect size for a stroller blanket, tummy time mat, or crib accent. The nine squares are arranged in a 3 by 3 grid, with each finished square measuring roughly 9 inches before joining.
Gauge
14 stitches and 8 rows = 4 inches in double crochet using 5.0mm hook.
Gauge matters here because your squares need to match each other in size. Work a small swatch before starting, and adjust your hook size up or down if needed. A larger hook will give you larger, looser squares. A smaller hook will give you tighter, smaller squares.
Abbreviations and Stitch Definitions
Let me explain each stitch you will use in this step by step crochet pattern. I want you to feel confident before we begin.
ch = chain. Wrap yarn over hook and pull through the loop on your hook. This creates a foundation or adds height.
sl st = slip stitch. Insert hook, yarn over, pull through both the stitch and the loop on your hook in one motion. Used for joining and moving across stitches invisibly.
sc = single crochet. Insert hook, yarn over and pull up a loop (2 loops on hook), yarn over and pull through both loops. A short, tight stitch.
hdc = half double crochet. Yarn over, insert hook, yarn over and pull up a loop (3 loops on hook), yarn over and pull through all 3 loops. Medium height stitch.
dc = double crochet. Yarn over, insert hook, yarn over and pull up a loop (3 loops on hook), yarn over and pull through 2 loops (2 loops remain), yarn over and pull through remaining 2 loops. Taller stitch that creates nice drape.
inc = increase. Work 2 stitches into the same stitch. This makes your piece grow wider.
puff st = puff stitch. (Yarn over, insert hook, pull up a loop) 3 times in the same stitch (7 loops on hook), yarn over and pull through all 7 loops. Creates a raised, textured bump.
magic ring = adjustable starting loop. Create a loop with your yarn tail, insert hook, pull up a loop, chain 1, then work your first round stitches into the ring. Pull the tail tight to close the center hole.
How to Crochet the Bunny Square Base
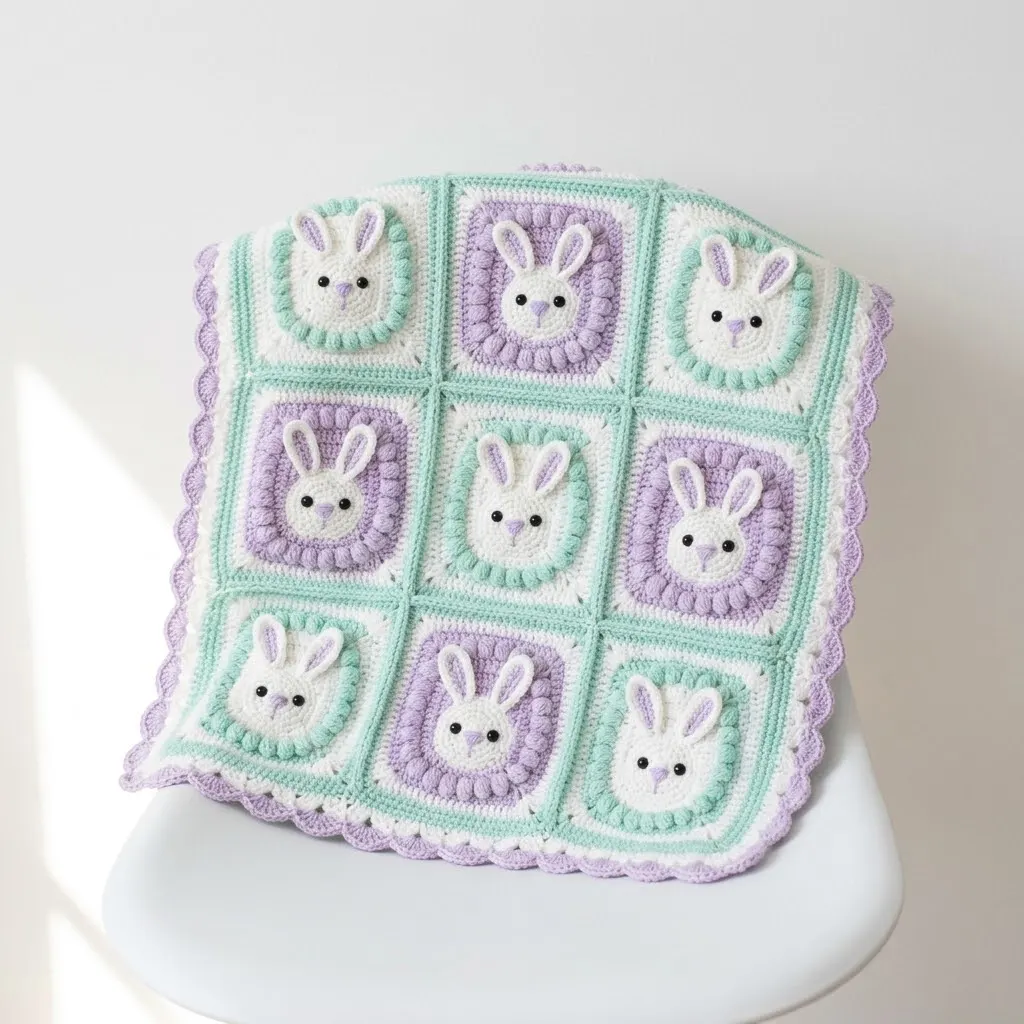
You will make 9 base squares total. Make 5 with Color B (mint) borders and 4 with Color C (lavender) borders for the checkerboard effect shown in the photo.
Round 1 (Center)
Using Color A (white) and your 5.0mm hook, create a magic ring.
Ch 3 (counts as first dc), work 2 dc into ring, ch 2.
*Work 3 dc into ring, ch 2.* Repeat from * 2 more times.
Sl st to top of beginning ch 3 to join. (12 dc, 4 ch-2 spaces)
Pull magic ring tail tight to close center hole.
Round 2
Ch 3 (counts as dc), dc in next 2 sts.
*In corner ch-2 space work (2 dc, ch 2, 2 dc). Dc in next 3 sts.* Repeat from * around, ending with corner in last ch-2 space.
Sl st to join. (28 dc, 4 ch-2 corner spaces)
Round 3
Ch 3, dc in each st to corner.
*In corner ch-2 space work (2 dc, ch 2, 2 dc). Dc in each st to next corner.* Repeat from * around.
Sl st to join. (44 dc, 4 corners)
Round 4
Repeat Round 3 pattern. (60 dc, 4 corners)
Round 5 (Puff Stitch Border)
Change to your border color (Color B or C). This round creates the distinctive textured ring around each bunny face.
Ch 1, sc in same st.
*Work puff st in next st, sc in next st.* Repeat around entire square, working (sc, puff st, sc) in each corner ch-2 space.
Sl st to join. Fasten off and weave in ends.
Rounds 6-7 (Outer Border)
Continue with border color.
Round 6: Ch 3, dc in each st around, working (2 dc, ch 2, 2 dc) in each corner. Sl st to join.
Round 7: Repeat Round 6. Fasten off.
Your finished square should measure approximately 9 inches.
How to Crochet the Bunny Face
Make 9 bunny faces total using Color A (white).
Bunny Head
Create a magic ring.
Round 1: Ch 1, work 6 sc into ring. Sl st to join. (6 sc)
Round 2: Ch 1, 2 sc in each st around. Sl st to join. (12 sc)
Round 3: Ch 1, *sc in next st, 2 sc in next st.* Repeat around. Sl st to join. (18 sc)
Round 4: Ch 1, *sc in next 2 sts, 2 sc in next st.* Repeat around. Sl st to join. (24 sc)
Round 5: Ch 1, sc in each st around. Sl st to join. (24 sc)
If you want puffy cheeks, add a tiny bit of fiberfill before closing. This is completely optional.
Fasten off, leaving a long tail for sewing.
Bunny Ears (Make 2 per bunny, 18 total)
Using Color A (white), ch 8.
Row 1: Sc in 2nd ch from hook, sc in next 5 ch, 3 sc in last ch. Working along opposite side of foundation chain, sc in next 5 ch, 2 sc in last ch. (16 sc)
Row 2: Ch 1, sc in next 6 sts, 2 sc in next st, sc in next 2 sts, 2 sc in next st, sc in next 6 sts. (18 sc)
Fasten off, leaving a tail for sewing.
Inner Ears (Make 2 per bunny, 18 total)
Using pink yarn, ch 5.
Row 1: Sc in 2nd ch from hook, sc in next 2 ch, 3 sc in last ch. Working along opposite side, sc in next 2 ch, 2 sc in last ch. (10 sc)
Fasten off. Sew pink inner ear to center of white ear.
Bunny Nose
Using pink yarn, ch 3.
Work 2 sc in 2nd ch from hook, sl st in next ch. Fasten off, leaving a tail. This creates a tiny triangle shape.
Assembling the Bunny Face
Position the bunny head in the center of your puff stitch ring. The face should sit right in the middle of the white center area.
Attach safety eyes approximately 4 stitches apart, positioned slightly above center of the face. Make sure they are securely fastened before continuing.
Sew the pink nose just below and centered between the eyes.
Position both ears at the top of the head, angling them slightly outward like a real bunny. Sew securely in place.
Using your border color yarn, embroider a small V shape below the nose for the bunny mouth. Just 2 or 3 small stitches will do.
Sew the entire bunny face assembly to the center of your square using whip stitch and your white yarn tail.
Joining Your Squares
Arrange your 9 completed squares in a 3 by 3 grid, alternating mint and lavender borders in a checkerboard pattern. The corner squares and center square should be the same color, with the opposite color filling the remaining positions.
I recommend whip stitch joining for this project because it creates a flat, nearly invisible seam on the front. Hold two squares with wrong sides together. Using Color B (mint), work through both loops of corresponding stitches on each square. Work across one entire edge, then continue joining all squares into rows. Finally, join your three rows together with one long horizontal seam.
Weave in all joining ends securely.
Scalloped Border Instructions
The border brings everything together and hides any slight imperfections in your joining. This beginner friendly scalloped edge looks fancy but works up quickly.
Round 1 (Foundation)
Join Color B (mint) to any corner.
Ch 1, sc evenly around entire blanket, working 3 sc in each corner. Aim for approximately 3 sc per dc along the sides. Sl st to join.
Round 2 (Scallop Setup)
Change to Color C (lavender).
Ch 1, sc in each st around, working 3 sc in each corner. Sl st to join.
Round 3 (Scallops)
Ch 1, sc in first st.
*Skip 2 sts, work 5 dc in next st (shell made), skip 2 sts, sc in next st.* Repeat from * around entire blanket. Adjust as needed at corners to keep scallops even.
Sl st to join.
Round 4 (Final Edge)
Change to Color A (white) for a crisp finish.
Ch 1, sc in each st around the entire scalloped edge, working 1 sc in each sc and 1 sc in each dc. Sl st to join. Fasten off.
Finishing Your Bunny Baby Blanket
Weave in all remaining ends. I know this part is tedious, but secure ends mean a blanket that survives years of love and washing.
Block your finished blanket by wetting it thoroughly with cool water, gently squeezing out excess moisture (never wring), and laying flat on a towel or blocking mat. Smooth into shape and let dry completely. This evens out your stitches and helps the squares lie flat.
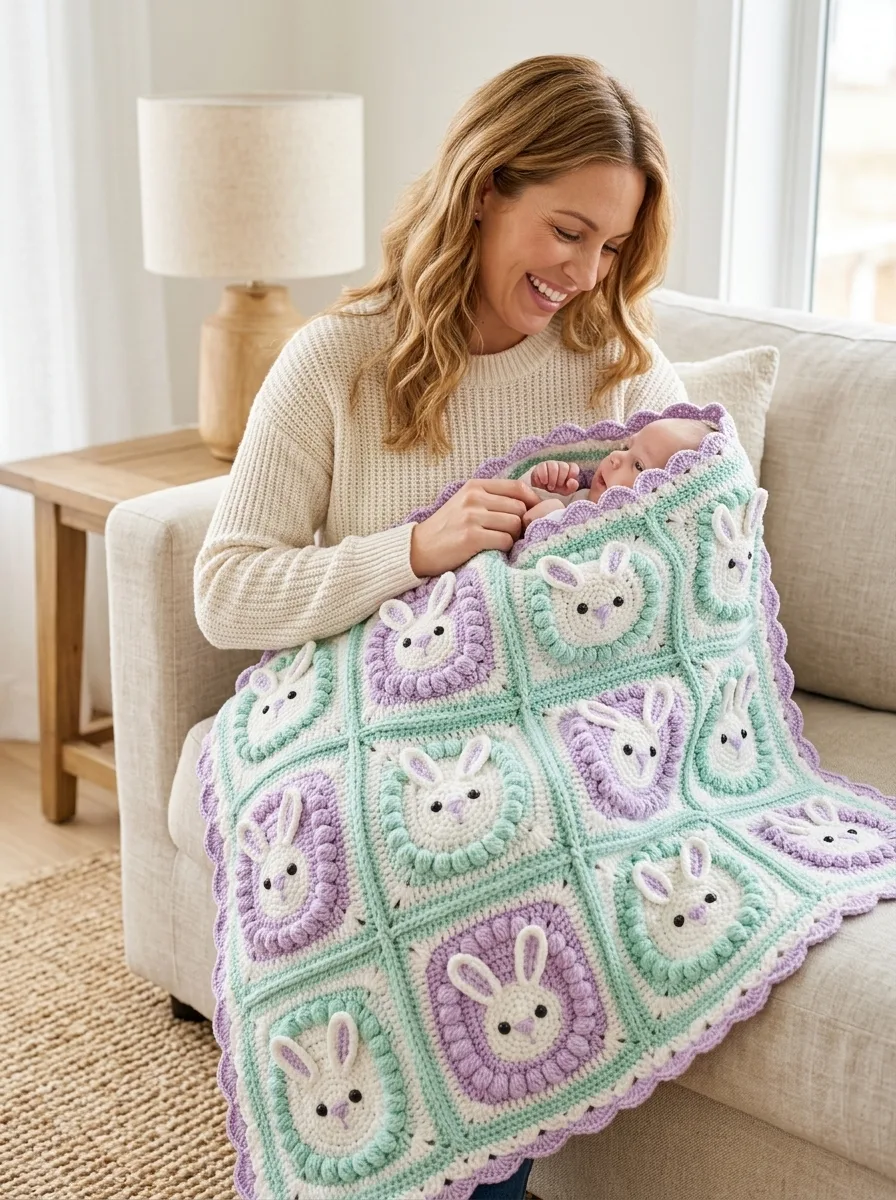
Your finished Mint and Lavender Bunny Baby Blanket is now ready to wrap up a precious little one.
Tips for Success With This Crochet Pattern
Count your stitches after every round, especially in the beginning. Granny squares can go wonky fast if you miss a stitch or accidentally add extras.
Use stitch markers to mark your corners. This helps you stay oriented as your squares grow.
Check your safety eye placement before you commit. Hold them in place and look at the face from different angles. Once those backs snap on, they are not coming off without damaging the yarn.
Make one complete square first before cutting yarn for all 9. This lets you check your gauge and make adjustments before you have invested hours of work.
Take photos of your square arrangement before joining. You will thank yourself later when you cannot remember which corner goes where.
Thank you so much for choosing this pattern for your next project. I truly hope it brings joy to both your crafting time and the lucky little one who receives it. If you make this blanket, I would absolutely love to see your version. Tag me on Instagram or share a photo on Facebook so I can cheer you on.
If this pattern made you smile, save it to your Pinterest boards so you can find it again whenever inspiration strikes. And please drop a comment below if you have questions or just want to share your color choices. I read every single one, and hearing from you makes my day.
You Might Also Like
- Blush Pink Round Chain Bag Free Crochet Pattern
- Pastel Pink Dragon Amigurumi Plush Free Crochet Pattern
- Midnight Blue Floral Bell Sleeve Top Free Crochet Pattern
- Mint Garden Baby Crochet Dress Free Pattern