Midnight Blue Floral Bell Sleeve Top Free Crochet Pattern
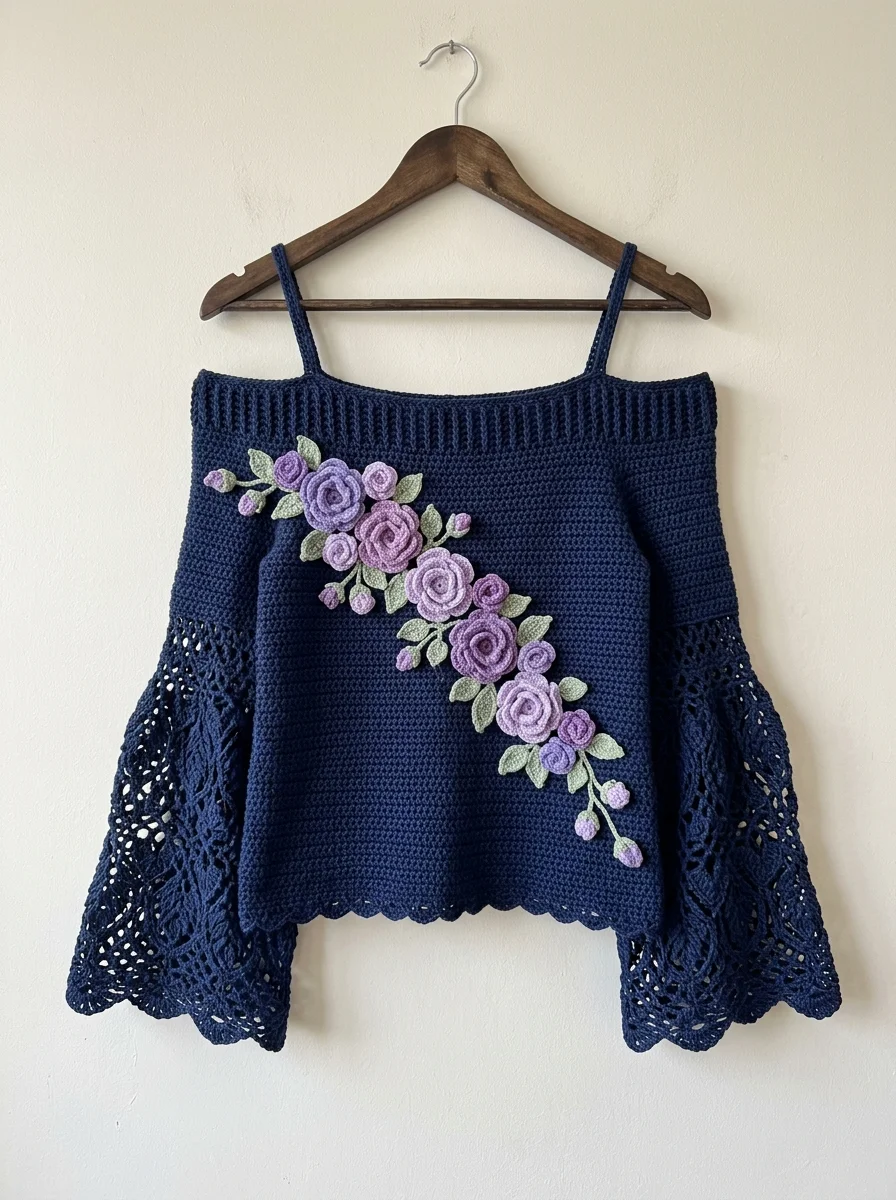
This gorgeous Midnight Blue Floral Bell Sleeve Top stopped me in my tracks when I finished blocking it. The dramatic bell sleeves with their intricate lace panels, combined with those romantic dimensional roses cascading down the bodice, create something truly runway worthy. And yes, you can absolutely make this yourself.
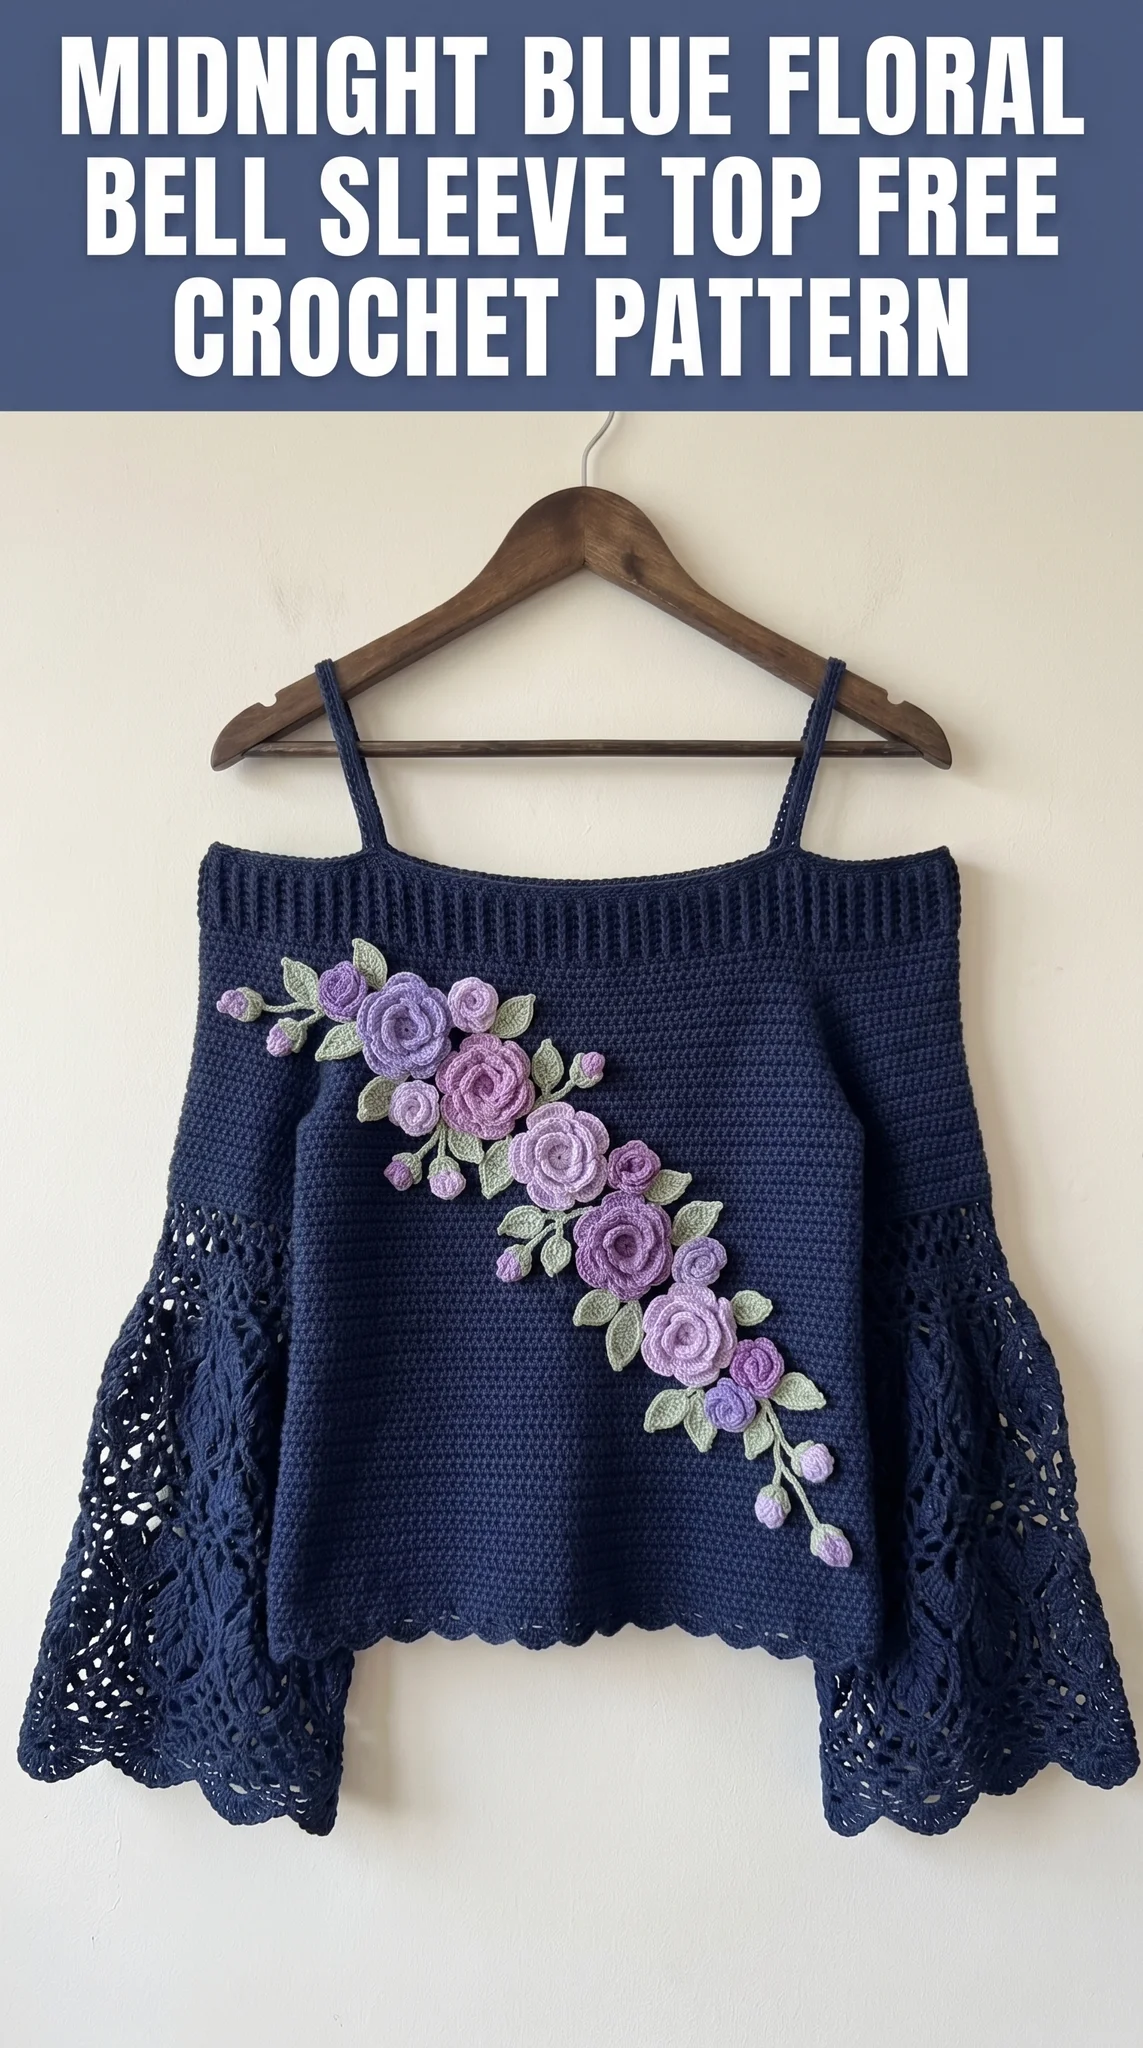
I will not sugarcoat it. This is an intermediate to advanced level crochet pattern. But if you have made garments before and feel comfortable with basic shaping, you are ready. The construction is more straightforward than it looks. We build a simple bodice, add those show stopping sleeves separately, then finish with the floral appliqués.
Let me walk you through every single step.
Why This Crochet Pattern Works So Well
The genius of this design lives in the contrast. A solid, dense bodice keeps the structure wearable and supportive. Those open lace bell sleeves add drama without weight. And the three dimensional roses? They transform a beautiful top into a wearable art piece.
The single crochet fabric of the main body gives you a smooth canvas. It drapes beautifully without being too heavy for warm weather. The ribbed neckline adds polish and prevents stretching. Those spaghetti straps keep everything secure while maintaining that romantic off shoulder vibe.
Materials You Will Need
Gather everything before you start. Nothing kills momentum like a mid project supply run.
Yarn:
Hook:
Notions:
Gauge:
18 stitches and 20 rows = 4 inches in single crochet with 4.0mm hook
Check your gauge. Seriously. This is a fitted garment. A half stitch difference per inch adds up to a top that does not fit.
Abbreviations and Stitch Definitions
Let me define every stitch before we dive in. Refer back here anytime you need a refresher.
ch = chain: Yarn over, pull through loop on hook. Creates foundation or adds height.
sl st = slip stitch: Insert hook, yarn over, pull through both loops at once. Used for joining or invisible movement.
sc = single crochet: Insert hook, yarn over and pull up a loop (2 loops on hook), yarn over and pull through both loops. One of the shortest stitches. Creates dense fabric.
hdc = half double crochet: Yarn over, insert hook, pull up a loop (3 loops on hook), yarn over and pull through all 3 loops. Slightly taller than sc.
dc = double crochet: Yarn over, insert hook, pull up a loop (3 loops on hook), yarn over and pull through 2 loops (2 loops remain), yarn over and pull through remaining 2 loops. Creates open, taller fabric.
tr = treble crochet: Yarn over twice, insert hook, pull up a loop (4 loops on hook), yarn over and pull through 2 loops three times until one loop remains. Very tall stitch used in lace.
dtr = double treble crochet: Yarn over three times, insert hook, pull up a loop, yarn over and pull through 2 loops four times. Even taller than treble.
sc2tog = single crochet decrease: Insert hook in first stitch, pull up loop, insert hook in next stitch, pull up loop (3 loops on hook), yarn over and pull through all 3. Decreases by one stitch.
BLO = back loop only: Work into only the back loop of the stitch below, creating a ridge on the front.
Size and Measurements
This pattern is written for size Small/Medium with the following finished measurements:
To size up or down: Add or subtract stitches in multiples of 2 for the bodice. The lace panel repeat for sleeves is a multiple of 12 stitches. Adjust accordingly.
Step by Step Crochet Pattern Instructions
Bodice Front Panel
We work the front panel flat, bottom to top.
Foundation: With navy yarn and 4.0mm hook, ch 82.
Row 1: Sc in 2nd ch from hook and in each ch across. Turn. (81 sts)
Rows 2 through 50: Ch 1, sc in each st across. Turn. (81 sts)
This creates a rectangle approximately 18 inches wide and 10 inches tall. The fabric should feel structured but not stiff.
Shape armholes:
Row 51: Ch 1, sl st in first 6 sts, ch 1, sc in same st as last sl st, sc in next 68 sts, leave remaining 6 sts unworked. Turn. (69 sts)
Row 52: Ch 1, sc2tog over first 2 sts, sc across to last 2 sts, sc2tog. Turn. (67 sts)
Rows 53 through 56: Repeat Row 52. (59 sts after Row 56)
Rows 57 through 62: Ch 1, sc in each st across. Turn. (59 sts)
Fasten off and weave in ends.
Bodice Back Panel
Work exactly the same as Front Panel. Having two identical panels makes construction much simpler.
Ribbed Neckline Band
This creates that polished horizontal ridge texture you see at the top edge.
Foundation: With navy yarn and 4.0mm hook, ch 12.
Row 1: Sc in 2nd ch from hook and in each ch across. Turn. (11 sts)
Row 2: Ch 1, sc in BLO of each st across. Turn. (11 sts)
Repeat Row 2 until band measures approximately 36 inches unstretched (or long enough to go around both front and back top edges).
Fasten off, leaving a long tail for seaming.
Spaghetti Straps (Make 2)
These are simple chains with a row of slip stitches for stability.
Foundation: Ch 75 (adjust for desired length).
Row 1: Sl st in 2nd ch from hook and in each ch across. (74 sl sts)
Fasten off. The strap should measure approximately 12 inches and have a cord like appearance.
Bell Sleeves (Make 2)
Here is where the magic happens. These sleeves feature an openwork lace panel that creates dramatic drape.
Upper Sleeve Section:
Foundation: Ch 49.
Row 1: Sc in 2nd ch from hook and in each ch across. Turn. (48 sts)
Rows 2 through 12: Ch 1, sc in each st across. Turn. (48 sts)
Transition to Lace Panel:
Row 13 (Increase Row): Ch 1, sc in first st, *sc in next st, 2 sc in next st*, repeat from * to * across to last st, sc in last st. Turn. (72 sts)
Row 14: Ch 3 (counts as dc), dc in each st across. Turn. (72 sts)
Lace Pattern Section:
This creates the open diamond pattern visible in the sleeves.
Row 15: Ch 4 (counts as dc plus ch 1), skip next st, dc in next st, *ch 2, skip 2 sts, dc in next st*, repeat from * to * across. Turn.
Row 16: Ch 5 (counts as dc plus ch 2), dc in next dc, *ch 2, dc in next dc*, repeat from * to * across. Turn.
Rows 17 through 20: Repeat Row 16.
Row 21: Ch 3, dc in first ch 2 space, *2 dc in next ch 2 space*, repeat from * to * across, dc in top of turning ch. Turn. (72 sts)
Rows 22 through 25: Repeat Rows 15 through 18.
Shell Edging:
Row 26: Ch 1, sc in first dc, *skip 2 sts, 5 dc in next st (shell made), skip 2 sts, sc in next st*, repeat from * to * across. Fasten off.
Scallop Hem Edging
With right side facing, join navy yarn at bottom corner of bodice.
Round 1: Ch 1, sc evenly around entire bottom edge, working 3 sc in each corner. Join with sl st to first sc.
Round 2: Ch 1, sc in first st, *skip 2 sts, 5 dc in next st, skip 2 sts, sc in next st*, repeat from * to * around, adjusting skips as needed for smooth scallops. Join with sl st. Fasten off.
Floral Appliqué Instructions
These dimensional roses and leaves bring the whole piece to life. Make them separately, then arrange and attach.
Spiral Rose (Make 7 to 9 in varying sizes)
Small Rose:
Ch 25.
Row 1: Dc in 4th ch from hook, *3 dc in next ch*, repeat from * to * across. (Approximately 66 dc)
Fasten off, leaving long tail. Roll the strip from one end, forming a spiral. Use tail to stitch through bottom layers, securing the rose shape.
Large Rose:
Ch 35. Work same as small rose for fuller bloom.
Rosebuds (Make 4 to 5)
Ch 8.
Row 1: Sc in 2nd ch from hook, hdc in next, dc in next 2, hdc in next, sc in last. Fasten off.
Roll into tiny bud shape and secure with tail.
Leaves (Make 10 to 12)
With sage green yarn and 3.5mm hook:
Ch 10.
Row 1: Sl st in 2nd ch from hook, sc in next, hdc in next 2, dc in next 2, hdc in next, sc in next, 3 sc in last ch. Working on opposite side of chain: sc in next, hdc in next, dc in next 2, hdc in next 2, sc in next, sl st in last. Fasten off.
This creates a pointed oval leaf shape.
Assembly Instructions
Take your time here. Proper assembly makes or breaks a garment.
1. Block all pieces before assembly. Wet block the bodice panels and sleeves, pinning to measurements. Let dry completely.
2. Seam side edges of front and back panels using mattress stitch for invisible joins. Leave top 6 inches open for armholes.
3. Attach ribbed band around top edge using whip stitch on wrong side. Stretch slightly as you go for smooth fit.
4. Seam sleeves along short edges to form tubes. Attach upper edge of each sleeve tube to armhole opening, easing to fit.
5. Attach straps to inside of ribbed band, spacing approximately 7 inches apart at front and back.
6. Arrange floral appliqués on front bodice in cascading diagonal pattern as shown. Pin in place. Using matching yarn and yarn needle, whip stitch each piece securely from the back side.
Finishing Touches
Weave in all remaining ends. Give the finished top one final steam block, being careful around the dimensional flowers. Store flat to prevent stretching.
Helpful Tips for Success
Tension matters. The bodice needs firm, even tension for structure. The flowers benefit from slightly tighter tension for crisp definition.
Color placement. Arrange your roses from darkest at the top to lightest at the bottom, with leaves filling gaps naturally. Step back and photograph your arrangement before stitching anything down.
Sleeve drape. If your sleeves feel too stiff, try going up one hook size on the lace section only.
Customization ideas. Skip the flowers for a minimalist look. Try cream yarn with coral roses. Make the sleeves shorter for a more casual vibe.
Wrapping Up This Beautiful Project
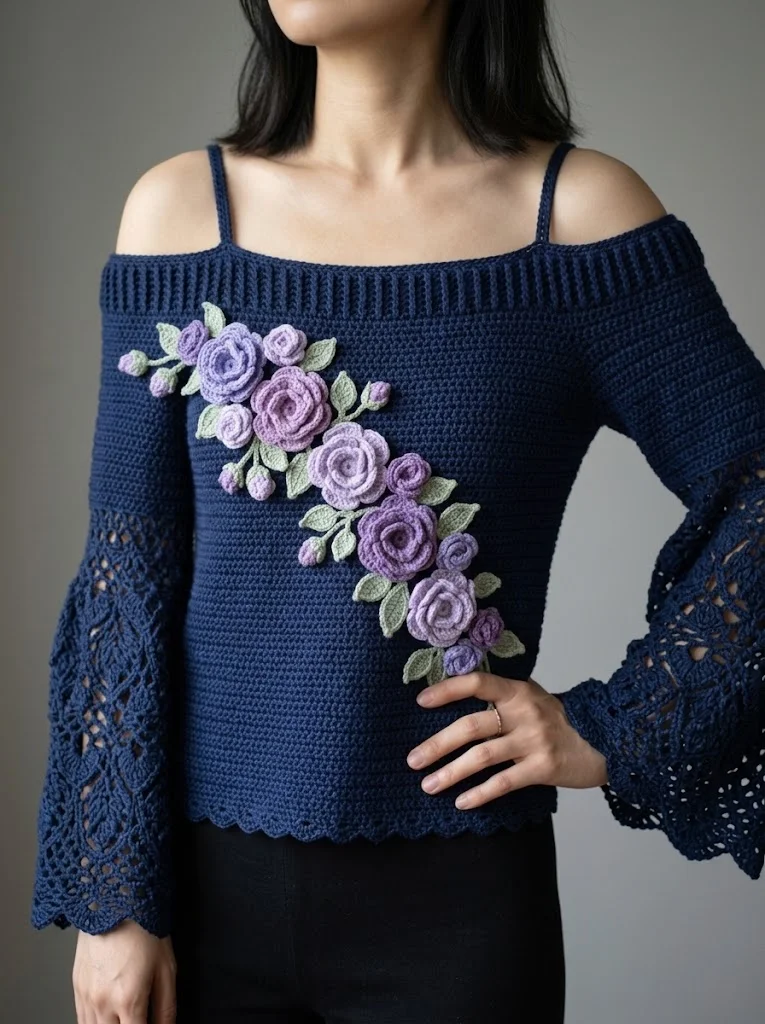
You now have everything you need to create this stunning Midnight Blue Floral Bell Sleeve Top crochet pattern from start to finish. The combination of solid structure, romantic lace, and dimensional florals makes this a true statement piece.
I know this is a bigger project. But every single hour you invest shows in that finished garment. You will reach for this top again and again.
Thank you so much for trusting me with your crafting time. It genuinely means the world.
When you finish yours, I would absolutely love to see it. Tag me on Instagram or share in our Facebook group. Seeing your versions brings me so much joy.
Happy hooking, friend. You have got this.