Lavender Purple Dreamy Peplum Crochet Top Pattern
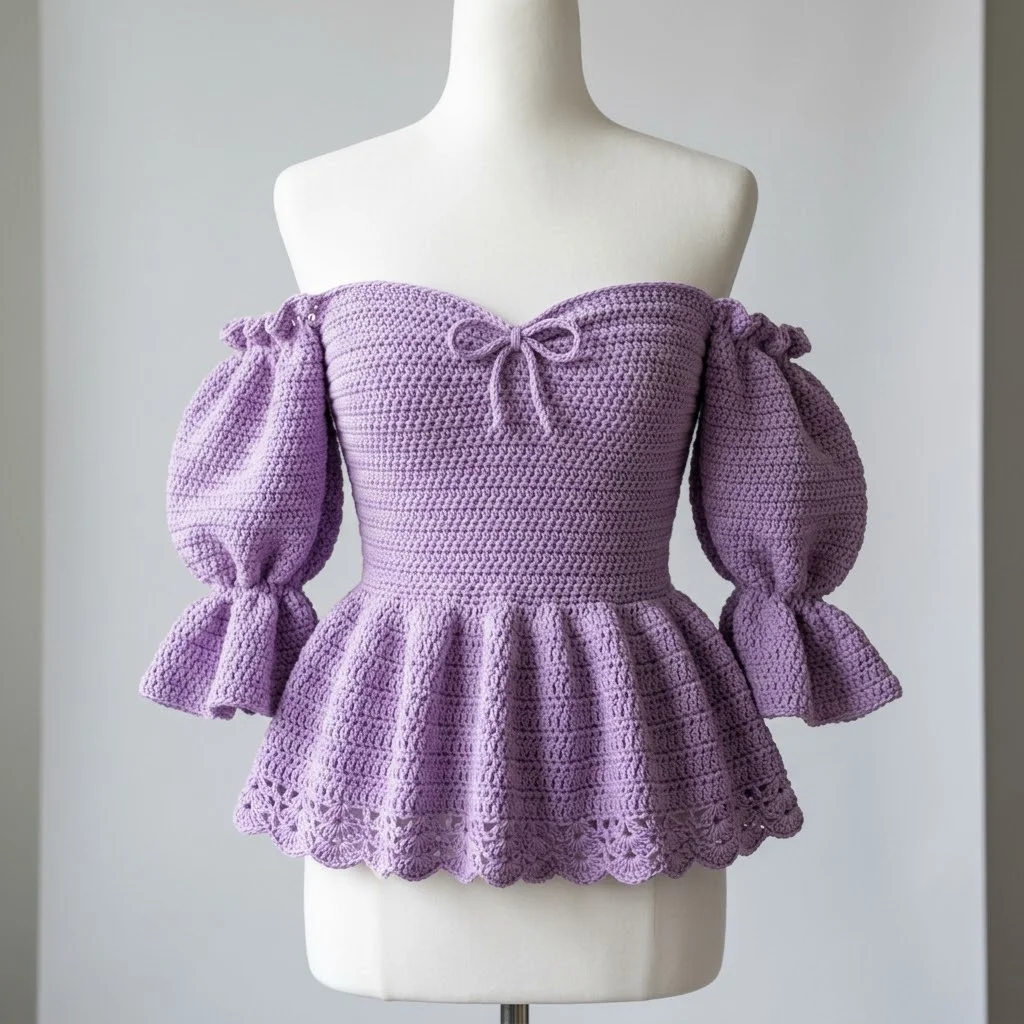
I have been dreaming about designing a romantic off-shoulder top for months now, and I finally sat down to make it happen. My goals were ambitious. I wanted dramatic puff sleeves that actually hold their shape, a sweetheart neckline that flatters without being fussy, and that gorgeous peplum flare at the waist. The scalloped lace border at the hem was non-negotiable for me because I wanted something that felt truly special and feminine. I am SO thrilled with how this lavender beauty turned out. Every single design decision came together better than I imagined, and I cannot wait to walk you through exactly how to make your own.
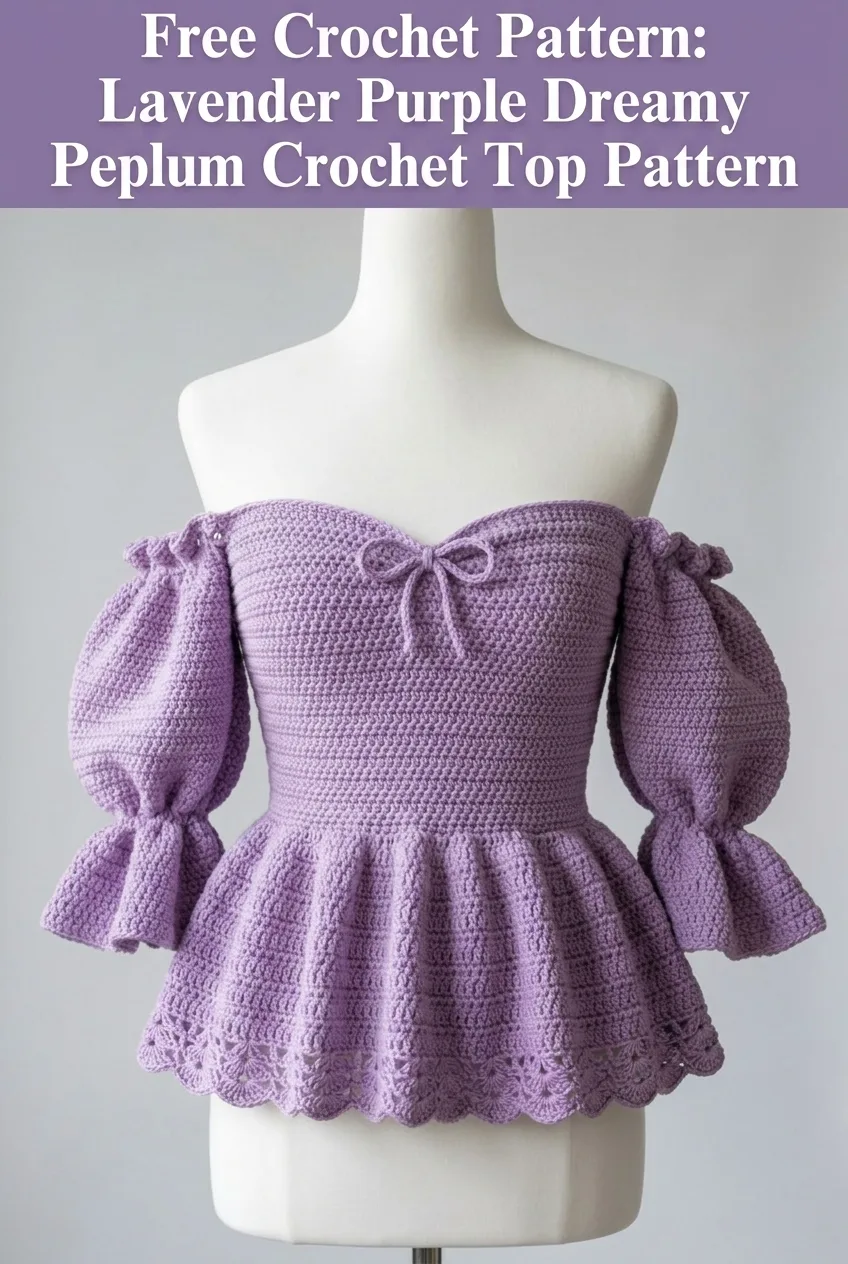
About This Crochet Top Pattern
This Lavender Purple Dreamy Peplum Crochet Top is a statement piece that looks far more complicated than it actually is. Yes, there are shaped sleeves and a fitted bodice, but I promise you that if you can work basic stitches in rows and rounds, you can absolutely make this top.
The construction breaks down into manageable sections. You will work the bodice first, then add the peplum skirt portion, and finally create the puff sleeves separately before attaching them. Each piece uses familiar stitches arranged in ways that create beautiful texture and shape.
This crochet pattern works best for intermediate crocheters who have experience with garment construction. If you have made a sweater or fitted top before, you will feel right at home here. If this is your first wearable, it is still doable, but take your time and trust the process.
Materials Needed
Yarn:
Hook:
Notions:
Gauge:
Skill Level
Intermediate
You should be comfortable with:
Stitch Abbreviations and Definitions
Let me walk you through every stitch you will use in this pattern.
Ch = Chain. Wrap yarn over hook and pull through the loop on your hook. This creates the foundation for most crochet projects.
Sl st = Slip stitch. Insert hook, yarn over, pull through both the stitch and the loop on your hook in one motion. Used for joining and invisible movement.
Sc = Single crochet. Insert hook, yarn over and pull up a loop (2 loops on hook), yarn over and pull through both loops. The shortest and tightest basic stitch.
Hdc = Half double crochet. Yarn over, insert hook, yarn over and pull up a loop (3 loops on hook), yarn over and pull through all 3 loops. Slightly taller than sc with nice drape.
Dc = Double crochet. Yarn over, insert hook, yarn over and pull up a loop (3 loops), yarn over and pull through 2 loops, yarn over and pull through remaining 2 loops. Creates taller fabric.
Sc2tog = Single crochet 2 together. A decrease that joins 2 stitches into 1. Insert hook in first stitch, pull up a loop, insert hook in next stitch, pull up a loop (3 loops on hook), yarn over and pull through all 3.
Inc = Increase. Work 2 stitches into the same stitch.
BLO = Back loop only. Insert your hook under just the back loop of the stitch instead of both loops. Creates ribbed texture.
Size Information
This pattern is written for size Small with a 32 to 34 inch bust. The bodice is fitted with approximately 2 inches of negative ease for a snug, supportive fit.
Finished Measurements:
For larger sizes, add stitch repeats to the foundation chain in multiples of 4 stitches. Each multiple adds roughly 1 inch to the circumference.
Pattern Instructions
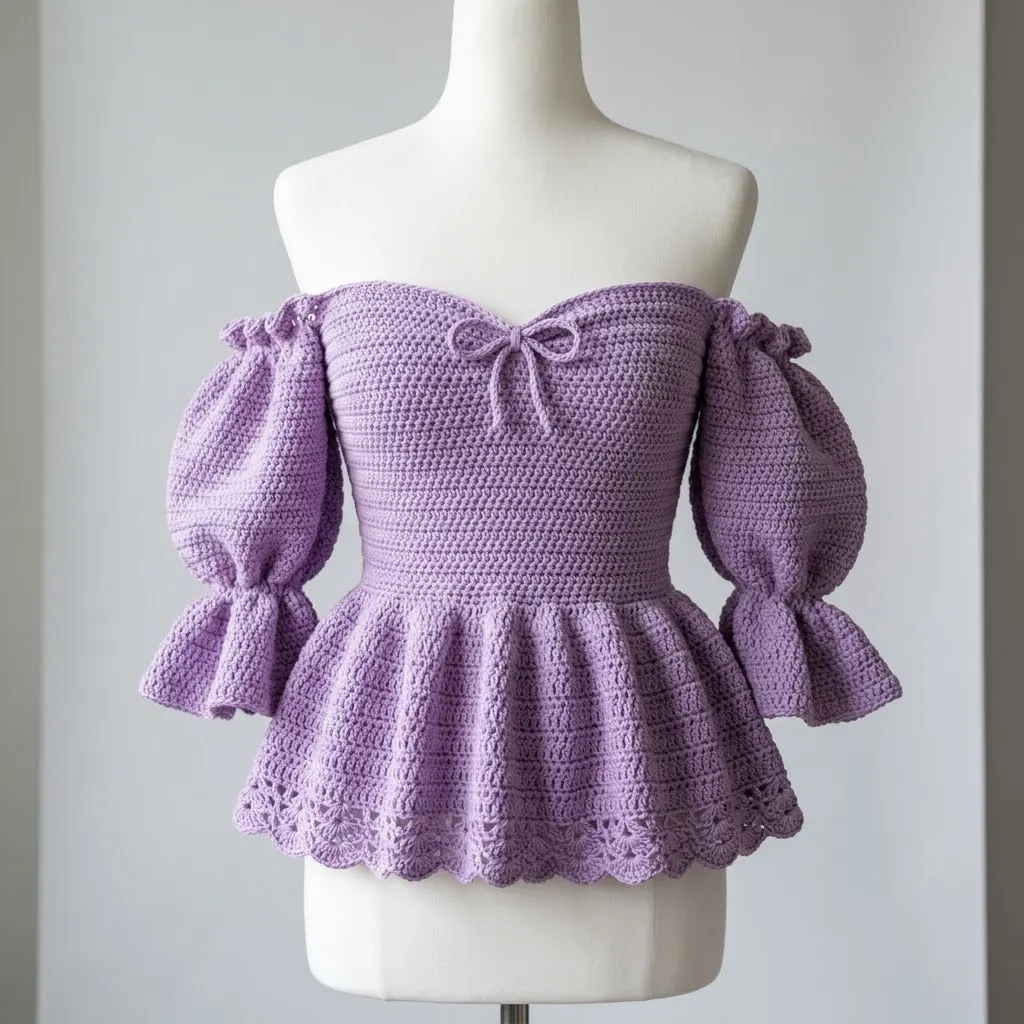
Part 1: The Bodice (Front Panel)
The bodice is worked flat in rows, then seamed at the back. We start at the bust and work down to the waist.
Foundation:
Ch 69.
Row 1: Sc in 2nd ch from hook and in each ch across. Turn. (68 sts)
Row 2: Ch 1, sc in BLO across. Turn. (68 sts)
Rows 3 to 6: Repeat Row 2. This creates the horizontal ribbing visible on the bodice.
Row 7: Ch 1, sc in both loops across. Turn. (68 sts)
Rows 8 to 10: Ch 1, sc across. Turn. (68 sts)
Row 11: Ch 1, sc in BLO across. Turn. (68 sts)
Rows 12 to 14: Repeat Row 11 for another ribbed section.
Continue alternating between 4 rows of BLO single crochet and 3 rows of regular single crochet until piece measures 8 inches from foundation chain.
Sweetheart Neckline Shaping
Now we create that beautiful curved neckline at the top.
Right Cup:
Row 1: Ch 1, sc in first 30 sts. Turn. Leave remaining stitches unworked. (30 sts)
Row 2: Ch 1, skip first st, sc across to last 2 sts, sc2tog. Turn. (28 sts)
Row 3: Ch 1, sc2tog, sc across to last 2 sts, sc2tog. Turn. (26 sts)
Rows 4 to 6: Repeat Row 3, decreasing 2 stitches each row. (20 sts after Row 6)
Rows 7 to 10: Ch 1, sc across without decreasing. Turn. (20 sts)
Fasten off.
Left Cup:
Skip the center 8 stitches on the original bodice row. Join yarn to the 39th stitch.
Work Rows 1 to 10 the same as the right cup, but reverse the shaping so the curves mirror each other.
Fasten off.
Part 2: The Bodice (Back Panel)
Work the back panel the same as the front bodice through Row 6 of the sweetheart shaping, but instead of the curved neckline, work a straight edge.
Foundation:
Ch 69.
Work in the same ribbed pattern as the front for 8 inches.
Back Neckline:
Simply work even (no decreasing) for the final 10 rows to create a straight back edge.
Fasten off.
Seaming the Bodice
Place front and back panels with right sides together. Using yarn needle and matching yarn, whip stitch the side seams from the bottom edge up to the armhole openings. Leave approximately 7 inches open for armholes.
Part 3: The Peplum Skirt
This is where the magic happens. The peplum creates that beautiful flared silhouette.
Join yarn to the bottom edge of the bodice at the center back seam. You will work in rounds now.
Round 1: Ch 1, work 136 sc evenly around the bottom edge of the bodice. Join with sl st to first sc. (136 sts)
Round 2: Ch 3 (counts as dc), dc in same st, 2 dc in each st around. Join. (272 sts)
This doubling creates the flare. Do not panic at the stitch count. It is supposed to be big and ruffly.
Round 3: Ch 1, sc in each st around. Join. (272 sts)
Round 4: Ch 1, sc in BLO around. Join. (272 sts)
Rounds 5 to 8: Repeat Round 4 for ribbed texture.
Round 9: Ch 3, dc in each st around. Join. (272 sts)
Round 10: Ch 1, sc in each st around. Join. (272 sts)
Rounds 11 to 20: Continue alternating between 4 rounds of BLO sc and 2 rounds of regular sc/dc to create the textured striping visible in the design.
Scalloped Lace Border
This pretty edging finishes the hem beautifully.
Round 1: Ch 1, sc in each st around. Join. (272 sts)
Round 2: Ch 1, *sc in next st, skip 2 sts, 5 dc in next st (shell made), skip 2 sts* repeat around. Join. This creates the fan shell pattern.
Round 3: Sl st to center dc of first shell, *ch 3, sc in center dc of next shell* repeat around. Join.
Round 4: *Sc, hdc, 3 dc, hdc, sc* in each ch-3 space around. Join.
Fasten off and weave in ends.
Part 4: Puff Sleeves
Each sleeve is worked separately, then attached to the armhole. Make 2.
Foundation: Ch 50. Join with sl st to form ring, being careful not to twist.
Round 1: Ch 1, sc in each ch around. Join. (50 sts)
Rounds 2 to 4: Ch 1, sc in BLO around. Join. (50 sts)
Round 5 (Increase Round): Ch 1, *sc in next 4 sts, 2 sc in next st* repeat around. Join. (60 sts)
Rounds 6 to 8: Ch 1, sc around. Join. (60 sts)
Round 9 (Increase Round): Ch 1, *sc in next 5 sts, 2 sc in next st* repeat around. Join. (70 sts)
Rounds 10 to 15: Ch 1, sc around. Join. This creates the puff portion. (70 sts)
Round 16 (Decrease Round): Ch 1, *sc in next 5 sts, sc2tog* repeat around. Join. (60 sts)
Round 17: Ch 1, *sc in next 4 sts, sc2tog* repeat around. Join. (50 sts)
Rounds 18 to 20: Ch 1, sc in BLO around. Join. This creates the gathered band at the upper arm. (50 sts)
Ruffle Cuff:
Round 21: Ch 1, 2 sc in each st around. Join. (100 sts)
Rounds 22 to 26: Ch 1, sc around. Join. (100 sts)
Work 2 rounds of the scalloped border pattern from the peplum hem.
Fasten off.
Attaching the Sleeves
Place the gathered portion of the sleeve (Rounds 18 to 20) at the armhole opening. The ruffle should face outward, away from the bodice. Using yarn needle, whip stitch the sleeve to the armhole, easing the fabric to fit.
Part 5: Finishing Details
Bow Ties:
Ch 80. Fasten off. Make 2.
Weave one tie through the stitches at the center of the sweetheart neckline. Tie in a bow. Attach the second smaller bow at the center bust for decoration.
Neckline Ruffle:
Join yarn at the back center of the neckline edge. Sc evenly around the entire neckline opening, working 2 sc in corner stitches to keep the edge flat. Join and fasten off.
Helpful Tips for Success
Blocking is essential. Wet block your finished top to even out stitches and help the peplum drape properly. Pin the peplum out in a circle while drying.
Try it on as you go. Before seaming the bodice, hold the panels up to your body. Adjust the number of rows if needed for length.
The puff sleeves need support. If your sleeves feel too floppy, consider using a slightly smaller hook for the gathered band section.
Yarn choice matters. Cotton and cotton blends work beautifully for this design because they hold the ribbed texture well and have natural drape for the peplum.
Customization Ideas
Want to make this top your own? Here are some options.
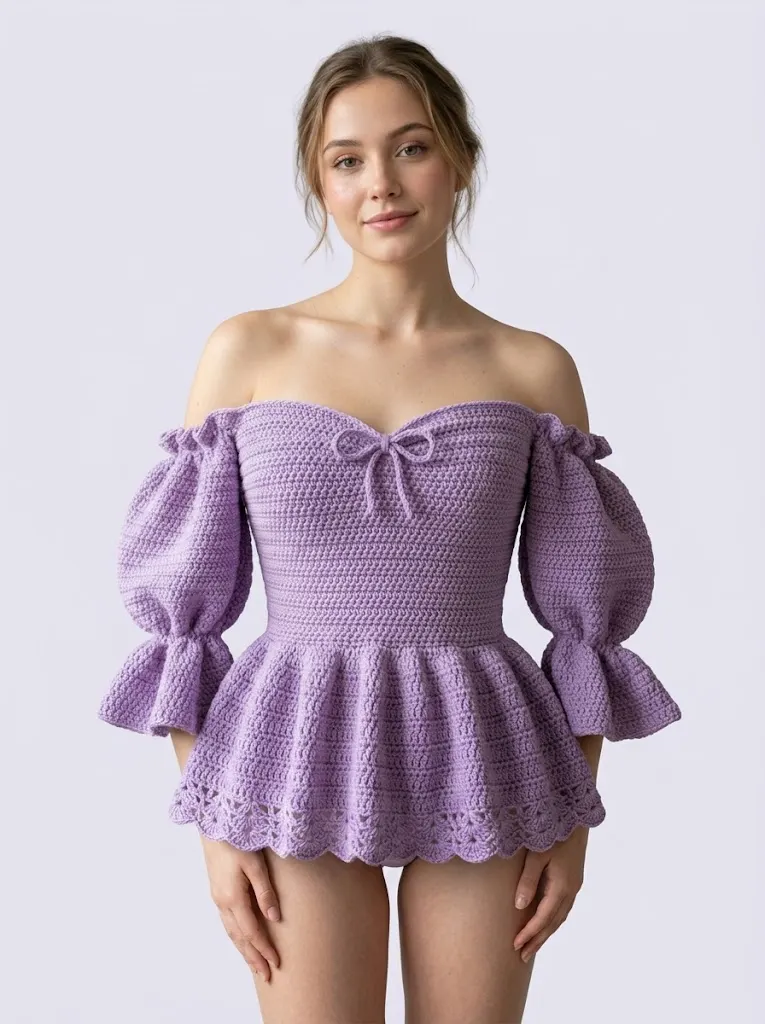
Care Instructions
Hand wash in cool water with gentle detergent. Lay flat to dry, reshaping the peplum while damp. Do not hang dry, as the weight of the wet fabric can stretch the bodice out of shape.
I really hope you love making this Lavender Purple Dreamy Peplum Crochet Top as much as I loved designing it. This pattern pushed me creatively, and the finished piece makes me feel like I am wearing something truly special. Thank you for trusting me with your time and yarn stash. I would absolutely love to see your finished tops, so please tag me on Instagram or share in our Facebook group when yours is complete.
If you are excited to make this top, go ahead and pin this pattern to your crochet board on Pinterest so you can find it when you are ready to start. And please drop a comment below if you have any questions or when you finish your own dreamy peplum top. I read every single one and love celebrating your makes with you.
You Might Also Like
- Champagne Gold Bell Sleeve Crochet Top Free Pattern
- Mustard Yellow Circle Purse Free Crochet Pattern
- Lavender Purple Dreamy Tassel Clutch Free Crochet Pattern
- Tropical Octopus Baby Blanket Free Crochet Pattern