Lavender Dream Pompom Crochet Top Free Crochet Pattern
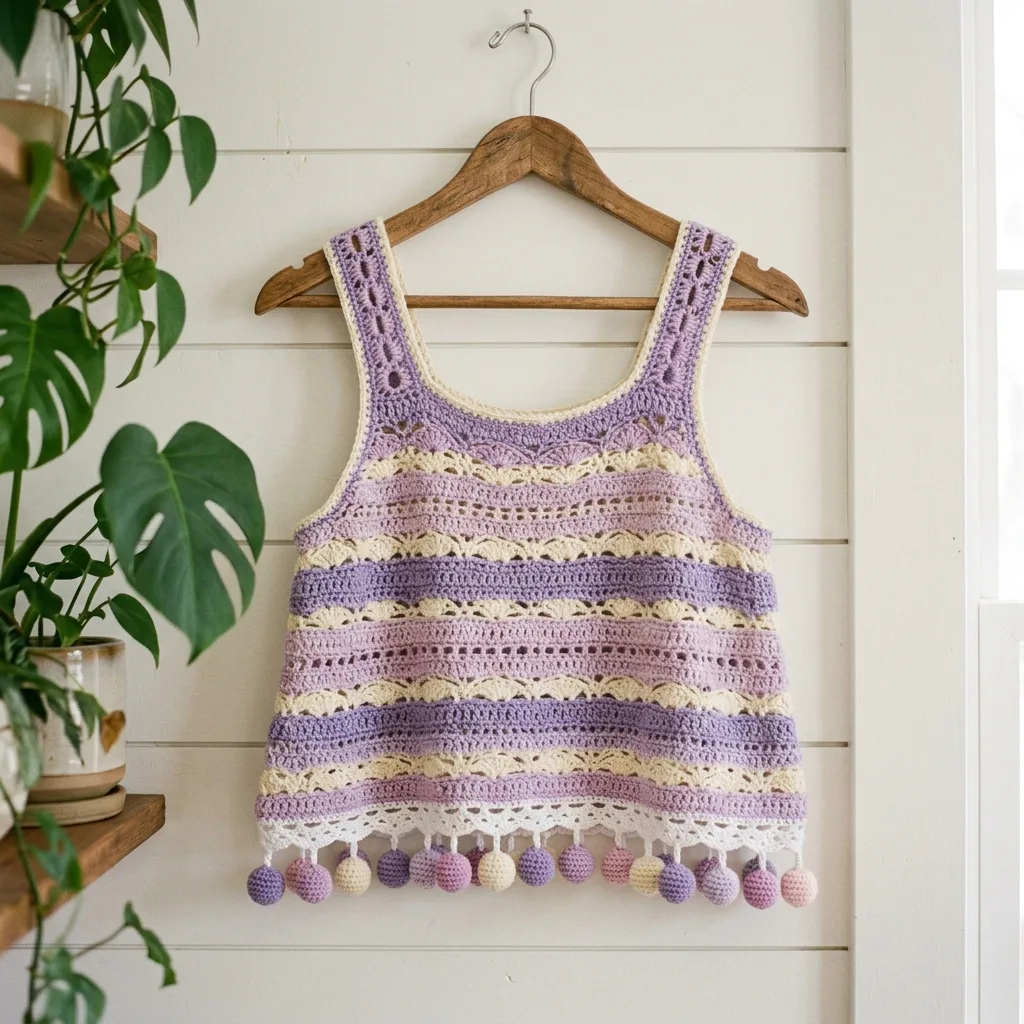
Last summer, I was standing in a vintage shop holding the most beautiful crocheted tank top I had ever seen. Soft purple stripes, delicate lace sections, and these perfect little pompoms dangling from the hem. The price tag made me wince, but my brain was already working. I thought to myself, I can make this.
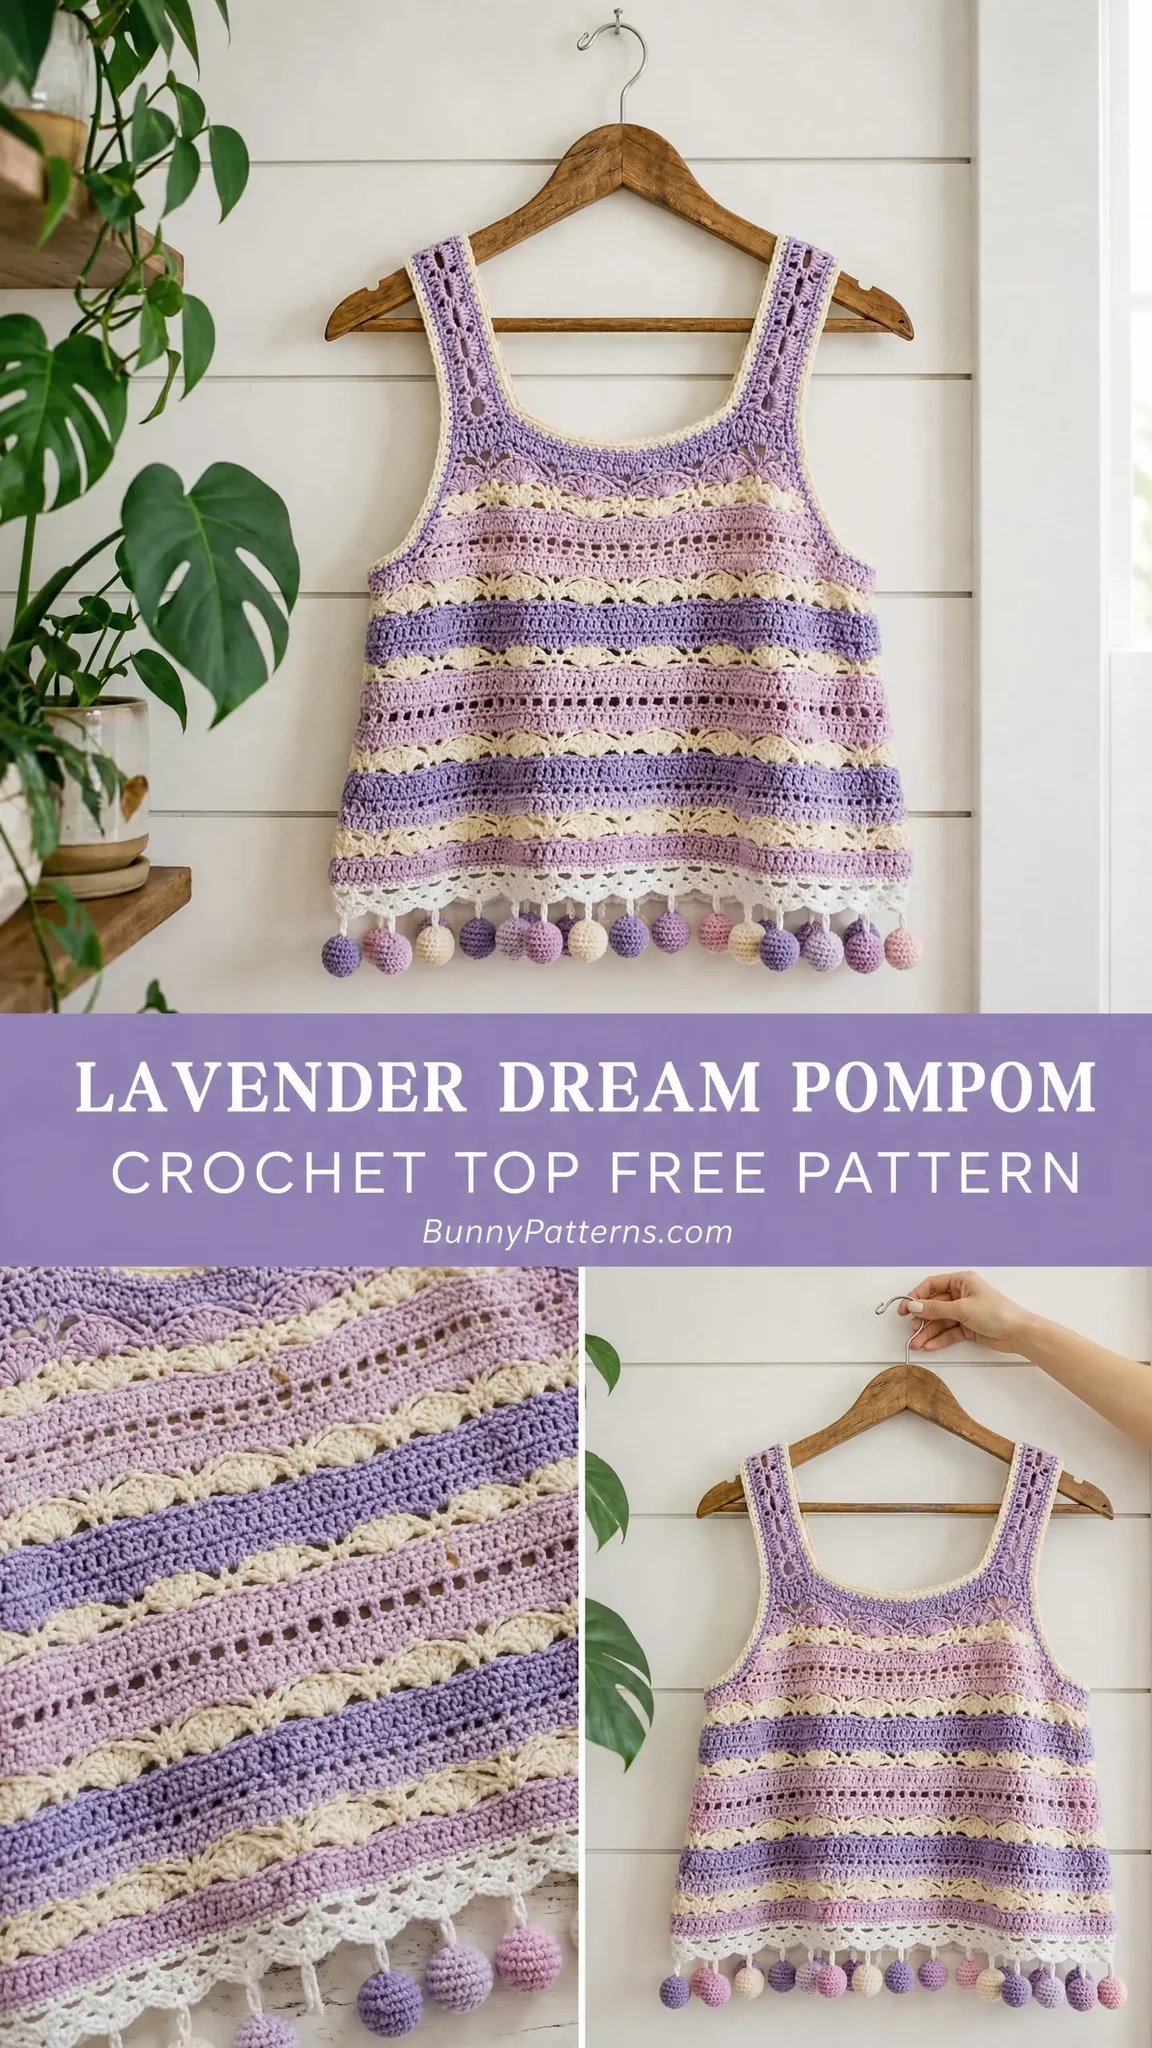
Three weeks and a whole lot of yarn later, the Lavender Dream Pompom Crochet Top was born. It is everything I wanted and more. Feminine, flowy, festival-ready, and absolutely covered in the cutest pompom fringe you have ever seen.
If you have been dreaming of a statement piece that looks way harder than it actually is, you are in the right place. Let me walk you through every single step.
About This Crochet Top Pattern
This gorgeous tank top features horizontal stripes in shades of lavender, lilac, mauve, and cream. The magic happens in the mix of textures. You will work solid half double crochet sections, pretty shell lace rows, and open mesh rows that give the fabric beautiful movement and breathability.
The construction is straightforward once you understand the flow. You will make two identical flat panels, one for the front and one for the back, then seam them together at the shoulders and sides. The finishing touches include a neat single crochet border around the neckline and armholes, a scalloped hem edging with picot details, and 52 handmade crochet pompoms in alternating colors.
Yes, 52 pompoms. They work up faster than you think, and they are absolutely worth it.
Skill Level: Intermediate. You should be comfortable working flat rows, following a stripe sequence, making shell stitches, basic decreasing for shaping, and seaming panels together. If you have completed a few simple projects and want to level up, this is a great next challenge.
Finished Size: Small/Medium with a bust circumference of 34 to 36 inches (86 to 91 cm) and approximately 1 inch of ease. Total length from hem to shoulder is about 15 inches (38 cm), plus an extra 2 inches for the pompom fringe.
Time Estimate: 12 to 18 hours for an experienced crocheter. First timers should allow up to 22 hours.
Materials You Will Need
Yarn (DK Weight, CYCA #3)
Recommended Yarn Options:
Paintbox Yarns Simply DK works beautifully. It is 100% acrylic, machine washable, affordable, and gives excellent stitch definition. Look for Pale Lilac, Lavender, Dusty Rose, and Butter Yellow.
For a drapier summer feel, try Drops Safran in 100% Egyptian cotton. You will need an extra ball per color due to lower yardage.
Lion Brand Comfy Cotton Blend is another lovely choice. The cotton and modal blend feels soft against skin and holds color well.
Hooks:
Notions:
Gauge (Please Check This)
Using the G-6 hook in half double crochet:
To make a gauge swatch, chain 28 and work in half double crochet for 12 rows. Block before measuring. Adjust your hook size if needed. This gauge is critical for achieving the right fit.
Abbreviations and Stitch Definitions
Let me walk you through every stitch you will use. If any of these are new to you, practice them on a small swatch first.
Special Stitches:
Shell Stitch: Work 5 double crochets all into the same stitch or space. This creates a fan shape.
Picot: Chain 3, slip stitch into the first chain made. This creates a small decorative loop.
hdc2tog (half double crochet decrease): Yarn over, insert hook into next stitch, pull up a loop (3 loops on hook). Yarn over, insert hook into following stitch, pull up a loop (5 loops on hook). Yarn over, draw through all 5 loops. One stitch decreased.
sc2tog (single crochet decrease): Insert hook into next stitch, pull up a loop (2 loops on hook). Insert hook into following stitch, pull up a loop (3 loops on hook). Yarn over, draw through all 3 loops. One stitch decreased.
Important Pattern Notes
Read these before you start. They will save you confusion later.
1. Both panels (front and back) are identical.
2. Turning chains: For hdc rows, chain 2 at the beginning (this counts as your first hdc). For dc and shell rows, chain 3 (counts as first dc). For sc rows, chain 1 (does NOT count as a stitch).
3. Right side faces you on odd-numbered rows.
4. When changing colors, do so on the last yarn over of the final stitch. This gives you clean color joins.
5. Do not cut yarn between colors if you will return to that color within 2 rows. Carry it up the side instead.
6. Block both panels before seaming. This is especially important for the lace rows.
The Stripe Sequence
This is your roadmap. Follow it exactly.
Front Panel Instructions
Foundation and Body
Using Yarn A and G-6 hook, chain 79.
Row 1 (RS, Yarn A): Ch 2 (counts as first hdc here and throughout hdc rows), hdc into 3rd chain from hook and into each chain across. Turn. (78 hdc)
Row 2 (WS, Yarn A): Ch 2, hdc into each st across. Turn. (78 hdc)
Row 3 (RS, Yarn A): Ch 2, hdc into each st across. Turn. (78 hdc)
Row 4 (WS, Yarn A): Ch 2, hdc into each st across. Change to Yarn D on last yo. Turn. (78 hdc)
Checkpoint: Your piece should measure approximately 1.6 inches (4 cm) tall with straight, even edges.
Shell Lace Rows
Row 5 (RS, Yarn D): Ch 3 (counts as first dc), skip next 2 sts, Shell into next st, skip 2 sts, (ch 1, skip 2 sts, Shell into next st, skip 2 sts) across to last st, dc into last st. Turn. (8 shell repeats + 2 edge dc)
Row 6 (WS, Yarn D): Ch 1 (does NOT count as st), sc into first dc, (3 sc into ch-1 sp, sc into center dc of Shell, 3 sc into ch-1 sp after Shell) across, sc into top of tch. Change to Yarn B on last sc. Turn. (78 sc)
If your count needs adjustment, work an sc2tog or an extra sc at the end to bring it back to 78.
Continuing the Stripe Sequence
Row 7 (RS, Yarn B): Ch 2, hdc into each st across. Turn. (78 hdc)
Row 8 (WS, Yarn B): Ch 2, hdc into each st across. Change to Yarn D on last yo. Turn. (78 hdc)
Mesh Rows
Row 9 (RS, Yarn D): Ch 4 (counts as dc + ch 1), skip 1 st, (dc into next st, ch 1, skip 1 st) across, dc into last st. Turn. (39 dc + 39 ch-1 sps)
Row 10 (WS, Yarn D): Ch 2, hdc into first ch-1 sp, (hdc into next dc, hdc into next ch-1 sp) across, hdc into top of tch. Change to Yarn C. Turn. (78 hdc)
Rows 11-28
Continue following the stripe sequence above. For solid rows, work hdc across. For shell lace rows, repeat the instructions from Rows 5-6. For mesh rows, repeat Rows 9-10.
Checkpoint after Row 28: Your piece should measure approximately 11 inches (28 cm) tall with 7 cream lace sections alternating with solid stripes. Width should be approximately 17 inches (43 cm).
Armhole Shaping
This is where you create the two shoulder straps. Take a breath. Read through this section once before starting.
Row 29 (RS, Yarn A): Ch 2, hdc into next 13 sts. (14 hdc including tch). Fasten off. Skip 18 sts for armhole. Rejoin Yarn A with sl st in next st. Ch 2, hdc into next 13 sts. (14 hdc). Turn.
You now have two separate strap sections. Work each one independently for Rows 30-36.
Right Strap (Rows 30-36)
Row 30 (WS, Yarn A): Ch 2, hdc into each st across. Turn. (14 hdc)
Row 31 (RS, Yarn A): Ch 2, hdc into each st across. Turn. (14 hdc)
Row 32 (WS, Yarn A): Ch 2, hdc into each st across. Change to Yarn B. Turn. (14 hdc)
Rows 33-36 (Yarn B): Ch 2, hdc into each st across. Turn. (14 hdc)
After Row 36, fasten off leaving a 12-inch tail for seaming.
Left Strap
Rejoin Yarn A to the left strap section and work Rows 30-36 identically to the right strap. Fasten off with a 12-inch tail.
Back Panel
Make one more panel exactly the same as the front. Every single row is identical.
Assembly
Lay your front and back panels with right sides together (wrong sides facing out).
Shoulder Seams: Using Yarn D and your yarn needle, whipstitch or mattress stitch the left front strap to the left back strap across all 14 stitches. Repeat for the right straps.
Side Seams: Starting at the hem, seam up each side using mattress stitch, stopping at the armhole split point (after Row 28). Leave the armhole openings unseamed. Turn right side out.
Checkpoint: Your top should measure approximately 34 to 36 inches around the bust and 15 inches from hem to shoulder.
Edging
Switch to your F-5 hook for all edging.
Neckline Edging
Join Yarn D with sc at center back neck opening.
Round 1: Sc evenly around the entire neckline. Work approximately 14 sc across front neck, 7 sc along each strap inner edge, and 14 sc across back neck. Join with sl st. (approximately 42 sc)
Round 2: Ch 1, sc into each sc around. Join with sl st. Fasten off. (42 sc)
Armhole Edging (work on both armholes)
Join Yarn D with sc at the underarm point.
Round 1: Sc evenly around armhole opening. Work 18 sc across the bottom and approximately 8 sc up each strap side. Join with sl st. (approximately 34 sc)
Round 2: Ch 1, sc into each sc around. Join with sl st. Fasten off. (34 sc)
Hem Scallop Edging
Join Yarn D with sc at one side seam.
Round 1: Ch 1, sc into each st around the entire hem (front + back combined). Join with sl st. (156 sc)
Round 2 (Scallop Row): (Sc into next st, ch 3, sc into same st, skip 2 sts) 52 times. Join with sl st. (52 scallop points)
Round 3: Sl st into ch-3 sp, ch 1, (sc into ch-3 sp, ch 3, sl st into 3rd ch from hook for picot, sc into same ch-3 sp) around. Join with sl st. Fasten off. (52 picot scallops)
Making the Pompoms
This is the fun part. You will make 52 pompoms total. Make 13 in each color (Yarn A, B, C, and D).
Using F-5 hook:
Make a magic ring, work 6 sc into ring, pull ring closed. (6 sc)
Round 1: 2 sc into each sc around. (12 sc)
Round 2: (Sc into next sc, 2 sc into next sc) 6 times. (18 sc)
Round 3: Sc into each sc around. (18 sc)
Stuff lightly with yarn scraps or a small amount of polyfill.
Round 4: (Sc2tog, sc into next sc) 6 times. (12 sc)
Round 5: Sc2tog 6 times. (6 sc)
Fasten off, leaving a 10-inch tail. Thread tail on yarn needle, run through remaining 6 stitches, pull tight to close.
Attaching: Thread the tail through each scallop picot point and knot securely. Alternate colors as you go for that beautiful mixed effect. The pompoms should hang freely below the scallop edge.
Size Customization Tips
For XS (30-32 inch bust): Start with a foundation chain of 75 for 74 working stitches. Keep strap width at 14 stitches and reduce armhole opening to 13 stitches each side.
For L/XL (38-40 inch bust): Start with a foundation chain of 91 for 90 working stitches. Increase strap width to 16 stitches and armhole opening to 19 stitches each side.
To add length: Work additional 2-row stripe groups before armhole shaping. Each group adds about 0.8 inches.
To shorten straps: Work only 4 rows instead of 8 after the armhole split.
Blocking and Finishing
Weave in all ends before blocking. Hand wash gently in cool water with a small amount of wool wash. Press out excess water by rolling in a clean towel. Never wring.
Lay flat on a blocking mat and pin to measurements: 17 inches wide, 15 inches from hem to shoulder. Pin each scallop point so it is defined. Pin the shell lace rows open so the openwork shows beautifully. Allow to dry completely before unpinning.
Care Instructions
For acrylic yarn: Machine wash cold on gentle. Lay flat to dry. Do not tumble dry or iron.
For cotton or cotton blend: Hand wash or machine wash on delicate in a mesh bag. Lay flat to dry. Iron on low with a pressing cloth if needed.
Store folded rather than hung to prevent stretching.
You Did It!
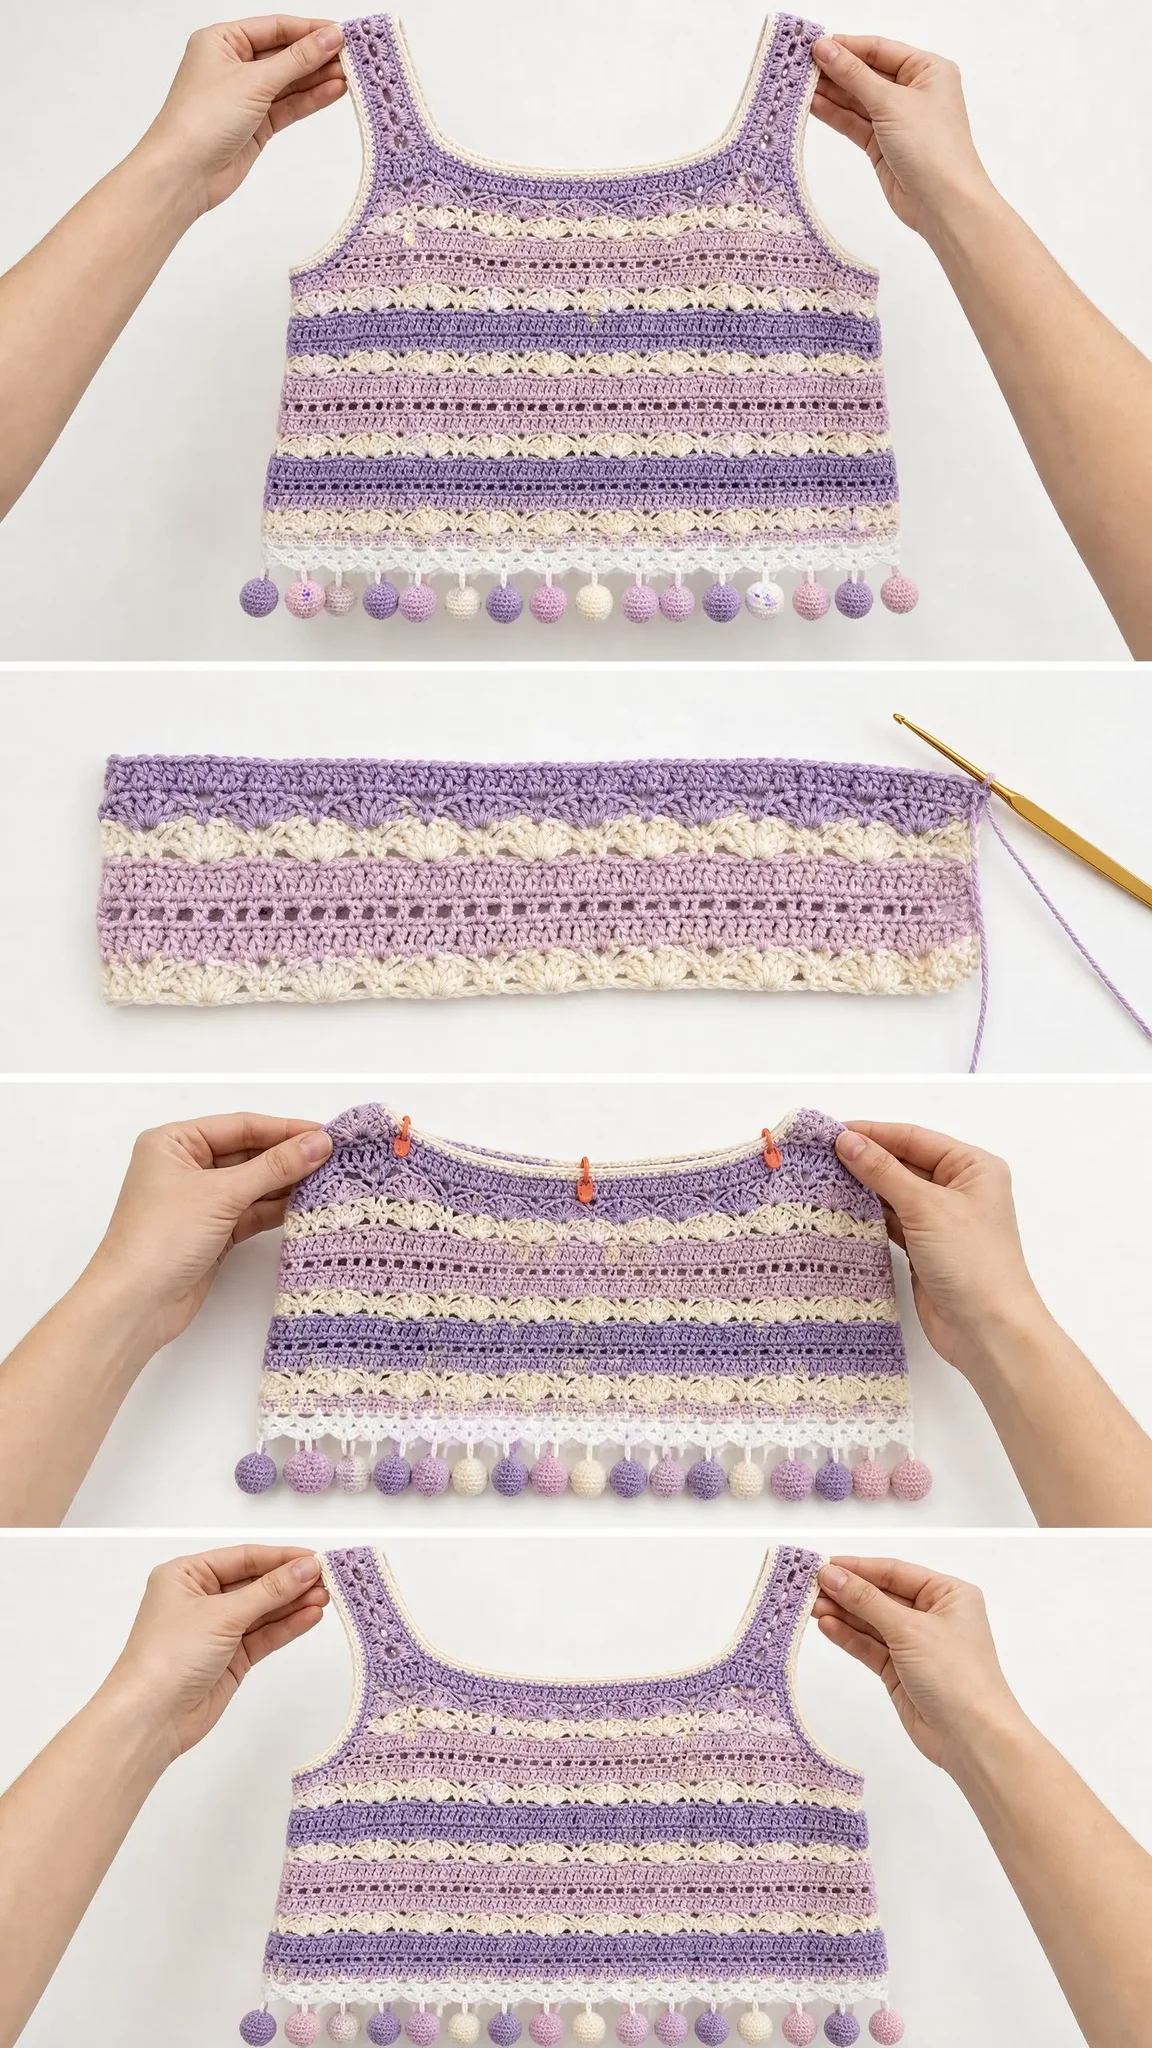
Look at you with your gorgeous new handmade top. The Lavender Dream Pompom Crochet Top is the kind of project that makes you feel like a real artist when you put it on. Those stripes, that lace, those pompoms swaying as you walk. It is pure summer joy wrapped up in yarn.
Thank you so much for trusting me with your time and creativity. I would absolutely love to see your finished top! Tag me on Instagram or share a photo in our Facebook group. Seeing your makes is honestly the best part of my day.
If this pattern is calling your name but you are not quite ready to start today, go ahead and pin it to your crochet board so you can find it later. And if you do make it, come back and leave a comment below. I love hearing which color combinations you chose and how the sizing worked out for you. Happy crocheting, friend!
You Might Also Like
- Blush Pink Ruffle Baby Dress Set Free Crochet Pattern
- Ocean Blue Mermaid Plush Doll Free Crochet Pattern
- Dusty Rose Granny Square Summer Dress Free Crochet Pattern
- Pastel Pink Bunny Baby Romper Free Crochet Pattern