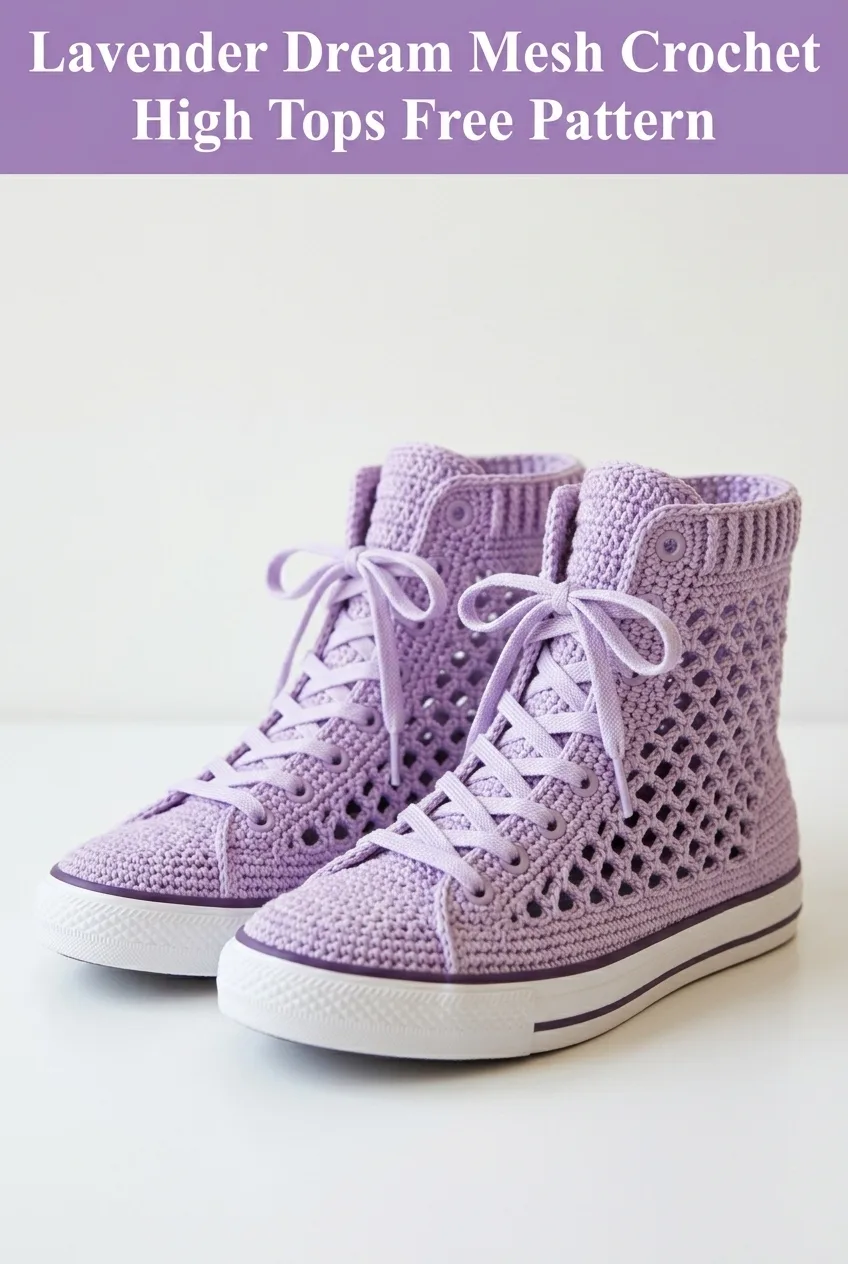
Lavender Dream Mesh Crochet High Tops Free Pattern
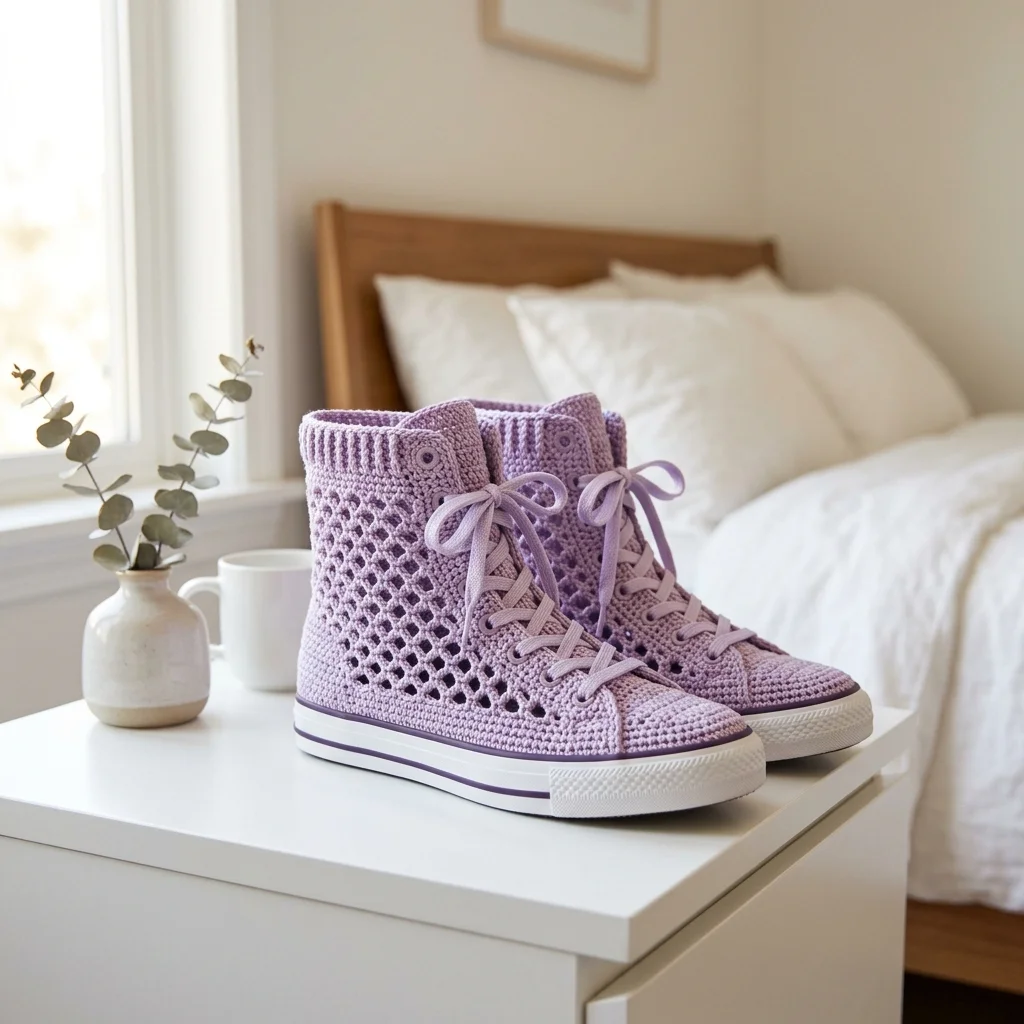
THIS is one of those projects that looks WAY harder than it actually is, and I am LIVING for it! These gorgeous crochet high tops work up in a weekend, maybe even faster if you get into a rhythm. The mesh body flies by once you understand the simple repeat, and the finished result? Absolutely stunning. These make incredible gifts for teens, college students, or anyone who appreciates unique handmade footwear. Trust me when I say people will NOT believe you made these yourself!
Why You’ll Love This Crochet High Tops Pattern
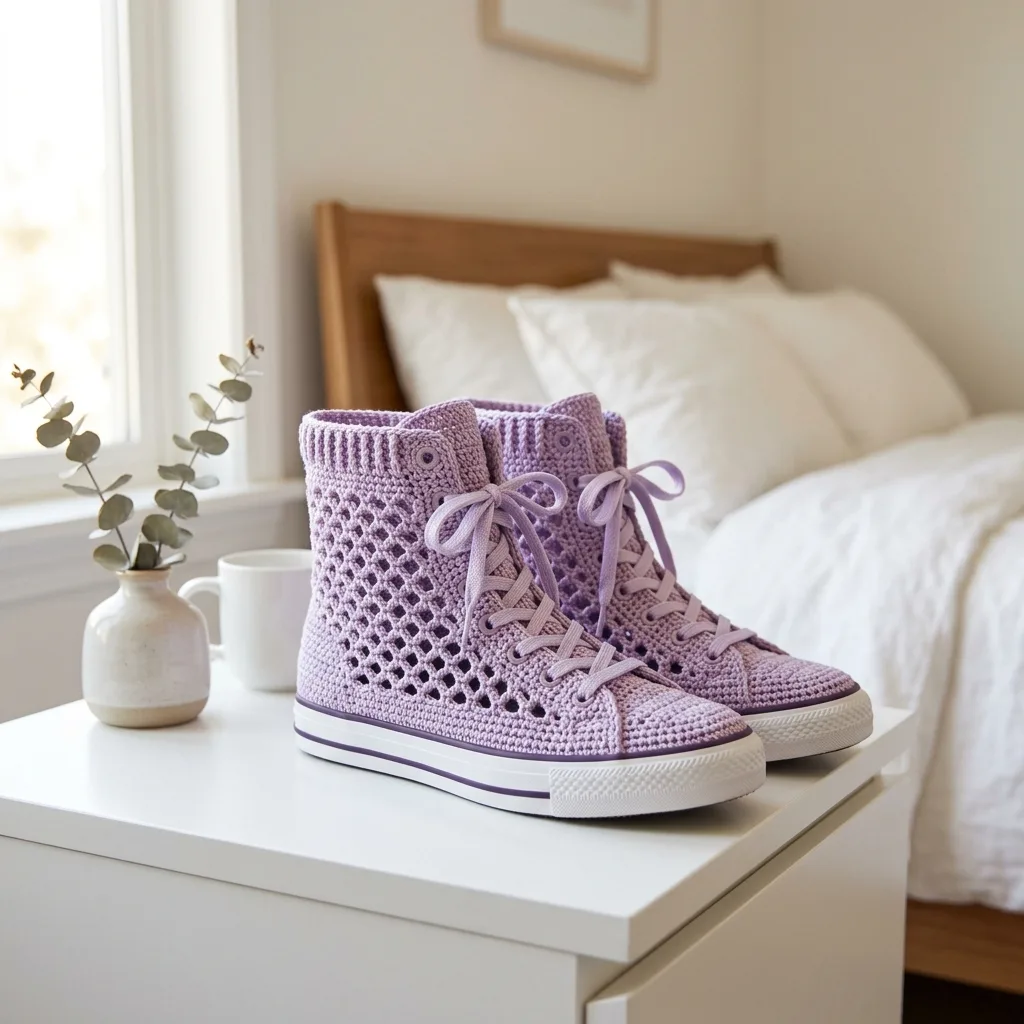
These lavender mesh high tops combine the classic sneaker silhouette we all know with lightweight, breathable crochet construction. The open mesh design on the sides keeps feet cool while the solid crochet sole and toe box provide structure and durability. I designed these to be worn around the house as cozy slippers, but with the right sole treatment, they work as lightweight summer shoes too.
The construction might look intimidating, but I promise it breaks down into simple sections. You’ll work the sole first, then build up the toe and sides, add the mesh panels, and finish with a ribbed cuff. Each piece uses basic stitches arranged in clever ways.
What makes this pattern special:
Materials Needed for Crochet Sneakers
Yarn:
Hook:
Notions:
Gauge:
16 single crochet stitches and 18 rows = 4 inches in single crochet using 4.0mm hook
Check your gauge! Shoe fit depends heavily on accurate sizing.
Skill Level and Stitches Used
Skill Level: Intermediate
This crochet tutorial assumes you’re comfortable with basic stitches and have perhaps made a few projects already. The mesh section requires counting and attention, but nothing here is truly advanced.
Abbreviations and Stitch Definitions:
Size Guide
This pattern is written for a Women’s US size 7-8. To adjust:
Smaller sizes (5-6): Reduce sole rows by 2, reduce side panel rows by 1
Larger sizes (9-10): Add 2 rows to sole, add 1 row to side panels
Always measure against your actual foot or the base sole you’re using.
Step by Step Crochet Pattern
Part 1: The Sole (Make 2)
The sole creates the foundation. We’re working in continuous rounds with a sturdy single crochet stitch.
Foundation: Using smaller hook if desired, ch 25.
Round 1: Starting in 2nd ch from hook, work 2 sc in first ch, sc in next 22 ch, 4 sc in last ch. Working along opposite side of foundation chain, sc in next 22 ch, 2 sc in last ch, sl st to first sc to join. (52 sts)
Round 2: Ch 1, 2 sc in same st, 2 sc in next st, sc in next 22 sts, 2 sc in each of next 4 sts, sc in next 22 sts, 2 sc in each of last 2 sts, sl st to join. (62 sts)
Round 3: Ch 1, sc in same st, 2 sc in next st, sc in next st, 2 sc in next st, sc in next 22 sts, *sc in next st, 2 sc in next st* repeat 4 times, sc in next 22 sts, *sc in next st, 2 sc in next st* repeat twice, sl st to join. (72 sts)
Round 4: Ch 1, sc in each st around, sl st to join. (72 sts)
Round 5: Repeat Round 4. (72 sts)
Fasten off, leaving a long tail for attaching to rubber sole later.
*Don’t worry if your sole isn’t perfectly flat. It will shape itself once attached to the base and worn.*
Part 2: Toe Box
The toe box uses a denser stitch to protect your toes and create that classic sneaker look.
Pick up yarn at center front of sole.
Row 1: Working into front loops only of sole stitches, join yarn, ch 1, sc in same st, sc in next 17 sts. Turn. (18 sts)
Row 2: Ch 1, sc2tog, sc to last 2 sts, sc2tog. Turn. (16 sts)
Row 3: Ch 1, sc in each st across. Turn. (16 sts)
Rows 4-5: Repeat Rows 2-3. (14 sts after Row 4)
Row 6: Ch 1, sc2tog, sc to last 2 sts, sc2tog. Turn. (12 sts)
Row 7: Ch 1, sc in each st across. (12 sts)
Do not fasten off. Continue to side panel.
Part 3: Side Panels with Mesh Design
This is where the magic happens! The mesh creates that beautiful open lattice pattern visible in the design.
Setting Up the Mesh Foundation:
Row 1 (Right Side): Ch 1, sc evenly along right edge of toe box (approximately 7 sts), sc in each remaining sole stitch around heel and up left side of toe box (approximately 40 sts), sl st to first sc of toe box top edge to join round. Place marker.
Round 1 of Sides: Ch 1, sc in each st around entire shoe opening. Sl st to join. (approximately 59 sts total, adjust as needed for your size)
Round 2: Ch 1, sc in each st around. Sl st to join.
Creating the Mesh Pattern:
The mesh is worked in rows on each side panel separately.
*Right Side Panel:*
Row 1: Working along right side of shoe, join yarn at toe box edge, ch 3 (counts as first dc), skip 2 sts, dc in next st, *ch 2, skip 2 sts, dc in next st* repeat across side panel to heel area. Turn. (approximately 8 mesh spaces)
Row 2: Ch 3, dc in first ch-2 space, *ch 2, dc in next ch-2 space* repeat across, dc in top of turning chain. Turn.
Rows 3-6: Repeat Row 2.
Row 7 (Closing Row): Ch 1, sc in each dc and 2 sc in each ch-2 space across. Fasten off.
Repeat for left side panel, starting from heel and working toward toe.
*If your mesh looks uneven, don’t panic. The laces will pull everything together and hide small inconsistencies.*
Part 4: Tongue
Foundation: Ch 14.
Row 1: Sc in 2nd ch from hook, sc in each ch across. Turn. (13 sts)
Rows 2-20: Ch 1, sc in each st across. Turn. (13 sts)
Row 21: Ch 1, sc2tog, sc to last 2 sts, sc2tog. Turn. (11 sts)
Rows 22-24: Repeat Row 21. (5 sts after Row 24)
Row 25: Ch 1, sc in each st across. Fasten off. (5 sts)
Part 5: Ribbed Cuff
The cuff gives these high tops their signature look. Working in back loops only creates that stretchy ribbed texture.
Foundation: Ch 10.
Row 1: Sc in 2nd ch from hook, sc in each ch across. Turn. (9 sts)
Row 2: Ch 1, sc in BLO of each st across. Turn. (9 sts)
Rows 3-60: Repeat Row 2.
This creates a long ribbed strip. Fasten off, leaving a long tail.
Part 6: Decorative Tab (Make 2)
That cute little tab at the back adds authentic sneaker detail.
Foundation: Ch 8.
Row 1: Sc in 2nd ch from hook, sc in each ch across. Turn. (7 sts)
Rows 2-10: Ch 1, sc in each st across. Turn. (7 sts)
Fasten off.
Part 7: Sole Stripe Detail
Using white yarn, ch 80 (or length needed to go around sole edge).
Sl st in each ch across. Fasten off.
Assembly Instructions
Now comes the satisfying part where everything comes together!
Step 1: Attach Tongue
Position tongue at center front, overlapping bottom edge with top of toe box. Using tapestry needle and matching yarn, whip stitch bottom 2 inches of tongue to inside of toe box.
Step 2: Join Ribbed Cuff
Wrap ribbed strip around top opening of shoe. The ribbing should sit vertically. Whip stitch short ends together first, then stitch bottom edge of cuff to top edge of mesh panels and toe box.
Step 3: Add Back Tab
Fold decorative tab in half. Position at center back of heel, tucked just under cuff edge. Stitch securely in place.
Step 4: Attach White Stripe
Using fabric glue or stitching, attach white chain stripe around the bottom edge of crocheted upper, just where it meets the sole.
Step 5: Attach to Rubber Sole
Apply fabric glue liberally to top of rubber sole. Press crocheted sole firmly onto rubber base. Allow to dry completely (at least 24 hours) before wearing. For extra security, stitch through rubber sole with sturdy thread if sole allows.
Step 6: Add Eyelets and Laces
Using tapestry needle, create 6-8 evenly spaced holes along each side of the front opening where tongue shows through. Thread shoelaces through these holes, crossing as you go up.
Finishing Tips for Professional Results
Blocking: Lightly steam or spray block the crocheted pieces before assembly. This evens out your stitches and helps pieces lie flat.
Reinforcing: For shoes that will see regular wear, line the inside sole with fabric before attaching to rubber base.
Washing: Spot clean only. Remove from rubber soles if deep cleaning is needed.
Customization Ideas:
Troubleshooting Common Issues
Mesh holes look uneven: This usually fixes itself with blocking. Pull gently on the mesh to open up the spaces evenly.
Shoe feels too loose: Add an extra round of single crochet to the sides before starting mesh pattern.
Shoe feels too tight: Go up a hook size or add extra foundation chains to your sole.
Cuff won’t stretch over foot: Make sure you’re working in back loops only. The BLO technique is essential for stretch.
Why Cotton Yarn Works Best
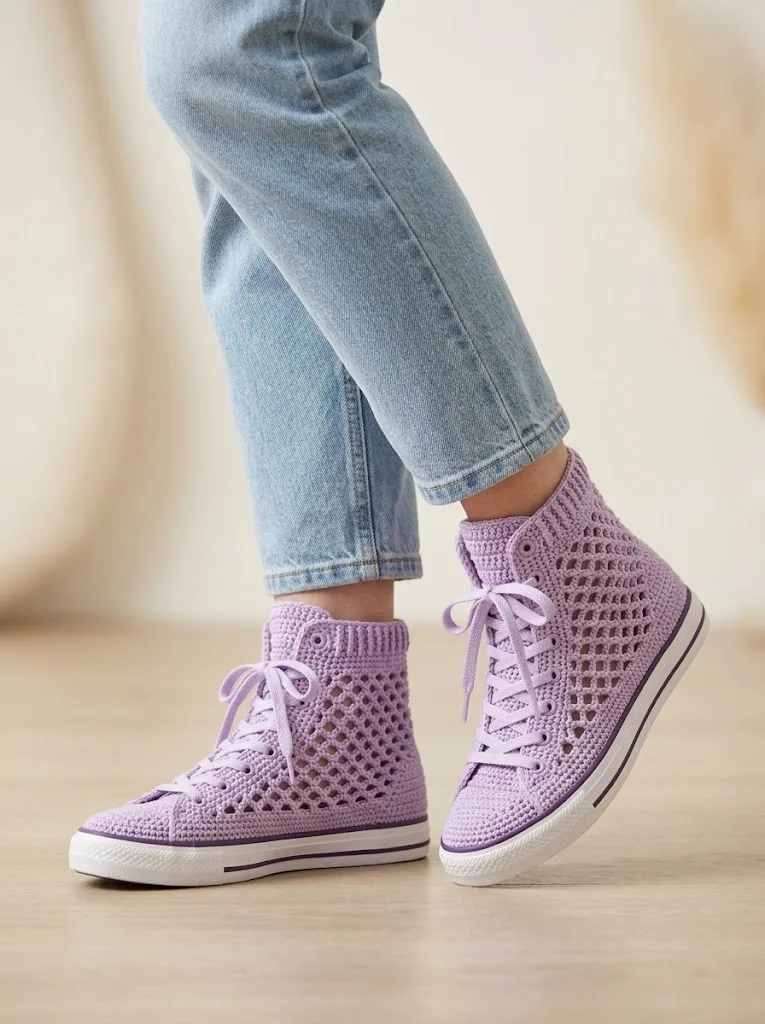
I specifically recommend cotton for this crochet sneaker pattern because of its structure. Cotton holds shape beautifully, washes well, and doesn’t stretch out over time like acrylic might. The slight stiffness of cotton also helps the mesh pattern stay open and crisp.
If you prefer softer shoes for indoor wear only, a cotton/acrylic blend works too. Just know the mesh may relax a bit with wear.
I really hope you love making these Lavender Dream Mesh Crochet High Tops as much as I loved designing them! The combination of practical construction and beautiful open mesh makes these a project you’ll want to make again and again in different colors. They work up surprisingly quickly once you get the hang of the mesh section, and the compliments you’ll receive are absolutely worth the effort.
Thank you so much for choosing this pattern for your next project. It means the world to me when makers trust my designs. If you make these high tops, I would LOVE to see them! Tag me on Instagram or share a photo in my Facebook group. Seeing your creations genuinely makes my day.
If this pattern inspired you, go ahead and save it to your Pinterest boards so you can find it easily when you’re ready to start. And please drop a comment below to let me know if you’re making these or if you have any questions. I read every single one and love connecting with fellow crocheters!
You Might Also Like
- Sky Blue Dragon Amigurumi Plush Free Crochet Pattern
- Coral Peach Tie Front Crochet Cardigan Free Pattern
- Lavender Heart Granny Square Baby Blanket Free Crochet Pattern
- Blush Pink Spiral Envelope Clutch Free Crochet Pattern