Lavender Dream Kitty Tote Bag Free Crochet Pattern
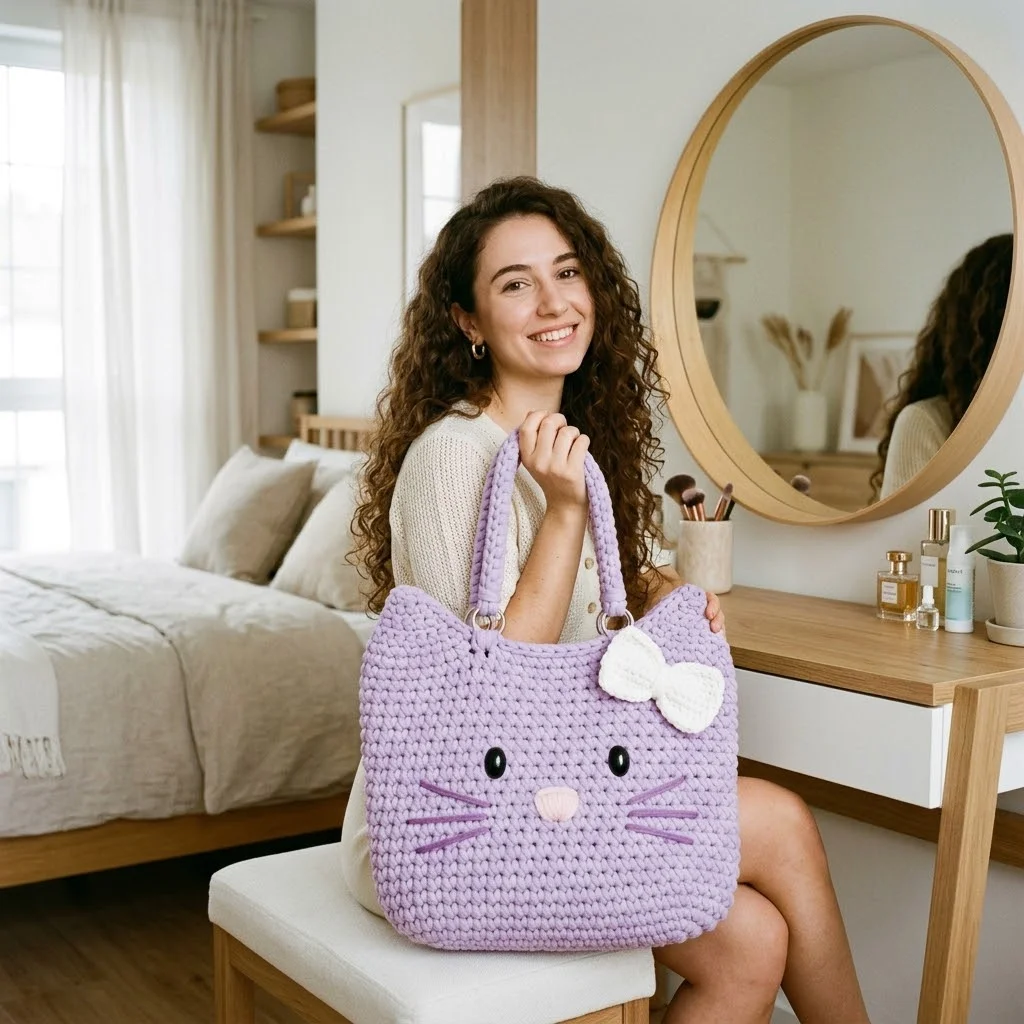
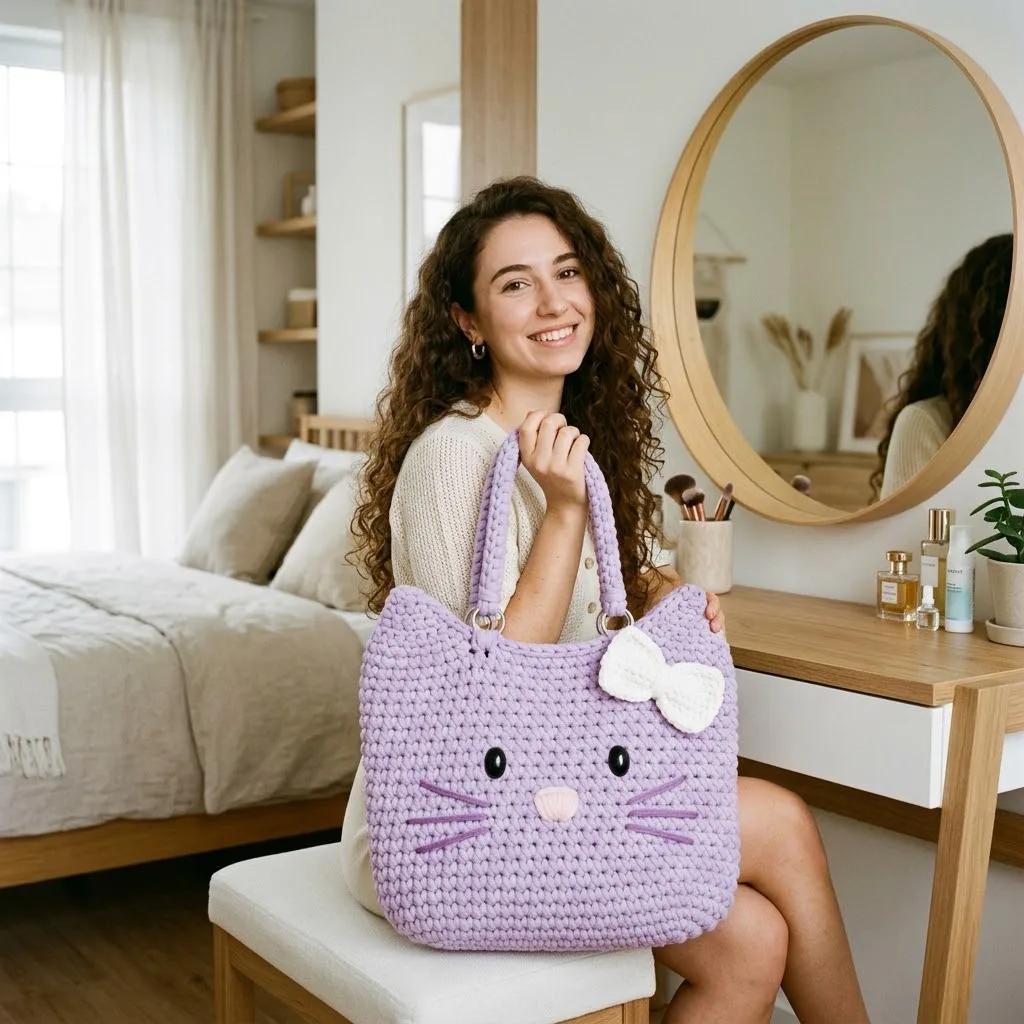
I don’t know about you, but I have a weakness for bags that make people smile. There’s something about carrying a tote with a cute little cat face that turns a regular grocery run into something fun. This Lavender Dream Kitty Tote Bag gives you all the whimsy without being over the top. Plus, it’s surprisingly practical with a roomy interior and sturdy handles that won’t dig into your shoulders.
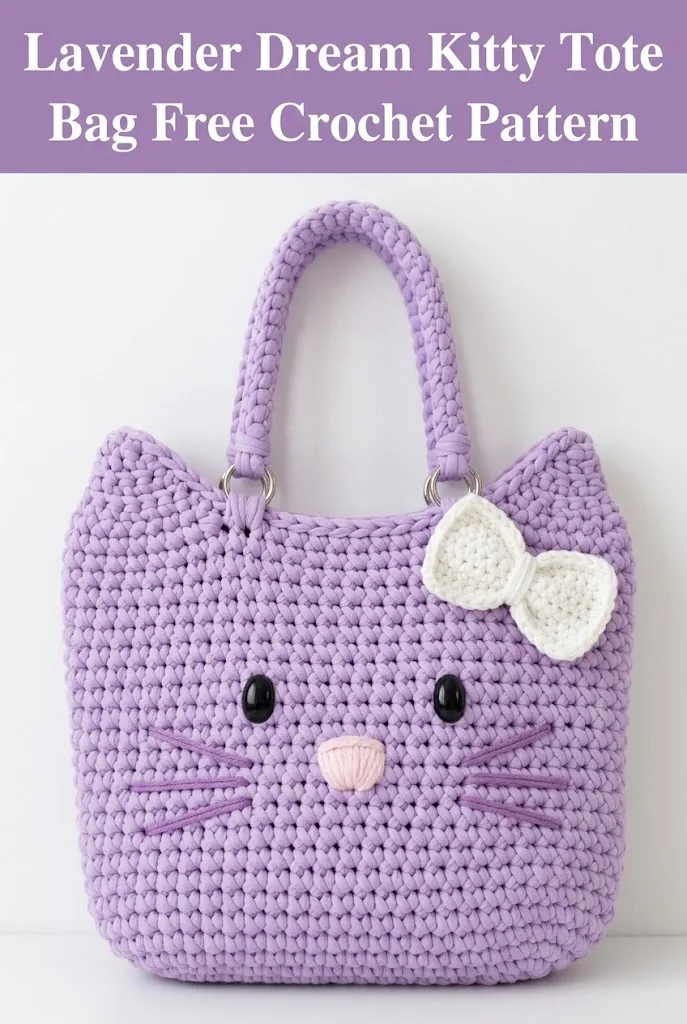
If you’ve been wanting to try a project with t-shirt yarn or tube yarn, this is the perfect excuse. The chunky weight works up quickly, the stitches are basic, and the cat details are easier than they look. Promise.
Why You’ll Love This Crochet Pattern
This kitty tote bag crochet pattern hits that sweet spot between adorable and functional. The bag is large enough to hold books, a tablet, your lunch, or a small haul from the farmer’s market. The structured shape comes from working in tight single crochet stitches with chunky yarn, which creates a fabric that holds its form beautifully.
The cat face details are all surface embroidery and small crocheted pieces. No complicated colorwork. No confusing charts. Just simple shaping and a few embellishments that come together at the end.
Skill level: Confident beginner to intermediate. If you can single crochet in the round and sew pieces together, you can absolutely make this bag.
Materials You’ll Need
Gathering your supplies before you start makes everything smoother. Here’s what I used for this project:
Yarn:
Hook:
Notions:
Gauge:
Working in single crochet with t-shirt yarn and an 8mm hook, approximately 8 stitches and 8 rows equals 4 inches. Gauge is not critical for this project, but a tighter tension creates a sturdier bag.
Abbreviations and Stitch Definitions
Let me break down every stitch you’ll need. Even if you know these by heart, a quick refresher never hurts.
Ch = Chain. Wrap yarn over hook, pull through the loop on your hook. This creates the foundation for most crochet projects.
Sc = Single crochet. Insert hook into stitch, yarn over, pull up a loop (2 loops on hook), yarn over, pull through both loops. This is the most basic crochet stitch and creates a dense, sturdy fabric.
Inc = Increase. Work 2 single crochet stitches into the same stitch. This adds one stitch to your count.
Dec = Decrease. Also called sc2tog (single crochet two together). Insert hook into first stitch, pull up a loop, insert hook into next stitch, pull up a loop (3 loops on hook), yarn over, pull through all 3 loops. This removes one stitch from your count.
Sl st = Slip stitch. Insert hook into stitch, yarn over, pull through both the stitch and the loop on your hook in one motion. Used for joining or moving across stitches invisibly.
Hdc = Half double crochet. Yarn over, insert hook into stitch, yarn over, pull up a loop (3 loops on hook), yarn over, pull through all 3 loops.
Dc = Double crochet. Yarn over, insert hook into stitch, yarn over, pull up a loop (3 loops on hook), yarn over, pull through 2 loops (2 loops remain), yarn over, pull through remaining 2 loops.
Pattern Instructions
This bag is worked from the bottom up in continuous rounds. The body is one piece, then you’ll add the ears, handles, bow, and face details separately.
Base of the Bag
The base is an oval shape created by working around both sides of a foundation chain.
Round 1: Ch 16. Starting in the 2nd ch from hook, sc in each of the next 14 ch. In the last ch, work 3 sc (this turns the corner). Now working along the opposite side of the foundation chain, sc in each of the next 13 ch. Work 2 sc in the last ch (this completes the oval). Place a stitch marker in the first stitch. (32 sts)
Round 2: Inc in first st, sc in next 13 sts, inc in next 3 sts, sc in next 13 sts, inc in last 2 sts. (38 sts)
Round 3: Sc in first st, inc in next st, sc in next 13 sts, (sc in next st, inc in next st) 3 times, sc in next 13 sts, (sc in next st, inc in next st) 2 times. (44 sts)
Round 4: Sc in first 2 sts, inc in next st, sc in next 13 sts, (sc in next 2 sts, inc in next st) 3 times, sc in next 13 sts, (sc in next 2 sts, inc in next st) 2 times. (50 sts)
Round 5: Sc in first 3 sts, inc in next st, sc in next 13 sts, (sc in next 3 sts, inc in next st) 3 times, sc in next 13 sts, (sc in next 3 sts, inc in next st) 2 times. (56 sts)
Your base should now measure approximately 10 inches long by 5 inches wide. If you want a larger bag, continue increasing in this pattern for one or two more rounds.
Body of the Bag
Now you’ll work straight up without increases to build the sides.
Rounds 6-30: Sc in each st around, moving your stitch marker up as you go. (56 sts per round)
That’s 25 rounds of straight single crochet. The body should measure approximately 9-10 inches tall. You can adjust this height by adding or removing rounds based on your preference.
At the end of Round 30, sl st to the next st to even out your work. Do not fasten off yet.
Shaping the Ears
The cat ears are created by working short rows at the top corners of the bag. This is where the magic happens.
First Ear:
Row 1: Ch 1, sc in next 8 sts, turn. (8 sts)
Row 2: Ch 1, skip first st, sc in next 6 sts, skip last st, turn. (6 sts)
Row 3: Ch 1, skip first st, sc in next 4 sts, skip last st, turn. (4 sts)
Row 4: Ch 1, skip first st, sc in next 2 sts, skip last st, turn. (2 sts)
Row 5: Ch 1, dec over both sts. (1 st)
Fasten off and weave in the end.
Second Ear:
Count 20 stitches from the base of the first ear along the top edge. Rejoin yarn with a sl st.
Repeat Rows 1-5 exactly as for the first ear.
You should now have two triangular ears standing up from the top of your bag, with an opening between them at the front and back.
Handles (Make 2)
The handles are simple chains covered with single crochet for durability.
Row 1: Ch 50 (or desired length for your handles). Starting in 2nd ch from hook, sc in each ch across. (49 sts)
Row 2: Ch 1, turn. Sc in each st across. (49 sts)
Row 3: Ch 1, turn. Sc in each st across. Fasten off, leaving a long tail for sewing. (49 sts)
Your handles should be approximately 18-20 inches long. Adjust the starting chain if you prefer longer or shorter straps.
Attaching the Handles
Position each handle on the inside of the bag, approximately 3-4 inches from each side edge. The handles should sit just below where the ears begin.
If using D-rings or O-rings, fold the end of each handle through the ring and sew it back onto itself. Then attach the ring to the bag by sewing through the bag fabric. This adds a professional touch and distributes weight evenly.
Alternatively, you can sew the handles directly to the inside of the bag using a whip stitch or mattress stitch. Make sure to reinforce the attachment points with several passes of yarn.
Bow (Optional)
The cute white bow adds extra character to your kitty tote.
Center Piece:
Ch 6. Starting in 2nd ch from hook, sc in each ch across. (5 sts)
Rows 2-4: Ch 1, turn. Sc in each st across. (5 sts)
Fasten off, leaving a tail.
Bow Loops:
Ch 20. Sl st to first ch to form a ring. Ch 1, sc around the entire ring, working approximately 24-26 sc evenly around. Sl st to first sc to join. Fasten off.
Pinch the ring in the center to create the bow shape. Wrap the center piece around the pinched middle and sew in place at the back.
Attach the bow to the top corner of the bag, near one of the ears, using the remaining tail.
Nose
Round 1: Using light pink yarn, make a magic ring. Work 6 sc into the ring, pull tight. (6 sts)
Round 2: Inc in each st around. (12 sts)
Round 3: Sc in each st around. (12 sts)
Sl st to first st, fasten off, leaving a long tail for sewing.
The nose should be a small rounded triangle or oval shape. You can also use a pom pom maker for a fuzzy nose, or cut a small felt triangle if you prefer.
Adding the Face Details
This is where your kitty comes to life. Take your time with placement before committing.
Eyes:
Position the safety eyes approximately 2-3 inches down from the ear bases and about 4 inches apart from each other. The eyes in the photo appear to be placed slightly above center on the bag front.
Push each safety eye through the fabric from the front. Secure with the washer backing on the inside. Make sure they’re even before locking them in place.
Nose:
Center the crocheted nose below and between the eyes, approximately 2-3 inches down. Sew in place using a yarn needle and the tail, stitching around the edges.
Whiskers:
Thread a yarn needle with darker purple yarn. Using long straight stitches, embroider 3 whiskers on each side of the nose. Each whisker should be approximately 2-3 inches long, angling slightly upward.
Make sure to secure your yarn ends on the inside of the bag so they don’t come loose with use.
Tips for Success
Yarn substitution: If you can’t find t-shirt yarn, you can use any super bulky or jumbo weight yarn. Chunky cotton works well for a structured bag. Just adjust your hook size accordingly.
Tension matters: For a bag that holds its shape, crochet tightly. If your stitches look loose or holey, go down a hook size.
Lining your bag: For extra durability and a polished look, consider sewing a fabric liner inside. This prevents small items from poking through the stitches and adds structure.
Eye safety: If this bag is for a child, consider embroidering the eyes instead of using safety eyes. You can use black yarn and satin stitch for a safer alternative.
Blocking: T-shirt yarn doesn’t typically need blocking, but if your bag looks uneven, you can lightly steam it while shaping with your hands.
Customization Ideas
Once you’ve mastered this crochet tote bag pattern, the possibilities are endless.
Try different colors for different cat personalities. Orange yarn makes a tabby cat. Black and white creates a tuxedo kitty. Gray gives you a sophisticated Russian Blue vibe.
You can add inner pockets by crocheting small rectangles and sewing them inside before attaching the handles.
For a crossbody version, make one extra-long strap instead of two shorter handles.
Want to skip the cat theme entirely? Leave off the ears, nose, and whiskers for a simple rounded tote. Add a magnetic snap closure at the top for security.
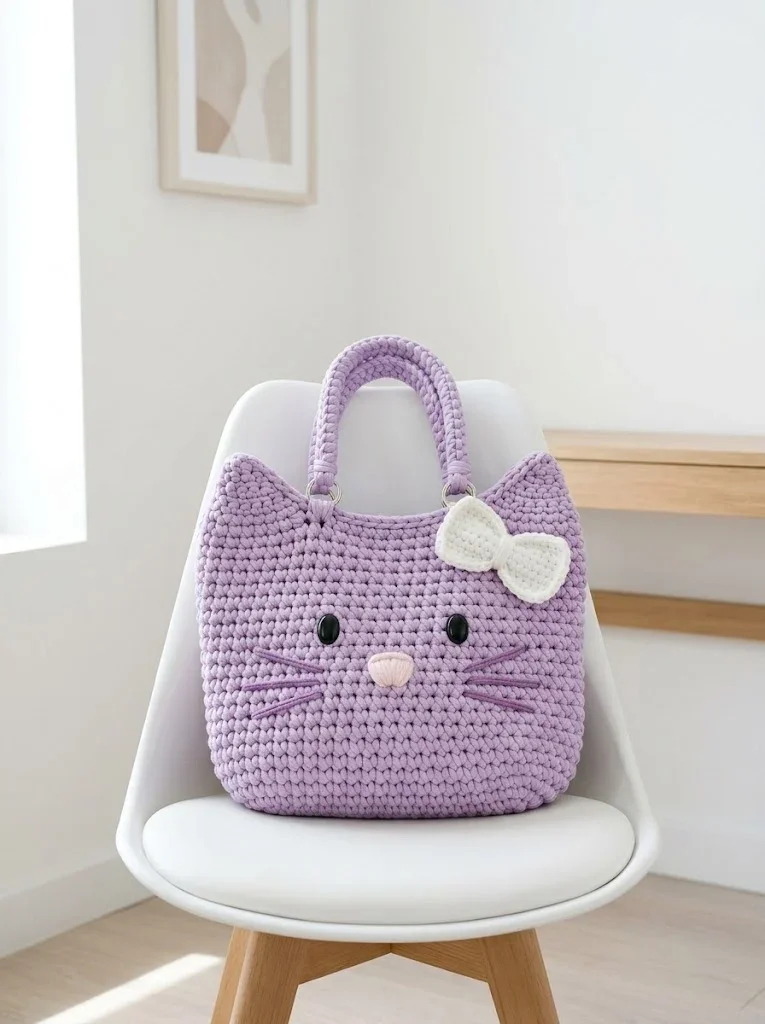
Final Thoughts on This Kitty Tote Bag Crochet Pattern
I genuinely love how this project turned out. It’s cute without being childish, practical without being boring, and the construction is straightforward enough that you won’t want to throw your hook across the room.
The Lavender Dream Kitty Tote Bag makes a wonderful gift for cat lovers, a fun market bag, or just a conversation starter for your daily errands. Every time I carry mine, someone stops to compliment it. And honestly? That never gets old.
Thank you so much for choosing this pattern for your next crochet project. I hope the instructions were clear and the process was enjoyable. If you make your own kitty tote, I would absolutely love to see it! Tag me on Instagram or share a photo in my Facebook group. Seeing your creations is the best part of my day.
If this pattern made you smile, go ahead and save it to your Pinterest boards so you can find it easily when you’re ready to start. And if you do make one, drop a comment below and tell me what color you chose. I’m always curious to see how everyone puts their own spin on things. Happy crocheting!
You Might Also Like
- Ocean Wave Hexagon Throw Free Crochet Pattern
- Coral Peach Tie Front Crochet Cardigan Free Pattern
- Blush Pink Tiered Baby Romper Free Crochet Pattern
- Lavender Purple Dreamy Peplum Crochet Top Pattern