Lavender Dream Ankle Socks Free Crochet Pattern
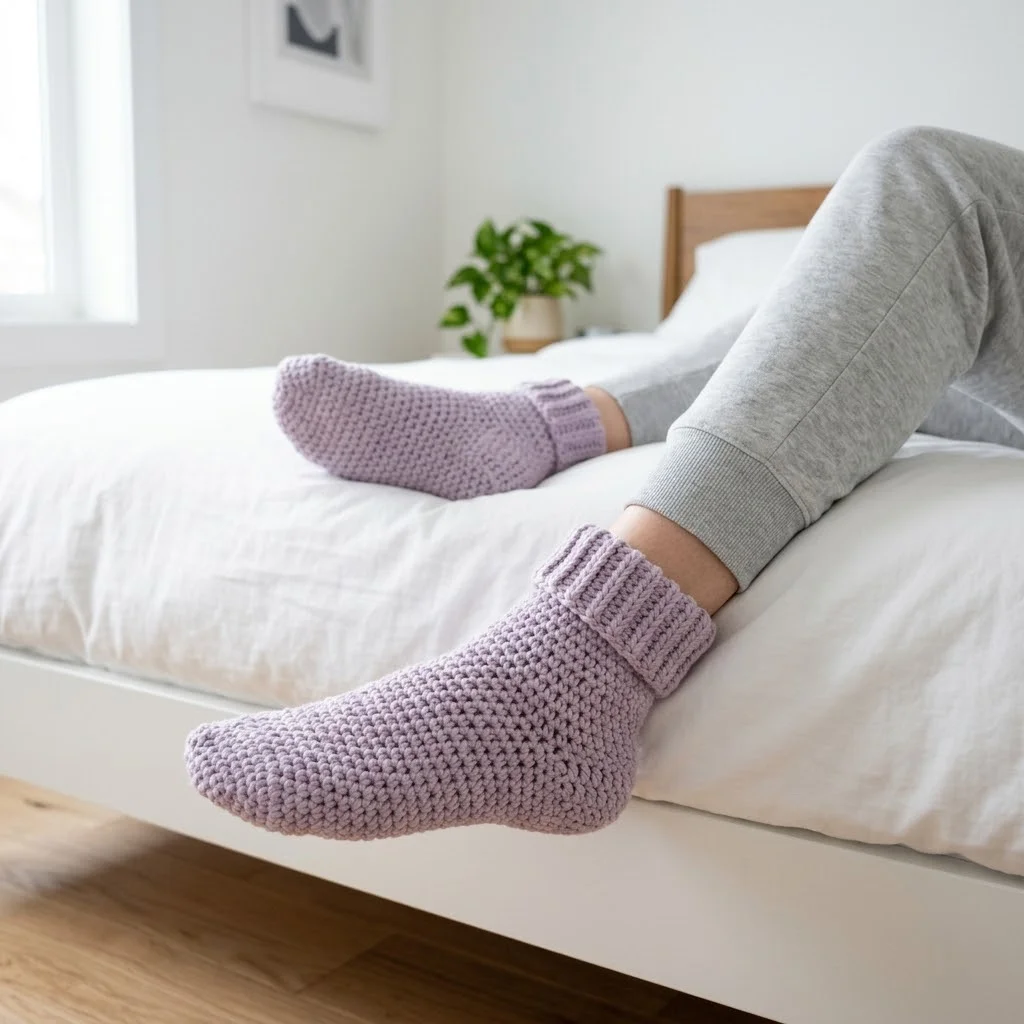
I have been wanting to design a pair of cozy ankle socks that would work up quickly, fit snugly without complicated shaping, and look absolutely adorable on lazy weekend mornings. My goals were simple. I wanted beginner-friendly stitches, a comfortable ribbed cuff that stays put, and that perfect squishy texture you want against your feet. After testing different stitch combinations and tweaking the heel construction more times than I can count, I am SO pleased with how these turned out! These Lavender Dream Ankle Socks are everything I hoped they would be.
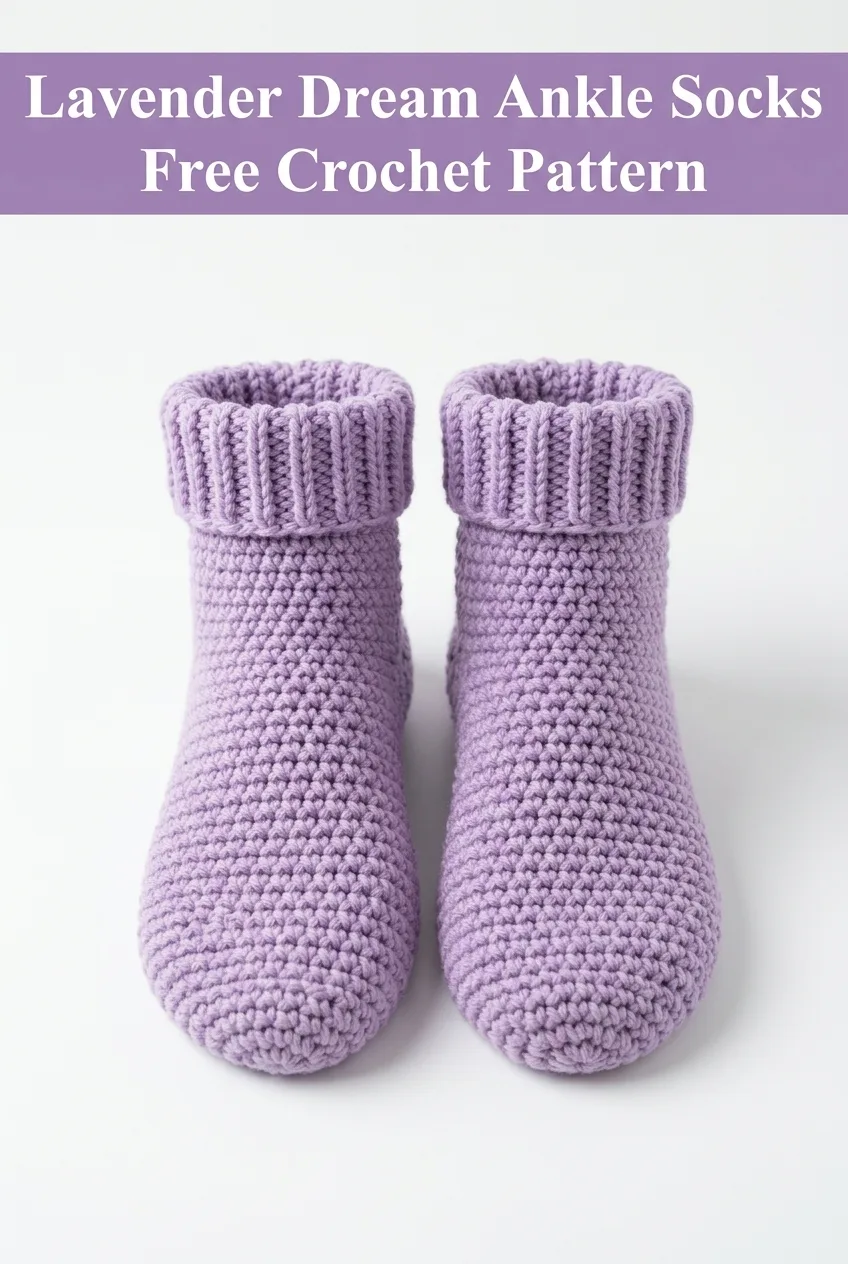
Why You Will Love This Crochet Sock Pattern
Crochet socks sometimes intimidate people, and I totally get it. The heel shaping can look confusing at first glance. But I promise you, this pattern breaks everything down into manageable steps. We are working in continuous rounds for most of the sock, with a simple short-row heel that is much easier than it looks.
The single crochet (sc) stitch creates that dense, cozy fabric you see in the photos. It gives the socks structure and warmth without being too bulky for wearing around the house or even inside shoes. The ribbed cuff uses back loop only (BLO) stitches to create that stretchy, folded band at the ankle.
These socks make wonderful handmade gifts. They work up in a weekend, use less than one skein of yarn per pair, and feel incredibly special to receive. Whether you are making them for yourself or someone you love, this step by step crochet tutorial will guide you through every round.
Skill Level
Confident Beginner to Intermediate
If you can work single crochet in the round and are willing to try a simple heel turn, you can absolutely make these socks. I will walk you through the trickier parts with extra explanation.
Finished Measurements
These instructions are written for Women’s Medium (US shoe size 7-8). The finished sock measures approximately:
I will include notes for adjusting the length throughout the pattern.
Materials Needed
Yarn:
Hook:
Notions:
Gauge
18 stitches and 20 rounds = 4 inches in single crochet worked in continuous rounds
Gauge matters for socks! Take time to check yours. If your gauge is too loose, your socks will be floppy. Too tight, and they will not stretch over your heel comfortably.
Abbreviations and Stitch Definitions
Let me define every stitch and term before we begin. This way you can reference back as needed.
Ch = Chain. Wrap yarn over hook and pull through the loop on your hook. This creates one chain stitch.
Sc = Single crochet. Insert hook into stitch, yarn over and pull up a loop (2 loops on hook), yarn over and pull through both loops.
Sc2tog = Single crochet two together. This is a decrease. Insert hook into first stitch and pull up a loop, insert hook into next stitch and pull up a loop (3 loops on hook), yarn over and pull through all 3 loops. You have turned 2 stitches into 1.
BLO = Back loop only. Instead of inserting your hook under both loops at the top of the stitch, insert it under only the back loop. This creates ribbed texture.
Sl st = Slip stitch. Insert hook, yarn over, pull through stitch and loop on hook in one motion.
St(s) = Stitch(es)
Rnd = Round
Pattern Notes Before You Begin
Do not let the heel scare you. I will explain each step clearly. You have got this!
Crochet Ankle Socks Pattern Instructions
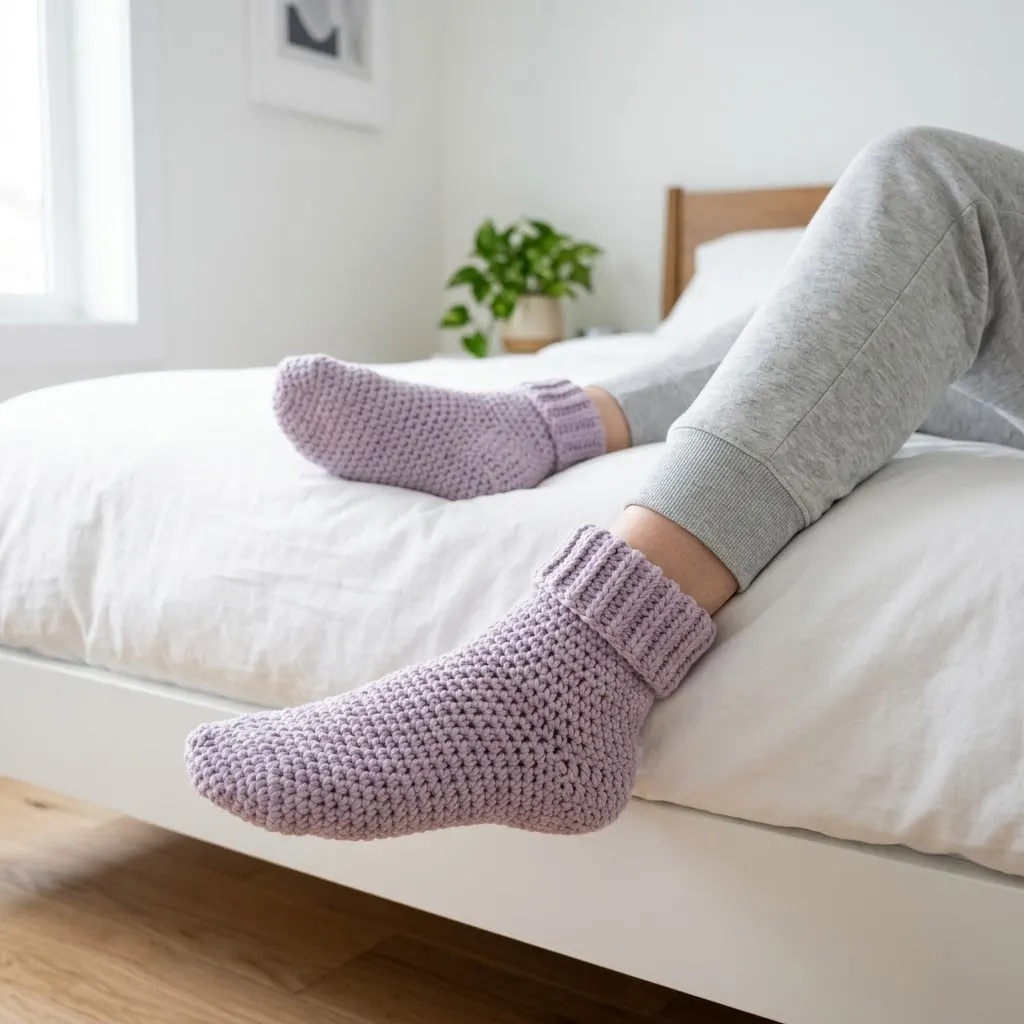
Toe
We start at the toe and work up toward the ankle. This construction method lets you try the sock on as you go.
Magic Ring Setup:
Create a magic ring (also called magic circle or adjustable ring). If you prefer, you can chain 2 and work into the first chain instead.
Rnd 1: Work 6 sc into magic ring. Pull ring closed. Place stitch marker. (6 sts)
Rnd 2: Work 2 sc in each st around. (12 sts)
Rnd 3: *Sc in next st, 2 sc in next st* repeat around. (18 sts)
Rnd 4: *Sc in next 2 sts, 2 sc in next st* repeat around. (24 sts)
Rnd 5: *Sc in next 3 sts, 2 sc in next st* repeat around. (30 sts)
Rnd 6: *Sc in next 4 sts, 2 sc in next st* repeat around. (36 sts)
Your toe should now measure approximately 2 inches across when laid flat. This creates the rounded toe shaping.
Foot
Now we work even (no increases or decreases) until the foot reaches the desired length.
Rnds 7-38: Sc in each st around. (36 sts)
That is 32 rounds of plain single crochet. Your foot section should measure approximately 6.5 inches from the tip of the toe.
Fit Tip: Try the sock on at this point. The foot should reach the back of your heel with about 2.5 inches left uncovered. Adjust by adding or removing rounds here. Each round adds roughly 0.2 inches of length.
Heel
Here is where we create the cup shape for your heel. We will work back and forth across half the stitches, then rejoin to continue in the round.
Setting Up the Heel:
Your last stitch of Rnd 38 marks your starting point. We will work the heel over the next 18 stitches, leaving the other 18 stitches unworked (these become the top of the foot, or instep).
Heel Row 1 (Right Side): Ch 1, turn. Sc in next 18 sts. Turn. (18 sts)
Heel Row 2 (Wrong Side): Ch 1, sc in next 18 sts. Turn. (18 sts)
Heel Rows 3-14: Repeat Row 2. You now have a heel flap that is 14 rows tall.
Turning the Heel:
This is where we create the cup shape. Stay with me, it is easier than it sounds!
Turn Row 1: Ch 1, sc in next 11 sts, sc2tog, sc in next st. Turn. Leave remaining 4 sts unworked. (13 sts worked)
Turn Row 2: Ch 1, skip first st, sc in next 6 sts, sc2tog, sc in next st. Turn. Leave remaining sts unworked. (8 sts worked)
Turn Row 3: Ch 1, skip first st, sc in next 5 sts, sc2tog, sc in next st. Turn. (7 sts worked)
Turn Row 4: Ch 1, skip first st, sc in next 4 sts, sc2tog, sc in next st. Turn. (6 sts worked)
You have created a small cup shape. Now we pick up stitches along the sides of the heel flap and rejoin to work in the round.
Gusset
Pickup Round: Ch 1, sc in each of the 6 heel sts, pick up and sc 10 sts evenly along the side of the heel flap, sc in each of the 18 instep sts (the ones we left unworked), pick up and sc 10 sts along the other side of the heel flap. Place marker. (44 sts)
This will feel like a lot of stitches. We will decrease back down to 36.
Gusset Decrease Rnds:
Rnd 1: Sc in next 4 sts, sc2tog, sc in next 18 sts (instep), sc2tog, sc in remaining sts. (42 sts)
Rnd 2: Sc in next 4 sts, sc2tog, sc in next 18 sts, sc2tog, sc in remaining sts. (40 sts)
Rnd 3: Sc in next 4 sts, sc2tog, sc in next 18 sts, sc2tog, sc in remaining sts. (38 sts)
Rnd 4: Sc in next 4 sts, sc2tog, sc in next 18 sts, sc2tog, sc in remaining sts. (36 sts)
We are back to 36 stitches. The sock should now cup your heel nicely.
Ankle
Rnds 1-6: Sc in each st around. (36 sts)
This creates a short ankle section before the cuff. Sl st to next st and fasten off, leaving a 6-inch tail.
Ribbed Cuff
The cuff is worked separately in rows, then joined and attached to the sock. This creates that beautiful stretchy ribbed texture.
Switch to your 3.5mm hook if you have one. This creates a tighter, more elastic cuff.
Ch 11.
Row 1: Sc in 2nd ch from hook and in each ch across. Turn. (10 sts)
Row 2: Ch 1, sc BLO in each st across. Turn. (10 sts)
Rows 3-36: Repeat Row 2.
You now have a ribbed rectangle. Fold it so Row 1 and Row 36 meet. Sl st the short ends together to form a tube. Fasten off, leaving a long tail for attaching.
Attaching the Cuff
Turn the cuff right side out. Slide it over the ankle portion of the sock, lining up the edges. Using your tapestry needle and the long tail, whip stitch the cuff to the sock opening, easing the 36 cuff ridges to match the 36 sock stitches.
Fold the cuff down for that cozy, finished look you see in the photos.
Finishing
Weave in all ends securely using your tapestry needle. I like to weave through several stitches, then reverse direction for extra security.
Make a second sock to match!
Tips for Success
Yarn Choice: A yarn with nylon content will help your socks last longer. Pure wool felts with friction. Pure cotton does not have much stretch. A blend works beautifully.
Tight Stitcher? Go up a hook size to ensure your socks slip on easily over the heel.
Loose Stitcher? Go down a hook size for a snugger fit that will not sag.
Adding Non-Slip Grip: Apply fabric paint dots to the bottom of the soles after finishing. Let dry completely before wearing.
Care Instructions
Handwash your crochet socks in cool water with mild soap. Gently squeeze out excess water, never wring or twist. Lay flat to dry. Machine washing on a gentle cycle inside a mesh bag also works for most acrylic blend yarns.
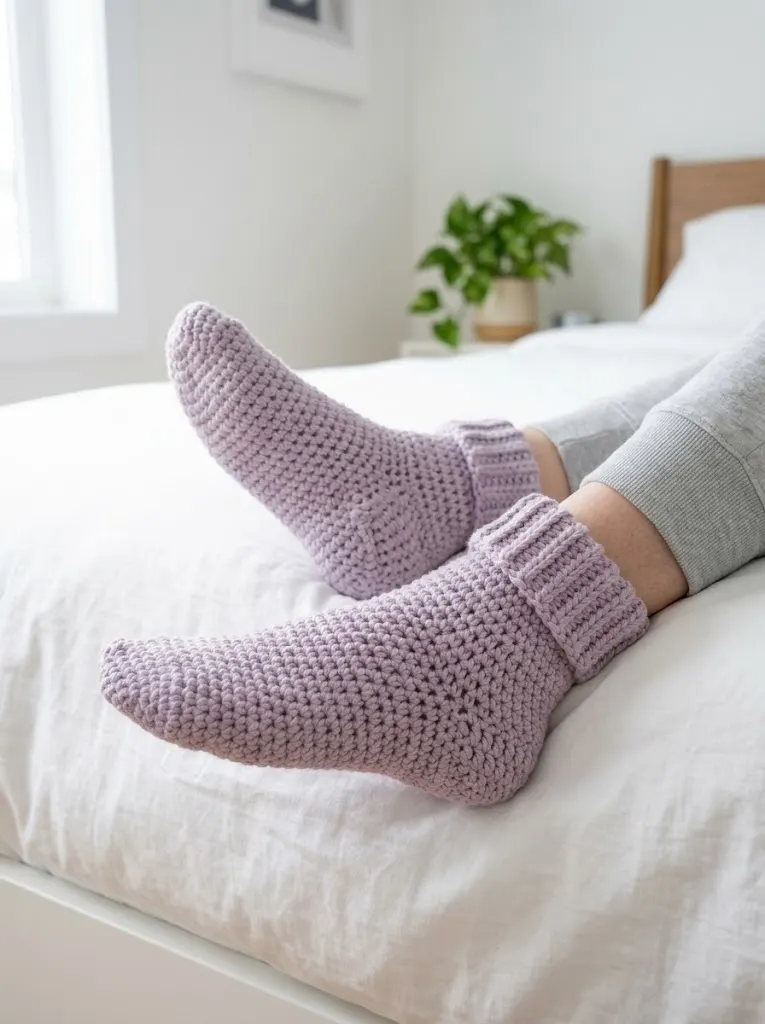
Make These Lavender Dream Ankle Socks Your Own
This beginner friendly crochet pattern works beautifully in any color you love. Try variegated yarn for a playful look, or stick with solids for a classic feel. You could also add stripes to the foot section by changing colors every few rounds.
These socks make thoughtful gifts for birthdays, holidays, or just because. Pair them with cozy pajamas, a candle, and some hot cocoa mix for a self-care gift basket anyone would adore.
I hope this crochet sock tutorial has given you the confidence to try your first pair. The heel shaping really does make sense once you work through it. And that moment when you slip your finished sock onto your foot for the first time? Pure satisfaction.
If this pattern brightens your crafting time, I would love for you to save it to your Pinterest boards so you can find it whenever the cozy sock mood strikes. And please, leave a comment below if you make a pair! Seeing your creations honestly makes my whole day.
You Might Also Like
- Coral Peach Tie Front Crochet Cardigan Free Pattern
- Sage Green Romantic Peplum Crochet Top Free Pattern
- Tropical Octopus Baby Blanket Free Crochet Pattern
- Dusty Rose Floral Crochet Summer Boots Free Pattern