Lavender Butterfly Baby Dress Free Crochet Pattern
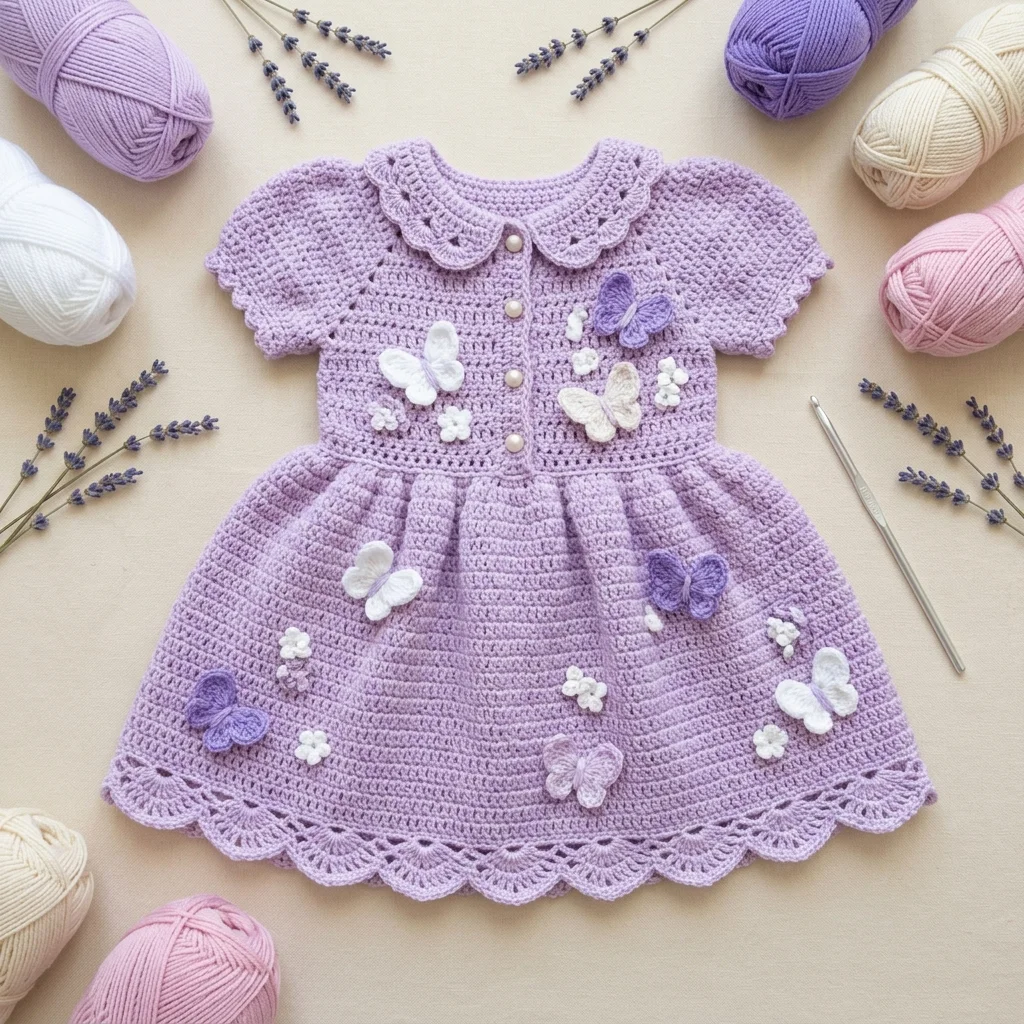
There is something absolutely magical about crocheting a tiny dress for a little one. This lavender butterfly baby dress combines soft romantic colors with delicate appliqué details that make it look far more complicated than it actually is. I promise you can make this. If you can work basic stitches in rows and rounds, you have everything you need to create this sweet heirloom piece.
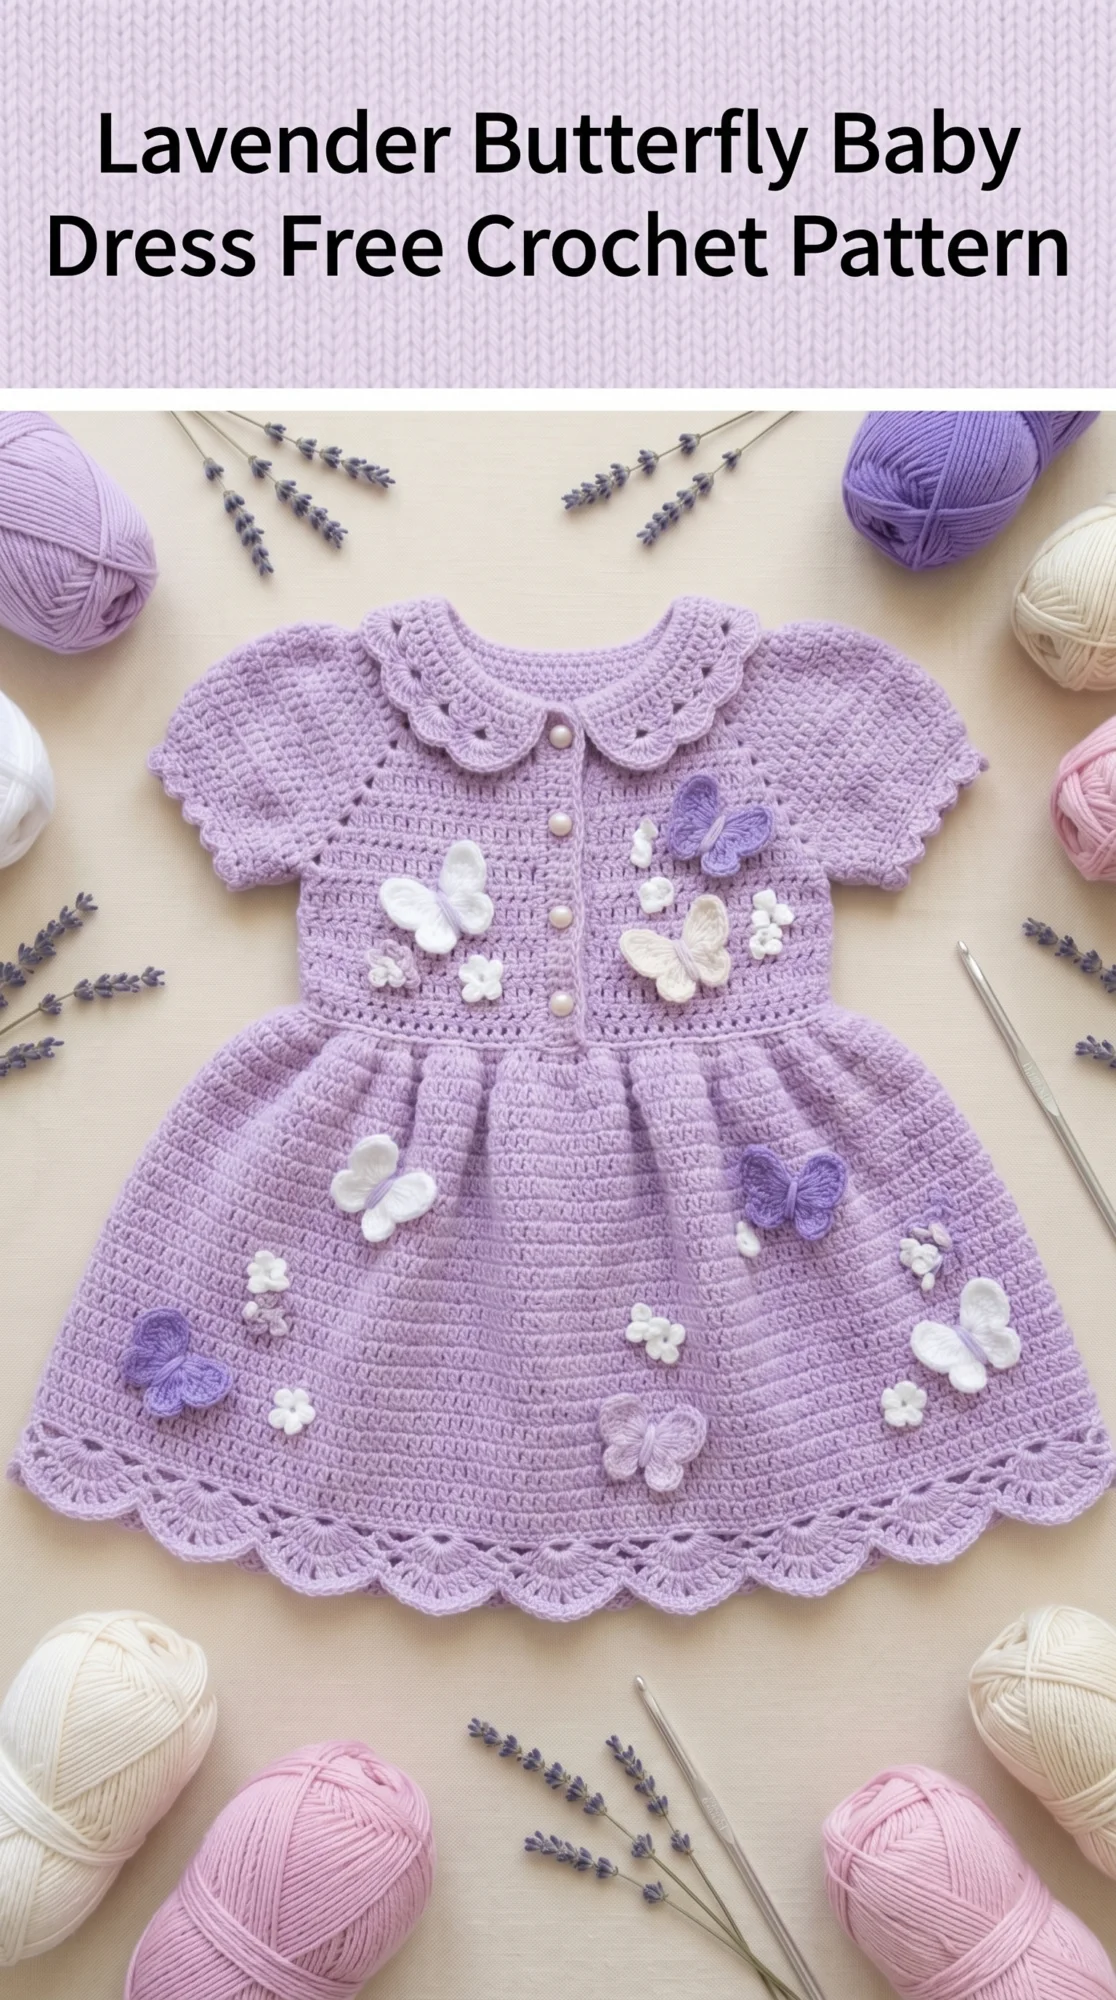
The dress features a fitted bodice with a charming Peter Pan collar, short puff sleeves, a button front closure, and a gently flared skirt with a scalloped hem. Those adorable butterfly and flower appliqués scattered across the fabric turn a simple dress into something truly special. This is an intermediate level project, but confident beginners who take their time will absolutely succeed.
Why This Crochet Pattern Works So Well
This lavender butterfly baby dress crochet pattern breaks down into manageable sections. You will work the bodice flat, add the sleeves, create the skirt separately, then join everything together. The appliqués are tiny quick projects you can make while watching television. Each piece builds on the last, so you never feel overwhelmed.
The construction method means you can try the dress on your little model as you go. Nothing worse than finishing a garment only to discover it does not fit. This step by step approach gives you control over the final fit.
Materials You Will Need
Yarn:
I recommend a soft cotton blend or bamboo yarn for baby garments. These fibers breathe well against delicate skin and hold up to repeated washing. Acrylic works too if you choose a baby-specific yarn designed to be gentle.
Hook:
Notions:
Gauge:
18 stitches and 20 rows = 4 inches in single crochet
Check your gauge before starting. This matters for fit.
Finished Size:
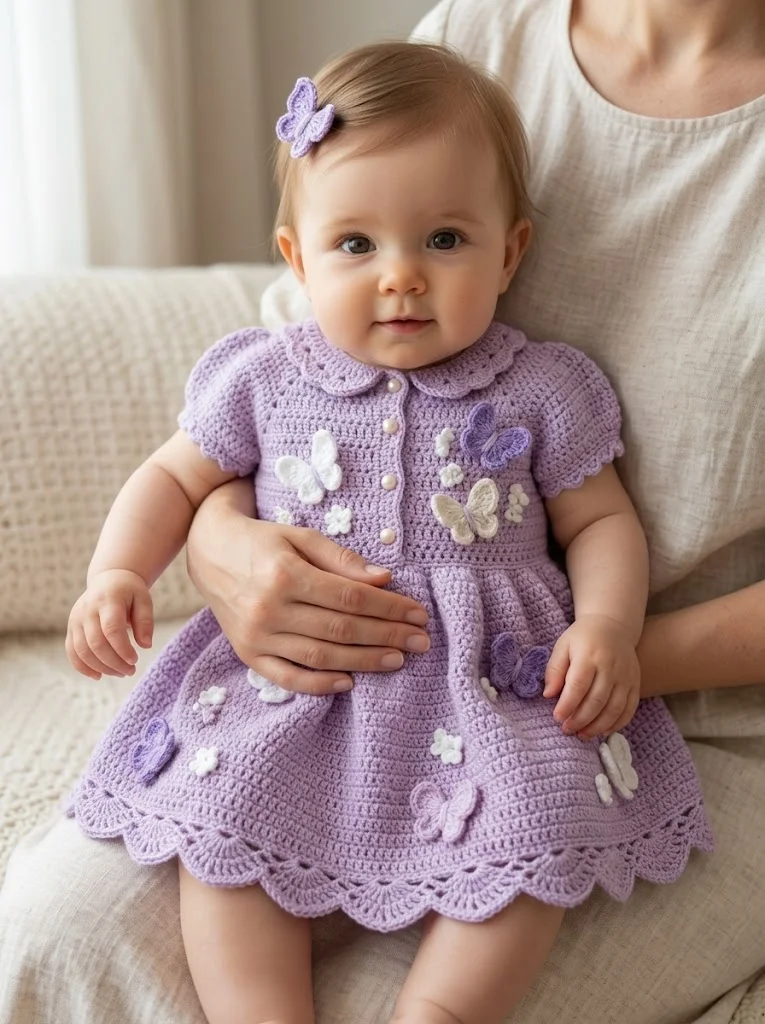
This pattern fits approximately 6 to 12 months. Chest circumference approximately 18 inches, length from shoulder to hem approximately 14 inches.
Abbreviations and Stitch Definitions
Let me walk you through every stitch you will use. No surprises here.
Ch = Chain: Yarn over, pull through loop on hook. This creates your foundation.
Sl st = Slip stitch: Insert hook, yarn over, pull through both loops at once. Used for joining and moving across stitches invisibly.
Sc = Single crochet: Insert hook into stitch, yarn over, pull up a loop (2 loops on hook), yarn over, pull through both loops. This is your main fabric stitch.
Hdc = Half double crochet: Yarn over, insert hook, yarn over, pull up a loop (3 loops on hook), yarn over, pull through all 3 loops. Slightly taller than single crochet.
Dc = Double crochet: Yarn over, insert hook, yarn over, pull up a loop (3 loops on hook), yarn over, pull through 2 loops, yarn over, pull through remaining 2 loops. Creates taller, more open fabric.
Inc = Increase: Work 2 stitches into the same stitch. This adds width.
Dec = Decrease: Single crochet 2 together. Insert hook in first stitch, pull up loop, insert hook in next stitch, pull up loop (3 loops on hook), yarn over, pull through all 3. This removes width.
Sk = Skip: Miss the indicated stitch and work into the next one.
The Bodice Pattern
The bodice works flat in one piece from the bottom up, then divides for the front opening.
Foundation Row: Ch 82.
Row 1: Sc in 2nd ch from hook and in each ch across, turn. (81 sts)
Rows 2 through 6: Ch 1, sc in each st across, turn. (81 sts)
This creates your bodice base. Now we shape for the armholes.
Row 7 (Divide for armholes): Ch 1, sc in first 18 sts, ch 3, sk 9 sts (first armhole created), sc in next 27 sts, ch 3, sk 9 sts (second armhole created), sc in remaining 18 sts, turn. (63 sc + 6 ch)
Row 8: Ch 1, sc in first 18 sts, sc 3 in ch-3 space, sc in next 27 sts, sc 3 in ch-3 space, sc in last 18 sts, turn. (69 sts)
Rows 9 through 12: Ch 1, sc in each st across, turn. (69 sts)
Now divide for the front button placket.
Row 13 (Right Front): Ch 1, sc in first 17 sts, turn. Leave remaining sts unworked for now.
Rows 14 through 16: Ch 1, sc in each st across, turn. (17 sts)
Fasten off.
Row 13 (Back): Skip 1 st from right front, join yarn, ch 1, sc in next 33 sts, turn.
Rows 14 through 16: Ch 1, sc in each st across, turn. (33 sts)
Fasten off.
Row 13 (Left Front): Skip 1 st from back, join yarn, ch 1, sc in remaining 17 sts, turn.
Rows 14 through 16: Ch 1, sc in each st across, turn. (17 sts)
Fasten off.
Creating the Peter Pan Collar
This sweet collar frames the neckline beautifully. You will make two identical pieces and attach them to either side of the front opening.
Collar Piece (make 2):
Row 1: Ch 16, sc in 2nd ch from hook and each ch across, turn. (15 sts)
Row 2: Ch 1, 2 sc in first st, sc to last st, 2 sc in last st, turn. (17 sts)
Row 3: Ch 1, 2 sc in first st, sc to last st, 2 sc in last st, turn. (19 sts)
Row 4: Ch 1, sc in each st across, turn. (19 sts)
Edging Round: Ch 1, work sc evenly around entire collar piece, working 3 sc in each corner. When you reach the curved outer edge, work (sc, ch 2, sc) in every other stitch to create small scallops. Sl st to first sc. Fasten off.
Sew collar pieces to neckline, one on each side of the center front opening. The straight edge attaches to the bodice.
Short Puff Sleeves
These sleeves work directly into the armhole openings. This seamless method is so satisfying.
Round 1: Join yarn at underarm, ch 1, work 24 sc evenly around armhole opening, sl st to first sc to join. (24 sts)
Round 2: Ch 1, sc in each st around, sl st to join. (24 sts)
Rounds 3 and 4: Repeat Round 2. (24 sts)
Round 5 (Puff edge): Ch 3 (counts as dc), dc in same st, 2 dc in each st around, sl st to top of ch-3. (48 sts)
Round 6 (Scallop edge): *Sk 1 st, 5 dc in next st (shell made), sk 1 st, sl st in next st* repeat around. Fasten off.
This creates that lovely puffed ruffle at the sleeve edge. Repeat for second sleeve.
The Flared Skirt
The skirt attaches to the bottom of the bodice and flares gently with increases.
Round 1: With right side facing, join yarn at center back of bodice bottom edge. Ch 1, work 81 sc evenly across bottom edge, sl st to first sc to join into round. (81 sts)
Rounds 2 through 4: Ch 1, sc in each st around, sl st to join. (81 sts)
Round 5 (Increase round): Ch 1, *sc in next 8 sts, 2 sc in next st* repeat around, sl st to join. (90 sts)
Rounds 6 through 10: Ch 1, sc in each st around, sl st to join. (90 sts)
Round 11 (Increase round): Ch 1, *sc in next 9 sts, 2 sc in next st* repeat around, sl st to join. (99 sts)
Rounds 12 through 16: Ch 1, sc in each st around, sl st to join. (99 sts)
Round 17 (Increase round): Ch 1, *sc in next 10 sts, 2 sc in next st* repeat around, sl st to join. (108 sts)
Rounds 18 through 22: Ch 1, sc in each st around, sl st to join. (108 sts)
Round 23 (Final increase): Ch 1, *sc in next 11 sts, 2 sc in next st* repeat around, sl st to join. (117 sts)
Rounds 24 through 28: Ch 1, sc in each st around, sl st to join. (117 sts)
Scalloped Hem Border
This decorative edge finishes the skirt beautifully.
Border Round 1: Ch 1, sc in each st around, sl st to join. (117 sts)
Border Round 2: Ch 3, dc in same st, dc in next 2 sts, *2 dc in next st, dc in next 2 sts* repeat around, sl st to join. (156 sts)
Border Round 3: *Sk 2 sts, 5 dc in next st (shell), sk 2 sts, sl st in next st* repeat around. Fasten off.
Run your fingers along the edge. See those pretty waves? That is your scallop.
Butterfly Appliqués
These tiny butterflies bring the dress to life. Make them in white, lavender, cream, and dusty pink for variety.
Body:
Ch 7, sl st in 2nd ch from hook, sc in next ch, hdc in next ch, dc in next ch, hdc in next ch, sc in last ch. Fasten off leaving a long tail.
Wings (make 2 per butterfly):
Ch 4, sl st to first ch to form ring.
Round 1: Ch 1, work 8 sc into ring, sl st to join. (8 sts)
Round 2: Ch 1, (sc, hdc, dc, hdc, sc) in first st, sl st in next st, (sc, hdc, dc, dc, hdc, sc) in next st, sl st in next st, repeat from * once more. Fasten off.
Sew wings to body, positioning them on either side. Make 6 to 8 butterflies total in assorted colors.
Simple Flower Appliqués
Magic ring: Ch 2, work 5 sc into 2nd ch from hook, sl st to join. (5 sts)
Petals: *(Ch 2, 2 dc in same st, ch 2, sl st in same st), sl st in next st* repeat around. (5 petals)
Fasten off. Make 6 to 8 flowers in white and cream.
Finishing Your Lavender Butterfly Baby Dress
Block all pieces gently by pinning to a towel and spritzing with water. Let dry completely.
Sew the shoulder seams closed, leaving the center front open for the button placket. Weave in all ends securely.
Mark button placement evenly down the left front bodice. Sew 5 buttons in place. The spaces between your single crochet rows naturally create buttonholes on the opposite side. Test each one to make sure buttons pass through easily. If needed, work a chain loop at each button point on the right front.
Arrange butterflies and flowers across the bodice and skirt as shown in the photo. Pin first, step back, adjust until you love the placement. Sew each appliqué securely with matching yarn, tacking down wings and petals so they do not catch on tiny fingers.
Helpful Tips for Success
This crochet tutorial works best when you check your gauge first. Baby clothes need accurate sizing. If your gauge is off, adjust your hook size up or down.
Take breaks between sections. This project has natural stopping points. Finish the bodice one day, sleeves the next, skirt after that. Fresh eyes catch mistakes.
The appliqués hide any imperfections beautifully. Do not stress about perfect stitches underneath. Nobody will ever know.
Wash the finished dress on gentle cycle inside a mesh bag, or hand wash in cool water. Lay flat to dry to maintain shape.
I hope you love making this lavender butterfly baby dress crochet pattern as much as I loved designing it. There is nothing quite like seeing a little one wearing something you created with your own hands. These tiny garments become treasured keepsakes.
If this pattern made your heart happy, I would love for you to save it to your Pinterest boards so you can find it again whenever inspiration strikes. And please, if you make this dress, drop a comment below or tag me in your photos. Seeing your finished projects absolutely makes my day, and I genuinely want to celebrate your beautiful work with you.
You Might Also Like
- Sunset Ombre Seashell Clutch Free Crochet Pattern
- Pastel Pink Dragon Amigurumi Plush Free Crochet Pattern
- Ocean Blue Highland Cow Amigurumi Free Crochet Pattern
- Rainbow Pastel Snake Plushie Free Crochet Pattern