Ivory Daisy Tea Dress Crochet Pattern
Go ahead. Dig into that stash and pull out the creamy sport-weight cotton you’ve been saving for something special. This is the project that deserves it.
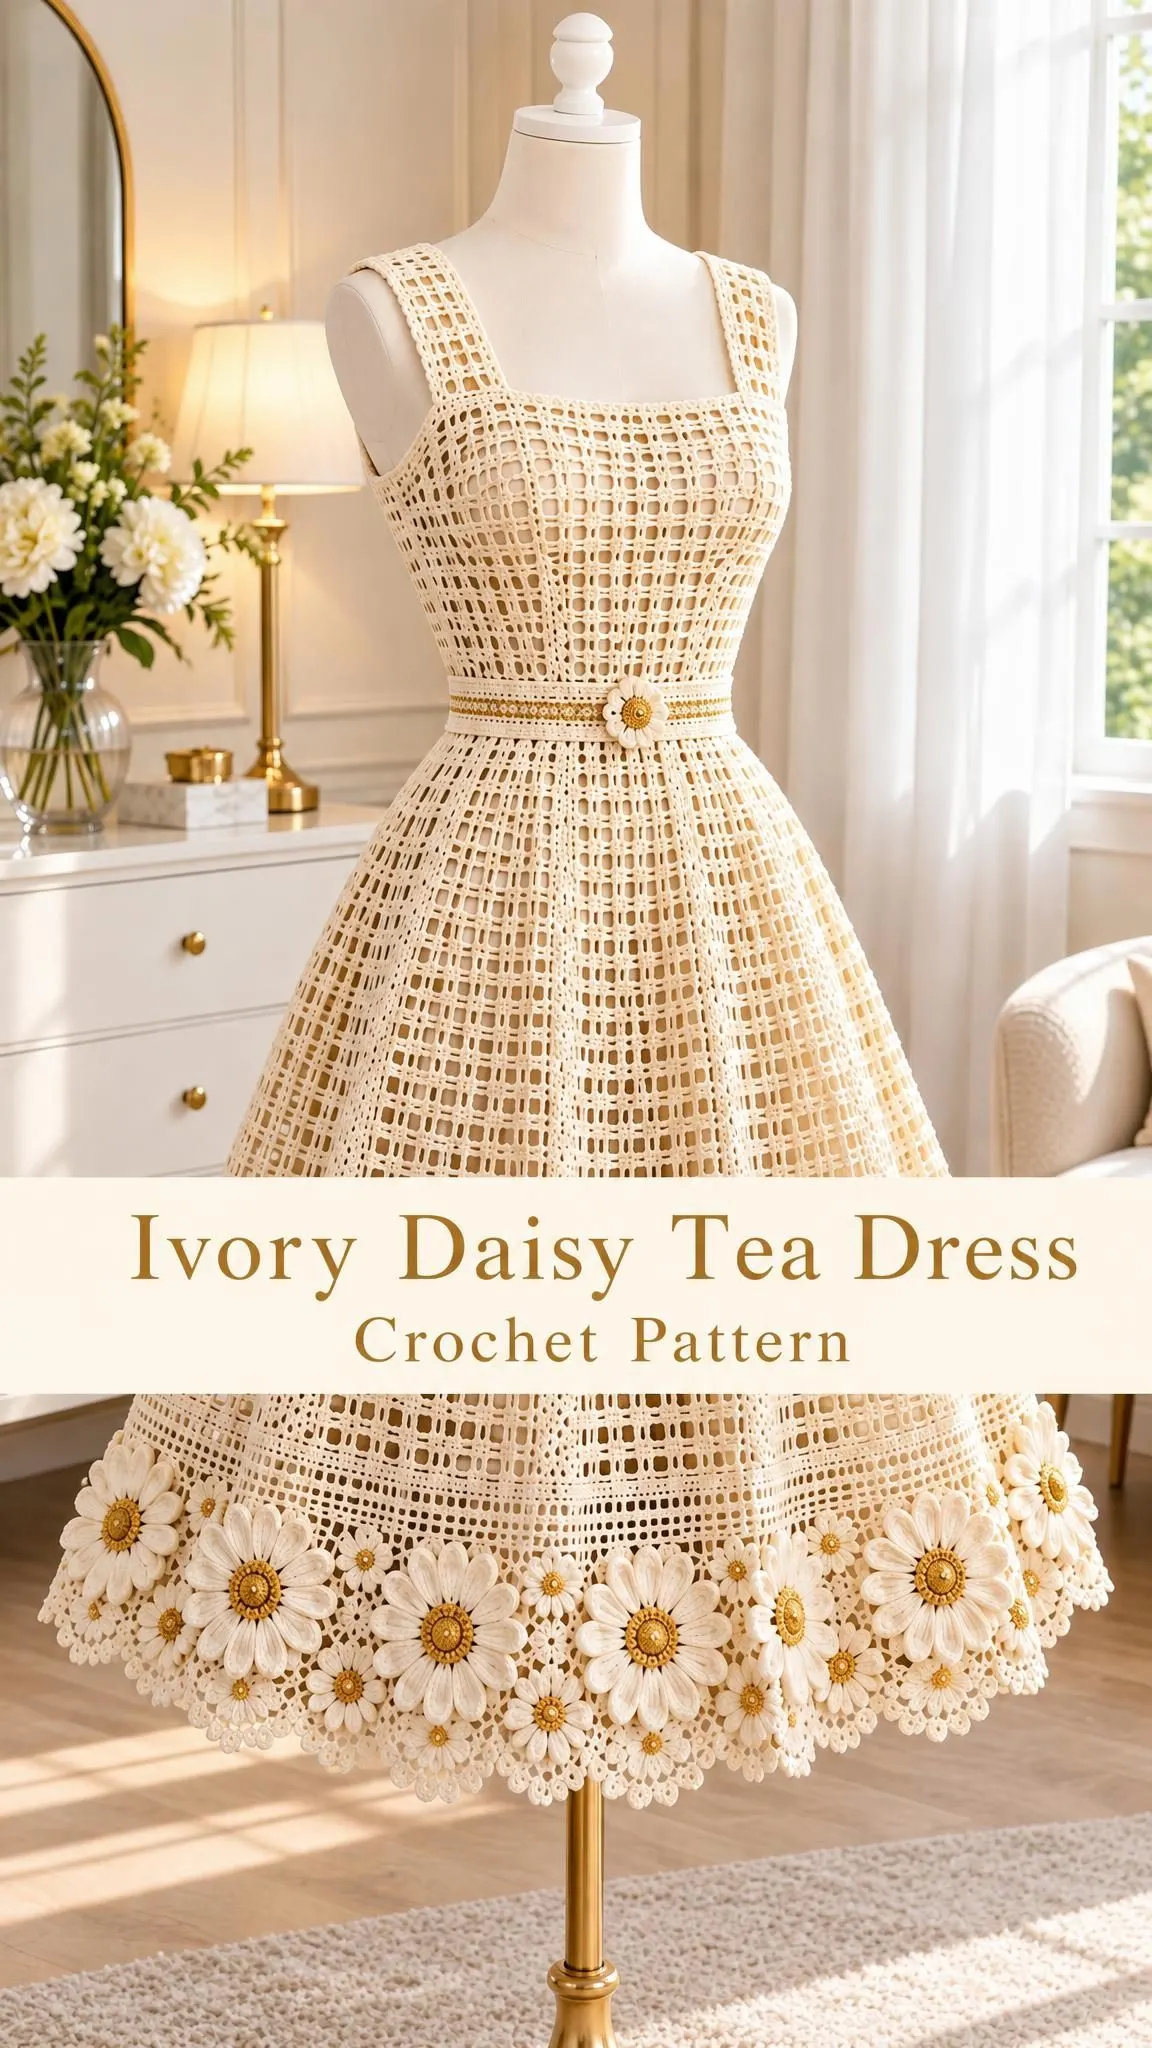
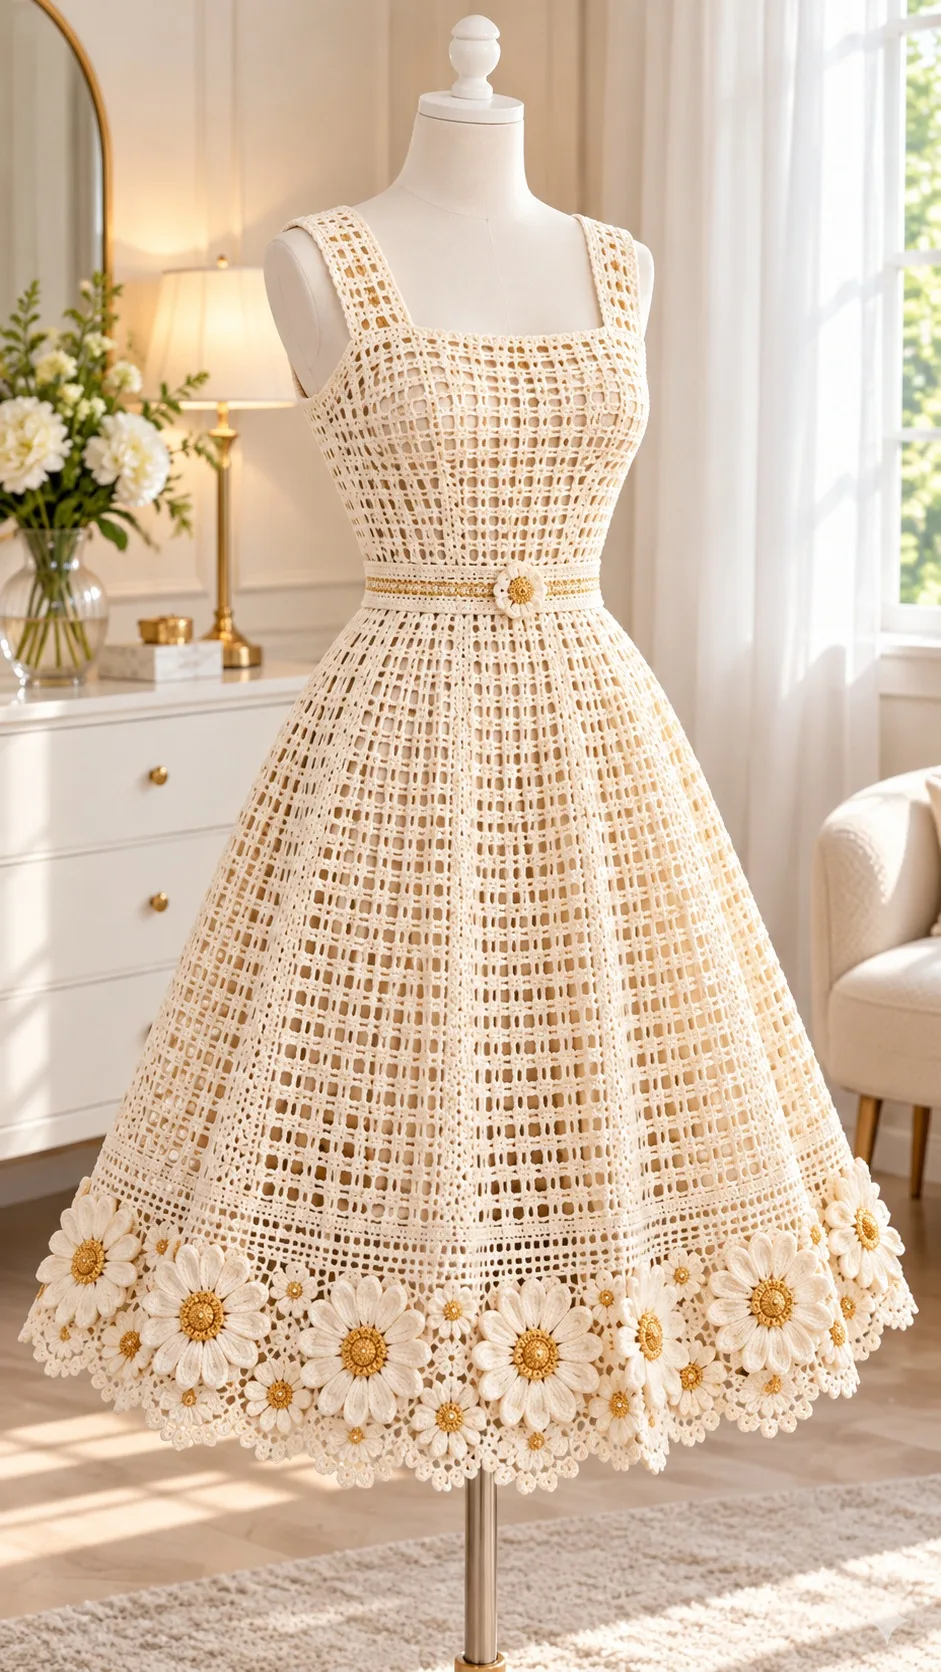
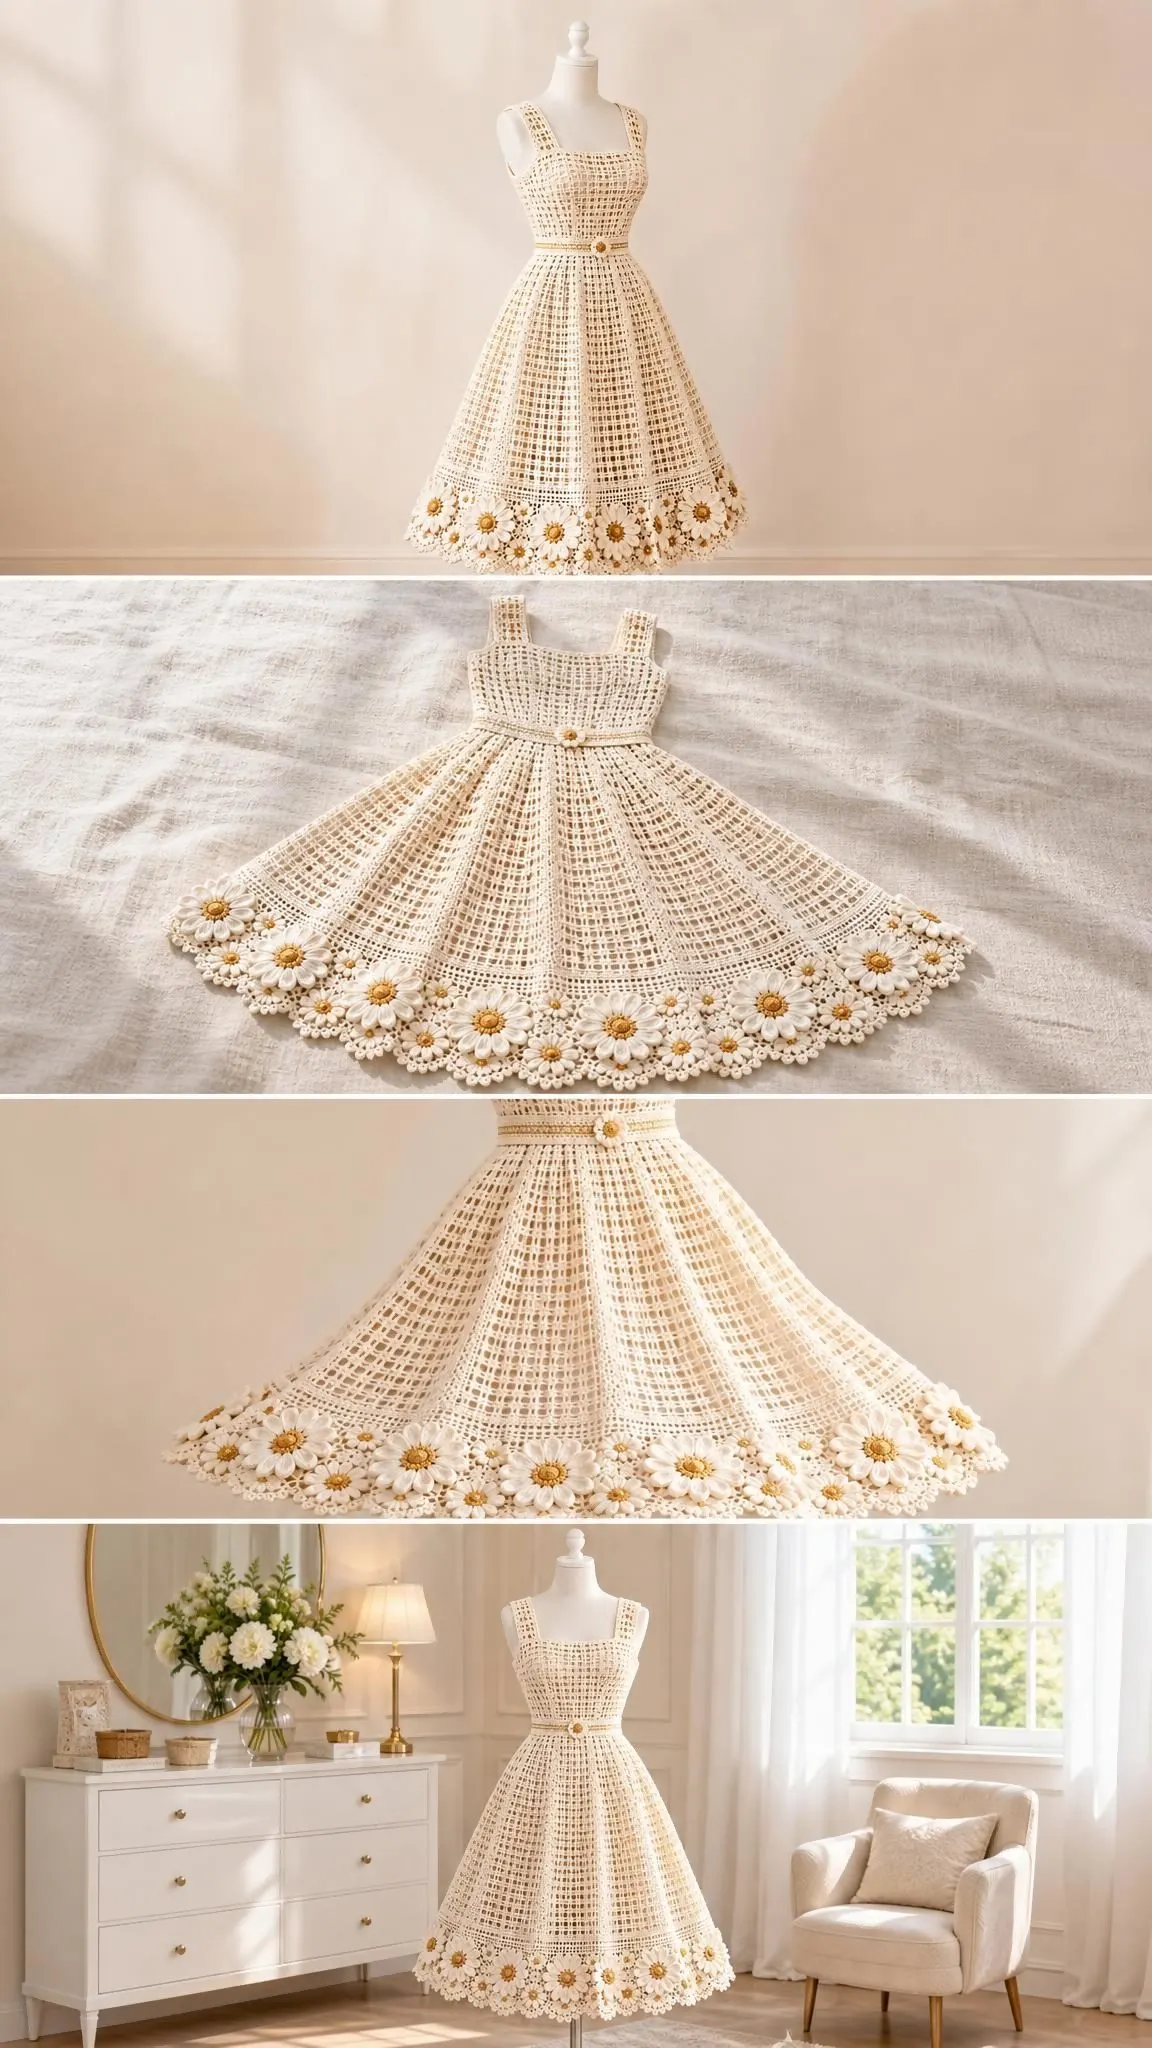
The Ivory Daisy Tea Dress is a showstopper, a vintage-inspired garment that combines delicate filet crochet with cheerful appliqué daisies dancing along the hem. The construction is clever: flat bodice and skirt panels worked separately, then joined at the waist with a cinching belt that creates that classic tea dress silhouette. If you’ve been wanting to level up from accessories to garments, this intermediate to advanced project will stretch your skills in the best way.
Fair warning: this dress requires patience, attention to gauge, and careful counting. But the techniques themselves? Nothing beyond double crochet, chains, and basic shaping. If you can work filet crochet and follow a pattern, you can absolutely make this dress.
About This Pattern
This elegant sleeveless dress features a square neckline, fitted bodice, and a beautifully flared knee-length skirt. The real magic happens at the hem, where golden-centered daisies create a stunning floral border. A narrow waist belt pulls everything together, cinching the openwork fabric to create shape without distorting the delicate filet pattern.
The dress is designed for a body bust of 90 to 94 cm, with 6 to 10 cm of ease built in. The finished bust measures approximately 100 cm, with an untied waist of 100 cm that cinches to 80 to 90 cm with the belt. The bodice measures 40 cm from shoulder to waist, and the skirt adds another 58 cm of length.
Important note: This is an AI-assisted draft pattern that has been reviewed for stitch counts and layout, but no physical sample has been made. You’ll want to swatch carefully and verify measurements as you work.
Materials You’ll Need
Yarn:
- Main color (ivory): Smooth sport-weight cotton, approximately 300 m per 100 g. Allow 698 g (2094 m).
- Accent colors (gold and ivory for flowers): Allow 250 g (750 m) total, split evenly between the two accent shades.
The pattern calls for yarns of equal thickness throughout. Amounts include a planning allowance, but you should confirm your actual usage by weighing your swatch.
Hooks:
- 3.5 mm hook for main fabric
- 3.0 mm hook for firm borders and belt
Adjust hook sizes as needed to meet blocked gauge.
Notions:
- Tapestry needle
- Removable stitch markers
- Tape measure
- Scissors
- Blocking mats and rust-resistant pins
- Sewing needle and matching thread
- 40 cm dress zipper (for left side seam)
- 1 m of 10 mm cotton tape (to stabilize waist seam)
- Optional: 6 mm sew-on pearls for flower centers
Additional requirement: A separate opaque slip is needed for wearing this openwork garment.
Gauge
This is critical for garment fit, so please don’t skip this step.
Blocked main-stitch gauge: 5 filet cells and 10 rows = 10 x 10 cm
One repeat measures approximately 2.00 cm wide. Measure away from edges for accuracy.
To make your gauge swatch: Using the filet stitch recipe with N = 10, work at least 20 rows. Wet-block your swatch, dry flat for 24 hours, then hang for 12 hours to check for cotton growth. Measure the central 10 cm and recheck length after hanging.
Keep your swatch for washing and colorfastness tests. If you cannot achieve gauge without distorting the fabric, change your hook size or yarn.
Border gauge: 20 single crochet (sc) and 24 sc rows = 10 cm
Abbreviations and Special Stitches
- ch = chain
- sc = single crochet (insert hook, yarn over, pull up loop, yarn over, pull through both loops)
- hdc = half double crochet
- dc = double crochet (yarn over, insert hook, pull up loop, yarn over, pull through 2 loops twice)
- tr = treble crochet
- sl st = slip stitch
- st(s) = stitch(es)
- sp = space
- RS/WS = right side/wrong side
- BLO = back loop only
- rep = repeat
- N = number of horizontal motif repeats in a piece
Filet cell: Chain 1 followed by double crochet (dc), spanning one skipped foundation chain or the previous ch-1 space. A row with N cells contains N+1 dc and N ch-1 spaces. The beginning ch 3 counts as the first dc.
Foundation Row (Not Counted as Pattern Row)
Chain 2N+2. Work sc in second chain from hook and across, giving 2N+1 sc.
Row 1
Ch 4, turn (counts as dc + ch 1). Skip first sc and next sc, dc in next sc. [Ch 1, skip 1 sc, dc in next sc] N-1 times. Count: N cells, N+1 dc.
Row 2 and All Plain Rows
Ch 4, turn (dc + ch 1). Dc in next dc. [Ch 1, dc in next dc] to end, working last dc into third chain of beginning ch-4. Count: N cells, N+1 dc.
Increase One Cell at Row End
After the final dc, ch 1 and dc again in that same final stitch. Count: N+1 cells. On the next row, treat the added cell as a normal cell.
Pattern Notes Before You Begin
Read through all instructions before starting. Work flat and turn after every row. Mark Row 1 as RS. Count at every row end and check measurements after each 10 cm of progress.
Fasten off with 20 cm tails for seaming. Seams consume only the edge loops.
For neckline shoulders, restart yarn at a complete motif boundary. Do not carry yarn across the neck gap. The neckline shaping is deliberately stepped and will be smoothed with the border.
One measured size is provided, not a graded multi-size pattern. Before proceeding, compare bust, upper arm, armhole, and shoulder measurements to a well-fitting garment. Larger size adjustments require a new swatch and recalculated repeats.
Construction Overview
The dress is built in this order:
- Make and block two bodice panels, then work neckline shoulders
- Make six skirt panels
- Join shoulders
- Close side seams around zipper opening
- Join skirt panels into a ring
- Distribute skirt fullness evenly into bodice waist
- Add belt, borders, and daisy decorations last
Back Bodice Instructions
With main color and 3.5 mm hook, start the foundation with N = 25. Work upward from waist.
Row 1: Work foundation row. Count: 25 filet cells.
Rows 2 through 37: Work the next plain recipe row. Count: 25 filet cells each row.
Neckline Shaping:
Mark the central 9 repeats as the back neck opening. Work the outer 8 repeats at each side separately, restarting at the outer edge or neck edge as required by row direction. Leave the marked center unworked.
Rows 38 through 40, each shoulder: Continue the recipe over the outer 8 repeats only. Count: 8 filet cells per shoulder.
Front Bodice Instructions
Begin as back with N = 25. Work the following rows. The front is one panel. Any decorative button placket is applied later and does not open.
Row 1: Work foundation row. Count: 25 filet cells.
Rows 2 through 30: Work next plain recipe row. Count: 25 filet cells each row.
Neckline Shaping:
Leave central 9 repeats unworked. Work each shoulder separately over 8 repeats. Square neckline width is fixed by this opening.
Rows 31 through 40, each shoulder: Continue next recipe row over this shoulder only. Count: 8 filet cells per shoulder.
Skirt Panels: Make Six
Work from waist downward. Start with N = 10. Each panel widens from 20 cm at the waist to 40 cm at the hem.
Row 1: Work foundation row. Count: 10 cells, 11 dc.
Rows 2 and 3: Work plain filet row. Count: 10 cells, 11 dc.
Row 4: Work recipe row, adding one cell at its end. Count: 11 cells, 12 dc.
Rows 5 through 7: Work plain filet row. Count: 11 cells, 12 dc.
Continue this increase pattern, adding one cell every fourth row:
- Row 8: Increase to 12 cells
- Row 12: Increase to 13 cells
- Row 16: Increase to 14 cells
- Row 20: Increase to 15 cells
- Row 24: Increase to 16 cells
- Row 28: Increase to 17 cells
- Row 32: Increase to 18 cells
- Row 36: Increase to 19 cells
- Row 40: Increase to 20 cells
Rows 41 through 58: Work plain filet row. Count: 20 cells, 21 dc.
Checkpoint: Block all six panels to 58 cm length, within one row of tolerance. Top edge should measure 20 cm, lower edge 40 cm.
Waist Tie Belt
Belt Row 1: With 3.0 mm hook and belt color, ch 8. Sc in second chain and next 6 chains. Count: 7 sc.
Belt Row 2 and every following row: Ch 1, turn, sc BLO in each stitch. Count: 7 sc per row.
Continue until belt measures 160 cm. Record your row total.
Checkpoint: Belt should measure 160 x approximately 3.5 cm. Do not stretch while measuring.
Assembly
Join 1, Shoulders: Mattress-stitch corresponding outer shoulder edges, aligning 8 complete motifs on each seam. Count: 2 shoulder seams, 8 motifs each.
Join 2, Armholes: Leave the top 20 cm of each front/back side edge unseamed. Count: 2 armholes.
Join 3, Sides: Sew from waist to armhole on right side. On left, leave the bodice portion of the 40 cm zipper opening. Continue that opening into the skirt below waist as needed. Count: 2 side seams, 1 zipper opening.
Join 4, Skirt: Align equal row ends and mattress-stitch six panels into a ring, retaining the left-side zipper gap. Count: 6 panel joins, including the partial zipper seam.
Join 5, Waist: Quarter-mark both bodice and skirt. Run two gathering threads through skirt foundation loops. Draw to 100 cm, matching quarter marks. Sew to bodice waist. Sew stabilizing cotton tape inside the waist without stretching. Count: 1 continuous 100 cm waist join.
Join 6, Closure: Hand-baste then backstitch zipper tapes to the inside of the left opening. Keep teeth clear of crochet loops. Secure top and lower stops. Count: 1 working zipper, 40 cm opening closed.
Checkpoint: Shoulders level, waist 100 cm before belt, armholes approximately 40 cm perimeter, zipper opens without catching.
Edgings and Details
Neckline Border
Neck Round 1: Join at back neck. Sc evenly around, approximately 2 sc per dc-row end and 1 sc per stitch. Adjust at steps to lie flat. At square inside corners, work sc2tog across the corner. Join with sl st.
Neck Round 2: Ch 1, sc in each sc, join.
Hem Border
Hem Round 1: Sc evenly along lower edge without drawing it in. For filet, work one sc per dc and one per chain. Do not count seam loops twice.
Hem Round 2: Starting at any sc, [skip 2 sc, 5 dc in next sc, skip 2 sc, sl st in next sc] around. Work residual stitches as sl sts beside seam.
Armhole Finish
Armhole Round 1: Sc evenly around each opening, using about 2 sc per row end. Join.
Armhole Round 2: Sc in each sc for a plain edge, or use the hem scallop pattern for a fancier finish.
Daisy Motifs: Make 30
Daisy Round 1: In golden center color, 8 sc into magic ring. Join. Count: 8 sc.
Daisy Round 2: 2 sc in each sc. Join. Count: 16 sc.
Daisy Round 3: Join petal color. [Ch 6, sc in second ch, hdc in next ch, dc in next 2 ch, hdc in last ch, sl st in next center sc] 16 times. Count: 16 narrow petals.
Make 30 daisies total: 24 around skirt hem (spaced approximately 10 cm apart), and 6 at waist for the sleeveless version.
Leaf Motifs: Make 24
Leaf Row 1: Ch 9. Sc in second ch, hdc in next, dc in next 4, hdc in next, 3 sc in last. Rotate and work opposite side: hdc, 4 dc, hdc, sc. Join. Count: 17 stitches.
Sew each leaf behind a hem flower, attaching at its base and midpoint. Keep appliqués above the walking edge.
Finishing
Weave each end through at least 5 cm of solid stitches, reverse direction twice, and trim only after the first wash.
Soak according to yarn label, lift supported, press between towels. Lay flat to finished measurements. Shape each scallop and flower gently.
After fully dry, hang for 12 hours, remeasure length, and check zipper, belt, and decoration.
Final measurements: Bust approximately 100 cm, bodice 40 cm, skirt 58 cm plus border.
Care Instructions
Follow the yarn care label. For cotton, cool gentle hand washing and flat drying are recommended. Test colors first. Support the full wet garment and avoid wringing.
Remember that this is an openwork garment, so an opaque slip is essential for coverage. Secure any pearls or buttons and check regularly, as small detached parts can be a choking hazard around children and pets.
Store folded, not suspended from shoulders.
Tips for Success
Count obsessively. Filet crochet is unforgiving, and one missed stitch early on compounds throughout the piece.
Block as you go. Blocking each panel before assembly makes joining much easier and helps you catch sizing issues early.
Test your zipper placement. Hand-baste first and try on over your slip before permanent stitching.
Don’t overtighten the belt. It should cinch the waist comfortably without distorting the beautiful openwork.
This dress is a labor of love, but the result is a timeless, elegant garment perfect for garden parties, summer weddings, or any occasion that calls for something truly special. The combination of vintage-inspired filet crochet and sweet daisy appliqués creates a piece you’ll be proud to wear for years.
Thank you so much for choosing this pattern! If you make this Ivory Daisy Tea Dress, I would absolutely love to see it. Share your finished dress on Instagram or Facebook so we can celebrate your beautiful work together.
Save this pattern to your Pinterest boards so you can find it when you’re ready to start, and please leave a comment below if you make it. Hearing about your projects truly makes my day!
You Might Also Like
- Dusty Rose Lace Panel Crochet Sweater Free Pattern
- Tinkerbell Green Fairy Baby Dress Free Crochet Pattern
- Dusty Rose Boho Crochet Three-Piece Set Free Pattern
- Sage Green Boho Granny Square Dress Free Crochet Pattern