Gray Tabby Cat Bow Sweater Free Crochet Pattern
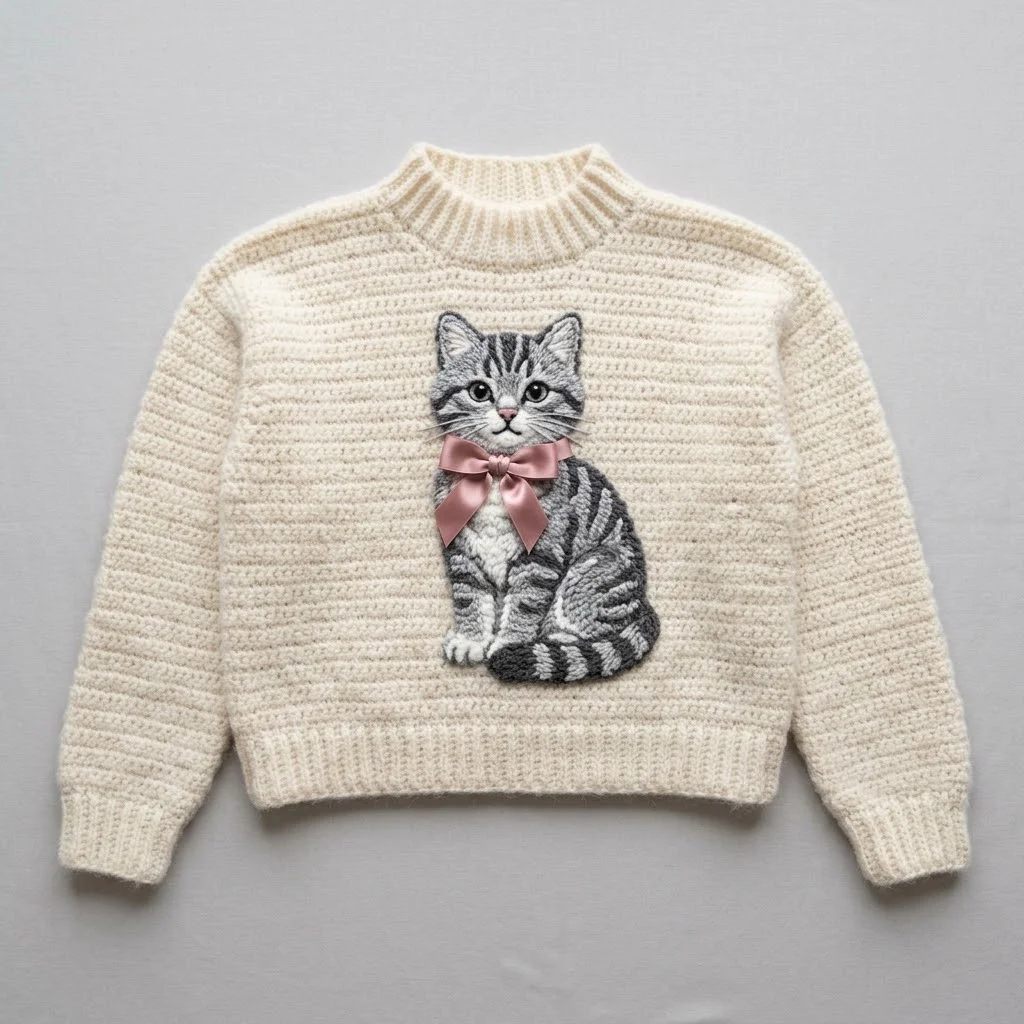
I call this one “Whiskers” because every good sweater deserves a name. This design lived in my sketchbook for almost two years before I finally brought it to life. I originally drew the little tabby cat for my niece who is absolutely obsessed with her gray striped kitty named Marble. She kept asking for a sweater with “her cat” on it. So I sat down one rainy afternoon with a cup of tea, pulled out my cream yarn, and figured out how to make that happen. The result is this cozy pullover with an adorable appliqué tabby cat wearing a sweet pink bow. It makes me smile every single time I look at it.
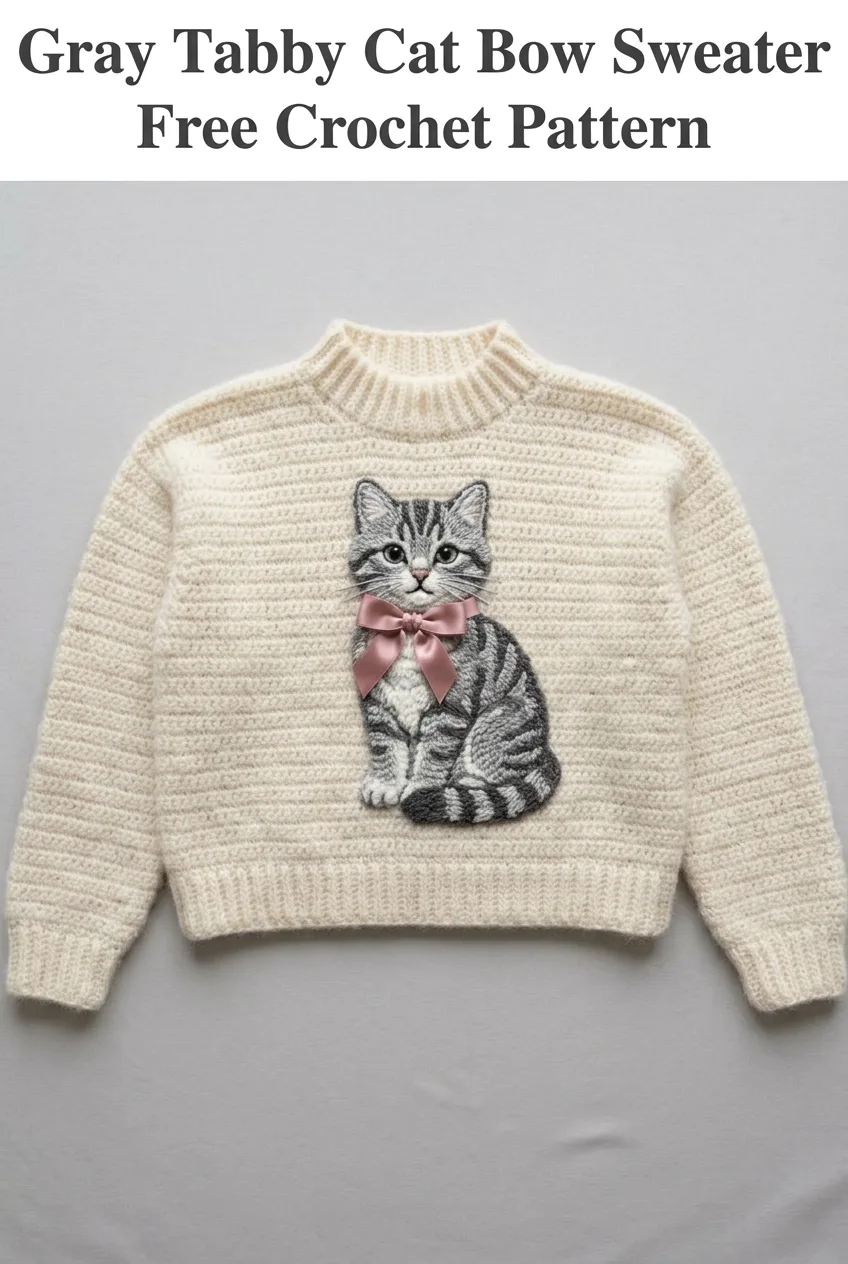
About This Gray Tabby Cat Sweater Crochet Pattern
This crochet sweater combines classic pullover construction with a stunning dimensional cat appliqué that looks far more complicated than it actually is. The sweater itself uses straightforward stitches worked in rows and joined pieces. The real showstopper is the gray tabby cat motif on the front, complete with detailed stripes and a charming satin bow accent.
The body features a beautiful texture created by working through the back loop only, giving it that ribbed appearance you see in the image. The neckline has a mock turtleneck collar with classic ribbing. The sleeves are raglan style, which means they connect at diagonal seams from the neckline to the underarm. This creates a comfortable, roomy fit that is flattering on many body types.
Skill level: Intermediate. You should be comfortable with basic stitches, color changes, and seaming pieces together. The appliqué work requires patience but no advanced techniques.
Materials You Will Need
Yarn:
Hook:
Notions:
Gauge
18 stitches and 20 rows = 4 inches in half double crochet back loop only
Please check your gauge before starting. A sweater that does not match gauge will not fit properly. Make a swatch at least 5 inches square, wash and dry it the way you plan to care for the finished sweater, then measure.
Finished Measurements
This pattern is written for size Medium.
Stitch Abbreviations and Definitions
ch = chain: wrap yarn over hook, pull through loop on hook. This creates your foundation and is used for turning.
sl st = slip stitch: insert hook, yarn over, pull through both loops at once. Used for joining and moving across stitches invisibly.
sc = single crochet: insert hook, yarn over, pull up a loop (2 loops on hook), yarn over, pull through both loops. The shortest basic stitch.
hdc = half double crochet: yarn over, insert hook, yarn over, pull up a loop (3 loops on hook), yarn over, pull through all 3 loops. Creates a medium height stitch with nice drape.
hdc-blo = half double crochet through back loop only: work a regular hdc but insert your hook under only the back loop of the stitch below, not both loops. This creates the ribbed texture.
dc = double crochet: yarn over, insert hook, yarn over, pull up loop (3 loops), yarn over, pull through 2 loops (2 loops remain), yarn over, pull through remaining 2 loops. Taller stitch that works up quickly.
inc = increase: work 2 stitches into the same stitch. For example, 2 hdc in one stitch.
dec = decrease: work 2 stitches together as one. For hdc decrease, yarn over, insert hook in first stitch, pull up loop, yarn over, insert hook in next stitch, pull up loop (5 loops on hook), yarn over, pull through all 5 loops.
Step by Step Crochet Pattern Instructions
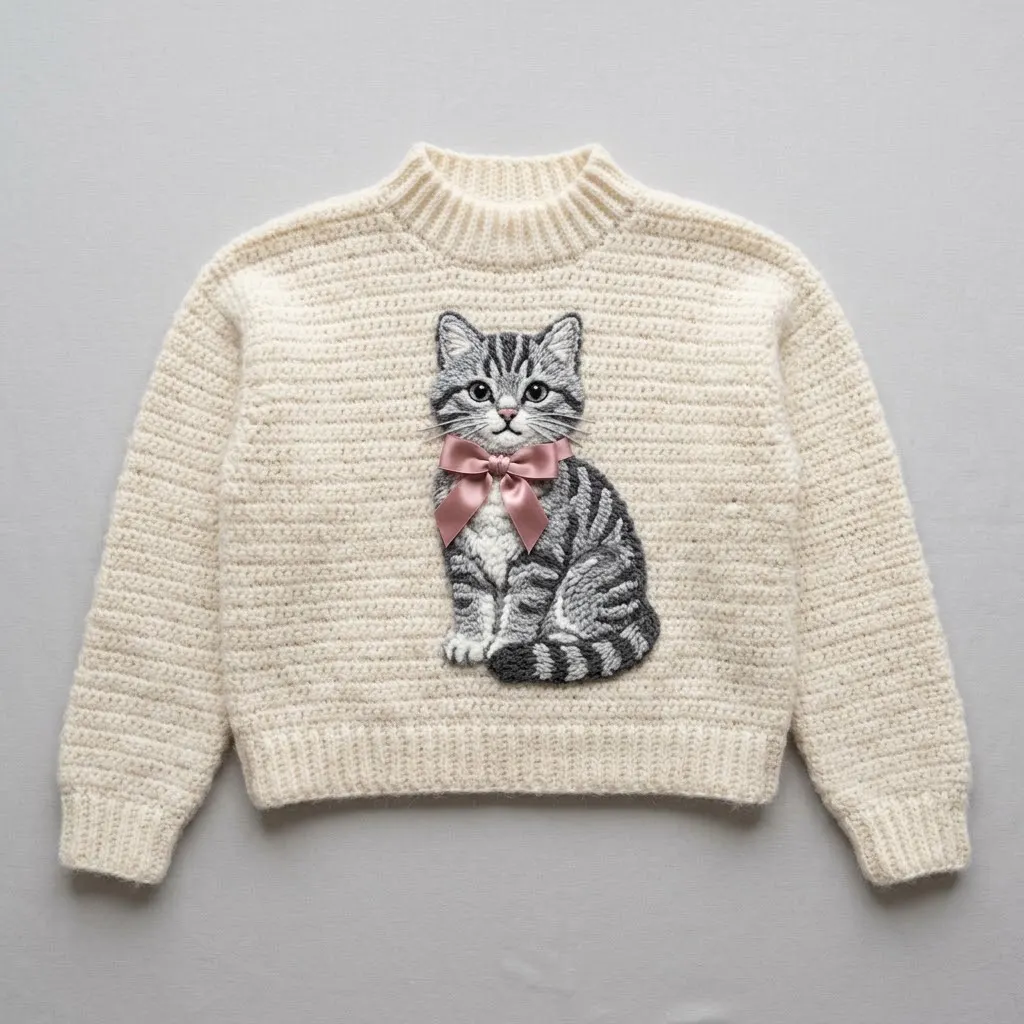
Back Panel
With cream yarn and 5.0mm hook, ch 92.
Row 1: Hdc in 3rd ch from hook and in each ch across. (90 sts)
Row 2: Ch 2 (does not count as stitch throughout), turn, hdc-blo in each st across. (90 sts)
Rows 3 through 70: Repeat Row 2. (90 sts)
Your back panel should measure approximately 20 inches wide and 14 inches tall at this point.
Raglan Shaping:
Row 71: Ch 2, turn, sl st in first 6 sts, hdc-blo in next 78 sts, leave remaining 6 sts unworked. (78 sts)
Row 72: Ch 2, turn, hdc2tog-blo over first 2 sts, hdc-blo to last 2 sts, hdc2tog-blo. (76 sts)
Rows 73 through 96: Repeat Row 72, decreasing 2 stitches each row. (28 sts remain after Row 96)
Fasten off and weave in ends.
Front Panel
Work exactly as Back Panel through Row 70.
Raglan Shaping:
Work Rows 71 through 96 exactly as Back Panel. (28 sts remain)
Fasten off and weave in ends.
Sleeves (Make 2)
With cream yarn and 5.0mm hook, ch 42.
Row 1: Hdc in 3rd ch from hook and in each ch across. (40 sts)
Row 2: Ch 2, turn, hdc-blo in each st across. (40 sts)
Rows 3 through 6: Repeat Row 2. (40 sts)
Row 7 (Increase Row): Ch 2, turn, 2 hdc-blo in first st, hdc-blo to last st, 2 hdc-blo in last st. (42 sts)
Rows 8 through 12: Hdc-blo across. (42 sts)
Continue in this manner, increasing 2 stitches every 6th row until you have 60 stitches total. This should take approximately 60 rows.
Continue even in hdc-blo until sleeve measures 16 inches from beginning.
Sleeve Cap Raglan Shaping:
Row 1: Ch 2, turn, sl st in first 6 sts, hdc-blo across to last 6 sts, leave remaining unworked. (48 sts)
Row 2: Ch 2, turn, hdc2tog-blo, hdc-blo to last 2 sts, hdc2tog-blo. (46 sts)
Rows 3 through 20: Repeat Row 2. (10 sts remain)
Fasten off, leaving a long tail for seaming.
Assembly
Lay your pieces flat on a clean surface. Using a tapestry needle and matching yarn, seam the raglan edges together. The front panel connects to both sleeves at the diagonal edges. The back panel connects to both sleeves on the opposite diagonal edges.
Seam the underarm and side seams in one continuous line from cuff to hem.
Ribbed Collar
With the right side facing, join cream yarn at the back neck edge.
Round 1: Ch 1, sc evenly around entire neckline, working approximately 70 to 80 stitches total. Join with sl st to first sc.
Round 2: Ch 1, sc-blo in each st around. Join. (70 to 80 sts)
Rounds 3 through 12: Repeat Round 2.
Fasten off and weave in ends. The collar will naturally fold over slightly, creating that cozy mock turtleneck look.
Cuff Ribbing
Join cream yarn at the cuff edge of one sleeve.
Round 1: Ch 1, sc evenly around cuff opening, approximately 40 sts. Join with sl st.
Rounds 2 through 6: Ch 1, sc-blo in each st around. Join.
Fasten off. Repeat for second sleeve.
Bottom Ribbing
Join cream yarn at the bottom edge of the sweater body.
Round 1: Ch 1, sc evenly around entire bottom edge. Join.
Rounds 2 through 6: Ch 1, sc-blo in each st around. Join.
Fasten off and weave in ends.
Gray Tabby Cat Appliqué Tutorial
This is where your sweater transforms from cozy basic to absolutely adorable. Take your time with this section. The cat is built in layers.
Cat Body Base
With medium gray yarn and 4.0mm hook, ch 25.
Row 1: Sc in 2nd ch from hook and in each ch across. (24 sts)
Rows 2 through 30: Ch 1, turn, sc in each st across. (24 sts)
Shaping the Sitting Position:
Row 31: Ch 1, turn, sc2tog, sc to last 2 sts, sc2tog. (22 sts)
Rows 32 through 40: Repeat Row 31, decreasing 2 sts each row. (4 sts remain)
Fasten off.
Cat Head
With medium gray yarn, create a magic ring.
Round 1: 6 sc in ring. Pull tight. (6 sts)
Round 2: 2 sc in each st around. (12 sts)
Round 3: *Sc in next st, 2 sc in next st* repeat around. (18 sts)
Round 4: *Sc in next 2 sts, 2 sc in next st* repeat around. (24 sts)
Round 5: *Sc in next 3 sts, 2 sc in next st* repeat around. (30 sts)
Rounds 6 through 12: Sc in each st around. (30 sts)
Ears: At the top of the head, create two small triangular points by working 3 sc in designated ear positions, then ch 3, sl st back down. Do this on both sides.
Fasten off, leaving a long tail.
Cat Stripes
Using charcoal yarn and a tapestry needle, embroider stripes onto the cat body and head using long straight stitches. Reference your image for stripe placement. Create the classic tabby “M” shape on the forehead. Add stripes along the sides and tail area.
Cat Face Details
Eyes: Using small amounts of green or gold yarn, embroider French knots or small circles for eyes. Add black pupils with black yarn.
Nose: With pink yarn, create a small triangular nose using satin stitch.
Whiskers: Using white or cream yarn, embroider 3 whiskers on each side of the face.
Mouth: With charcoal yarn, create a small “Y” shape below the nose.
White Chest and Paws
Cut small pieces of white yarn and use them to fill in the chest area and paw tips with surface crochet or embroidered satin stitch.
Attaching the Cat to the Sweater
Position your completed cat appliqué on the front of the sweater, centered and sitting about 3 inches above the bottom ribbing. Pin in place.
Using matching yarn and a tapestry needle, whip stitch around all edges of the cat, securing it firmly to the sweater fabric. Take small, even stitches about 1/4 inch apart.
Adding the Pink Bow
Take your pink satin ribbon and tie it into a beautiful bow. Trim the ends at an angle to prevent fraying. Position the bow at the cat’s neck area. You can sew it in place with matching thread, or use a small amount of fabric glue for a secure hold.
If you prefer a crocheted bow, you can create one using pink yarn. Ch 30, dc in 4th ch from hook and across, fasten off. Tie into a bow shape and attach.
Tips for Success
Blocking matters. Before attaching your cat appliqué, block your finished sweater pieces. This evens out your stitches and helps everything lay flat and professional.
Photograph as you go. When embroidering the cat details, take photos at each stage. This helps you remember your process if you want to make another one.
Practice the cat first. If you have never made an appliqué before, create a practice cat on scrap fabric before committing to your beautiful sweater.
The stripes make the cat. Spend extra time on the stripe placement. Study photos of real gray tabby cats for inspiration. Those distinctive markings are what make this design so recognizable and charming.
Caring for Your Finished Sweater
Hand wash in cool water with gentle detergent. Do not wring or twist. Press water out gently with a towel. Lay flat to dry away from direct sunlight. If you must machine wash, use a mesh laundry bag and the delicate cycle with cold water.
Store folded, never on a hanger. Hangers will stretch the shoulders of your beautiful handmade sweater.

Why Crocheters Love This Cat Sweater Pattern
This crochet pattern lets you combine garment making with artistic expression. You are not just creating a sweater. You are crafting a wearable piece of art. The techniques you learn here transfer to so many other projects. Appliqué work opens up endless possibilities for personalizing future makes.
This sweater also makes an incredible gift for the cat lover in your life. It is thoughtful, handmade, and completely unique. No store-bought sweater can compete with something crafted stitch by stitch with love.
Thank you so much for choosing this pattern for your next crochet project. I truly hope “Whiskers” brings as much joy to your crafting time as it brought to mine. If you make this gray tabby cat bow sweater, I would absolutely love to see it. Tag me on Instagram or share a photo in our Facebook group.
And hey, if you want to find this pattern again later, go ahead and pin it to your favorite Pinterest board. That way it will be waiting for you when you are ready to cast on. Drop a comment below and let me know if you have any questions or if you finished your sweater. I read every single one and love hearing from you.
You Might Also Like
- Sunshine Lemon Tiered Baby Dress Free Crochet Pattern
- Rainbow Pastel Snake Plushie Free Crochet Pattern
- Mustard Yellow Circle Purse Free Crochet Pattern
- Blush Pink Round Chain Bag Free Crochet Pattern