Gray Tabby Cat Bow Sweater Free Crochet Pattern
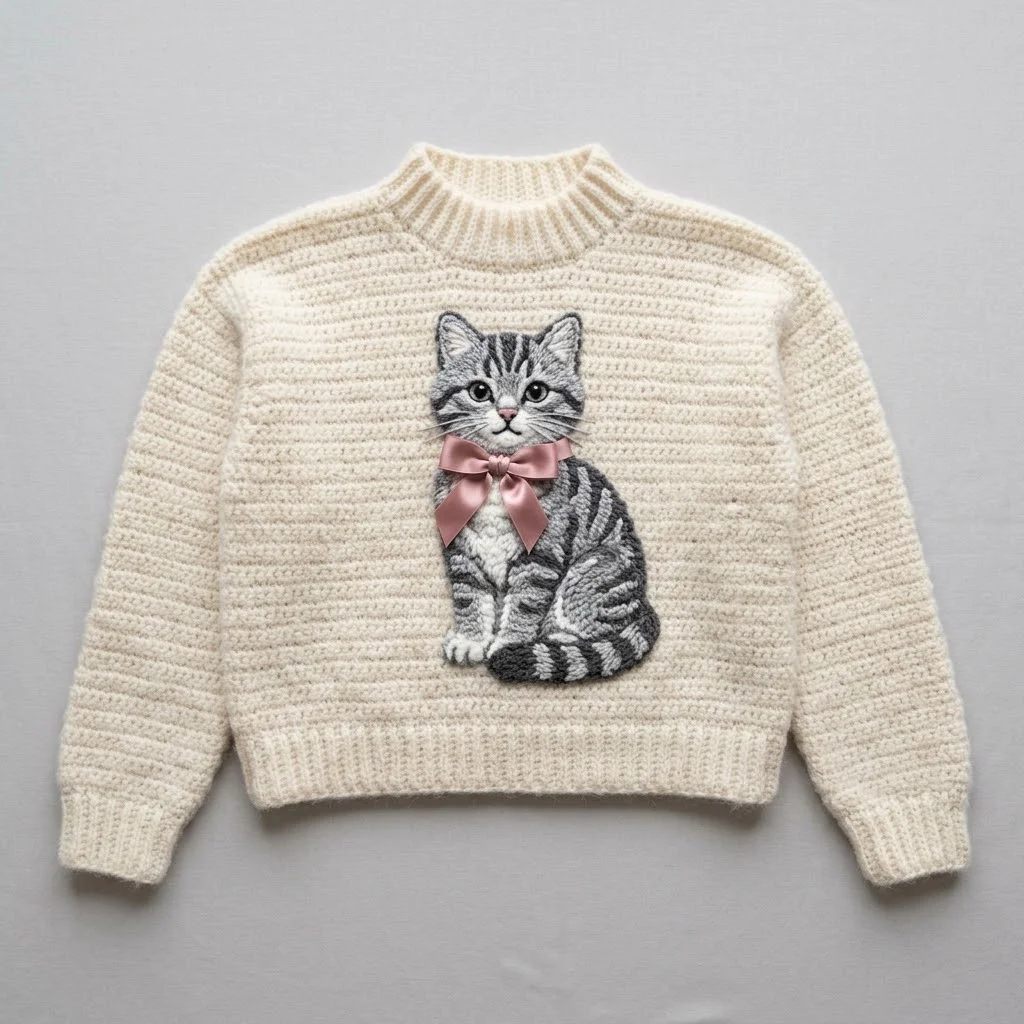
I’ve been on the hunt for the perfect cat lover sweater pattern for months now, and this one has become my absolute favorite. The moment I finished this gray tabby design with that sweet pink bow, I knew I had to share it with you. If you’re looking for a statement piece that shows off your love for felines while keeping you cozy, this is the one I’d recommend every single time.
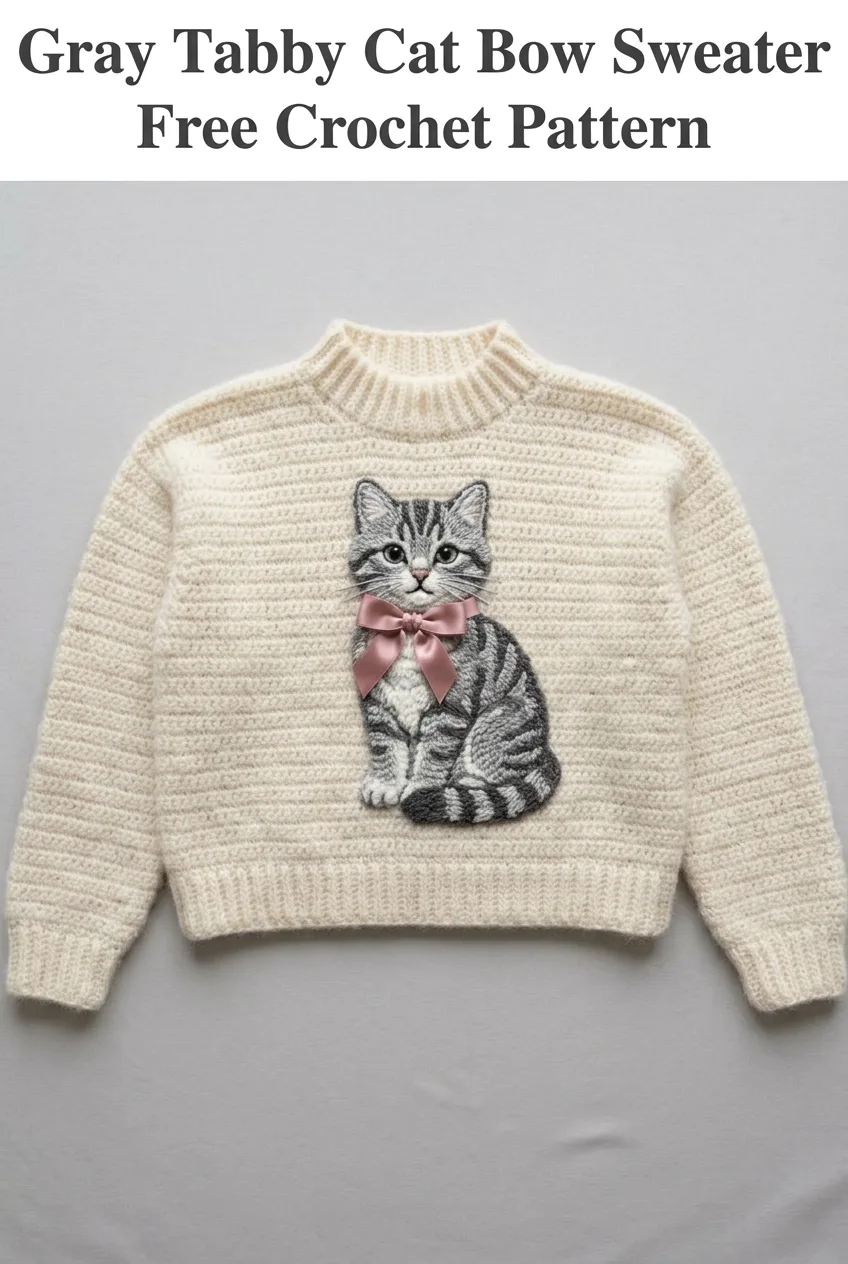
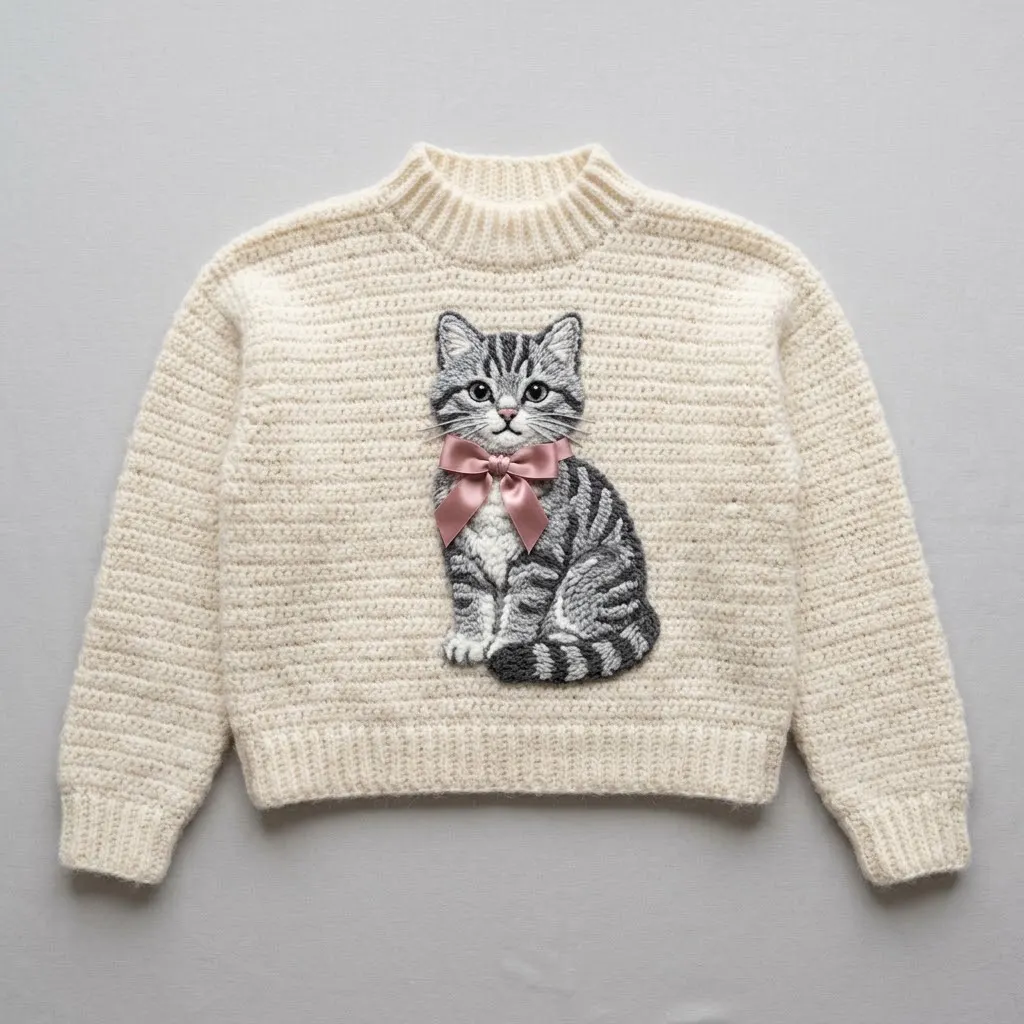
This crocheted sweater combines a classic raglan construction with an adorable appliqué cat motif that sits right at the center front. The base sweater works up in a creamy off-white yarn using simple stitches, making it the perfect canvas for that stunning tabby cat detail. The cat itself features realistic striping in multiple shades of gray, complete with delicate facial features and a charming dusty rose bow at the neck.
Why You’ll Love This Crochet Sweater Pattern
Let me tell you what makes this project so satisfying. The sweater body uses straightforward stitches that even confident beginners can tackle. The real magic happens with the cat appliqué, which gets sewn on after you complete the sweater. This means you can take your time perfecting each element separately.
The raglan sleeve construction creates those beautiful diagonal lines you see running from the neckline to the underarms. Raglan simply means the sleeves and body are shaped together using increases at four points, creating a seamless look from collar to armpit. It’s actually one of the most beginner-friendly sweater constructions because you work from the top down and can try it on as you go.
That ribbed neckline and cuffs give the whole piece a polished, professional finish. The texture contrast between the ribbing and the main body adds visual interest without complicating the pattern.
Skill Level
This pattern is rated intermediate. You should be comfortable with basic crochet stitches, increasing and decreasing, working in the round, and seaming pieces together. The sweater body is beginner-friendly, but the cat appliqué requires attention to detail and some experience with colorwork or surface embroidery.
If you’ve never made a sweater before, don’t let that stop you. Raglan construction is genuinely the easiest way to make your first garment. Just take it one section at a time.
Materials Needed for Your Cat Sweater
Yarn
Main Color (MC): Approximately 800 to 1000 yards of worsted weight yarn in cream or off-white. I recommend a wool blend for the best drape and stitch definition. Something like Malabrigo Rios or Cascade 220 works beautifully.
Cat Appliqué Colors:
Tools
Notions
Gauge
Main Body Gauge: 14 stitches and 16 rows equals 4 inches in half double crochet using 5.0mm hook.
Ribbing Gauge: 16 stitches and 18 rows equals 4 inches in single crochet back loop only using 4.0mm hook.
Please, please check your gauge. I know it feels tedious, but sweaters that don’t fit are heartbreaking after all that work. Make a 5 inch square swatch, wash and block it, then measure. Adjust your hook size up if your stitches are too tight, or down if they’re too loose.
Finished Measurements
This pattern is written for size Medium with a finished bust measurement of approximately 40 inches and a length of 22 inches from shoulder to hem. The sleeves measure approximately 18 inches from underarm to cuff.
For size adjustments, add or subtract 8 stitches to the initial chain for every 2 inches of bust difference. Adjust body and sleeve length as desired before adding ribbing.
Abbreviations and Stitch Definitions
Let me walk you through every stitch you’ll need:
Ch = Chain. Wrap yarn over hook, pull through loop on hook. This creates your foundation.
Sl st = Slip stitch. Insert hook, yarn over, pull through stitch AND loop on hook in one motion. Used for joining and invisible movement.
Sc = Single crochet. Insert hook, yarn over, pull up a loop (2 loops on hook), yarn over, pull through both loops.
Hdc = Half double crochet. Yarn over, insert hook, yarn over, pull up a loop (3 loops on hook), yarn over, pull through all 3 loops at once.
Dc = Double crochet. Yarn over, insert hook, yarn over, pull up a loop (3 loops on hook), yarn over, pull through 2 loops, yarn over, pull through remaining 2 loops.
BLO = Back loop only. Work into just the back loop of the stitch instead of both loops. Creates a ribbed texture.
Inc = Increase. Work 2 stitches into the same stitch.
Dec = Decrease. Work 2 stitches together as one. For hdc, yarn over, insert hook in first stitch, pull up loop, insert hook in next stitch, pull up loop (5 loops on hook), yarn over, pull through all 5 loops.
Gray Tabby Cat Bow Sweater Crochet Pattern Instructions
Yoke (Worked from Top Down)
The yoke is the upper portion of the sweater that includes the neckline and creates the raglan shaping. We’ll work in joined rounds.
Round 1: Using 5.0mm hook and MC, ch 72, being careful not to twist. Sl st to first ch to form a ring. Ch 2 (counts as first hdc here and throughout), hdc in each ch around. Sl st to top of ch-2 to join. (72 hdc)
Round 2: Ch 2, hdc in same st. Place marker. Hdc in next 8 sts, 2 hdc in next st (this is your increase, place marker). Hdc in next 16 sts, 2 hdc in next st (place marker). Hdc in next 8 sts, 2 hdc in next st (place marker). Hdc in next 16 sts, 2 hdc in next st. Sl st to join. (76 hdc)
You now have 4 marked increase points. The two 8-stitch sections are your sleeves. The two 16-stitch sections are your front and back.
Rounds 3 through 24: Continue working hdc rounds, increasing 1 stitch on each side of every marker (8 increases per round). Move markers up as you work.
After Round 24, you should have approximately 248 stitches total, with 52 stitches for each sleeve and 72 stitches each for front and back.
Don’t panic if your count is slightly off. A stitch or two won’t ruin your sweater. Just try to keep the increases symmetrical.
Separating Sleeves from Body
Round 25: Ch 2, hdc across back stitches to first sleeve marker. Ch 6 for underarm. Skip all sleeve stitches, hdc across front stitches to next sleeve marker. Ch 6 for second underarm. Skip remaining sleeve stitches. Sl st to join. (156 sts including chains)
Place unused sleeve stitches on scrap yarn or stitch holders.
Body
Rounds 26 through 50: Ch 2, hdc in each st around, including the underarm chains. Sl st to join. (156 hdc)
Continue until body measures approximately 14 inches from underarm, or 3 inches less than desired length to allow for ribbing.
Fasten off MC.
Body Ribbing
Row 1: Using 4.0mm hook, join MC to any body stitch. Ch 7, sc in second ch from hook and each ch across. Sl st in next 2 body sts. Turn. (6 sc)
Row 2: Skip sl sts, sc BLO in each sc across. Ch 1, turn. (6 sc)
Row 3: Sc BLO in each sc, sl st in next 2 body sts. Turn.
Repeat Rows 2 and 3 around entire body opening. When you reach the beginning, sl st the first and last ribbing rows together. Fasten off.
Sleeves
Return held sleeve stitches to 5.0mm hook.
Round 1: Join MC at center of underarm chain. Ch 2, hdc in each ch and each held st around. Sl st to join. (58 hdc)
Rounds 2 through 35: Ch 2, hdc in each st around. Decrease 2 stitches evenly every 4th round for sleeve tapering until you have approximately 42 stitches.
Continue until sleeve measures approximately 15 inches from underarm or 3 inches less than desired length.
Fasten off. Add ribbing using the same technique as the body ribbing.
Repeat for second sleeve.
Neckline Ribbing
Using 4.0mm hook, work ribbing around neckline opening using the same technique as body ribbing, with 6-stitch wide ribbing attached every 2 stitches around the neck.
Cat Appliqué Instructions
This is where the magic happens. The cat is created in sections and assembled, then attached to your finished sweater.
Cat Body Base
Using 3.5mm hook and light gray yarn:
Round 1: Magic ring, 6 sc into ring. Pull tight. (6 sc)
Round 2: 2 sc in each st around. (12 sc)
Round 3: *Sc in next st, 2 sc in next st* repeat around. (18 sc)
Rounds 4 through 8: Continue increasing 6 stitches per round in this manner until you have 48 stitches.
Rounds 9 through 20: Sc in each st around without increasing. (48 sc)
Rounds 21 through 25: Begin decreasing by working sc2tog at the top to form the shoulder/neck area, shaping as you go. Decrease 4 stitches per round. (28 sc after Round 25)
Fasten off, leaving a long tail for sewing.
Cat Head
Using light gray yarn:
Round 1: Magic ring, 6 sc. (6 sc)
Round 2 through 7: Increase evenly to create a circle approximately 4 inches in diameter. (42 sc)
Rounds 8 through 12: Sc around without increasing.
Round 13: Work ear shaping by working 3 dc in one stitch on each side for ear points.
Fasten off.
Adding Tabby Stripes
Using medium and dark charcoal gray, surface crochet stripes across the body and head. Insert hook from front to back, yarn over with stripe color, pull through. Chain loosely across the surface, inserting hook every few stitches to anchor.
Create the classic tabby “M” marking on the forehead using dark charcoal.
Facial Features
Eyes: Using white yarn, embroider or crochet small oval shapes. Add black French knots or tiny crocheted circles for pupils.
Nose: Using pale pink, embroider a small triangle.
Mouth: Using black or dark gray, embroider the mouth lines extending down from the nose.
Whiskers: Using white or light gray, make long straight stitches on each side of the nose.
Bow
You have two options here. For a fabric bow, cut your satin ribbon and tie a classic bow. Tack it in place at the center. For a crocheted bow, make two small rectangles (ch 10, sc in each ch for 6 rows), pinch in the center, and wrap with a small strip of the same pink yarn.
Assembling and Attaching the Cat
Arrange all pieces on a flat surface first. Layer the body, then head, positioning the bow at the neck. Using matching yarn and a tapestry needle, whipstitch all pieces together.
Pin the assembled cat to the center front of your sweater, positioning it about 3 inches below the neckline. Try the sweater on to check placement before sewing.
Using cream yarn that matches your sweater, carefully whipstitch around the entire cat appliqué, keeping stitches small and even.
Finishing Your Gray Tabby Cat Sweater
Weave in all remaining ends on both the sweater and appliqué. Block your finished sweater by soaking in lukewarm water with a bit of wool wash, then laying flat to dry. Shape the neckline and cuffs while damp.
The cat appliqué may need gentle steaming to lie flat against the sweater body. Use a pressing cloth between your iron and the yarn to prevent scorching.
Care Instructions
Hand wash in cool water with gentle detergent. Lay flat to dry, reshaping while damp. Store folded to prevent stretching. Avoid hanging, as the weight of the appliqué may distort the sweater shape over time.

Pattern Notes and Tips
Take photos of your cat appliqué arrangement before sewing. This helps if you need to remove and reposition anything.
The tabby stripes don’t need to be perfect. Real cats have irregular markings, so embrace the organic look.
If surface crochet feels intimidating, you can also embroider the stripes using duplicate stitch or simple backstitch.
Consider making the cat appliqué as a separate project first to practice before committing to your sweater.
I really hope you enjoy making this cozy cat sweater as much as I enjoyed designing it. There’s something so satisfying about wearing your handmade work, especially when it features an adorable tabby friend. Thank you for trusting me with your crafting time.
If this pattern is calling your name but you’re not quite ready to start, go ahead and save it to your Pinterest boards so you can find it when the moment is right. And please, if you make this sweater, drop a comment below or tag me on social media. I would absolutely love to see your version and that sweet little cat face looking back at me.
You Might Also Like
- Lavender Purple Dreamy Peplum Crochet Top Pattern
- Mustard Yellow Boho Tote with Brown Leather Tassels Pattern
- Dusty Rose Floral Crochet Summer Boots Free Pattern
- Cream White Nursery Wall Organizer Free Crochet Pattern