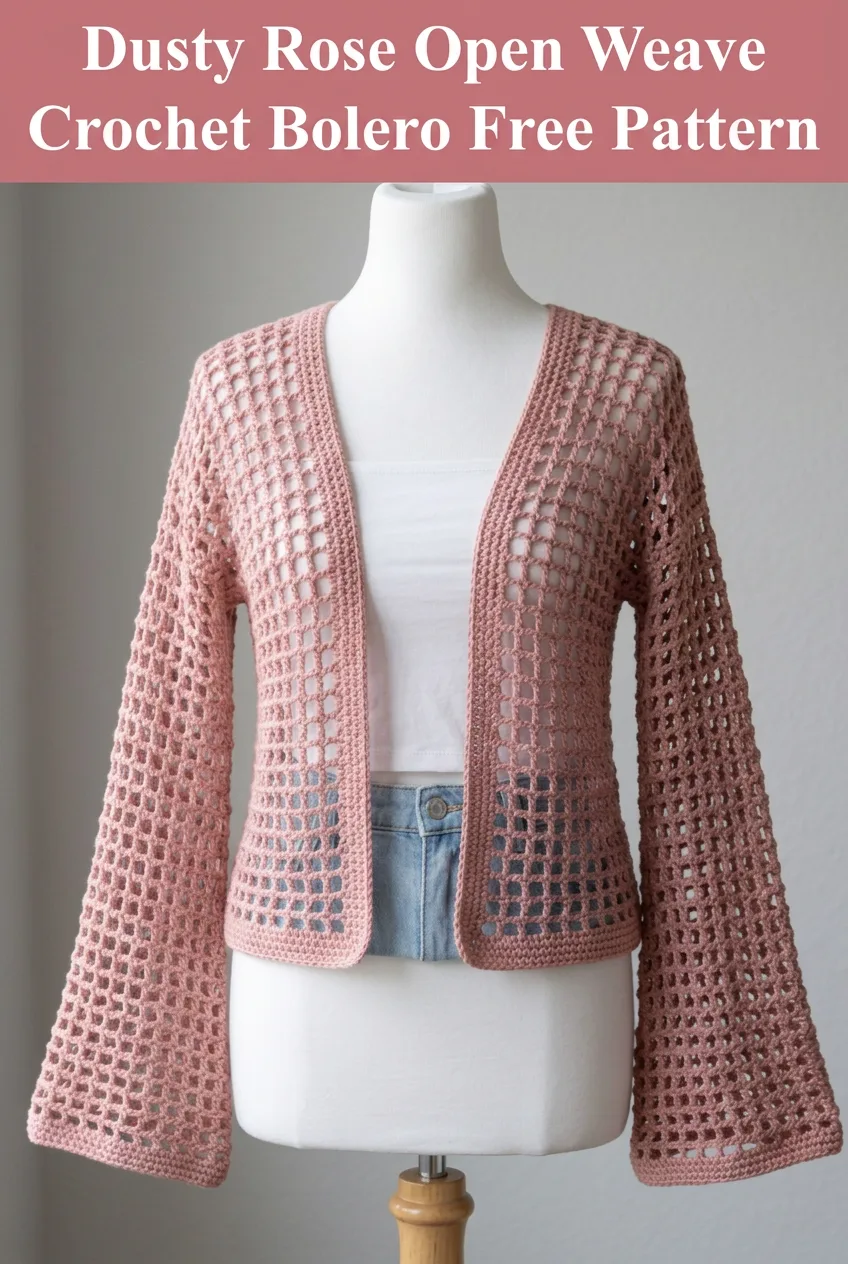
Dusty Rose Open Weave Crochet Bolero Free Pattern
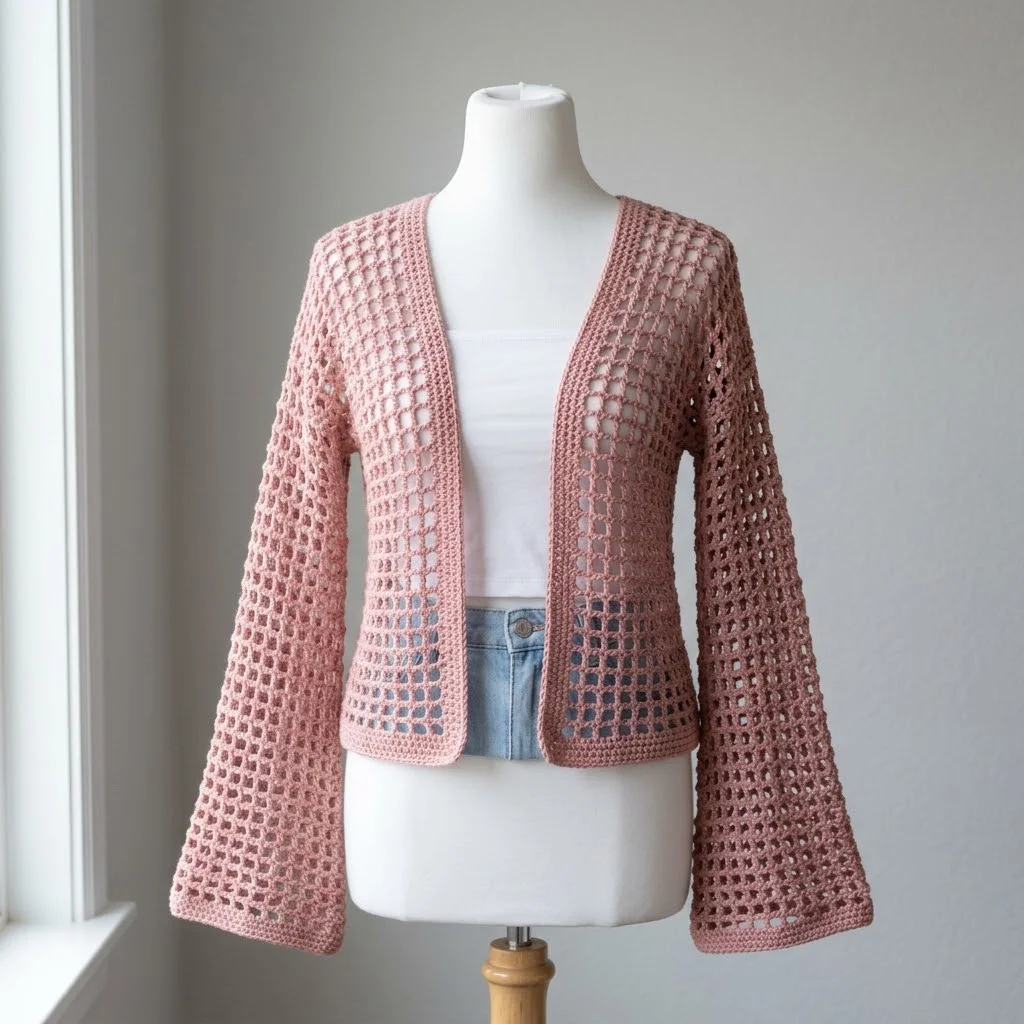
Last spring, I found myself standing in front of my closet at 7 AM, late for brunch, staring at a perfectly cute outfit that just needed *something* over the shoulders. Not a full cardigan. Not a scarf. Just a little layer that looked intentional without making me overheat the second I walked into the restaurant. I grabbed a denim jacket, felt frumpy, and promised myself I’d make something better. This bolero is that something better. It’s cropped, it’s breezy, it has these gorgeous open squares that let air flow through, and honestly? I’ve worn it more times than I’d like to admit since I finished it.
If you’ve been wanting to try a wearable crochet project but feel intimidated by garment construction, this is a wonderful place to start. The stitch pattern looks intricate, but it’s really just a simple grid of chain spaces and double crochet clusters. Once you get the rhythm, it almost works itself.
Why You’ll Love This Crochet Bolero Pattern
This dusty rose open weave crochet bolero hits that sweet spot between looking impressive and being genuinely achievable. The construction is straightforward. You’ll work flat panels for the back and two fronts, seam them at the shoulders and sides, then add the sleeves in the round. The front bands and neckline trim get added last, giving the whole piece a polished, boutique-quality finish.
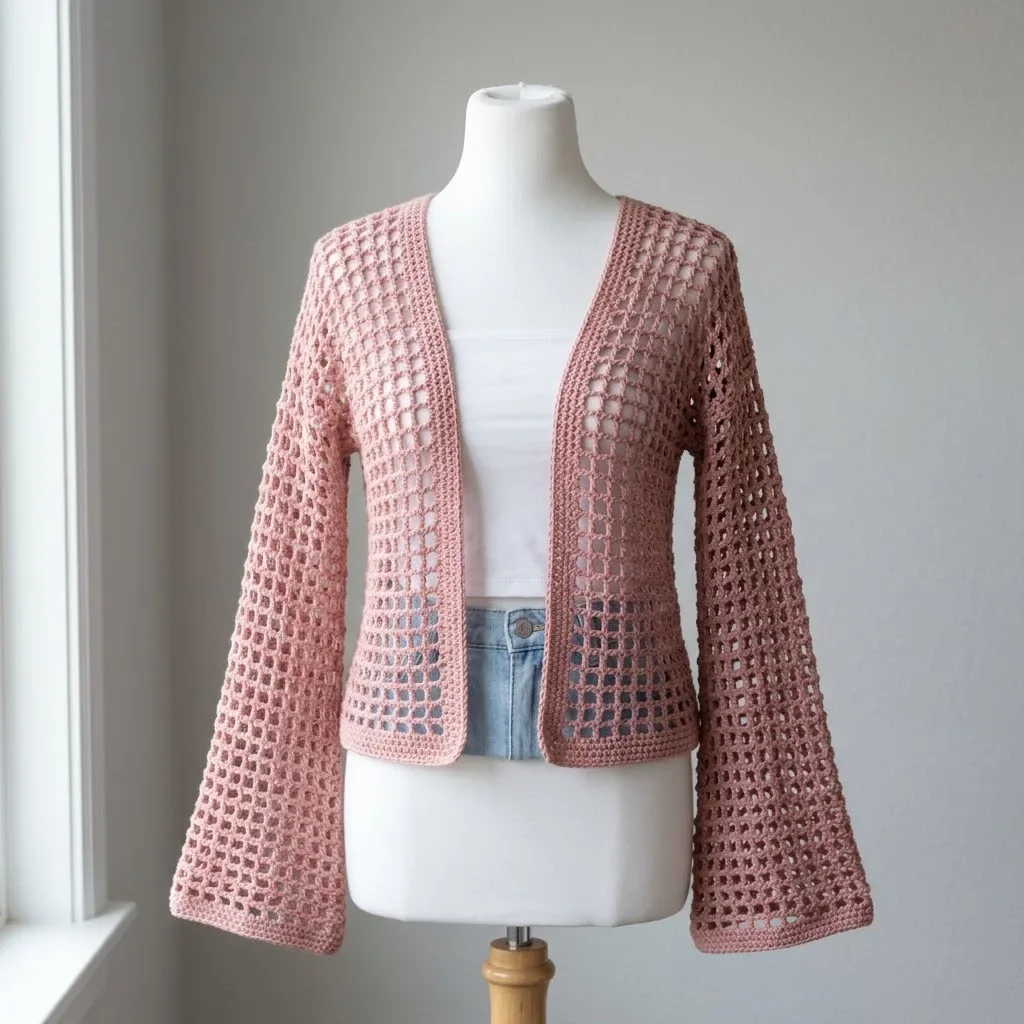
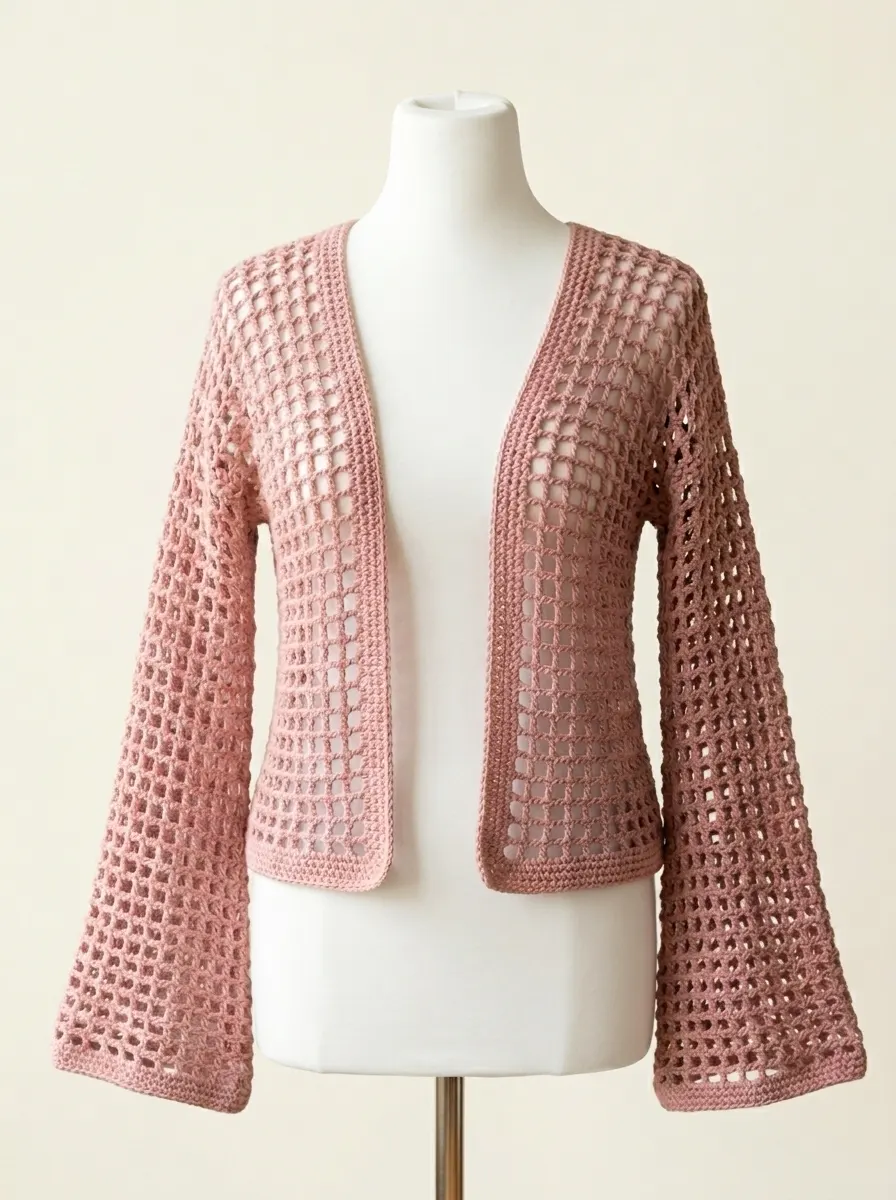
The open mesh stitch pattern creates a grid of small square windows throughout the fabric. It’s lightweight, breathable, and perfect for layering over tank tops or dresses when you want coverage without warmth. Think cool summer evenings, air-conditioned offices, or transitional weather when you can’t decide if you need a layer or not.
The cropped length sits right at the natural waist, which makes it flattering on many body types and easy to pair with high-waisted jeans, skirts, or dresses. The sleeves are long and slightly relaxed, with the same open mesh pattern continuing all the way to the wrists.
Materials Needed for Your Crochet Bolero
Yarn: Approximately 800 to 1000 yards of DK weight yarn (weight category 3). The sample uses a cotton or cotton blend in a dusty rose pink. Cotton works beautifully here because it has excellent drape and stitch definition. You could also use a bamboo blend or lightweight acrylic.
Hook: 4.0mm (US G/6) crochet hook, or size needed to obtain gauge
Notions: Yarn needle for weaving ends and seaming, stitch markers, scissors, measuring tape
Gauge: 4 pattern repeats and 8 rows equals approximately 4 inches in the open mesh pattern. Gauge matters for garment fit, so please take time to check yours before starting.
Finished Measurements: The sample appears to fit a size Small/Medium with approximately 34 to 36 inch bust. The finished bust circumference is roughly 38 inches with an open front. Length from shoulder to hem is approximately 16 inches. Sleeve length is approximately 18 inches from underarm to wrist.
Skill Level
This pattern is intermediate level, but an adventurous beginner who has made a few projects could absolutely tackle it. You should be comfortable with basic stitches, working in rows, counting stitches, and simple seaming. If you’ve never made a garment before, don’t let that stop you. This one is a great teacher.
Stitches and Abbreviations Used
Before we dive in, let me explain each stitch you’ll need. I’ll give you the full name, the abbreviation, and a plain-English explanation of how to actually do it.
Chain (ch): Yarn over, pull through the loop on your hook. This creates the foundation and the spaces in our mesh pattern.
Slip Stitch (sl st): Insert hook, yarn over, pull through both the stitch and the loop on your hook in one motion. Used for joining and finishing.
Single Crochet (sc): Insert hook into stitch, yarn over and pull up a loop (two loops on hook), yarn over and pull through both loops. Creates a short, tight stitch.
Double Crochet (dc): Yarn over, insert hook into stitch, yarn over and pull up a loop (three loops on hook), yarn over and pull through two loops (two loops remain), yarn over and pull through remaining two loops. This is the main stitch in our mesh pattern. It’s taller than single crochet and creates the vertical bars of our grid.
Chain Space (ch-sp): The open space created by chains in the previous row. You’ll work into these spaces, not into individual chain stitches.
Understanding the Open Mesh Stitch Pattern
The beautiful grid pattern in this bolero comes from a simple two-row repeat. Here’s how it works.
Foundation: Chain a multiple of 3, plus 2
Row 1: Dc in 4th ch from hook (the skipped chains count as your first dc), *ch 1, skip 1 ch, dc in next ch*, repeat from * to * across. Turn.
Row 2: Ch 3 (counts as first dc), *dc in next ch-1 space, ch 1*, repeat from * to * across, ending with dc in top of turning chain. Turn.
Repeat Row 2 for the pattern. That’s it. Once you understand that you’re always working a dc into the chain space below and then creating a new chain space, it becomes almost meditative.
Pattern Instructions
Back Panel
Ch 62 (or adjust in multiples of 3 plus 2 for different sizes).
Row 1: Dc in 4th ch from hook, *ch 1, skip 1 ch, dc in next ch*, repeat across. Turn. (20 dc, 19 ch-1 spaces)
Rows 2 through 32: Ch 3, *dc in next ch-1 space, ch 1*, repeat across, ending with dc in top of turning chain. Turn.
After Row 32, your back panel should measure approximately 16 inches long and 15 inches wide. Fasten off and weave in ends.
Left Front Panel
Ch 32
Row 1: Dc in 4th ch from hook, *ch 1, skip 1 ch, dc in next ch*, repeat across. Turn. (10 dc, 9 ch-1 spaces)
Rows 2 through 32: Ch 3, *dc in next ch-1 space, ch 1*, repeat across, ending with dc in top of turning chain. Turn.
Fasten off. This panel should measure approximately 16 inches long and 7.5 inches wide.
Right Front Panel
Work exactly as the Left Front Panel.
Shoulder and Side Seaming
Lay your back panel flat with the right side facing up. Place the front panels on top, right sides together, aligning the top edges for the shoulders.
Shoulder seams: Using your yarn needle and a length of yarn, whip stitch or mattress stitch the shoulder seams. Each shoulder seam should be approximately 3 to 4 inches, leaving the center back neck open (approximately 7 to 8 inches).
Side seams: Starting from the bottom edge, seam each side for approximately 7 inches, leaving the top 9 inches open for the armhole.
Sleeves (Make 2)
The sleeves are worked in the round, joined directly to the armhole opening.
Round 1: With right side facing, join yarn at the underarm seam. Ch 3, work approximately 30 dc evenly spaced around the armhole opening, working into the row ends and any available stitches. Sl st to top of ch 3 to join. (30 dc)
Round 2: Ch 3, *dc in next st, ch 1, skip 1 st*, repeat around, adjusting as needed to maintain the grid pattern. Sl st to top of ch 3 to join.
Rounds 3 through 36: Ch 3, *dc in next ch-1 space, ch 1*, repeat around. Sl st to join.
Continue until sleeve measures approximately 18 inches from underarm or desired length. The sleeve should have a relaxed, slightly bell-shaped fit due to the open construction.
Cuff edging: Sl st in each st and ch-1 space around for a clean finished edge. Fasten off.
Repeat for second sleeve.
Front Bands and Neckline Trim
This trim gives the bolero its polished, finished appearance. You’ll work it in one continuous piece up the right front, around the neck, and down the left front.
Row 1: With right side facing, join yarn at the bottom right front corner. Sc evenly up the right front edge, working approximately 2 sc per row end. Continue around the back neck, working 1 sc in each stitch or space. Continue down the left front edge. Turn.
Row 2: Ch 1, sc in each sc across. Turn.
Rows 3 through 5: Repeat Row 2.
Fasten off and weave in all remaining ends.
Bottom Hem Trim
Round 1: Join yarn at one side seam with right side facing. Sc evenly around the entire bottom edge of the bolero, working through both layers at the front band areas. Sl st to first sc to join.
Rounds 2 and 3: Ch 1, sc in each sc around. Sl st to join.
Fasten off.
Finishing Your Crochet Bolero
Weave in all ends securely. For cotton yarn especially, I recommend weaving ends in multiple directions to prevent them from working loose over time.
Blocking: Wet blocking is highly recommended for this project. Soak your finished bolero in cool water with a little wool wash or gentle detergent for about 15 minutes. Gently squeeze out excess water (don’t wring), roll in a towel to remove more moisture, then lay flat on a blocking mat or clean towels. Gently shape to measurements and let dry completely.
Blocking will even out your stitches, open up the mesh pattern, improve drape, and give the whole piece a professional finish. Trust me on this one.
Customization Tips
Adjusting length: Add or subtract rows from all three body panels equally. Each row adds approximately half an inch.
Adjusting width: Add or remove stitches in multiples of 3 from your foundation chains. Remember to adjust both front panels and the back panel proportionally.
Sleeve length: Add or remove rounds as desired. For a three-quarter sleeve, work approximately 24 rounds instead of 36.
Different yarn weights: This pattern adapts well to other weights. For a heavier look, try worsted weight with a 5.0mm hook. For a more delicate version, try fingering weight with a 3.0mm hook.
Care Instructions
For cotton or cotton blend yarn, machine wash on gentle cycle with cold water and lay flat to dry. Avoid the dryer, which can cause shrinkage and distort the open mesh pattern. A quick re-blocking after washing keeps everything looking crisp.
Final Thoughts on This Dusty Rose Crochet Bolero Pattern
This open weave crochet bolero has become one of my favorite layering pieces, and I hope you love making it as much as I did. The stitch pattern is satisfying without being fussy, the construction teaches you valuable garment-making skills, and the finished piece looks like something you’d find in a boutique. Whether you make it in dusty rose like mine or choose your own perfect shade, I think you’ll reach for this bolero again and again.
Thank you so much for choosing this crochet tutorial for your next project. I genuinely appreciate you being here and trusting me with your creative time. If you make this bolero, I would absolutely love to see it. Tag me on Instagram or share a photo in my Facebook group. Seeing your versions honestly makes my whole week.
If this pattern caught your eye, go ahead and pin it to your favorite Pinterest board so you can find it when you’re ready to cast on. And if you do make one, please drop a comment below. I love hearing which colors you choose and how the sizing works out for you. Happy crocheting, friend!
You Might Also Like
- Watermelon Slice Couple Amigurumi Free Crochet Pattern
- Ocean Blue Ripple Moon Clutch with Gold Tassel Free Crochet Pattern
- Lavender Jellyfish Baby Blanket Free Crochet Pattern
- Lavender Heart Granny Square Baby Blanket Free Crochet Pattern