Dusty Rose Floral Lace Bucket Bag Free Crochet Pattern
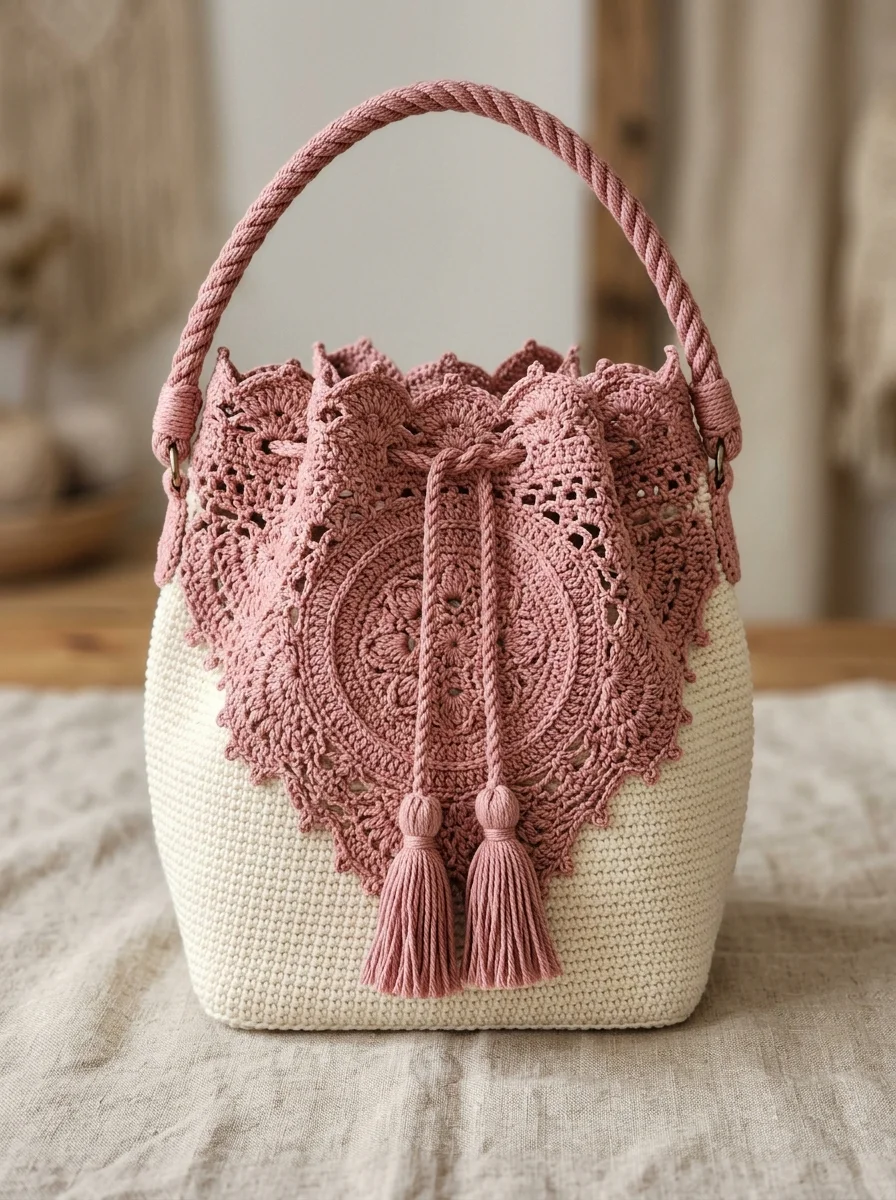
There is something absolutely magical about a bag that looks like it belongs in a European flower market. This dusty rose floral lace bucket bag combines romantic lace detailing with practical everyday structure. And I promise you can make this even if you have never crocheted a bag before.
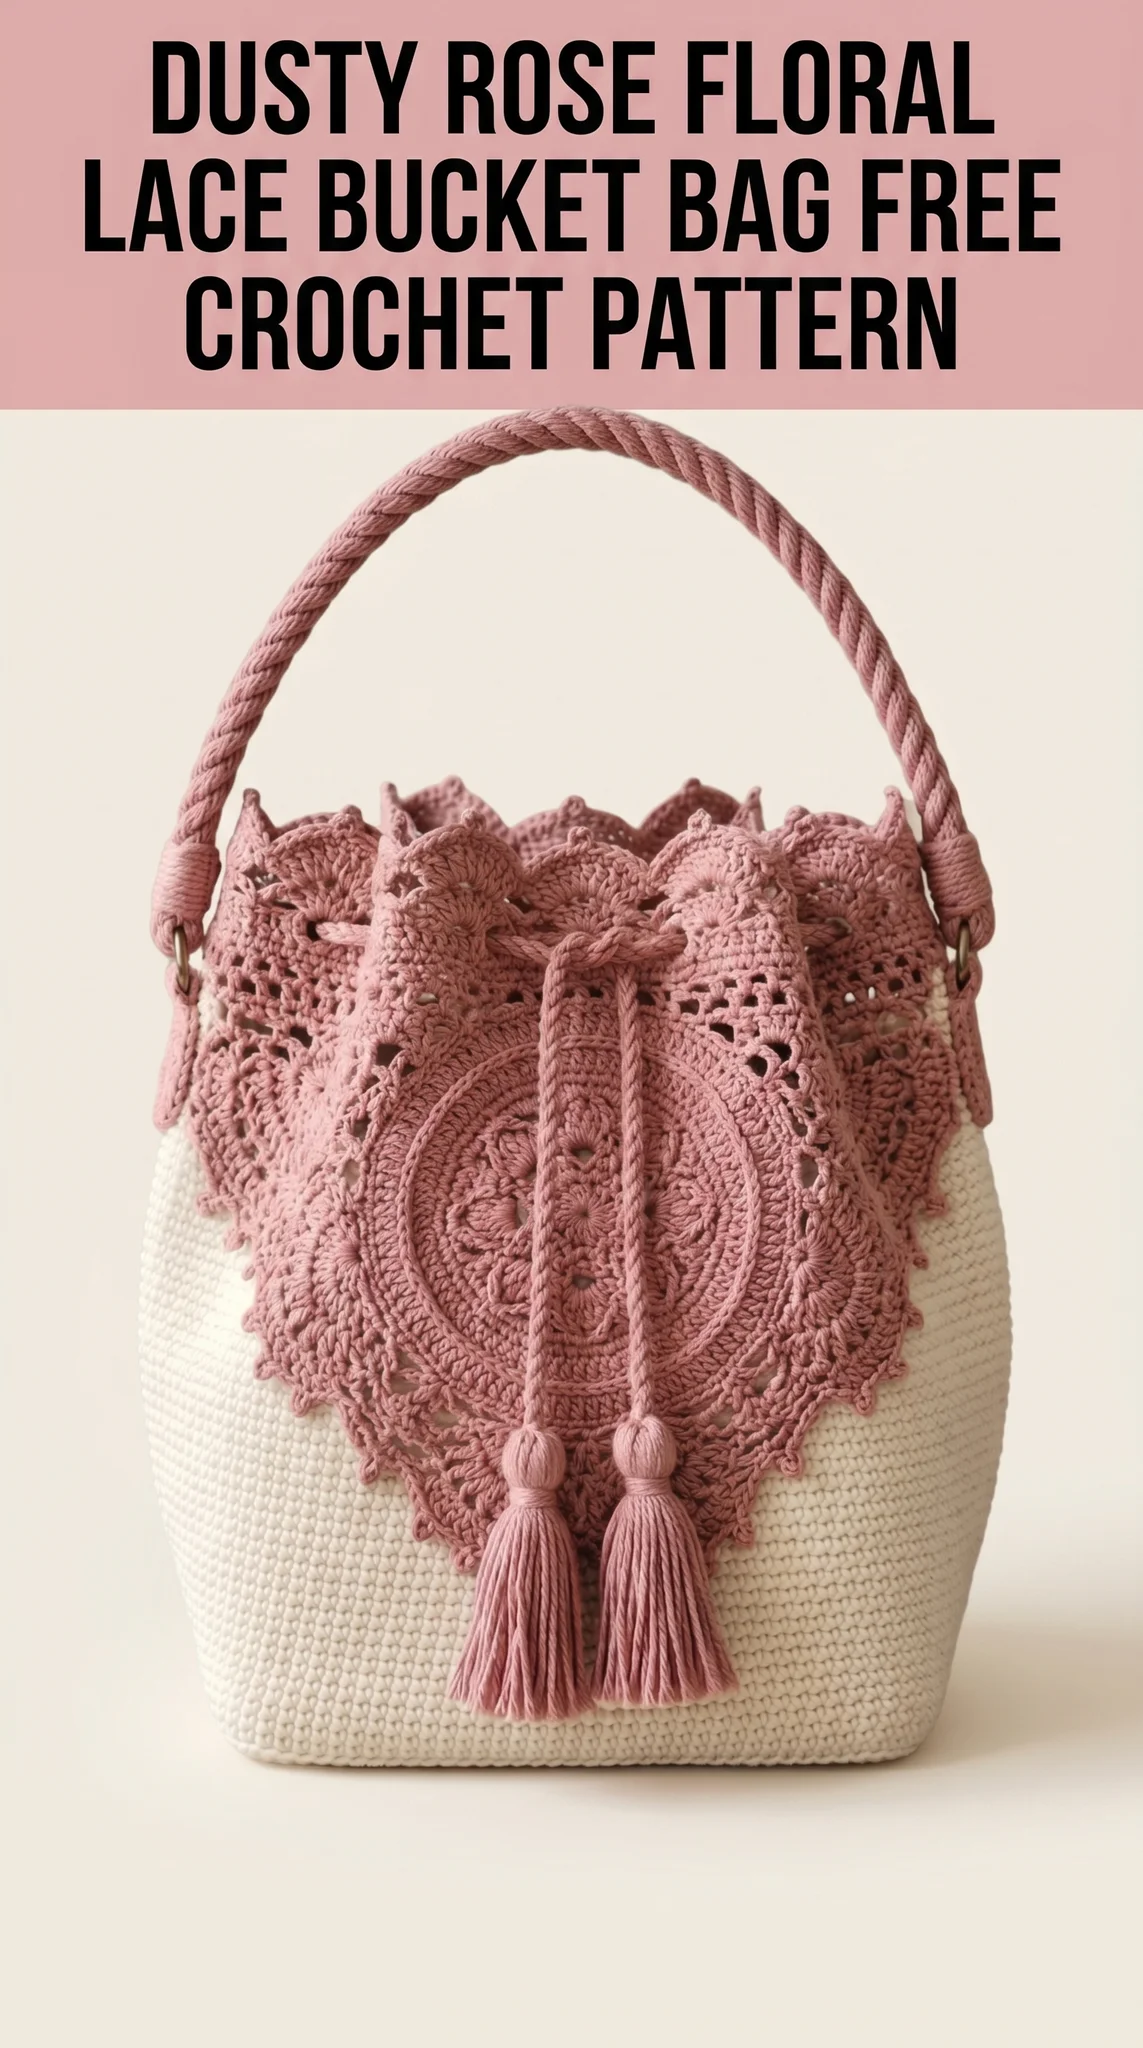
I designed this crochet pattern to look intricate while using techniques you probably already know. The secret is working the pieces separately and then joining them. No complicated color changes mid-row. No confusing shaping. Just beautiful results that will make everyone ask where you bought it.
Let me walk you through exactly how to recreate this stunning piece from start to finish.
What Makes This Bucket Bag Pattern Special
This bag features three distinct elements that create the layered vintage aesthetic. First, a sturdy cream base worked in tight single crochet stitches. Second, a decorative dusty rose heart-shaped lace overlay. Third, elegant finishing touches including a twisted rope handle and matching tassels.
The two-tone color blocking keeps things visually interesting without requiring you to juggle multiple yarn colors simultaneously. You work the cream bucket, you work the pink lace, you sew them together. Simple.
The lace portion uses a mandala-style circular construction that expands outward in rounds. Those gorgeous scalloped edges happen naturally as you increase. The openwork sections come from strategic chain spaces. Nothing scary here.
Skill Level
I would call this an advanced beginner to intermediate crochet pattern. You should be comfortable with:
If you can make a granny square and a basic amigurumi ball, you absolutely have the skills for this bag.
Finished Dimensions
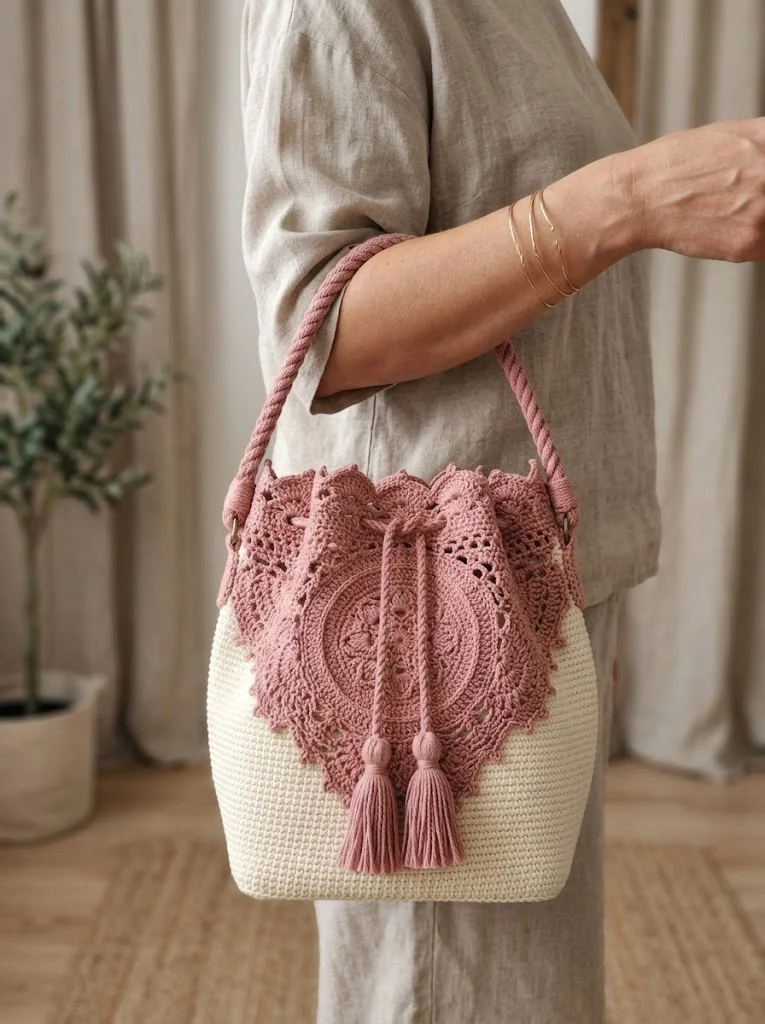
Height: Approximately 9 inches (not including handle)
Width: Approximately 8 inches at widest point
Handle drop: Approximately 6 inches
Materials Needed
Yarn:
I recommend mercerized cotton for that lovely sheen visible in the finished bag. The slight gleam adds to the romantic aesthetic. Regular cotton works perfectly fine too.
Hook:
Notions:
Abbreviations and Stitch Definitions
ch = chain: Yarn over, pull through loop on hook
sl st = slip stitch: Insert hook, yarn over, pull through both loops at once
sc = single crochet: Insert hook, yarn over, pull up a loop (2 loops on hook), yarn over, pull through both loops
hdc = half double crochet: Yarn over, insert hook, yarn over, pull up a loop (3 loops on hook), yarn over, pull through all 3 loops
dc = double crochet: Yarn over, insert hook, yarn over, pull up a loop (3 loops on hook), yarn over, pull through 2 loops, yarn over, pull through remaining 2 loops
tr = treble crochet: Yarn over twice, insert hook, yarn over, pull up a loop (4 loops on hook), [yarn over, pull through 2 loops] three times
inc = increase: Work 2 stitches into the same stitch
ch-sp = chain space: The gap created by a chain in the previous row, work into this space not into the chain itself
sk = skip: Pass over the indicated number of stitches without working into them
The Pattern
Part 1: Cream Bucket Base
This section creates the sturdy foundation of your bag. We work from the bottom up in a continuous spiral.
Base Circle:
Using 3.5mm hook and Color A (Cream).
Round 1: Create a magic ring. Work 6 sc into the ring. Pull tight. (6 sts)
Round 2: Inc in each st around. (12 sts)
Round 3: [Sc 1, inc] repeat around. (18 sts)
Round 4: [Sc 2, inc] repeat around. (24 sts)
Round 5: [Sc 3, inc] repeat around. (30 sts)
Round 6: [Sc 4, inc] repeat around. (36 sts)
Round 7: [Sc 5, inc] repeat around. (42 sts)
Round 8: [Sc 6, inc] repeat around. (48 sts)
Round 9: [Sc 7, inc] repeat around. (54 sts)
Round 10: [Sc 8, inc] repeat around. (60 sts)
Round 11: [Sc 9, inc] repeat around. (66 sts)
Round 12: [Sc 10, inc] repeat around. (72 sts)
Your base should measure approximately 4.5 inches across. Adjust hook size if needed.
Sides:
Now we stop increasing and work straight up to form the bucket walls.
Rounds 13-14: Working in back loops only for these two rounds creates a crisp edge where the base meets the sides. Sc in each st around. (72 sts each round)
Rounds 15-45: Sc in each st around, working through both loops as normal. (72 sts each round)
This gives you approximately 6 inches of bucket height. The sides should curve naturally inward slightly at the top due to the tension of single crochet.
Top Edge:
Round 46: Sl st in each st around. Fasten off and weave in ends.
Part 2: Dusty Rose Lace Overlay
This is where the magic happens. The lace creates that gorgeous heart-shaped decorative panel.
Using 3.0mm hook and Color B (Dusty Rose).
Center Circle:
Round 1: Magic ring. Ch 3 (counts as first dc throughout), work 11 dc into ring. Sl st to top of ch-3 to join. (12 dc)
Round 2: Ch 3, dc in same st, 2 dc in each st around. Sl st to join. (24 dc)
Round 3: Ch 3, dc in same st, dc 1, [2 dc in next st, dc 1] repeat around. Sl st to join. (36 dc)
Round 4: Ch 5 (counts as dc plus ch-2), sk 2 sts, [dc 1, ch 2, sk 2] repeat around. Sl st to 3rd ch of beginning ch-5. (12 ch-2 spaces)
Round 5: Sl st into first ch-sp. Ch 3, 2 dc in same sp, ch 1, [3 dc in next ch-sp, ch 1] repeat around. Sl st to join. (12 clusters)
Round 6: Ch 3, dc in next 2 sts, 3 dc in ch-1 sp, [dc 3, 3 dc in ch-1 sp] repeat around. Sl st to join. (72 dc)
Transition to Heart Shape:
This is where we shift from circular to pointed. Take a breath. You have got this.
Row 7: (Now working in rows, not rounds) Ch 3, dc in next 35 sts. Turn. Leave remaining stitches unworked. (36 dc)
Row 8: Ch 3, dc2tog (double crochet two together: yarn over, insert in next st, pull up loop, yarn over, pull through 2 loops, yarn over, insert in next st, pull up loop, yarn over, pull through 2 loops, yarn over, pull through all 3 loops), dc to last 3 sts, dc2tog, dc 1. Turn. (34 dc)
Row 9: Ch 4 (counts as dc plus ch-1), sk 1, dc 1, [ch 1, sk 1, dc 1] repeat across. Turn. (17 dc, 16 ch-1 spaces)
Row 10: Ch 3, dc in each dc and ch-sp across. Turn. (33 dc)
Rows 11-18: Repeat decrease pattern from Row 8, reducing by 2 stitches every other row until you have approximately 18 stitches remaining.
Scallop Edging:
Working around the entire outer edge of your lace piece.
Edging Round: Join with sl st at any point along the edge. *[Sk 2, 5 dc in next st, sk 2, sl st in next st]* repeat around entire perimeter, adjusting as needed at corners to keep edging flat. Fasten off.
The scallops give that beautiful decorative finish you see in the photo.
Part 3: D-Ring Tabs (Make 2)
Using Color B and 3.5mm hook.
Row 1: Ch 8. Sc in 2nd ch from hook and across. (7 sc)
Rows 2-4: Ch 1, turn. Sc across. (7 sc)
Fold tab through D-ring and sew short ends together to secure the hardware.
Part 4: Twisted Rope Handle
Cut 6 strands of Color B yarn, each approximately 60 inches long.
Hold all strands together. Secure one end to a fixed point (doorknob works great).
Twist the strands clockwise until they begin to kink when tension is released.
Fold the twisted cord in half, allowing it to twist back on itself counterclockwise.
Knot both ends to prevent unraveling.
Final handle length should be approximately 18 inches.
Part 5: Tassels (Make 2)
Cut approximately 30 strands of Color B yarn, each 8 inches long.
Fold strands in half over a short piece of yarn for hanging.
Wrap another strand tightly around the bundle about 1 inch from the fold to create the tassel head.
Trim ends evenly.
Part 6: Drawstring Cord
Cut 3 strands of Color B yarn, each 40 inches long.
Braid these strands together.
Knot each end and attach one tassel to each end.
Assembly Instructions
Step 1: Position the lace overlay centered on one side of the cream bucket. The pointed bottom of the heart shape should fall approximately 2 inches above the bucket base. Pin in place.
Step 2: Using matching dusty rose yarn and a tapestry needle, whip stitch around the outer edge of the lace overlay to secure it to the bucket. Take small stitches through the back of the lace scallops so your sewing remains invisible from the front.
Step 3: Sew the D-ring tabs to the inside of the bucket on opposite sides, approximately 1 inch down from the top edge. Position them at the sides where the lace overlay meets the plain cream sections.
Step 4: Thread the handle through both D-rings. Wrap the handle ends around the rings and secure by wrapping tightly with matching yarn.
Step 5: Weave the drawstring cord through the stitches around the top edge of the bucket, entering and exiting at center front. The tassels should hang at the front of the bag.
Optional: Cut fabric lining slightly larger than your bag interior. Hand sew around the inside top edge for a clean finish and added structure.
Tips for Success
The gauge matters most on the cream bucket base. If your base is too loose, your bag will stretch out of shape when filled. When in doubt, go down a hook size.
For the lace overlay, blocking makes a dramatic difference. Wet block your finished lace piece before attaching it to the bucket. This opens up the lace holes and creates crisp, defined edges.
Cotton yarn relaxes over time. Consider using a fabric lining or plastic canvas base if you plan to carry heavier items.
Make It Your Own
This bucket bag crochet pattern adapts beautifully to your personal style. Try navy and white for nautical vibes. Work it in soft sage and cream for a cottagecore aesthetic. Add wooden beads to the drawstring ends instead of tassels.
The mandala lace technique works for other shapes too. Experiment with a circular overlay instead of the heart shape if that suits your vision.
Wrapping Up
You now have everything you need to create this stunning dusty rose floral lace bucket bag. The combination of sturdy construction and delicate lace detailing makes this piece truly special. Whether you carry it to farmers markets or summer garden parties, you will receive compliments constantly.
Take your time with each section. Trust the process. And remember that your handmade version will have character and beauty that no mass-produced bag could ever match.
Thank you so much for choosing this pattern for your next crochet project. I genuinely appreciate you being here.
When you finish your bag, please share a photo with me on Instagram or Facebook. I absolutely love seeing how your versions turn out. Tag me so I do not miss it.
Happy crocheting, friend. You have got this.