Dusty Rose Chunky Cropped Turtleneck Free Crochet Pattern
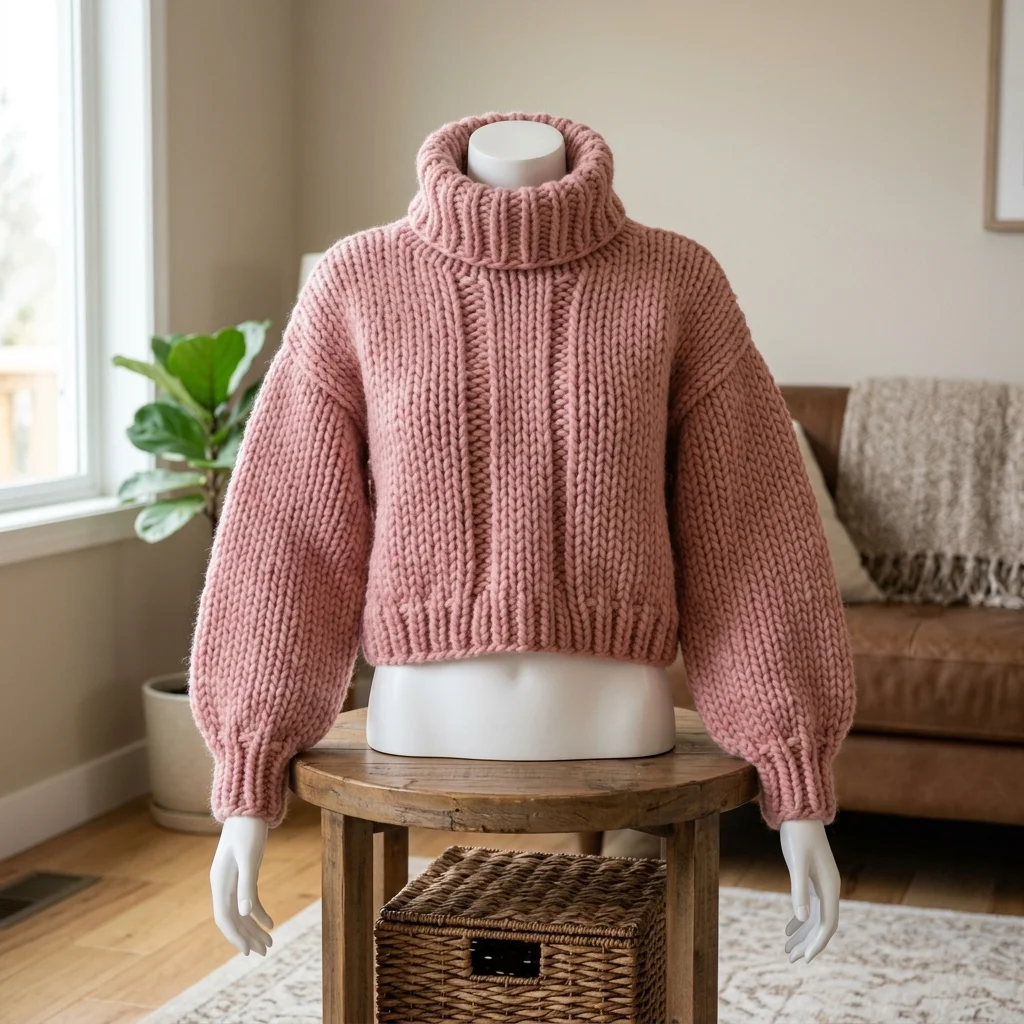
Go dig into your stash right now. I know you have those gorgeous chunky skeins you have been saving for “the right project.” This is it. This cropped turtleneck sweater works up beautifully in super bulky yarn, and the construction is more straightforward than it looks. You will work flat panels using a simple ribbed stitch pattern, then seam them together. The turtleneck gets picked up and worked in the round at the end. I will be honest with you. This is an intermediate project. But if you have made a basic sweater before or feel comfortable reading patterns carefully, you can absolutely do this.
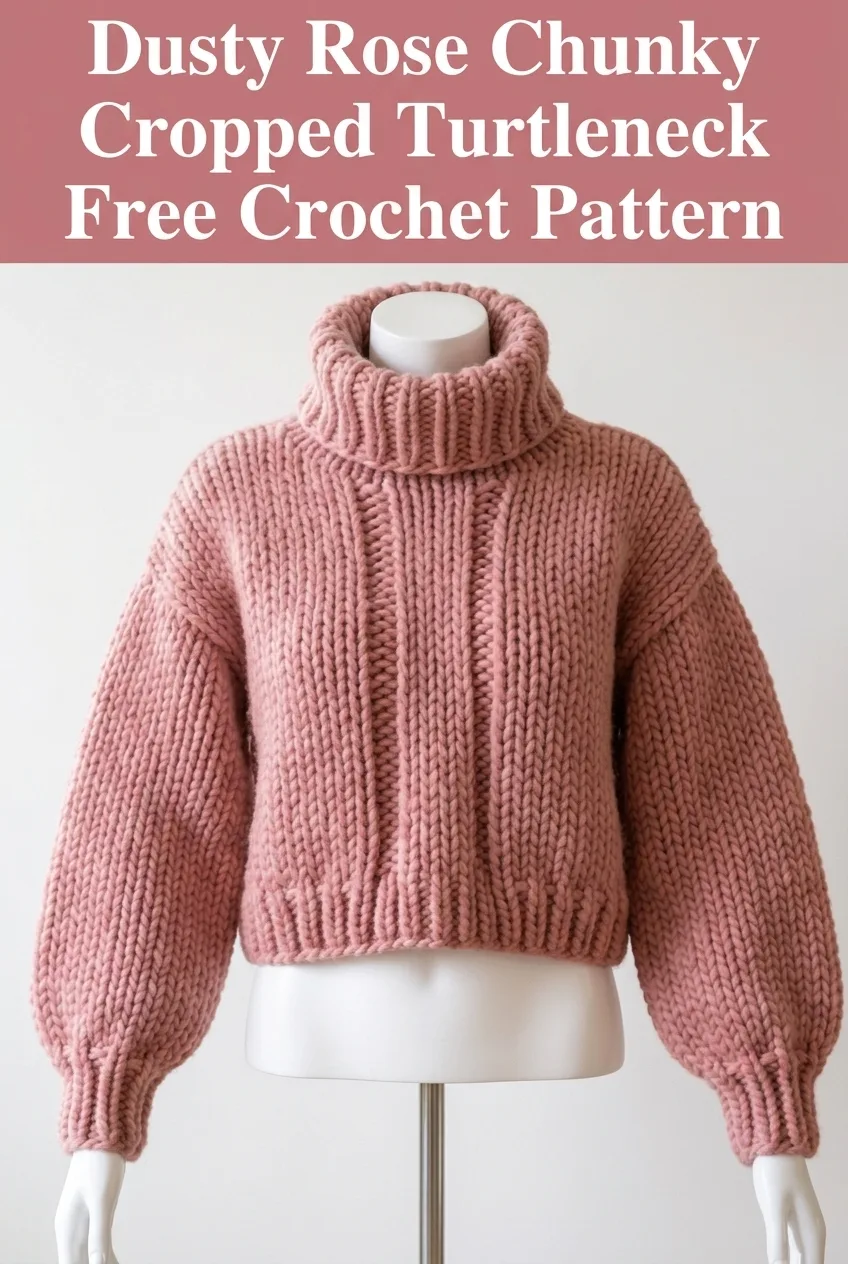
Why You Will Love This Chunky Cropped Turtleneck Crochet Pattern
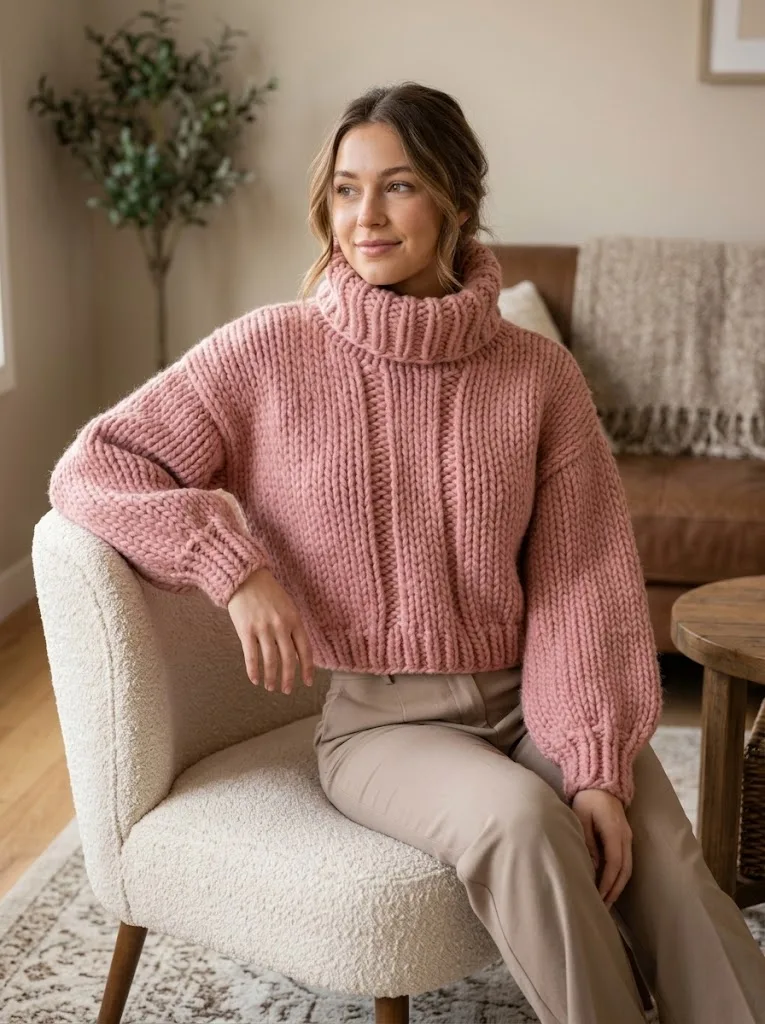
This sweater has that effortlessly cozy, oversized look that works with everything from high-waisted jeans to leggings. The cropped length hits right at the natural waist, which makes it incredibly flattering. And that folded turtleneck? It gives you warmth without bulk around your face.
The best part is the chunky yarn. Super bulky weight means this sweater works up fast. You are looking at a weekend project if you can dedicate some solid crafting time. The ribbed texture gives it that classic knit-look appearance that so many crocheters love to achieve.
Materials Needed for Your Cropped Turtleneck
Before you start, gather everything you need. Having your materials ready makes the whole process smoother.
Yarn:
Hook:
Notions:
Gauge:
Skill Level
This cropped turtleneck crochet pattern is intermediate level. You should be comfortable with:
If any of those feel unfamiliar, do not worry. I will walk you through each step.
Finished Measurements
This pattern is written for size Small with adjustments for Medium, Large, and XL in parentheses.
The sweater is designed with 4 to 6 inches of positive ease for that relaxed, oversized fit.
Abbreviations and Stitch Definitions
Let me explain every stitch you will use. Even if you know these, a quick refresher never hurts.
Ch = Chain. Wrap yarn over hook, pull through loop on hook. This creates the foundation for most crochet projects.
Sl st = Slip stitch. Insert hook, yarn over, pull through stitch AND loop on hook in one motion. Used for joining and creating nearly invisible stitches.
Hdc = Half double crochet. Yarn over, insert hook into stitch, yarn over and pull up a loop (3 loops on hook), yarn over and pull through all 3 loops. Creates a fabric slightly shorter than double crochet but with nice drape.
BLO = Back loop only. Instead of inserting your hook under both loops of the stitch, you only go through the back loop. This creates the ribbed texture we want.
FLO = Front loop only. The opposite of BLO. Insert hook under only the front loop.
Special Technique: Half Double Crochet Ribbing
The entire body of this sweater uses hdc worked in the back loop only. This creates vertical ridges that mimic knit ribbing. Here is why this matters:
When you work into the back loop only, you leave the front loop sitting on top of your work. Row after row, these unused front loops create raised horizontal lines. But because we are working rows vertically (then turning the fabric), those lines become vertical ribs.
Practice tip: If you have never worked BLO before, make a small swatch first. Chain 15, then work hdc in BLO for about 10 rows. You will see the ribbing develop and get comfortable with the technique before starting your sweater.
Cropped Turtleneck Crochet Pattern Instructions
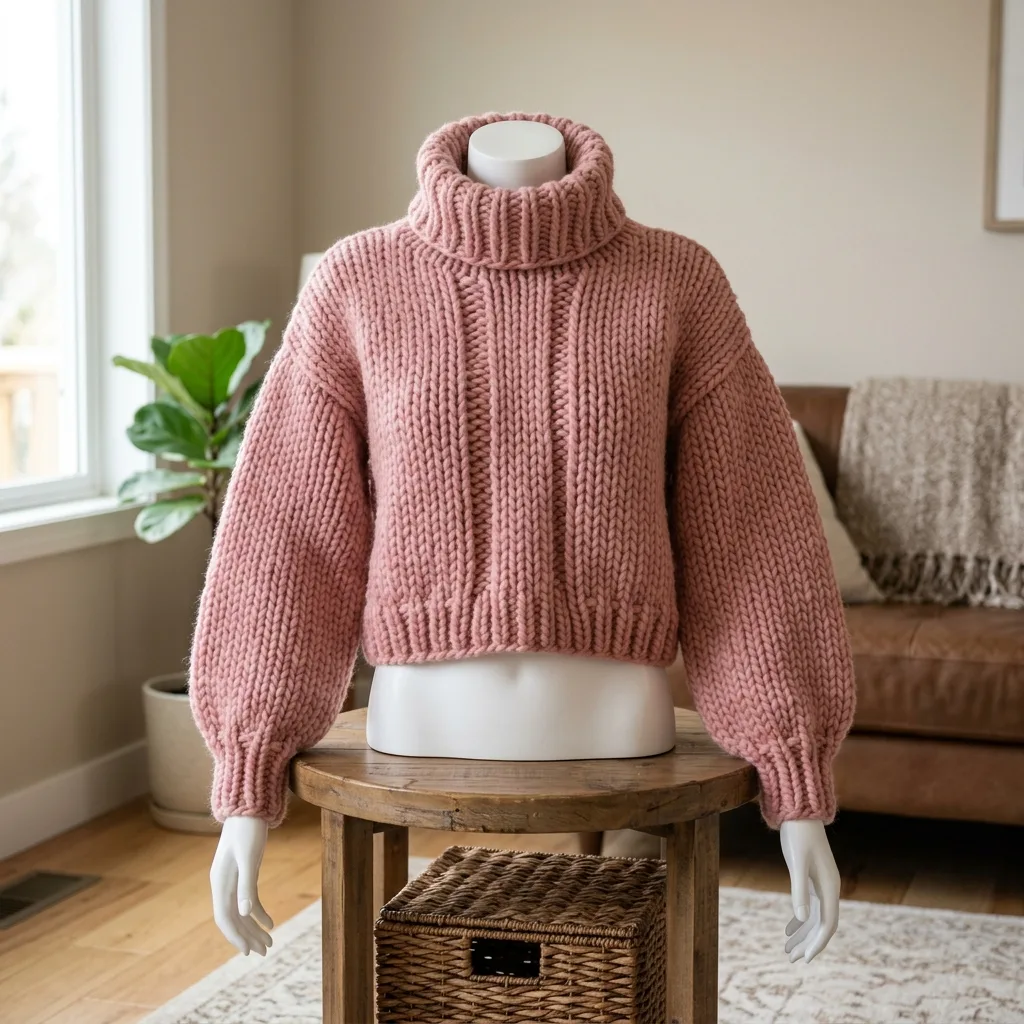
Back Panel
Foundation: Ch 38 (42, 46, 50).
Row 1: Hdc in 3rd ch from hook and in each ch across. Turn. (36, 40, 44, 48 sts)
Row 2: Ch 2 (does not count as a stitch throughout), hdc in BLO of each st across. Turn. (36, 40, 44, 48 sts)
Rows 3 through 40 (42, 44, 46): Repeat Row 2.
Your back panel should measure approximately 18 (20, 22, 24) inches wide and 16 (17, 18, 19) inches tall.
Fasten off and weave in ends.
Front Panel
Work exactly as Back Panel.
You now have two identical rectangles. I know it seems simple, but that is the beauty of this construction. Simple shapes, stunning results.
Sleeves (Make 2)
The sleeves are worked from the cuff up with gradual increases for that gorgeous balloon shape you see in the finished sweater.
Foundation: Ch 22 (24, 26, 28).
Row 1: Hdc in 3rd ch from hook and in each ch across. Turn. (20, 22, 24, 26 sts)
Row 2: Ch 2, hdc in BLO of each st across. Turn.
Rows 3 through 6: Repeat Row 2. (20, 22, 24, 26 sts)
This creates a fitted cuff.
Row 7 (Increase Row): Ch 2, 2 hdc in BLO of first st, hdc in BLO across to last st, 2 hdc in BLO of last st. Turn. (22, 24, 26, 28 sts)
Rows 8 through 10: Ch 2, hdc in BLO across. Turn.
Row 11: Repeat Row 7 (Increase Row). (24, 26, 28, 30 sts)
Continue in this pattern, increasing every 4th row, until you have 36 (38, 40, 42) sts.
Then work even (no increases) until sleeve measures 18 (18.5, 19, 19.5) inches from foundation chain.
Fasten off, leaving a long tail for seaming.
Assembly
This is where your sweater comes together. Take your time with seaming. Good seams make a huge difference in how professional your finished piece looks.
Step 1: Shoulder Seams
Lay your front and back panels right sides together. Using a tapestry needle and matching yarn, whip stitch or mattress stitch across 5 (5.5, 6, 6.5) inches on each shoulder, leaving the center open for the neckline.
The neck opening should be approximately 8 (9, 10, 11) inches wide.
Step 2: Attach Sleeves
Find the center of your sleeve top edge. Match it to the shoulder seam. Pin in place.
Working from the right side, seam the sleeve to the body opening. The sleeve should span about 9 (9.5, 10, 10.5) inches on each side of the shoulder seam.
Repeat for second sleeve.
Step 3: Side and Sleeve Seams
This is one continuous seam on each side. Start at the bottom hem of the body, seam up the side, continue under the arm, and seam down the entire sleeve to the cuff.
Repeat on the other side.
Try on your sweater at this point. Make sure everything fits before adding the turtleneck.
Turtleneck
Here is the fun part. The turtleneck gets picked up directly from the neckline and worked in the round.
Round 1: With right side facing, join yarn at center back of neck opening. Ch 1, work approximately 40 (44, 48, 52) sc evenly around the entire neckline, adjusting as needed to keep the edge flat without puckering. Sl st to first sc to join. (40, 44, 48, 52 sts)
Pro tip: Count your stitches and make sure you have an even number. This helps the ribbing pattern work out evenly.
Round 2: Ch 2, hdc in BLO of each st around. Sl st to first hdc to join.
Rounds 3 through 20: Repeat Round 2.
Your turtleneck should measure approximately 8 inches tall when finished. This allows for a nice fold-over.
Fasten off and weave in all ends.
Bottom Ribbing
The body naturally has a ribbed appearance from the BLO technique. However, you can add extra definition to the bottom edge if desired.
Optional finishing: Work 1 round of sl st in FLO around the entire bottom hem. This creates a cleaner edge and subtle horizontal line.
Cuff Finishing
The cuffs should already look neat from the construction. If they feel loose, you can work 1 round of sl st in FLO at each cuff opening to tighten slightly.
Tips for Success with This Crochet Tutorial
Blocking matters. Even with chunky yarn, blocking helps your seams lay flat and evens out your stitches. Wet block by soaking in cool water, gently squeezing out excess moisture, and laying flat to dry.
Seaming technique makes a difference. The mattress stitch creates nearly invisible seams. If you are not familiar with it, look up a quick tutorial. It is worth the extra few minutes to learn.
Gauge is everything. I cannot stress this enough. A cropped sweater that is too big becomes a regular sweater. Too small and it becomes a belly shirt. Check your gauge.
Color choices: This pattern looks stunning in solid colors that showcase the ribbed texture. Variegated yarns can obscure the beautiful stitch definition, so save those for other projects.
How to Customize This Pattern
Want a longer length? Simply add more rows to your front and back panels. Each row adds approximately 0.4 inches.
Prefer tighter sleeves? Skip some of the increase rows or work fewer increases overall.
Not into turtlenecks? Stop the neckline after just 3 to 4 rounds for a mock neck, or skip it entirely for a crew neck look.
Different yarn weight? You can adapt this pattern for bulky (category 5) yarn by adjusting your hook size and adding more stitches to achieve the same measurements. Your gauge swatch is your best friend here.
Caring for Your Finished Sweater
Check your yarn label for specific care instructions. Most super bulky yarns do well with:
Avoid hanging this sweater on a hanger. The weight of the chunky yarn will stretch out the shoulders over time.
I really hope you love making this cozy cropped turtleneck as much as I enjoyed designing it. It is one of those projects that feels impressive to wear but is so satisfying to create. If you make one, please save this pattern to your Pinterest boards so you can find it again whenever you want to make another. And I would absolutely love to see your finished sweaters, so drop a comment below or tag me when you share your photos. Happy crocheting!
You Might Also Like
- Dusty Rose Fringed Pocket Wrap Free Crochet Pattern
- Ocean Blue Highland Cow Amigurumi Free Crochet Pattern
- Dusty Rose Fringed Pocket Wrap Free Crochet Pattern
- Sage Green Romantic Peplum Crochet Top Free Pattern