Cream Boho Tassel Fringe Clutch Free Crochet Pattern
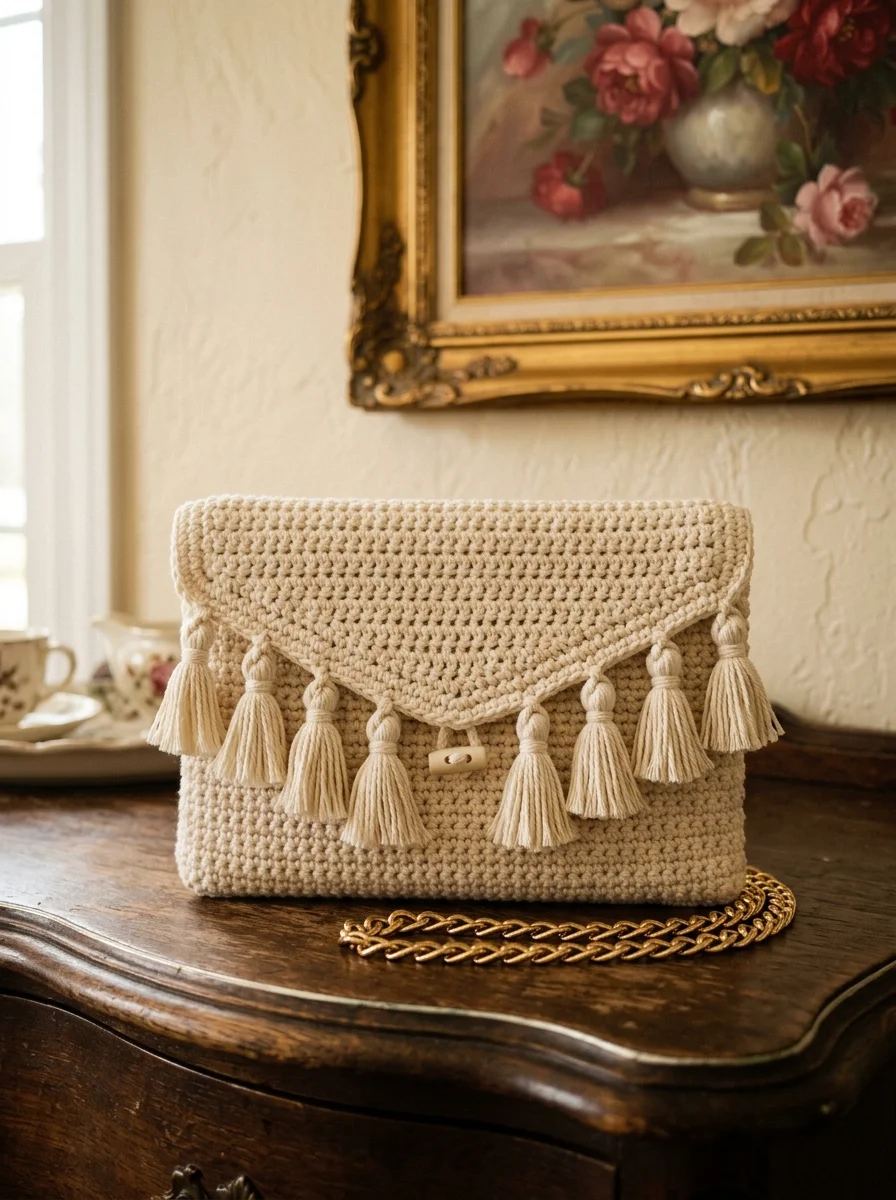
There is something undeniably elegant about a handmade clutch that looks like it belongs in a boutique window. This Cream Boho Tassel Fringe Clutch is exactly that piece. The moment I finished attaching those tassels and threaded the gold chain through, I knew this pattern had to be shared.
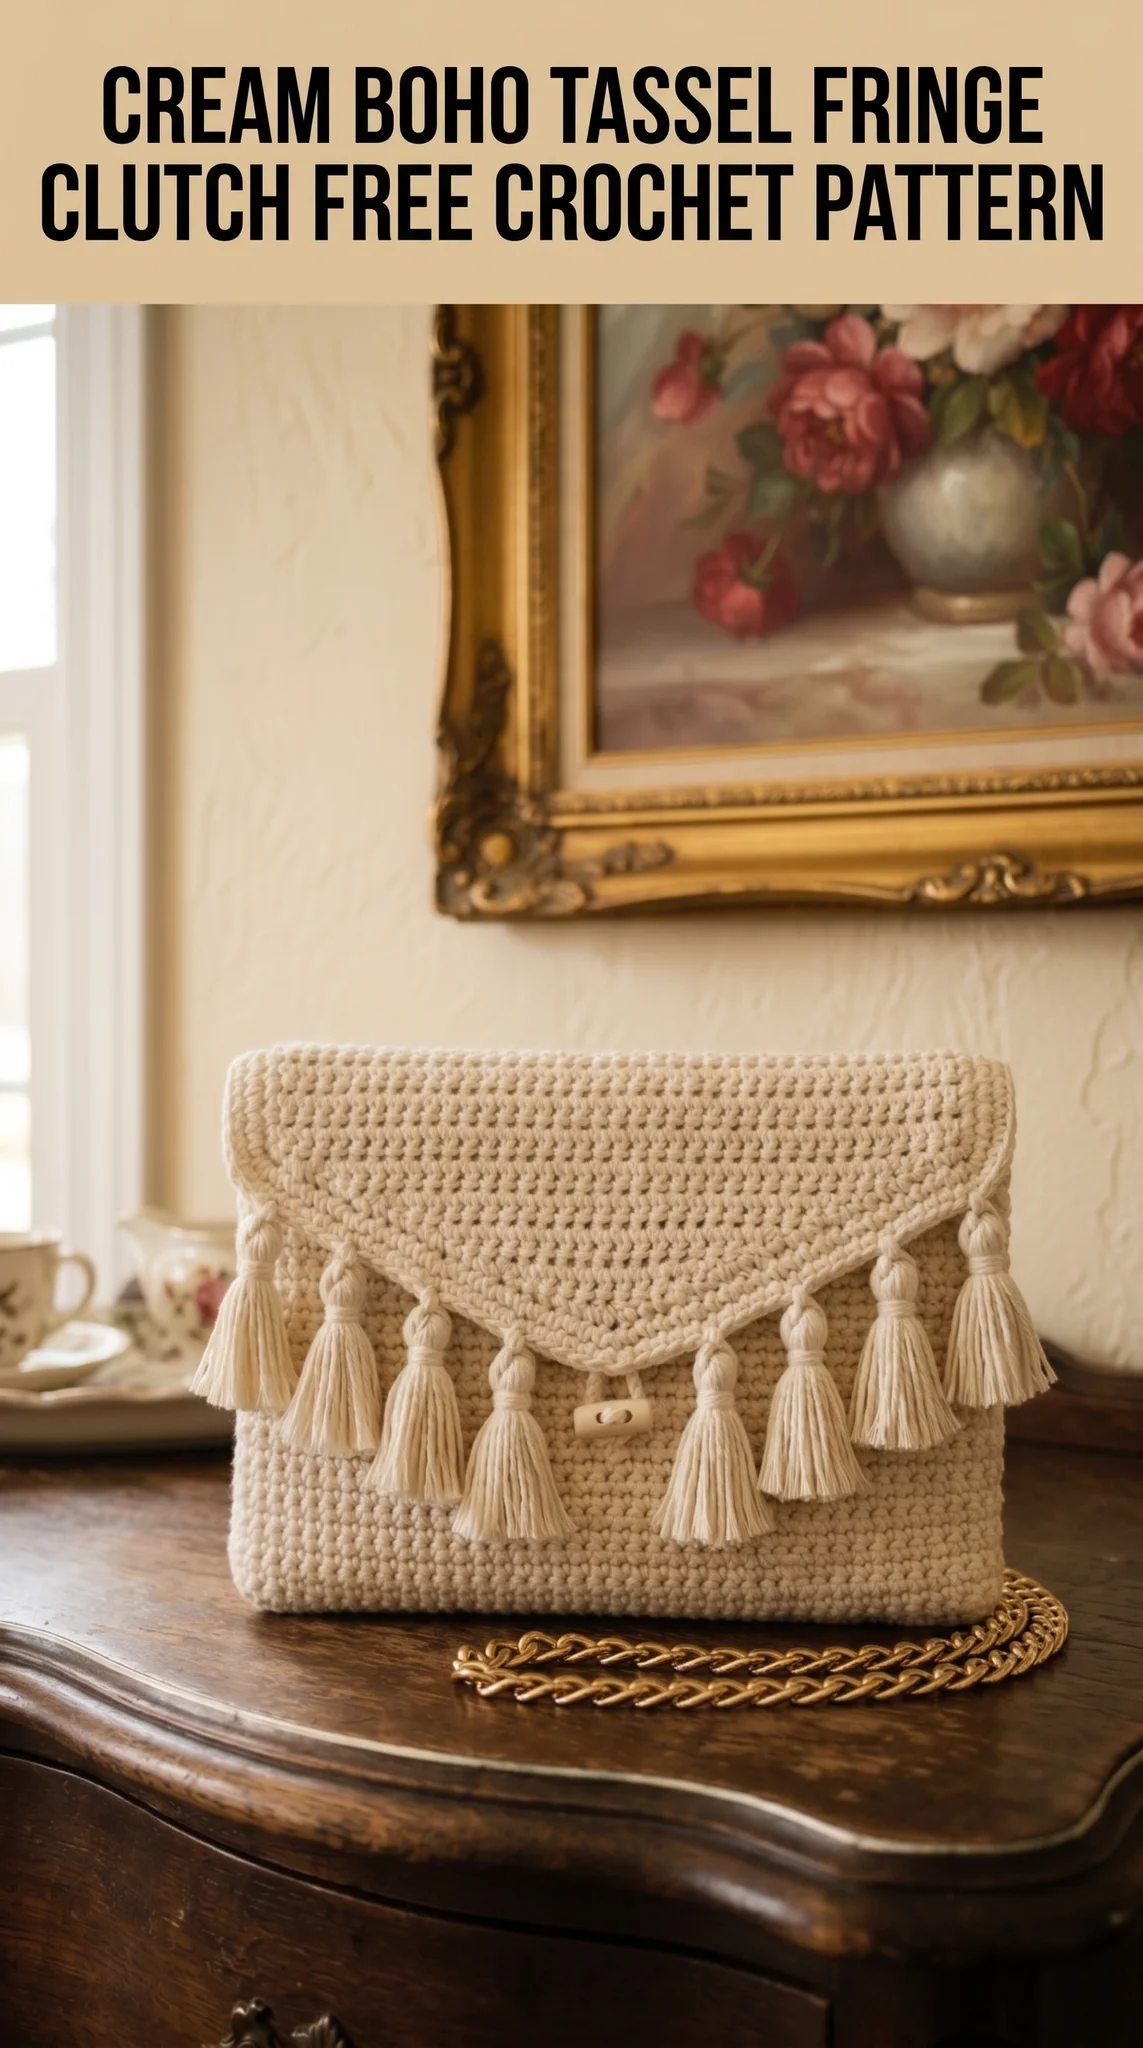
This crochet pattern creates a sophisticated envelope-style clutch with a pointed flap, decorative tassel fringe, and a detachable chain strap. The construction is simpler than it looks. If you can work basic stitches in rows and follow a straightforward decrease pattern, you can absolutely make this bag. I would call this an easy to intermediate level project, perfect for someone ready to move beyond scarves and dishcloths into accessories that feel special.
Let me walk you through every single step.
Why This Boho Tassel Clutch Pattern Works
The magic of this design comes from the combination of a dense, structured fabric and playful bohemian details. The body uses tight single crochet stitches that create a sturdy base. No lining required unless you want one. The pointed envelope flap adds visual interest without complicated shaping. And those tassels? They transform the whole piece from simple to statement.
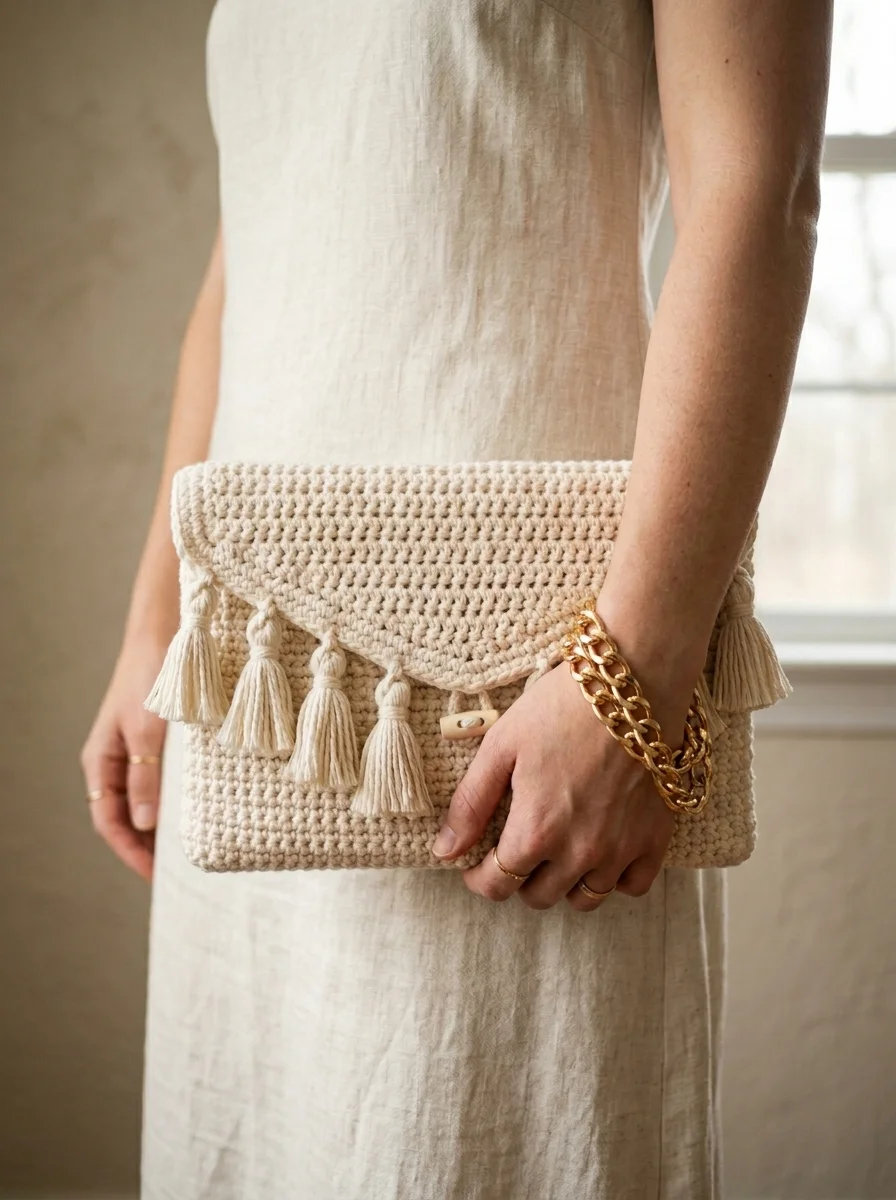
I designed the clutch to fit essentials: phone, keys, cards, lipstick. The finished dimensions are approximately 10 inches wide by 6.5 inches tall when folded closed. The flap extends another 4 inches for that dramatic pointed look.
The gold chain strap is completely optional. You can carry this as a true clutch, add a crocheted strap instead, or attach hardware for a crossbody option. I love versatility in my crochet patterns.
Materials You Will Need
Gather these supplies before you start. Having everything ready makes the process so much smoother.
Yarn:
Hook:
Notions:
Gauge:
Stitches and Abbreviations Used
Let me define every stitch before we begin. No surprises mid-pattern.
Chain (ch): The foundation stitch. Yarn over, pull through the loop on your hook. Think of it as creating a simple linked chain.
Single Crochet (sc): Insert hook into stitch, yarn over and pull up a loop (two loops on hook), yarn over and pull through both loops. This creates a short, dense stitch.
Slip Stitch (sl st): Insert hook, yarn over, pull through both the stitch and the loop on your hook in one motion. Used for joining or moving across stitches invisibly.
Single Crochet Two Together (sc2tog): A decrease stitch. Insert hook in first stitch, pull up a loop. Insert hook in next stitch, pull up a loop. You now have three loops on your hook. Yarn over and pull through all three. Two stitches become one.
Back Loop Only (BLO): Instead of inserting your hook under both loops at the top of a stitch, you only go under the back loop. This creates a subtle ridge texture.
Step by Step Crochet Pattern for the Clutch Body
This clutch is worked flat in one continuous piece, then folded and seamed. We will create the back panel, then continue into the front panel, and finally shape the pointed flap.
Back Panel
Row 1: Ch 36. Sc in the second ch from hook and in each ch across. (35 sc)
Row 2: Ch 1, turn. Sc in each st across. (35 sc)
Rows 3 through 26: Repeat Row 2. You should have 26 rows total for the back panel.
Take a breath here. You have just completed a rectangle measuring approximately 10 inches wide by 6.5 inches tall. This is the back of your clutch.
Front Panel
We continue directly from the back panel. No need to fasten off.
Rows 27 through 52: Ch 1, turn. Sc in each st across. (35 sc per row)
You now have another 26 rows. This section will fold up to become the front of the clutch. Your piece should measure roughly 10 inches wide by 13 inches long at this point.
Pointed Envelope Flap
Here is where we shape that beautiful triangular flap. We will decrease at both ends of every row to create the point.
Row 53: Ch 1, turn. Sc2tog over first 2 sts, sc in each st across until 2 sts remain, sc2tog over last 2 sts. (33 sc)
Row 54: Ch 1, turn. Sc2tog, sc across to last 2 sts, sc2tog. (31 sc)
Row 55: Repeat Row 54. (29 sc)
Row 56: Repeat Row 54. (27 sc)
Row 57: Repeat Row 54. (25 sc)
Row 58: Repeat Row 54. (23 sc)
Row 59: Repeat Row 54. (21 sc)
Row 60: Repeat Row 54. (19 sc)
Row 61: Repeat Row 54. (17 sc)
Row 62: Repeat Row 54. (15 sc)
Row 63: Repeat Row 54. (13 sc)
Row 64: Repeat Row 54. (11 sc)
Row 65: Repeat Row 54. (9 sc)
Row 66: Repeat Row 54. (7 sc)
Row 67: Repeat Row 54. (5 sc)
Row 68: Sc2tog, sc 1, sc2tog. (3 sc)
Row 69: Sc3tog. (1 sc)
Fasten off and weave in this end securely. You have completed the main body piece. It should look like a long rectangle with a pointed triangle at one end.
Assembling the Clutch
Fold your piece with wrong sides together. The first fold happens at Row 26, bringing the front panel up to meet the back. The flap naturally extends beyond.
Seaming the sides:
Using your yarn needle and a length of matching yarn, whip stitch or mattress stitch both side edges closed. Start from the fold and work upward to where the flap begins. Secure your stitches firmly. This bag will hold weight.
I prefer mattress stitch for a nearly invisible seam, but whip stitch works perfectly fine and adds a subtle edge detail.
Adding the Border (Optional but Recommended)
For a polished finish around the flap, join yarn at the bottom corner of one flap edge.
Border Round: Sc evenly along the side edge of the flap, work 3 sc in the point, then sc evenly down the other side edge. Sl st to join. Fasten off.
This border creates a clean frame for those tassels to hang from.
How to Make the Tassels
The tassels are the star of this clutch. Based on the design, you will need approximately 9 tassels spaced evenly along the flap edge.
For each tassel:
1. Cut a piece of cardboard about 3 inches tall
2. Wrap yarn around the cardboard 20 to 25 times
3. Slide a 10 inch piece of yarn under all the wraps at the top and tie tightly
4. Cut the bottom loops
5. Wrap another piece of yarn around the tassel about half an inch from the top to create the head
6. Trim the ends evenly
Attaching tassels:
Use the long ties at the top of each tassel to attach them to the flap border. Space them evenly, with one at the center point and four on each side. Pull the ties through a stitch, knot securely on the inside, and weave in the ends.
Adding the Closure
The toggle button sits at the center point of the flap. Sew it on using matching thread or a strand of yarn. For the loop closure on the front panel, chain 10 to 12 stitches (test the fit around your button), slip stitch to join, and sew the loop securely where the flap naturally rests when closed.
This closure is functional and adds that authentic boho craft aesthetic.
Attaching the Chain Strap
Thread your gold chain through D-rings attached at each side seam, or simply attach the chain ends directly inside the bag using small stitches. A removable chain allows you to switch between clutch and shoulder bag styles.
Tips for Success with This Crochet Tutorial
Tension matters. Keep your stitches consistent throughout. Uneven tension shows in a simple stitch pattern like this.
Block your piece before assembly if needed. Wet blocking helps even out stitches and relaxes the fabric slightly.
Test your decreases on a swatch first if sc2tog feels unfamiliar. Practice makes the flap shaping feel automatic.
Choose quality hardware. A beautiful chain elevates the entire piece. Thrift stores often have vintage chains perfect for this project.
Make This Boho Clutch Your Own
This crochet pattern is endlessly customizable. Try it in terracotta for fall, crisp white for summer, or deep burgundy for evening events. Swap the chain for a braided leather strap. Add wooden beads between the tassels. Embroider small flowers on the flap. Make it yours.
The envelope clutch silhouette is timeless. The tassel fringe is having a major moment in fashion right now. Together, they create an accessory you will reach for constantly.
You Did It
Thank you so much for choosing to make this Cream Boho Tassel Fringe Clutch. I genuinely love seeing what you create. When you finish yours, please share a photo on Instagram or tag me on Facebook. Seeing your finished clutches in different colors and styled your way is the absolute best part of sharing patterns.
Happy crocheting, friend. You have got this.