Coral Sunset Floral Halter Dress Free Crochet Pattern
Last summer, my cousin called me in a panic three weeks before her beach wedding. She wanted something unique for the rehearsal dinner. Something handmade. Something that would photograph beautifully against the ocean sunset. I grabbed my hooks that night and started sketching roses.
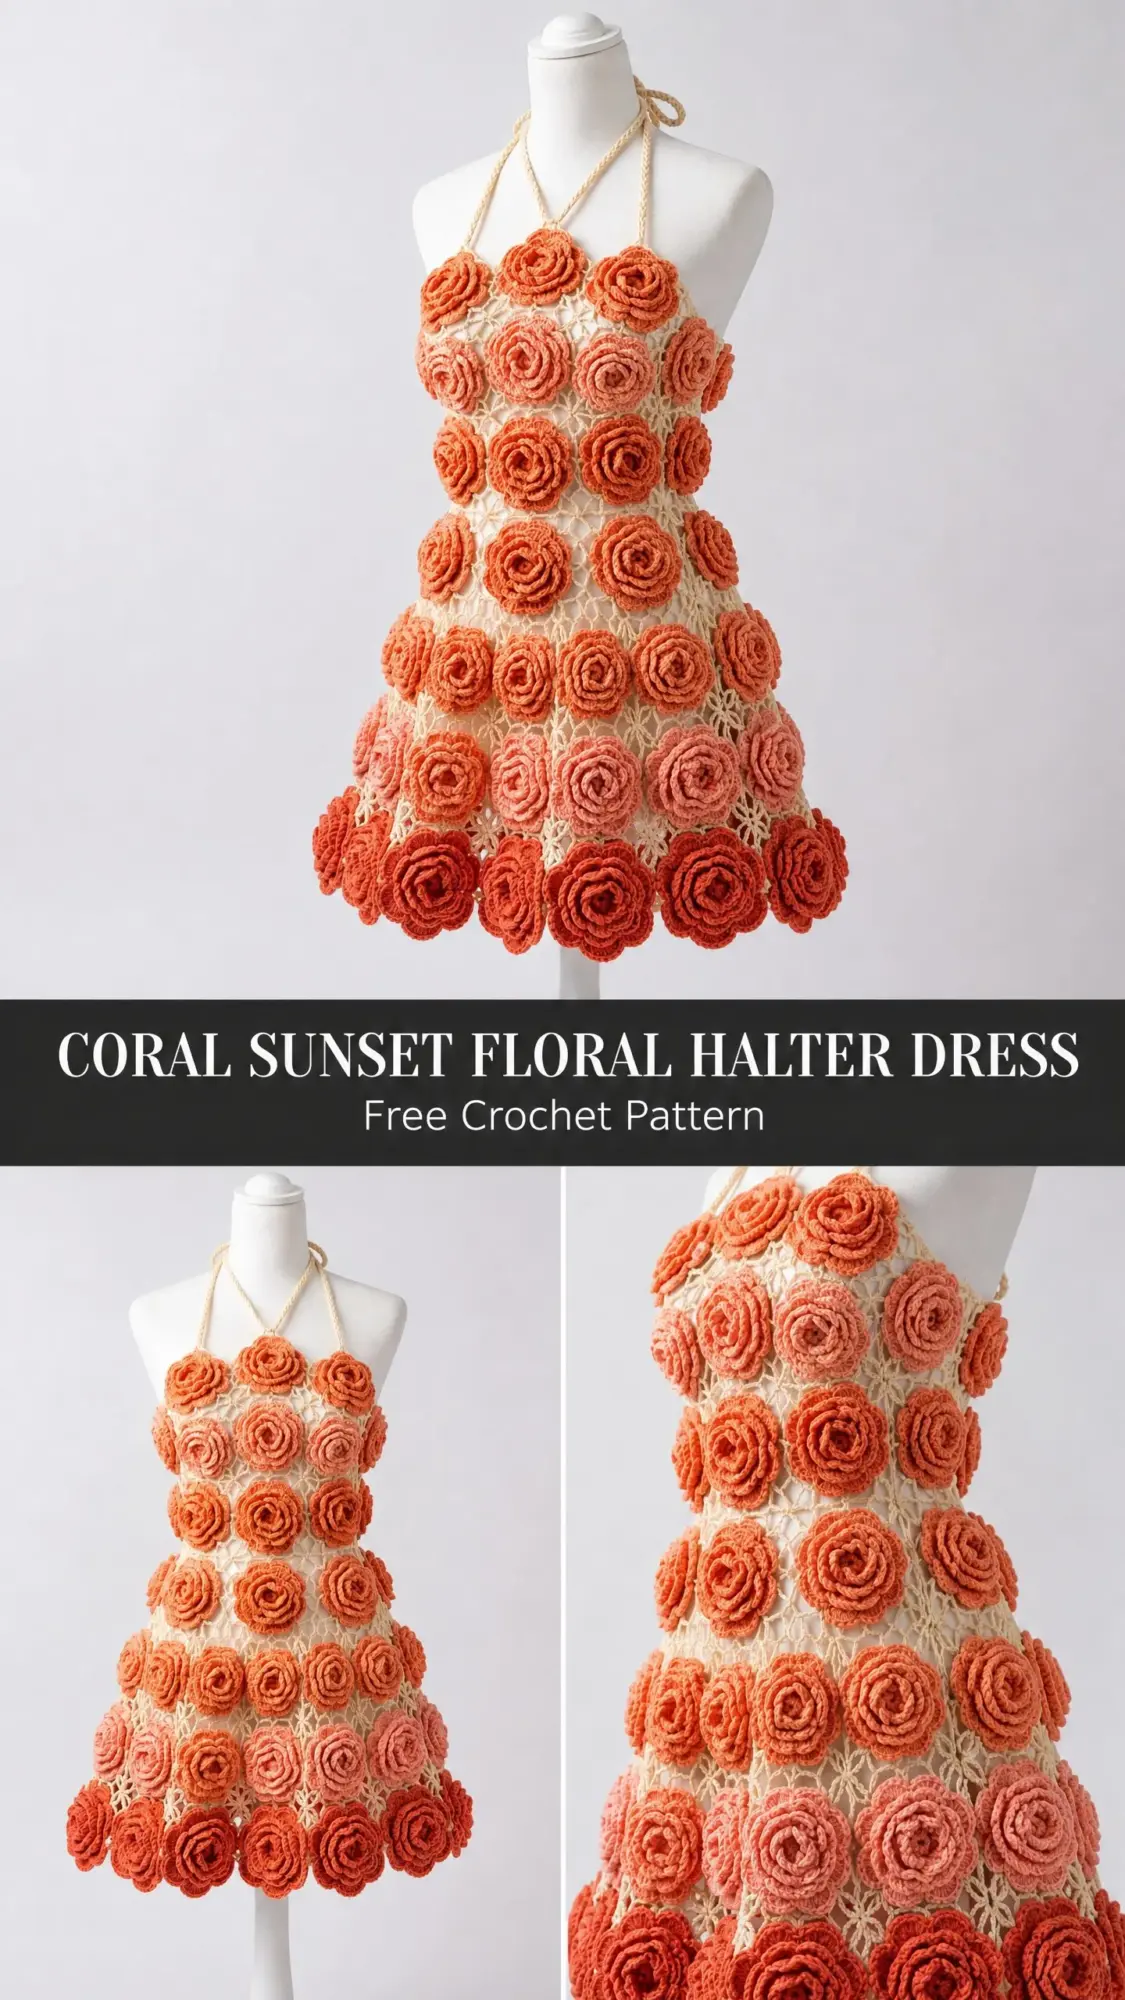
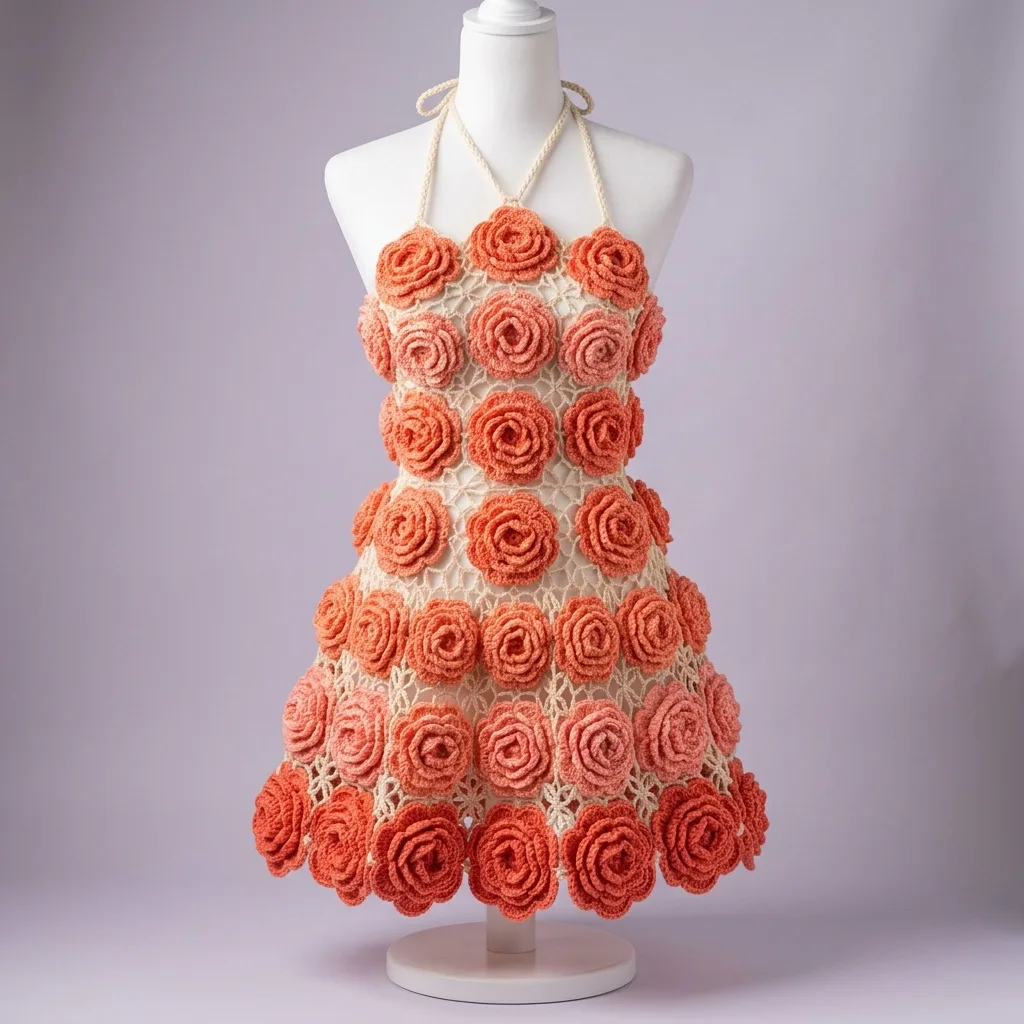
What emerged from that late-night brainstorm became this dress. Sixty-four three-dimensional roses in an ombre gradient from deep coral to soft blush, all layered over a delicate cream lace mesh. The kind of piece that stops people mid-conversation.
This is not a weekend project. I want to be honest with you about that. But if you have been craving something show-stopping, something that proves just how far your crochet skills have come, this dress delivers. Every single hour is worth it.
About This Crochet Pattern
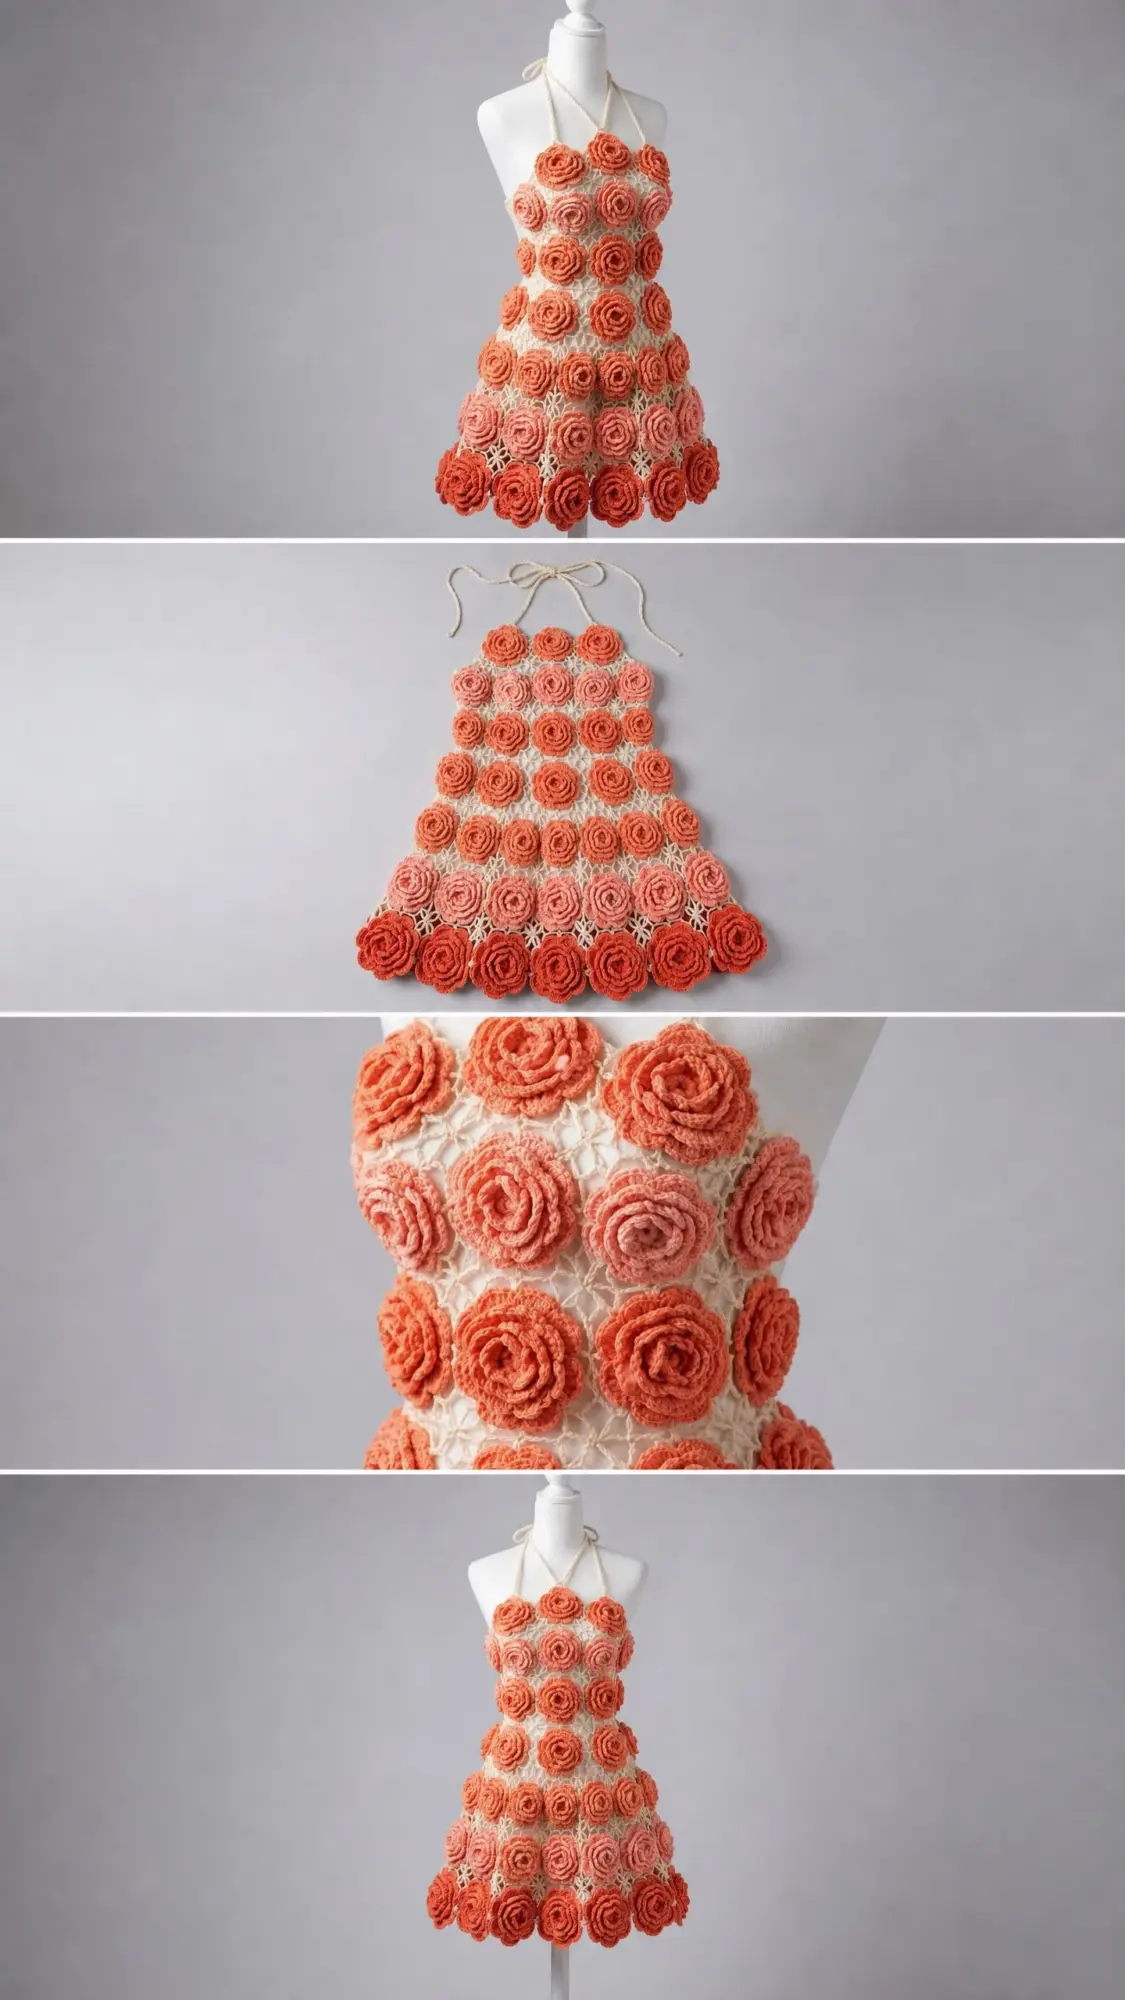
The Coral Sunset Floral Halter Dress is an A-line mini dress constructed entirely in crochet. The garment features a cream lace mesh base built from repeating granny-style flower squares joined as you go. Dozens of three-dimensional crochet roses cover the entire surface in an ombre gradient. Deep coral sits at the top and hem. Medium coral fills the middle. Soft blush pink settles in the lower skirt area.
The dress has a fitted bodice that flares gently into a full A-line skirt. Two twisted rope ties create the halter neckline, fastening at the nape of the neck. The back is open with a small floral accent cluster at the center back waist.
Skill Level: Advanced Intermediate. You should feel comfortable working multiple stitch types in sequence, joining motifs as you go, and following spiral petal construction for the roses. If you have completed several garment projects and a handful of 3D motifs, you will succeed with careful attention.
Time Estimate: Approximately 60 to 90 hours total. Base mesh construction takes 20 to 30 hours. Rose construction runs 25 to 35 hours at roughly 20 to 30 minutes per rose. Assembly and finishing requires 10 to 15 hours.
Finished Measurements
This pattern is sized for a standard adult women’s size Small/Medium (US 4/6). Size customization tips appear at the end of the instructions.
Materials Needed
Yarn:
Hooks:
Notions:
Yarn Suggestions
Option 1: Lion Brand Vanna’s Choice (100% acrylic, 170 yards / 156 m per 3.5 oz / 100 g skein). Recommended colorways: Terracotta (Yarn A), Dusty Rose (Yarn B), Pale Pink (Yarn C), Linen (Yarn D). This yarn has excellent stitch definition and holds its shape well after blocking.
Option 2: Paintbox Yarns Simply DK used doubled (100% acrylic, 137 yards / 125 m per 1.76 oz / 50 g ball used doubled). Doubling this DK yarn to approximate worsted weight gives a softer drape while maintaining stitch clarity for the roses.
Option 3: Drops Safran (100% cotton, 175 yards / 160 m per 1.76 oz / 50 g ball). Cotton gives the dress a cleaner structure and is ideal for warm-weather wear. Cotton may require slightly tighter tension, so swatch carefully.
Substitution Note: Any smooth worsted weight yarn (category 4) that achieves gauge will work. Avoid highly textured, fuzzy, or brushed yarns because the stitch definition of both the mesh base and the roses will be lost.
Gauge
Gauge is critical for fit. Work a full granny square motif and measure before beginning. Adjust hook size up or down one size as needed to match gauge.
Abbreviations (US Terms)
Special Stitches and Techniques
Granny Flower Square Motif
This motif forms the base mesh of the entire dress. Each finished square measures 3 inches / 7.5 cm.
Round 1 (center ring): With Yarn D and J/10 hook, ch 4, sl st to first ch to form a ring. Ch 3 (counts as first dc), work 2 dc into ring, ch 2, (3 dc into ring, ch 2) 3 times, sl st to top of beg ch-3 to join. (4 groups of 3 dc, 4 ch-2 corner spaces)
Round 2 (petal round): Sl st into next 2 dc and into the ch-2 sp. Ch 3, (2 dc, ch 2, 3 dc) into same ch-2 sp (first corner made), ch 1, (3 dc, ch 2, 3 dc) into next ch-2 sp (corner), ch 1. Rep from last instruction twice more. Sl st to top of beg ch-3. (4 corners of (3 dc, ch 2, 3 dc), 4 ch-1 side spaces)
Round 3 (outer round for joining): Sl st into next 2 dc and into corner ch-2 sp. Ch 3, (2 dc, ch 2, 3 dc) into same sp (corner), ch 1, 3 dc into ch-1 side sp, ch 1, (3 dc, ch 2, 3 dc) into next corner sp. Rep ch 1, 3 dc, ch 1, corner sequence around all 4 sides. Sl st to top of beg ch-3. (4 corners, 2 side clusters per side, 8 ch-1 side spaces)
Fasten off, leaving a long tail for JAYG joining or sewing together after blocking.
Join As You Go (JAYG)
When adding a new square adjacent to a completed square, on Round 3 at each shared edge, replace each ch-2 corner sp or ch-1 side sp with: work 1 ch, sl st into corresponding sp of neighboring square, 1 ch (this replaces the original 2-ch or 1-ch sp). Continue in pattern. This creates a flat invisible join.
3D Crochet Rose
The rose is worked in a flat spiral that curls into a dimensional bloom when gathered. This is the technique that creates those gorgeous textured flowers you see covering the dress.
Foundation: Ch 36 with I/9 hook and chosen rose color.
Row 1: Sc in second ch from hook and in each ch across. Turn. (35 sc)
Row 2: Ch 1, 2 sc in first st, (2 sc in next st) across. Turn. (70 sc)
Row 3: Ch 3 (counts as dc), (2 dc, ch 1, sk 1 st, 3 dc) across, ending with dc in last st. Turn. Approximately 11 petal clusters.
Row 4: Ch 1, sc in first st, work (sc, hdc, 3 dc, hdc, sc) into each ch-1 sp across for petals, sc in last dc. Fasten off leaving a 12-inch tail.
Assembly of rose: Thread the tail onto tapestry needle. Starting at one short end, roll the strip tightly around itself, stitching through the base every few rolls to secure. The petals fan outward naturally as you roll. Stitch through the base securely when the full strip is rolled. The finished rose should be approximately 2.25 inches / 5.7 cm across. Weave in tail.
Don’t panic if your first few roses look a little wonky. The rolling technique takes practice. By your tenth rose, you will have it down.
Twisted Rope Tie
Cut 6 strands of Yarn D, each 80 inches / 203 cm long. Hold all 6 together and fold in half to create 12 strands, 40 inches / 102 cm long. Secure one end to a fixed point. Twist all 12 strands together clockwise until they are tightly twisted and begin to kink back on themselves. Fold the twisted length in half at the midpoint; the two halves will twist together counterclockwise on their own. Knot the ends. Finished tie measures approximately 18 inches / 46 cm. Make 2.
Pattern Notes Before You Begin
1. The garment is constructed in three separate parts: the bodice mesh panel, the skirt mesh panel, and the roses. All three are assembled together at the end.
2. The bodice is worked as a flat rectangular mesh of joined granny squares, then the side edges are seamed.
3. The skirt is worked as a wider flat panel of joined granny squares with more motifs per row to create the A-line flare, then the side edges are seamed and the skirt is attached to the bodice at the waist join line.
4. Rose placement follows a deliberate ombre gradient: Yarn A (deep coral) roses are placed at the top two rows of the bodice and along the bottom hem row. Yarn B (medium coral) roses fill the middle bodice rows and upper skirt rows. Yarn C (blush pink) roses fill the lower skirt rows just above the hem. This creates the sunset ombre effect.
5. The back bodice is largely open mesh with a small cluster of three small roses at the center back waist. The halter straps pass over the shoulders and tie at the nape of the neck.
6. Seams are worked with sl st and Yarn D held on the WS (wrong side) of the fabric, so they are invisible from the RS.
7. Block all motifs lightly before assembly using the wet-blocking method.
Step by Step Crochet Instructions
Section 1: Bodice Mesh Panel
The bodice is a flat rectangle of granny square motifs. Each motif is 3 inches / 7.5 cm square. The bodice needs to be approximately 34 inches / 86 cm in circumference and 13 inches / 33 cm tall.
Row 1 of Bodice: Work 12 granny flower square motifs. Join each to the previous using JAYG method on shared edges. At the end of Row 1 you have a strip of 12 joined motifs. (12 motifs)
Row 2 of Bodice: Work 12 motifs, joining each to the corresponding Row 1 motif above using JAYG on shared top edges and to each other on shared side edges. (24 motifs total)
Row 3 of Bodice: Work 12 motifs, joining as established. (36 motifs total)
Row 4 of Bodice: Work 12 motifs, joining as established. (48 motifs total)
Work the bodice as a flat panel without seaming until the roses are applied. The flat panel is 12 motifs wide and 4 motifs tall (48 motifs total).
Bodice Top Border (Halter Shaping)
With RS facing and Yarn D, J/10 hook, join yarn to top right corner of bodice panel.
Row 1 (top border): Ch 1, sc evenly across the top of the entire motif strip. Work 3 sc per dc-group along each motif edge. Each motif top yields approximately 9 sc. Across 12 motifs: 12 x 9 = 108 sc. Turn. (108 sc)
Row 2: Ch 1, sc in each sc across. Turn. (108 sc)
Row 3 (begin halter shaping): Ch 1, sc in first 36 sc (right front panel), leave remaining 72 sc unworked. Turn. (36 sc)
Row 4: Ch 1, sc2tog, sc across to last 2 sts, sc2tog. Turn. (34 sc)
Row 5: Ch 1, sc2tog, sc across to last 2 sts, sc2tog. Turn. (32 sc)
Row 6: Ch 1, sc2tog, sc across to last 2 sts, sc2tog. Turn. (30 sc)
Row 7: Ch 1, sc2tog, sc to last 2 sts, sc2tog. Turn. (28 sc)
Row 8: Ch 1, sc2tog, sc to last 2 sts, sc2tog. Turn. (26 sc)
Row 9: Ch 1, sc2tog, sc to last 2 sts, sc2tog. Turn. (24 sc)
Row 10: Ch 1, sc2tog, sc to last 2 sts, sc2tog. Turn. (22 sc)
Row 11: Ch 1, sc2tog, sc to last 2 sts, sc2tog. Turn. (20 sc)
Row 12: Ch 1, sc across. Turn. (20 sc)
Row 13: Ch 1, sc across. Fasten off. (20 sc)
This forms the right front halter strap base. For the left front halter panel, rejoin Yarn D to st 73 (skip the center 36 sts for the back neck opening) and work Rows 3 through 13 in mirror image. (20 sc at Row 13)
Halter Strap Continuation
After completing Row 13 of each halter panel (20 sc), continue each panel:
Row 14: Ch 1, sc2tog, sc to last 2 sts, sc2tog. Turn. (18 sc)
Row 15: Ch 1, sc2tog, sc to last 2 sts, sc2tog. Turn. (16 sc)
Row 16: Ch 1, sc2tog, sc to last 2 sts, sc2tog. Turn. (14 sc)
Row 17: Ch 1, sc2tog, sc to last 2 sts, sc2tog. Turn. (12 sc)
Row 18: Ch 1, sc2tog, sc to last 2 sts, sc2tog. Turn. (10 sc)
Row 19: Ch 1, sc2tog, sc to last 2 sts, sc2tog. Turn. (8 sc)
Row 20: Ch 1, sc across. Turn. (8 sc)
Row 21: Ch 1, sc across. Fasten off. (8 sc)
These 8-st panels form the halter strap bases where the twisted rope ties will be attached.
Bodice Bottom Border
With RS facing and Yarn D, J/10 hook, join yarn to bottom right corner of bodice motif strip.
Row 1 (bottom border): Ch 1, sc evenly across bottom edge of motif strip at 9 sc per motif x 12 motifs. (108 sc) Turn.
Row 2: Ch 1, sc in each st across. Turn. (108 sc)
Row 3: Ch 1, sc in each st across. Do not fasten off. This border row is the joining row for the skirt. (108 sc)
Checkpoint: After completing the bodice including all border rows, the piece should measure approximately 13 inches / 33 cm from the halter strap top to the bottom border edge. The bottom border should be 108 sc wide.
Section 2: Skirt Mesh Panel
The skirt flares from approximately 34 inches / 86 cm at the waist to approximately 52 inches / 132 cm at the hem. Skirt height is 15 inches / 38 cm.
Row 1 of Skirt (waist row): 12 motifs joined in a strip, JAYG on side edges. (12 motifs)
Row 2 of Skirt: 14 motifs, joining to Row 1 motifs on shared top edges and to each other on side edges. (14 motifs)
Row 3 of Skirt: 16 motifs, joining to Row 2. (16 motifs)
Row 4 of Skirt: 18 motifs, joining to Row 3. (18 motifs)
Total skirt motifs: 12 + 14 + 16 + 18 = 60 motifs.
Skirt Top Border (Waist Join)
With Yarn D and J/10 hook, RS facing, work a sc border across the top (waist) edge of the Row 1 skirt motifs. Work 9 sc per motif across 12 motifs. (108 sc)
This 108-sc waist border aligns with the 108-sc bodice bottom border for seaming.
Skirt Bottom Hem Border
With Yarn D and J/10 hook, RS facing, join to bottom right corner of Row 4 skirt motifs.
Row 1: Sc across bottom edge of 18 motifs at 9 sc per motif. (162 sc) Turn.
Row 2: Ch 1, sc in each st across. Turn. (162 sc)
Row 3: Ch 1, sc in each st across. Fasten off. (162 sc)
Checkpoint: The skirt panel (without side seaming) should measure approximately 54 inches / 137 cm across its widest hem edge and approximately 15 inches / 38 cm tall.
Section 3: Assembly of Base Garment
Step 1: Join bodice to skirt. Hold bodice bottom border (108 sc) and skirt top border (108 sc) together with RS facing outward (WS facing each other). Using Yarn D threaded on tapestry needle, whipstitch or sl st through both rows of sc to join them. (108 joined sts at waist seam)
Step 2: Side seams. Fold the entire dress (bodice plus skirt joined) so the side edges of the back and front panels meet. Pin carefully, aligning motif rows. Using Yarn D threaded on tapestry needle and working on the WS, sl st through corresponding sts along both side edges to seam. Seam from the hem up to the waist on the skirt, and from the waist up to the base of the halter shaping on the bodice. The center back bodice top (approximately 6 motif columns wide) remains open as the open back. (2 seams completed)
Step 3: Attach twisted rope ties. Fold each twisted rope tie in half. Using Yarn D, sew the folded midpoint of each tie to the outer tip of each 8-sc halter strap. The two tails of each tie hang free and are used to tie at the nape of the neck.
Section 4: Roses
Rose Quantity and Color Placement:
Make roses in the following quantities:
Color placement for ombre gradient:
Work all 64 standard roses plus 3 small roses following the 3D Crochet Rose instructions in Special Stitches.
Rose Attachment
Lay the assembled dress flat with RS facing up. Begin placing roses on the garment before sewing, pinning each rose at the center of each granny square motif. Each rose should cover the center of its motif, with petals extending outward. The roses do not overlap significantly; there is approximately 0.25 to 0.5 inch of lace mesh visible between adjacent roses. Pin all roses in place before sewing any.
Sew each rose to the dress base by threading its long tail onto a tapestry needle and stitching through the center base of the rose and through the mesh at the center of the corresponding motif, passing the needle through to the WS. Secure with several stitches in different directions through the rose base, then weave in and trim the tail on the WS.
Place the 3 small back waist roses at center back, clustered just at the waist seam between the bodice and skirt.
Checkpoint: After all roses are sewn on, hold the dress up and check that the ombre gradient reads correctly: deep coral at the top and hem, medium coral in the middle zones, blush pink in the lower-middle skirt.
Section 5: Finishing
Halter neckline edge: With Yarn D and J/10 hook, RS facing, work a single row of sc around the entire neckline and back opening edge of the bodice, working 1 sc per st and 1 sc per ch-sp evenly around. Sl st to first sc to join. Fasten off.
Arm opening edges: Work 1 row of sc evenly around each arm opening edge. Fasten off.
Hem edge: With Yarn D and J/10 hook, work 1 row of sc around the bottom hem edge of the skirt, working 1 sc per st across the 162-sc hem border. Join with sl st. Fasten off.
Weave in all remaining ends on the WS using a tapestry needle.
Blocking Your Finished Dress
Wet-block the finished dress before final wear. Fill a sink or basin with cool water and a small amount of wool wash or gentle detergent. Submerge the dress gently and allow it to soak for 15 to 20 minutes. Do not wring. Lift the dress out carefully supporting its full weight and press out excess water by rolling in a clean towel. Lay flat on blocking mats. Pin the hem to the finished circumference measurement (52 inches / 132 cm). Pin the waist. Gently reshape the roses by separating the petals with your fingers and allowing them to dry in an open, three-dimensional position. Allow to dry completely (12 to 24 hours) before removing pins or wearing.
For acrylic yarns only: After the above wet block, use a steam iron held 1 to 2 inches above (not touching) the lace base to lightly steam-set the mesh. Do not steam the roses directly; steam heat can flatten them.
Care Instructions
Machine wash on gentle/delicate cycle in cool water inside a mesh laundry bag. Use mild detergent. Lay flat to dry. Do not tumble dry, wring, or hang, as the weight of the roses can distort the shape when wet. Do not iron. Store flat or loosely rolled to preserve the three-dimensional rose shapes.
Size Customization Tips
To size up (Medium/Large, US 8/10): Work 14 bodice motifs per row instead of 12, and adjust the skirt rows to 14, 16, 18, and 20 motifs per row. Top border sc count becomes 14 x 9 = 126 sc. Add 6 additional roses (approximately 70 total).
To size down (Extra Small, US 0/2): Work 10 bodice motifs per row and skirt rows of 10, 12, 14, and 16 motifs. Top border sc count becomes 10 x 9 = 90 sc. Reduce roses by approximately 10 (approximately 54 total).
To lengthen the skirt: Add one or more additional rows of motifs to the skirt panel before the hem border. Each row of motifs adds approximately 3 inches / 7.5 cm of length and adds 2 motifs to maintain the A-line flare. Add additional roses to cover new motifs.
To shorten the bodice: Omit one row of bodice motifs (work only 3 rows instead of 4). Adjust the halter shaping rows proportionally.
Final Thoughts on This Coral Sunset Halter Dress Crochet Pattern
This dress represents the kind of ambitious project that reminds us why we fell in love with crochet in the first place. Yes, it takes time. Yes, you will stitch through dozens of roses until your fingers know the motions by heart. But when you slip it on and see those coral blooms cascading down the fabric, you will understand why some patterns are worth every stitch.
Take your time with this one. Break it into manageable sessions. Maybe one rose per evening while watching your favorite show. Before you know it, you will have a pile of beautiful blooms ready to transform that lace mesh into something truly extraordinary.
Thank you so much for choosing this pattern. I truly hope you love making this dress as much as I loved designing it. If you make one, I would absolutely love to see it! Tag me on Instagram or share a photo in my Facebook group.
Save this pattern to your Pinterest boards so you can find it when you are ready to start. And please leave a comment below if you give it a try. I read every single one and love hearing about your projects.
You Might Also Like
- Sage Green Boho Crochet Backpack Free Pattern
- Sunflower Granny Square Bucket Bag Free Crochet Pattern
- Winter Snowflake Crochet Hoodie Free Crochet Pattern
- Spring Garden Granny Square Bag Free Crochet Pattern