Charcoal Gray Modern Crochet Backpack Free Pattern
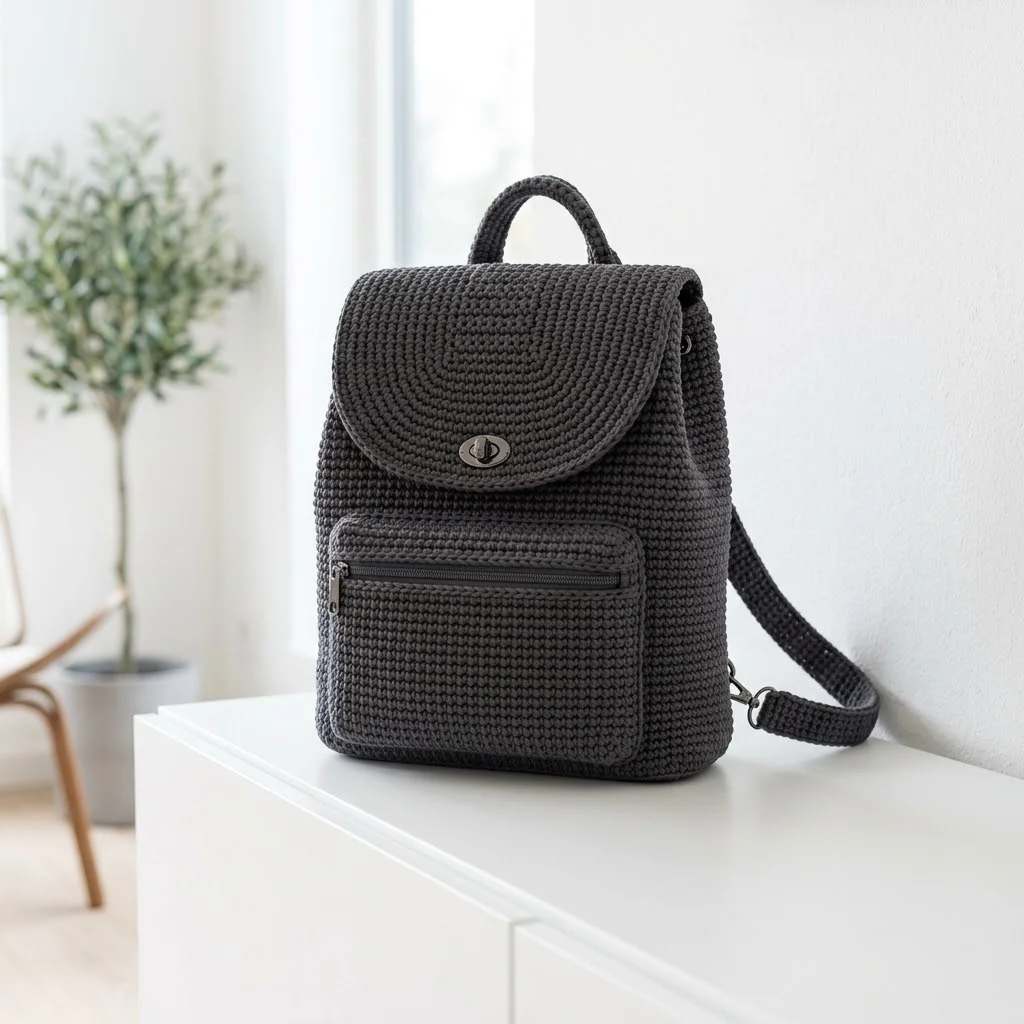
I’ve been looking for the perfect everyday crochet bag pattern for months now, and this charcoal gray modern backpack is hands down my favorite. The clean lines, the structured shape, and that gorgeous minimalist aesthetic make it look like something you’d find in a high-end boutique. This is exactly the kind of project I love recommending because it combines practical function with seriously impressive style.
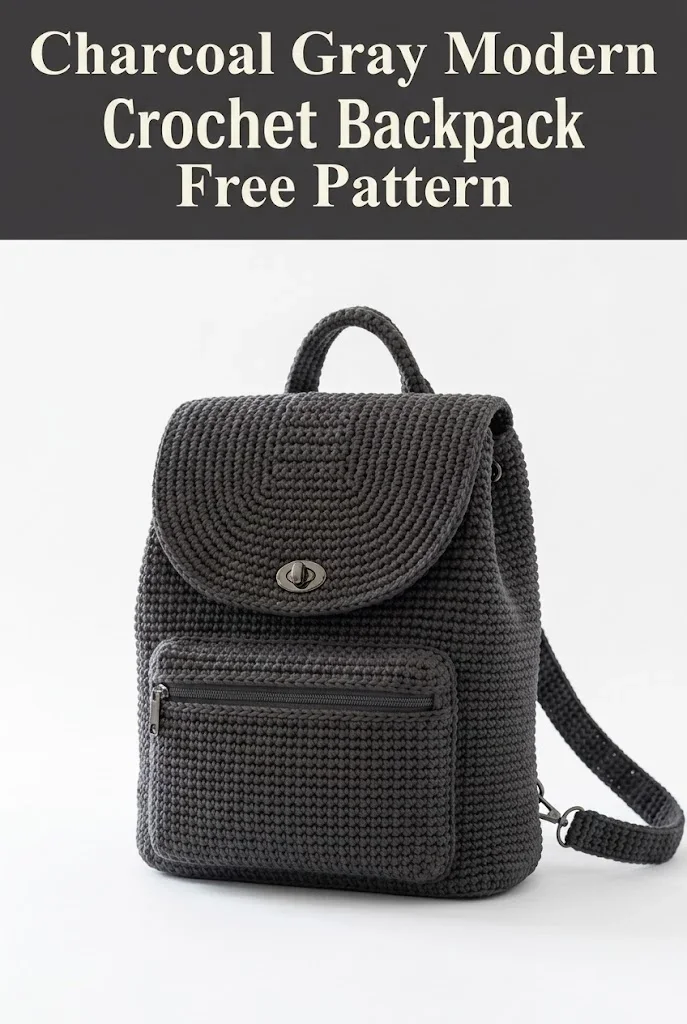
Why You’ll Love This Crochet Backpack Pattern
This modern crochet backpack is a showstopper. The tight, uniform stitches create a fabric sturdy enough to hold your everyday essentials without stretching or sagging. We’re talking about a bag that actually looks store-bought, not homemade in the unflattering sense.
The construction uses single crochet stitches throughout, which means the technique itself is beginner friendly. However, I’d classify this overall project as intermediate level because of the multiple components and hardware installation. If you’ve made a few amigurumi projects or crocheted a basic bag before, you’re absolutely ready for this.
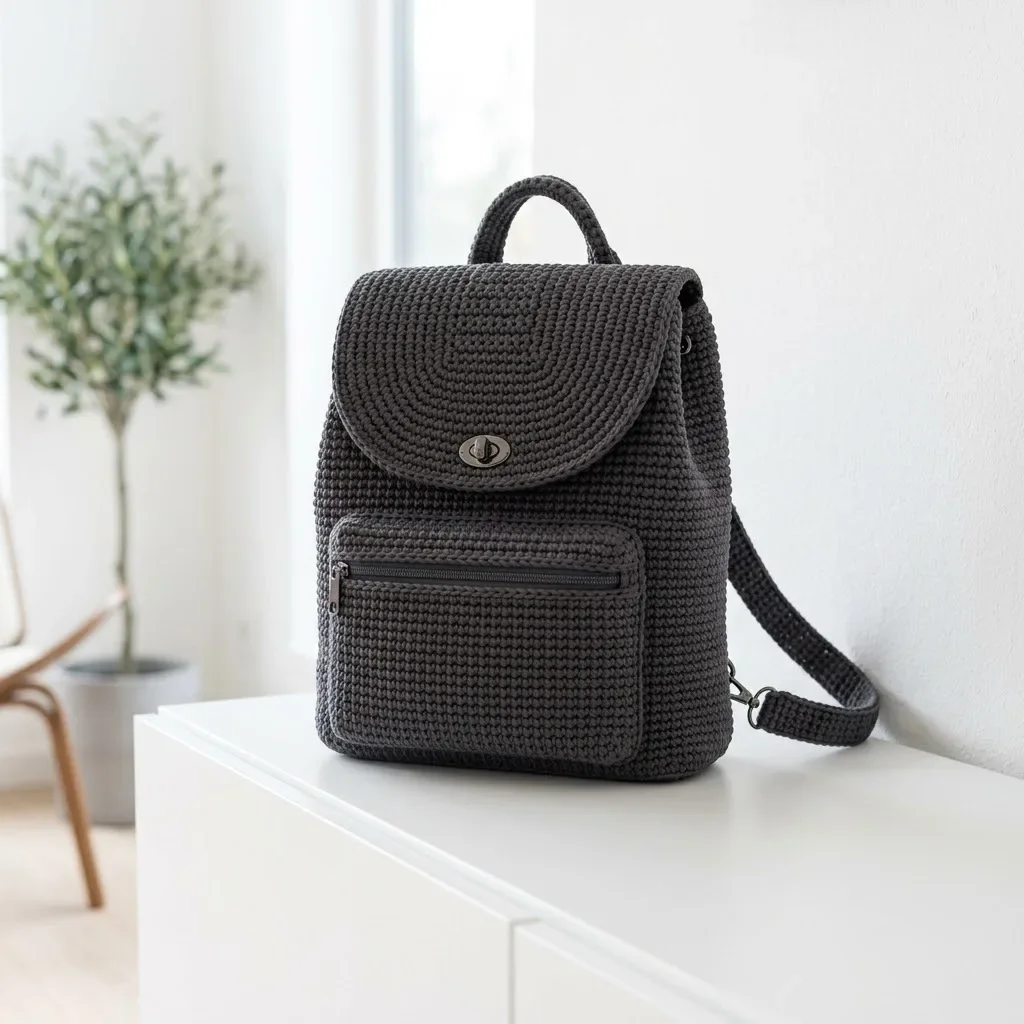
What makes this backpack special is the attention to detail. The rounded flap closure with a twist lock, the front zippered pocket, the structured top handle, and the adjustable shoulder strap all come together to create something truly professional looking.
Materials You’ll Need
Yarn:
Hook:
Notions:
Gauge:
18 stitches and 20 rows = 4 inches in single crochet with recommended yarn and hook
Always check your gauge before starting. A tighter gauge creates a sturdier bag that holds its shape beautifully.
Abbreviations and Stitch Definitions
Ch = Chain: Yarn over, pull through loop on hook
Sl st = Slip stitch: Insert hook, yarn over, pull through stitch and loop on hook in one motion
Sc = Single crochet: Insert hook into stitch, yarn over and pull up a loop (2 loops on hook), yarn over and pull through both loops
Inc = Increase: Work 2 single crochet stitches into the same stitch
Dec = Decrease: Insert hook into next stitch, pull up a loop, insert hook into following stitch, pull up a loop (3 loops on hook), yarn over and pull through all 3 loops
Crochet Backpack Pattern Instructions
Base of the Backpack
The base is worked in continuous rounds. Use a stitch marker to track the beginning of each round.
Round 1: Ch 25. Starting in 2nd ch from hook, sc in each ch across. When you reach the end, work 3 sc in the last ch to turn the corner. Continue along the opposite side of the foundation chain, working 1 sc in each ch. Work 2 sc in the last stitch to complete the oval. (52 sts)
Round 2: Sc in next 23 sts, inc in next 3 sts, sc in next 23 sts, inc in next 3 sts. (58 sts)
Round 3: Sc in next 23 sts, (sc, inc) 3 times, sc in next 23 sts, (sc, inc) 3 times. (64 sts)
Round 4: Sc in next 23 sts, (sc 2, inc) 3 times, sc in next 23 sts, (sc 2, inc) 3 times. (70 sts)
Round 5: Sc in next 23 sts, (sc 3, inc) 3 times, sc in next 23 sts, (sc 3, inc) 3 times. (76 sts)
Your base should measure approximately 5 inches wide by 9 inches long. Don’t worry if yours is slightly different. Just make sure it lies flat without curling.
Body of the Backpack
Now we build up the walls. This is where the magic happens.
Round 6: Working in back loops only (this creates the crisp edge at the bottom), sc in each st around. (76 sts)
Rounds 7 to 55: Sc in each st around. (76 sts per round)
Continue until the body measures approximately 10 to 11 inches tall from the base. This creates a nice proportioned bag that fits a tablet, water bottle, and your daily necessities.
After Round 55, sl st to join. Fasten off and weave in ends.
Flap Closure
The flap is worked in turned rows, creating that beautiful rounded shape you see in the photos.
Row 1: Ch 2, work 6 sc in 2nd ch from hook. Turn. (6 sts)
Row 2: Ch 1, inc in each st across. Turn. (12 sts)
Row 3: Ch 1, (sc, inc) across. Turn. (18 sts)
Row 4: Ch 1, (sc 2, inc) across. Turn. (24 sts)
Row 5: Ch 1, (sc 3, inc) across. Turn. (30 sts)
Row 6: Ch 1, (sc 4, inc) across. Turn. (36 sts)
Row 7: Ch 1, (sc 5, inc) across. Turn. (42 sts)
Row 8: Ch 1, (sc 6, inc) across. Turn. (48 sts)
Rows 9 to 25: Ch 1, sc in each st across. Turn. (48 sts)
The flap should measure approximately 5.5 inches wide at the curved edge and about 6 inches from curve to straight edge.
Border: Ch 1, sc evenly around entire flap, working 3 sc in each corner to keep it flat. Join with sl st. Fasten off.
Front Pocket
This pocket adds functionality and visual interest. It’s designed to fit a small zipper across the top.
Ch 31.
Row 1: Sc in 2nd ch from hook and in each ch across. Turn. (30 sts)
Rows 2 to 20: Ch 1, sc in each st across. Turn. (30 sts)
The pocket should measure approximately 6.5 inches wide by 4 inches tall.
Border: Ch 1, sc evenly around all four sides, working 3 sc in each corner. Join with sl st. Fasten off.
Top Handle
Ch 6.
Row 1: Sc in 2nd ch from hook and in each ch across. Turn. (5 sts)
Rows 2 to 30: Ch 1, sc in each st across. Turn. (5 sts)
The handle should measure approximately 6 inches long when relaxed. It will stretch slightly with use, which is normal.
Fold in half lengthwise and whip stitch the long edges together to create a sturdy rounded handle. Alternatively, you can leave it flat for a more modern ribbon-style look.
Shoulder Strap
Ch 8.
Row 1: Sc in 2nd ch from hook and in each ch across. Turn. (7 sts)
Rows 2 to 200: Ch 1, sc in each st across. Turn. (7 sts)
Yes, this is a lot of rows. Put on a podcast and enjoy the meditative rhythm of simple stitches. The finished strap should measure approximately 40 to 45 inches long. Adjust the length based on your preference.
Strap Tabs (Make 2)
These small pieces attach the strap to the bag body using D-rings.
Ch 6.
Row 1: Sc in 2nd ch from hook and in each ch across. Turn. (5 sts)
Rows 2 to 12: Ch 1, sc in each st across. Turn. (5 sts)
Fold each tab around a D-ring and sew the ends together securely.
Assembly Instructions
Take your time with this part. Good assembly makes all the difference between a handmade bag and a professional-looking accessory.
Step 1: Attach the Front Pocket
Position the pocket on the front of the backpack body, centered horizontally and about 2 inches up from the bottom edge. Pin in place. Using matching thread and a sewing needle, whip stitch the bottom and both sides to the bag body. Leave the top open for the zipper.
Step 2: Install the Zipper
Hand sew the zipper along the inside top edge of the pocket opening. Use small, tight stitches and make sure the zipper pull faces outward. This step requires patience, but the result is worth it.
Step 3: Attach the Strap Tabs
Sew one strap tab to each bottom corner of the backpack, positioned on the back panel. Reinforce with multiple passes of thread because these will bear the weight of the bag.
Step 4: Attach the Top Handle
Position the handle at the center top of the back panel. The ends should sit about 3 inches apart. Sew securely, reinforcing the attachment points.
Step 5: Attach the Flap
Line up the straight edge of the flap with the back top edge of the bag body. The flap should fold forward over the opening. Whip stitch along the entire back edge, ensuring a secure and even attachment.
Step 6: Install the Twist Lock
Mark the center of the flap, approximately 1 inch up from the curved bottom edge. Install the decorative portion of the twist lock according to the hardware instructions.
On the front of the bag body, mark the corresponding position for the receiving plate. This should align perfectly when the flap folds down. Install the receiving portion.
Step 7: Attach the Shoulder Strap
Clip the swivel snap hooks to the D-rings on each strap tab. Your strap is now adjustable and removable.
Optional: Adding a Fabric Lining
For extra durability and a polished interior, consider adding a fabric lining. Cut your lining fabric to match the interior dimensions of the bag, adding 0.5 inch seam allowance. Sew the lining pieces together, then hand stitch the lining inside the bag along the top edge.
A lining also protects your belongings from snagging on the crochet stitches. I recommend a cotton canvas or quilting cotton in a coordinating color.
Tips for Success
Tension matters. Keep your stitches tight and consistent throughout. Loose stitches create a floppy bag that won’t hold its shape.
Block if needed. After completing each piece, wet block and pin to shape. Let dry completely before assembly.
Reinforce stress points. Double-stitch any areas that will bear weight, especially handle and strap attachments.
Test your hardware placement. Before permanently installing the twist lock, close the flap several times to ensure proper alignment.
Customize Your Backpack
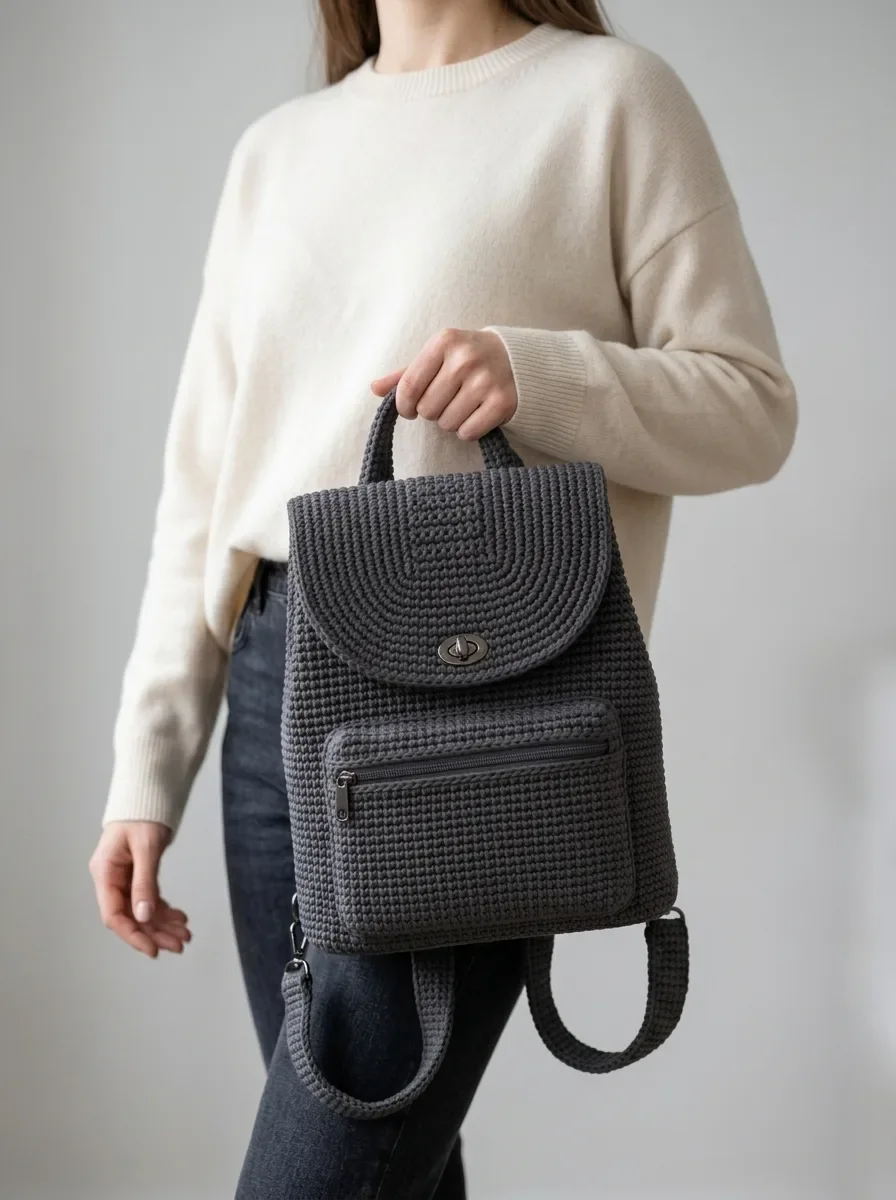
This crochet backpack pattern works beautifully in any solid color. Consider navy for a classic look, cream for summer, or rust for fall. You could also experiment with subtle colorblocking by using one shade for the body and another for the flap and pocket.
Add a small crocheted flower, leather tag, or decorative button to make it uniquely yours. The minimalist design serves as a perfect canvas for personal touches.
I really hope you love making this charcoal gray modern crochet backpack as much as I loved designing and writing up this pattern. If you give it a try, please save this pattern to your Pinterest boards so you can find it easily when you’re ready to start. And I’d absolutely love to see your finished bags, so drop a comment below or tag me on Instagram when you complete yours!
You Might Also Like
- Mint Chocolate Daisy Granny Square Blanket Free Crochet Pattern
- Galaxy Purple Chameleon Amigurumi Free Crochet Pattern
- Pink Valentine Highland Cow Amigurumi Free Crochet Pattern
- Cozy Gray Hexagon Sofa Throw Free Crochet Pattern