Blush Pink Round Chain Bag Free Crochet Pattern
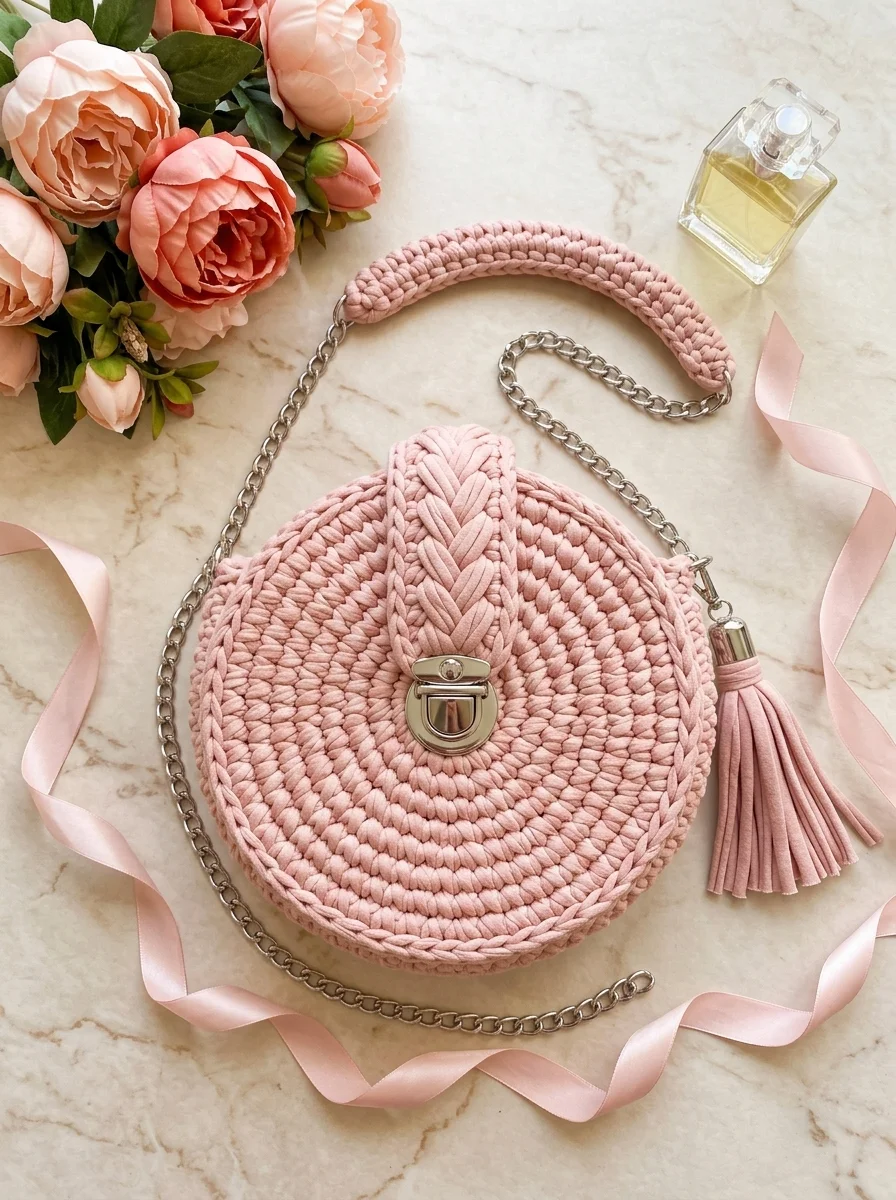
I absolutely love how this bag turned out, and I think you will too. This blush pink round chain bag is the kind of project that looks way more complicated than it actually is. The elegant circular shape, the braided flap detail, and that gorgeous silver chain strap all come together to create something that genuinely looks store bought. But here is the best part: if you can crochet in the round and know your basic stitches, you can make this.
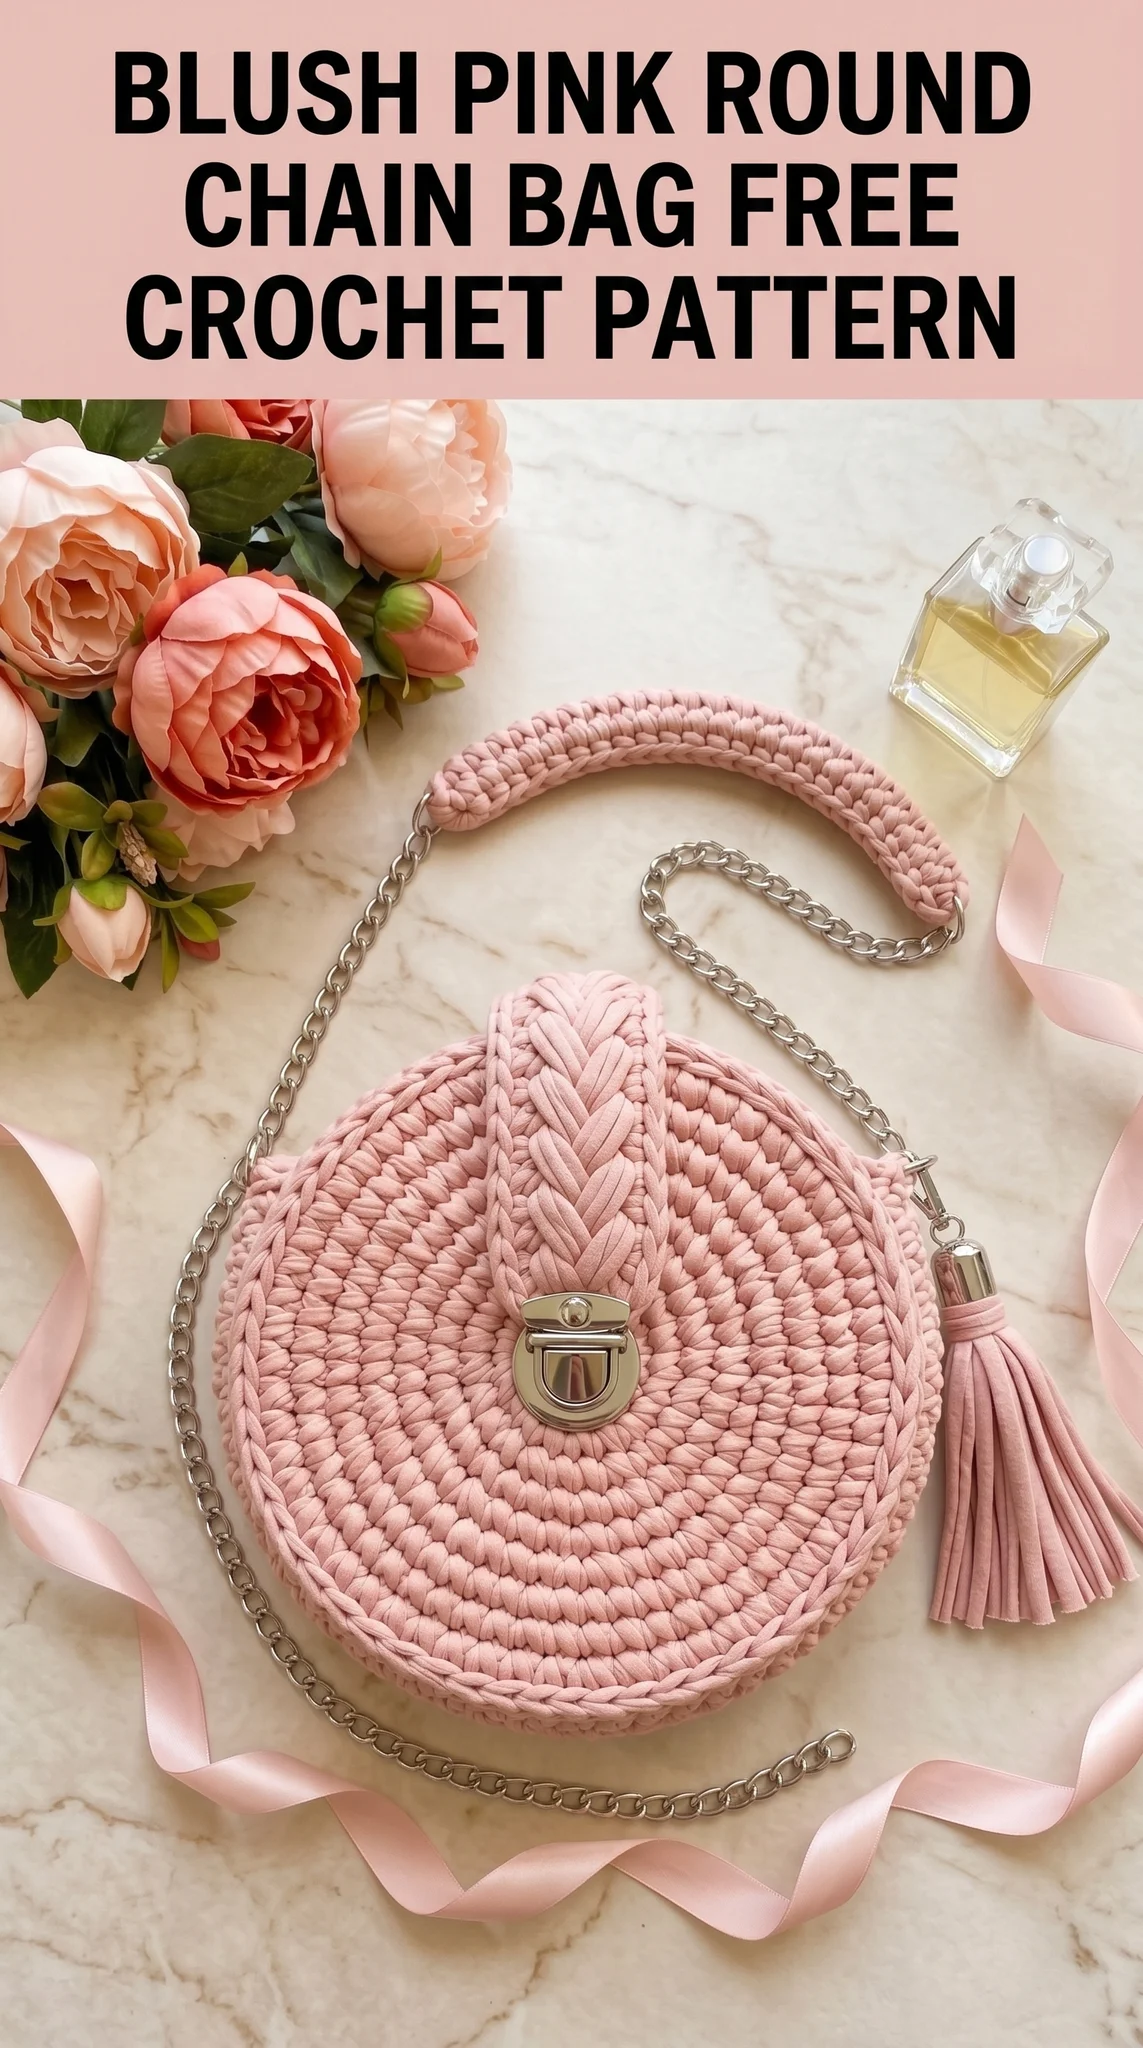
This crochet pattern is perfect for confident beginners ready to level up or intermediate crocheters looking for a satisfying weekend project. I will walk you through every single step, from that flat circular base all the way to attaching the hardware. Let’s make something beautiful together.
Why This Round Crochet Bag Pattern Works So Well
Round bags are having a serious moment right now. They are chic, compact, and surprisingly practical for everyday essentials like your phone, wallet, keys, and lipstick. This particular design uses t-shirt yarn (also called trapillo or zpagetti yarn), which gives the bag incredible structure without any lining.
The chunky stitches work up fast, so you are not spending months on a single project. I finished mine in about 6 hours total, spread over two cozy evenings. The metallic push lock clasp and chain strap elevate the whole thing from craft project to actual fashion accessory.
Materials You Will Need
Before you start, gather everything so you can crochet uninterrupted. There is nothing worse than getting into your flow and realizing you are missing something.
Yarn:
Hook:
Hardware and Notions:
Optional:
Stitch Abbreviations and Definitions
Let me break down every stitch and term you will see in this pattern. Even if you know these, a quick refresher never hurts.
Ch = Chain: Wrap yarn over hook, pull through loop on hook. This creates the foundation for most projects.
Sl st = Slip stitch: Insert hook into stitch, yarn over, pull through both the stitch and the loop on your hook in one motion. Used for joining rounds.
Sc = Single crochet: Insert hook into stitch, yarn over, pull up a loop (2 loops on hook), yarn over, pull through both loops. This is your basic short stitch.
Inc = Increase: Work 2 single crochets into the same stitch. This adds one stitch to your count.
Hdc = Half double crochet: Yarn over, insert hook into stitch, yarn over, pull up a loop (3 loops on hook), yarn over, pull through all 3 loops. Slightly taller than single crochet.
BLO = Back loop only: Instead of inserting your hook under both loops at the top of the stitch, only go through the back loop (the one furthest from you). This creates a ridge texture.
Gauge and Finished Dimensions
With t-shirt yarn and a 9mm hook:
Finished bag dimensions:
Your gauge may vary based on your yarn brand and personal tension. T-shirt yarn brands differ quite a bit in thickness, so do a quick swatch first if you want precise sizing. Honestly though, a slightly bigger or smaller bag will still be gorgeous and functional.
Step by Step Crochet Pattern for the Round Chain Bag
Now for the fun part. Take a breath, grab your hook, and let’s build this bag piece by piece.
Part 1: The Circular Base (Make 2)
You will create two identical circles: one for the front and one for the back. We work in continuous spiral rounds with single crochet.
Magic Ring Start:
If you have never made a magic ring (also called a magic circle or adjustable loop), do not panic. It is just a way to start crocheting in the round without a hole in the center. Wrap the yarn around your fingers, insert your hook, pull up a loop, and chain 1 to secure. Then you crochet into that ring and pull the tail tight to close it.
Round 1: Make a magic ring. Work 6 sc into the ring. Pull tail to close. (6 sts)
Round 2: Inc in each st around. (12 sts)
Round 3: *Sc 1, inc* repeat around. (18 sts)
Round 4: *Sc 2, inc* repeat around. (24 sts)
Round 5: *Sc 3, inc* repeat around. (30 sts)
Round 6: *Sc 4, inc* repeat around. (36 sts)
Round 7: *Sc 5, inc* repeat around. (42 sts)
Round 8: *Sc 6, inc* repeat around. (48 sts)
Round 9: *Sc 7, inc* repeat around. (54 sts)
Round 10: *Sc 8, inc* repeat around. (60 sts)
Fasten off the first circle. For the second circle, do not fasten off yet. We will use it to join the pieces.
Tip: Place a stitch marker at the beginning of each round if you lose track easily. With t-shirt yarn, the stitches can blur together.
Part 2: Creating the Bag Depth (Joining and Sides)
Now we connect the two circles and build the sides. This is where the bag takes shape.
Joining Round:
Hold both circles with wrong sides facing each other (right sides facing out). You will work through both layers to join them, leaving an opening at the top.
Starting from the stitch where your working yarn is attached on the second circle:
Round 1: Working through both circles together, sc evenly around approximately two-thirds of the edge (about 40 sts), joining front and back. Stop when you reach where you want your bag opening to be. (40 sts joined)
For the opening:
Continue working on the back circle only for the remaining stitches, then work on the front circle only. This creates the bag opening.
Actually, let me give you an easier method that I prefer:
Alternative Joining Method:
Hold circles together. Sl st through both layers around the bottom half of the bag (approximately 30 sts). This creates the solid base. Then work the top portions separately to create the opening.
Part 3: Building the Sides
After joining the base, we need to add height to create the bag depth.
Working on the joined section and continuing around both openings:
Side Rounds 1 to 3: Sc in BLO around the entire perimeter of both circles where they meet. Work 3 rounds total, maintaining approximately 60 sts per round. (60 sts each round)
Working in back loop only creates that beautiful ridged texture you see in the photos. It also helps the bag maintain its structured shape.
Part 4: The Flap
The flap extends from the back circle and features that stunning braided detail down the center.
Starting the Flap:
Identify the center back of your bag (opposite from where the opening will be). Count 15 stitches to each side of center. You will work flat (back and forth) over these 30 stitches.
Row 1: Ch 1, turn. Sc 30 across. (30 sts)
Rows 2 to 8: Ch 1, turn. Sc 30 across. (30 sts each row)
Shaping the Rounded Flap:
Row 9: Ch 1, turn. Sc2tog, sc 26, sc2tog. (28 sts)
Row 10: Ch 1, turn. Sc2tog, sc 24, sc2tog. (26 sts)
Row 11: Ch 1, turn. Sc2tog, sc 22, sc2tog. (24 sts)
Row 12: Ch 1, turn. Sc2tog, sc 20, sc2tog. (22 sts)
Row 13: Ch 1, turn. Sc2tog, sc 18, sc2tog. (20 sts)
Continue decreasing at each edge until approximately 10 to 12 stitches remain, creating a rounded shape.
Fasten off, leaving a long tail for weaving in.
Part 5: The Braided Detail
This is what makes the bag really special. The braid runs vertically down the center of the flap.
Creating the Braid:
Cut 6 strands of t-shirt yarn, each approximately 40cm long. Divide into 3 pairs (2 strands each). Braid tightly.
Attaching:
Using your tapestry needle, sew the braid down the center of the flap. Secure at the top edge and weave the ends into the back of the flap at the bottom. The braid should cover the center 3 to 4 stitches.
Part 6: The Crocheted Handle Section
The strap features a crocheted section in the middle with chains on either side. This is comfortable on your shoulder and adds visual interest.
Ch 30. (Adjust for your desired length)
Row 1: Sc in second ch from hook and across. (29 sts)
Rows 2 to 4: Ch 1, turn. Sc 29 across. (29 sts each row)
Fasten off, leaving tails for attaching end caps.
Finishing and Assembly
Almost there! This is where it all comes together.
Attaching the Push Lock Clasp:
Position the clasp on the front of the bag, centered and approximately 2cm from the top edge. Mark the prong placement. Use sharp scissors or an awl to create small holes. Push the prongs through and bend them flat on the inside. Attach the corresponding catch on the underside of the flap.
Adding the Chain Strap:
Insert the end caps onto each end of your crocheted handle section. Crimp or glue to secure. Attach chain lengths to each end cap using jump rings. Attach swivel clips or D-rings to the other end of each chain.
Creating Attachment Points on the Bag:
Crochet small loops (ch 10, sl st to join) on each side of the bag opening. Or, sew D-rings directly into the side seams.
Optional Tassel:
Attach a matching tassel to one D-ring using a jump ring or simple loop.
Tips for Success
Tension matters with t-shirt yarn. Too tight and your circles will cup. Too loose and they will be floppy. Aim for stitches that lay flat but feel sturdy.
Yarn brands vary wildly. Hoooked Zpagetti, Yarn Art Maccrame, and Bobilon are popular choices, but thickness differs between them. Adjust your hook size accordingly.
Block your circles by wetting them and laying flat to dry before assembly. This helps them relax into perfect circles.
Hardware quality matters. Cheap clasps tarnish and break. Invest in good quality findings from a jewelry or handbag supply shop.
Customization Ideas
This crochet tutorial gives you the foundation, but make it yours:
You Did It!
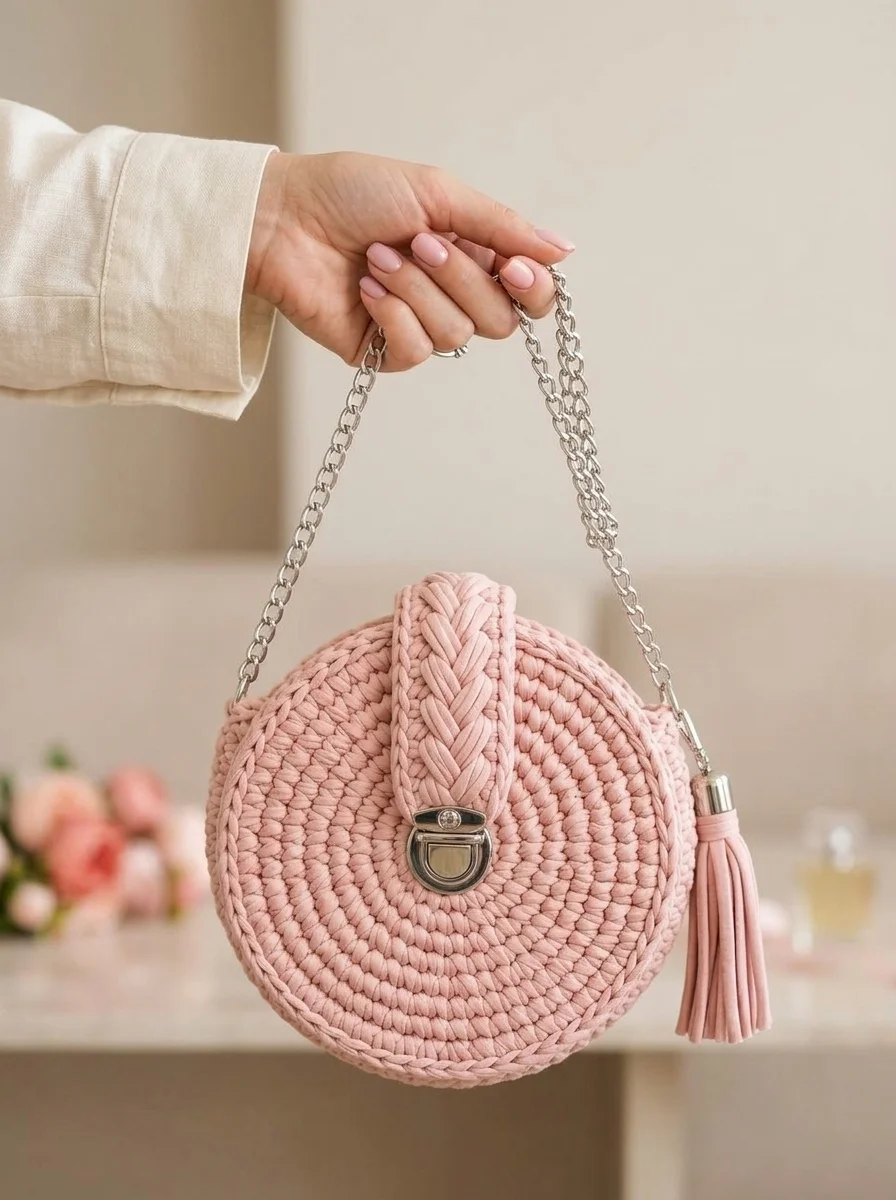
I am so proud of you for making it through this blush pink round chain bag crochet pattern. Whether this is your first bag or your fiftieth, creating something beautiful and functional with your own hands is genuinely magical.
Thank you for trusting me with your crafting time. I hope this step by step guide gave you everything you needed to bring this bag to life.
I would absolutely love to see your finished bags. Tag me on Instagram or share in my Facebook group so I can cheer you on. Nothing makes my day like seeing your creations out in the world.
Happy crocheting, friend. Now go show off that gorgeous bag.