Blush Pink Romantic Granny Backpack Free Crochet Pattern
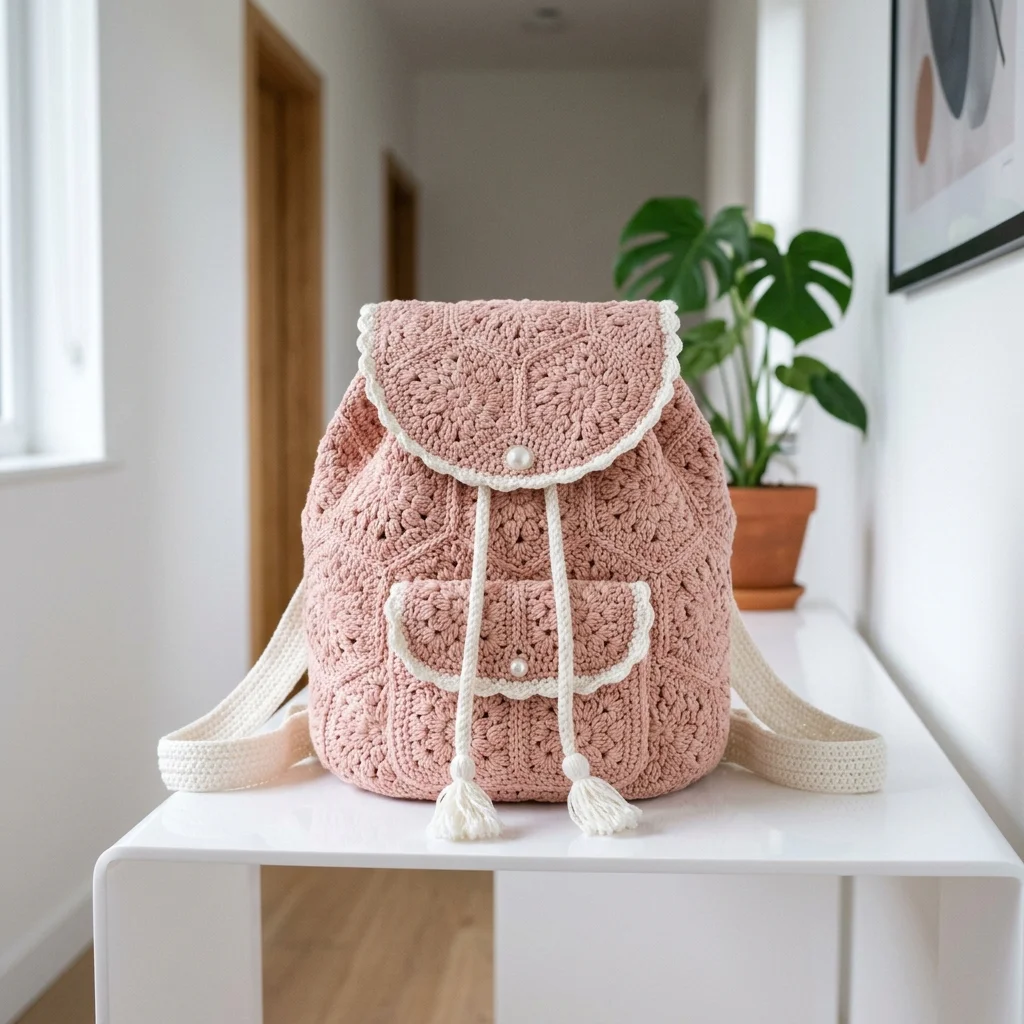
OH MY GOODNESS, this backpack is the project you didn’t know you needed! If you’ve been looking for something that looks absolutely stunning but comes together faster than you’d expect, you’re in the right place. This romantic granny square backpack works up in about a weekend, and I promise you’ll want to make one in every color once you finish. The combination of classic granny motifs with modern construction makes this one of the most satisfying bags I’ve ever designed. Perfect for yourself, perfect for gifts, and guaranteed to get compliments everywhere you go!
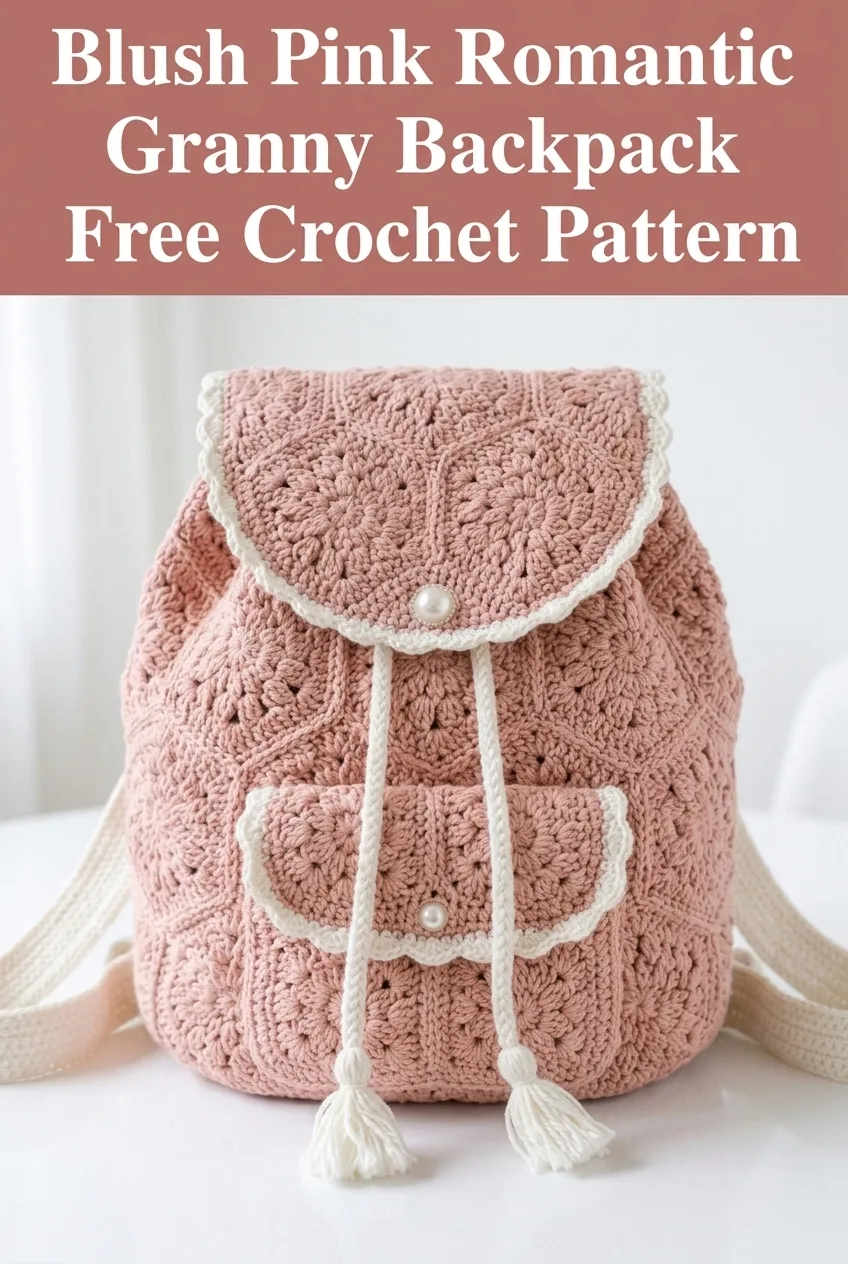
Why You’ll Love This Crochet Backpack Pattern
This blush pink romantic granny backpack combines vintage charm with practical everyday function. The granny square motifs create beautiful texture while keeping the construction straightforward. You’re essentially making flat pieces and joining them together, which means no complicated shaping to stress about.
The contrast cream trim adds that polished, finished look that makes handmade items look professionally crafted. Those little tassels on the drawstring? Chef’s kiss. They’re the perfect finishing touch that elevates this from a simple bag to a statement piece.
I designed this crochet pattern with intermediate crafters in mind, but confident beginners can absolutely tackle this project. If you can make a granny square and work basic stitches in rows, you have all the skills you need.
Materials Needed
Yarn:
I recommend using cotton or a cotton blend for this backpack. Cotton holds its shape beautifully and won’t stretch out when you load up the bag. Acrylic works too, but your backpack may slouch a bit more over time.
Hook:
Notions:
Gauge:
One complete granny square motif measures approximately 4 inches (10cm) square after blocking.
Always, always check your gauge! If your squares are too big, go down a hook size. Too small? Go up a hook size. This matters for bags because you want everything to fit together properly.
Abbreviations and Stitch Definitions
Let me walk you through every stitch you’ll need for this crochet tutorial.
Ch = Chain: Wrap yarn over hook, pull through loop on hook. This creates your foundation and is used for turning and spacing.
Sl st = Slip stitch: Insert hook into stitch, yarn over, pull through both the stitch and the loop on hook in one motion. Used for joining and moving across stitches invisibly.
Sc = Single crochet: Insert hook into stitch, yarn over and pull up a loop (2 loops on hook), yarn over and pull through both loops. Your shortest basic stitch.
Dc = Double crochet: Yarn over, insert hook into stitch, yarn over and pull up a loop (3 loops on hook), yarn over and pull through 2 loops (2 loops remain), yarn over and pull through remaining 2 loops. A taller stitch that creates the signature granny look.
3-dc cluster = Three double crochets worked into the same stitch or space. This creates the classic granny square “puff” effect.
Magic ring = An adjustable starting loop that allows you to pull the center closed tightly. If you’re not comfortable with magic rings, you can chain 4 and slip stitch to join instead.
Skill Level
Intermediate
Don’t let that scare you! If you’ve made granny squares before, you’re already halfway there. The “intermediate” rating comes from the assembly and finishing details, not complicated stitchwork.
Finished Dimensions
Step by Step Crochet Pattern
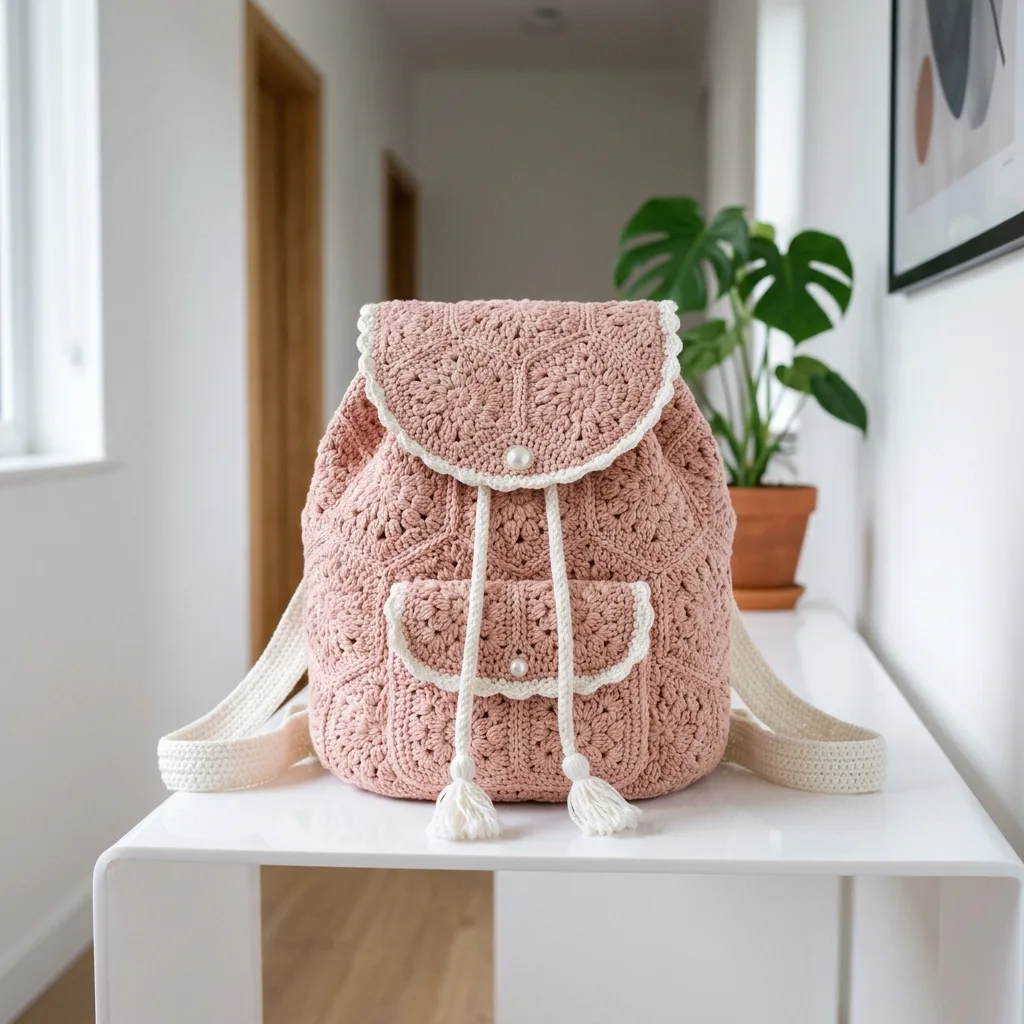
Part 1: Granny Square Motifs (Make 20)
You’ll need 20 identical granny squares in your main color. I know that sounds like a lot, but they work up quickly once you get into a rhythm. Put on a podcast, settle into your favorite spot, and let the squares pile up.
Round 1: Using MC and 5.0mm hook, create a magic ring. Ch 3 (counts as first dc throughout), work 2 dc into ring, ch 2, *3 dc into ring, ch 2* repeat 3 more times. Sl st to top of beginning ch-3 to join. (4 clusters of 3 dc, 4 ch-2 corner spaces)
Round 2: Sl st across to first ch-2 corner space. Ch 3, 2 dc in same corner space, ch 1, *3 dc in same corner space, ch 2, 3 dc in next corner space, ch 1* repeat around, ending with 3 dc in first corner space, ch 2. Sl st to top of beginning ch-3 to join. (8 clusters of 3 dc, 4 ch-2 corner spaces, 4 ch-1 side spaces)
Round 3: Sl st to corner space. Ch 3, 2 dc in same corner space, ch 1, 3 dc in ch-1 space, ch 1, *[3 dc, ch 2, 3 dc] in corner space, ch 1, 3 dc in ch-1 space, ch 1* repeat around. End with 3 dc in first corner space, ch 2. Sl st to join. (12 clusters total)
Round 4: Sl st to corner space. Ch 3, 2 dc in same corner space, ch 1, 3 dc in next ch-1 space, ch 1, 3 dc in next ch-1 space, ch 1, *[3 dc, ch 2, 3 dc] in corner space, ch 1, [3 dc in ch-1 space, ch 1] twice* repeat around. End with 3 dc in first corner space, ch 2. Sl st to join. Fasten off. (16 clusters total)
Weave in your ends as you go. Trust me on this one. Future you will thank present you.
Part 2: Half Granny Motifs for Flap Shaping (Make 2)
These half motifs help shape the rounded flap top.
Row 1: Using MC, ch 4, 2 dc in 4th ch from hook, turn. (3 dc)
Row 2: Ch 3, 2 dc in base of ch-3, ch 1, skip 1 dc, 3 dc in last dc, turn. (6 dc in 2 clusters)
Row 3: Ch 3, 2 dc in base of ch-3, ch 1, 3 dc in ch-1 space, ch 1, 3 dc in top of turning ch, turn. (9 dc in 3 clusters)
Fasten off. Leave a long tail for seaming.
Part 3: Assembling the Body
Now comes the fun part where your squares become a bag!
Back Panel: Join 6 squares in a 2 wide by 3 tall configuration. Use CC yarn and a whip stitch or slip stitch seam through back loops only. This creates a lovely raised seam detail on the right side.
Front Panel: Join 6 squares in the same 2 by 3 configuration.
Side Panels: Join 2 squares vertically for each side. You need 2 side panels total (4 squares).
Bottom Panel: Join 2 squares side by side horizontally.
Joining the Body: Connect your panels to form a box shape. Start by attaching the bottom panel to the back panel along one long edge. Then attach the front panel to the opposite edge of the bottom. Add side panels to complete the box. Take your time here and count your stitches to make sure everything lines up.
Part 4: Front Pocket
Foundation: Using MC, ch 22.
Row 1: Sc in 2nd ch from hook and each ch across, turn. (21 sc)
Rows 2 through 16: Ch 1, sc in each st across, turn. (21 sc)
Row 17: Ch 1, sc2tog, sc across to last 2 sts, sc2tog, turn. (19 sc)
Row 18: Repeat Row 17. (17 sc)
Fasten off.
Pocket Flap: Using MC, ch 18.
Row 1: Sc in 2nd ch from hook and each ch across, turn. (17 sc)
Rows 2 through 6: Ch 1, sc in each st across, turn. (17 sc)
Row 7: Ch 1, sc2tog, sc across to last 2 sts, sc2tog, turn. (15 sc)
Row 8: Repeat Row 7. (13 sc)
Row 9: Repeat Row 7. (11 sc)
Fasten off.
Border for Pocket and Flap: Using CC, join yarn at any corner. Work 1 round of sc evenly around entire edge, working 3 sc in each corner. Sl st to join. Fasten off.
Attach pocket to front panel, centered horizontally and positioned in the lower third of the bag front. Sew flap to bag above pocket opening. Add button or snap closure.
Part 5: Main Flap
Row 1: Using MC, ch 32.
Row 2: Dc in 4th ch from hook and each ch across, turn. (30 dc)
Rows 3 through 12: Ch 3, dc in each dc across, turn. (30 dc)
Shaping the Curve:
Row 13: Ch 3, dc2tog, dc across to last 3 sts, dc2tog, dc in last st, turn. (28 dc)
Row 14: Repeat Row 13. (26 dc)
Row 15: Repeat Row 13. (24 dc)
Row 16: Repeat Row 13. (22 dc)
Row 17: Repeat Row 13. (20 dc)
Row 18: Repeat Row 13. (18 dc)
Fasten off.
Scalloped Edge: Using CC, join at corner of curved edge.
*Sc, skip 1 st, 5 dc in next st, skip 1 st* repeat around curved portion only. Fasten off.
Attach flap to back panel of bag at top edge. Add button closure that aligns with front of bag.
Part 6: Drawstring Channel and Closure
Channel Round: Using CC, join yarn at top edge of bag body at a side seam.
Round 1: Ch 1, sc evenly around entire top opening. Count your stitches and adjust to ensure you have an even number. Sl st to join.
Round 2: Ch 4 (counts as dc plus ch-1), skip 1 st, *dc in next st, ch 1, skip 1 st* repeat around. Sl st to 3rd ch of beginning ch-4. (This creates the holes for your drawstring)
Round 3: Ch 1, sc in each dc and ch-1 space around. Sl st to join. Fasten off.
Drawstring: Using CC, ch 150 or until piece measures approximately 45 inches. Sl st in 2nd ch from hook and each ch across. Fasten off.
Thread drawstring through ch-1 spaces in Round 2. Add small tassels to each end.
Part 7: Straps (Make 2)
Foundation: Using CC, ch 8.
Row 1: Sc in 2nd ch from hook and each ch across, turn. (7 sc)
Rows 2 through 120: Ch 1, sc in each st across, turn. (7 sc)
Adjust length as needed. Each strap should measure approximately 28 to 30 inches for comfortable wear.
Fasten off, leaving long tail for attachment.
Attach straps to back panel, positioning at top corners and bottom corners of the back. Secure firmly with several passes of yarn through the strap and bag body.
Part 8: Tassels (Make 2)
Cut 20 pieces of CC yarn, each approximately 6 inches long. Fold bundle in half over the end of your drawstring. Wrap a separate piece of yarn around the bundle about half an inch from the fold, wrapping several times and tying securely. Trim ends evenly.
Finishing Your Backpack
Block all pieces before final assembly if desired. For cotton yarn, wet blocking works beautifully. Simply dampen your finished bag, shape it, and allow to dry completely.
Weave in all remaining ends securely. For a bag that will see regular use, I recommend weaving ends through at least 2 to 3 inches of stitches in multiple directions.
Check all seams for security. Add additional stitching to stress points like strap attachments and the bottom corners.
Tips for Success
Yarn choice matters. Cotton and cotton blends hold their shape best for bags. If you use acrylic, consider adding a fabric lining for structure.
Count your squares. Before seaming, lay out all 20 squares and make sure they’re the same size. If any are significantly different, you can block them to match or redo them.
Take breaks during assembly. Joining pieces can feel tedious. Work in short sessions to keep your stitching neat and even.
Customize the colors. This pattern looks gorgeous in so many color combinations. Try navy with white trim, sage green with cream, or go bold with coral and turquoise.
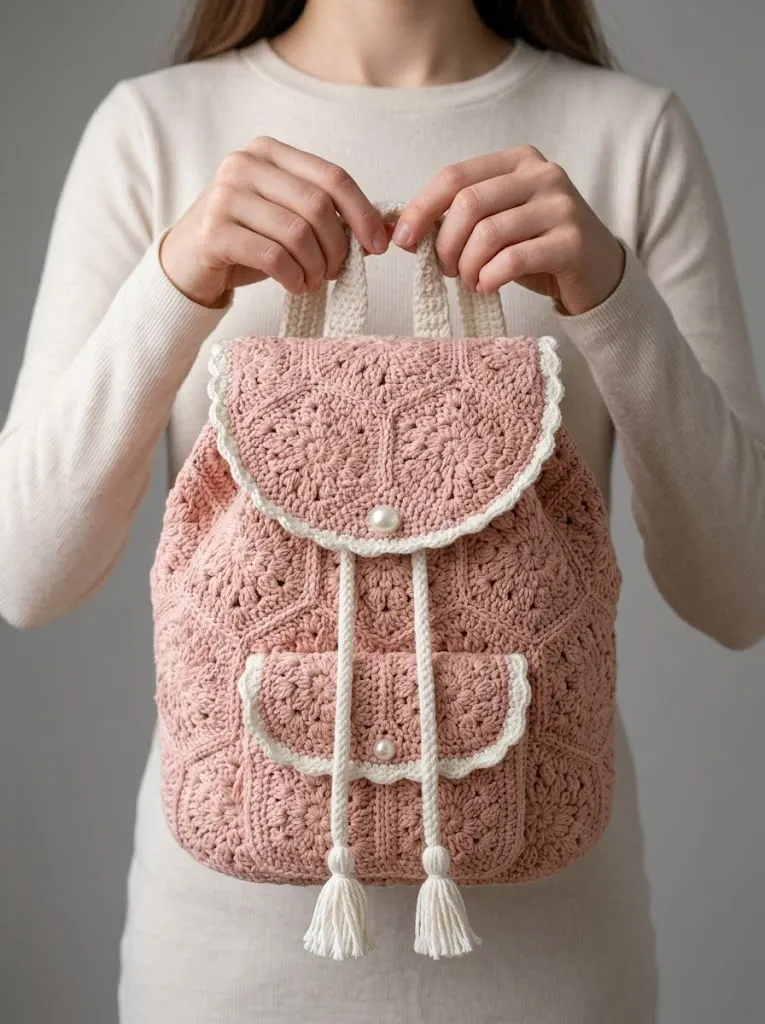
Share Your Finished Backpack
I genuinely love seeing your finished projects! Watching this blush pink romantic granny backpack come to life in different yarns and colors brings me so much joy. Tag your photos on Instagram or share them in my Facebook group so I can celebrate with you.
This crochet backpack pattern makes an unforgettable gift for teens, college students, or anyone who appreciates handmade beauty with practical function. Imagine presenting this at a birthday or graduation!
I really hope you enjoy making this romantic granny backpack as much as I enjoyed designing it. If this pattern finds a spot in your project queue, save it to your Pinterest boards so you can find it easily when you’re ready to start. And please drop a comment below when you finish yours. I’d love to hear which colors you chose and how the process went for you!
You Might Also Like
- Ocean Waves Ombre Granny Square Blanket Free Crochet Pattern
- Mustard Yellow Boho Tote with Brown Leather Tassels Pattern
- Mint Green Popcorn Stitch Baby Jumpsuit Free Crochet Pattern
- Sage Green Woodland Baby Dress Free Crochet Pattern