Adorable Pompom Crochet Hat Pattern
Adorable Pompom Crochet Hat Pattern
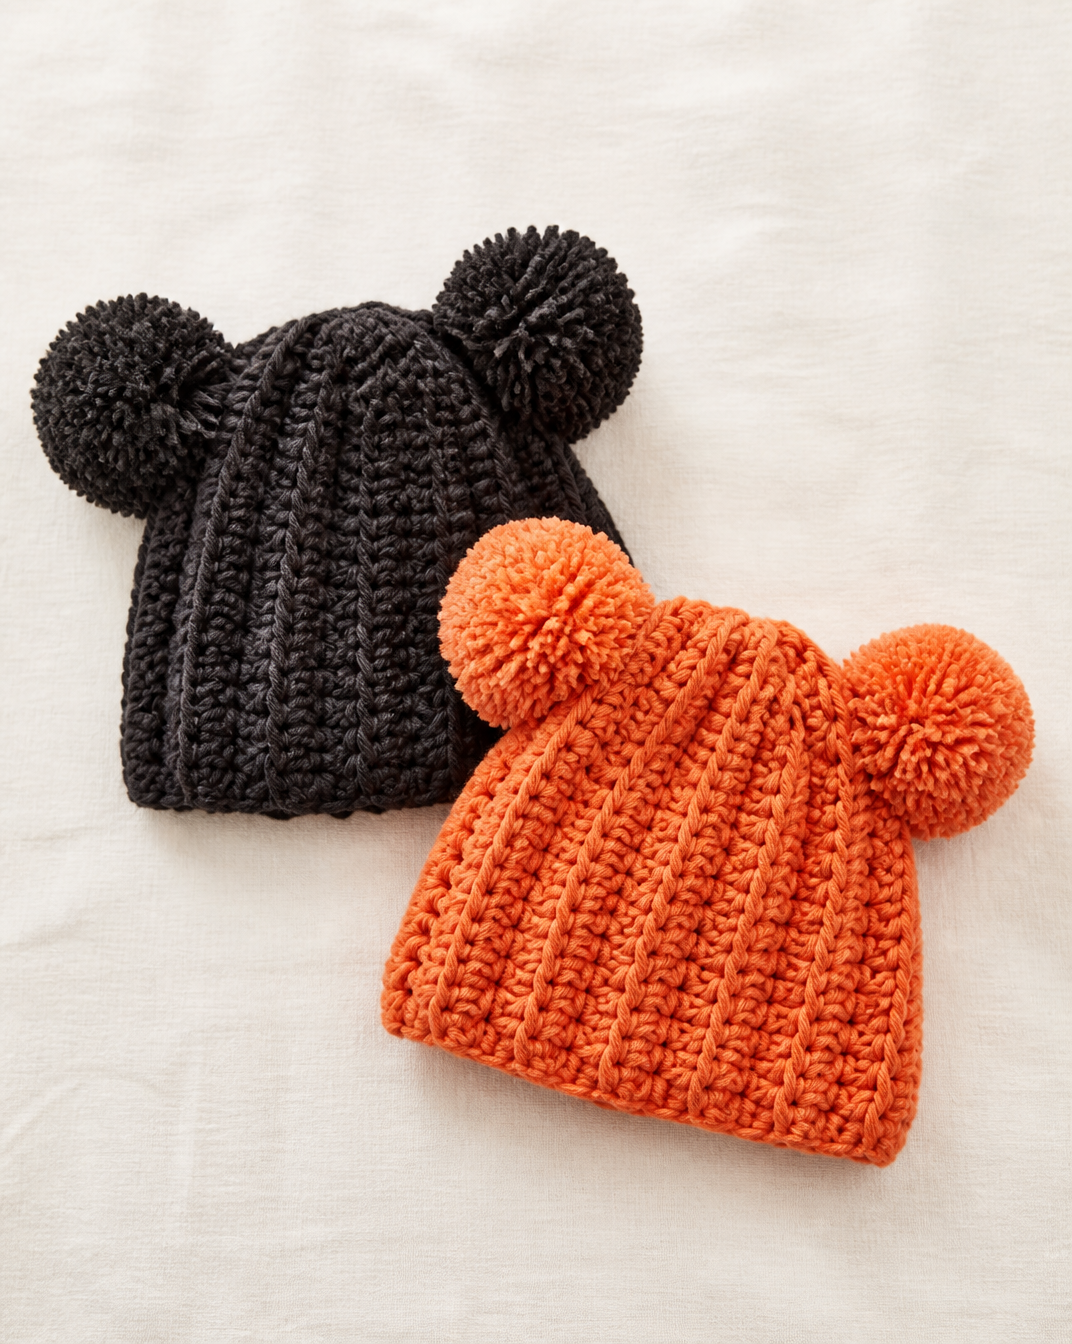
This adorable pompom crochet hat pattern creates a sweet, textured hat with two playful pompoms. The hat is worked in rows, beginning with a foundation chain and continuing with a combination of slip stitches and single crochet worked through the back loop. Once the crocheted fabric reaches the stated measurement, the top is gathered, the back seam is sewn, and two handmade pompoms are attached to the sides.
This article presents the supplied pattern in a clear, step-by-step format. It includes the listed yarn quantities for the two stated sizes, the required crochet hook, abbreviation guidance, preparation notes, the complete row instructions, assembly directions, and source-based checkpoints. Any information not provided in the source, such as gauge, finished height, skill level, or care instructions, is identified rather than estimated.
Project Overview
The hat is constructed as a flat piece worked in rows rather than as a continuous round. The foundation chain uses a different stitch count for the two size options: 30 or 32 chains. The first row establishes single crochet and slip-stitch sections. The second and third rows create the repeating texture, with single crochet worked through the back loop and slip stitches placed at the edges.
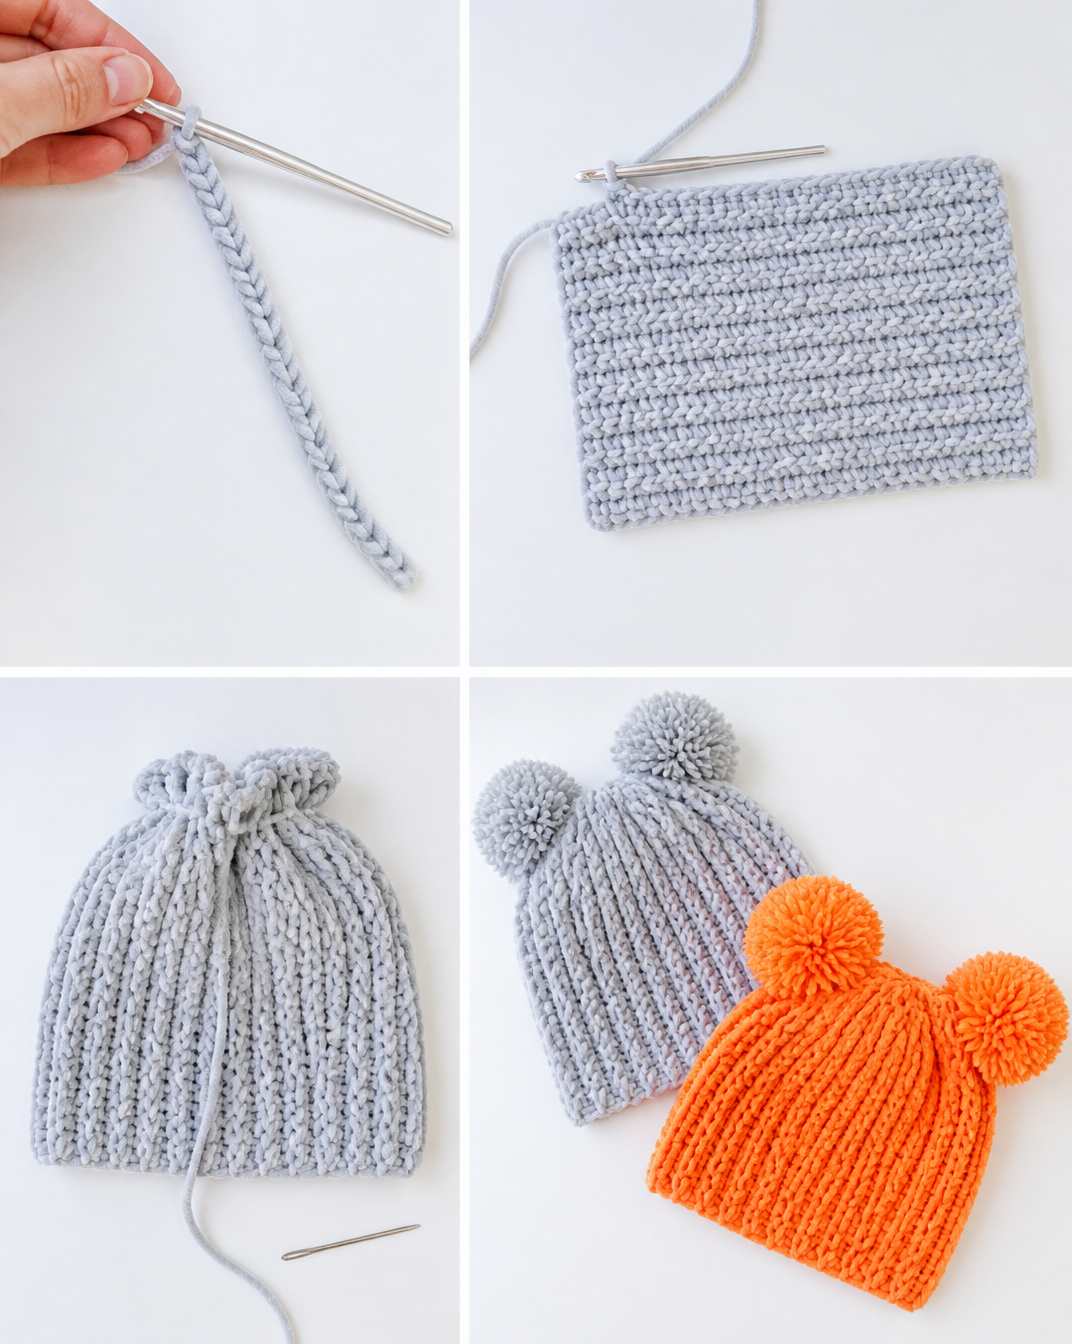
After repeating the second and third rows until the work measures 16 or 17 inches (40.5 or 43 cm), the yarn is fastened off with a long end. That end is woven through the last slip stitch of each row along the top edge, allowing the top to be gathered tightly. The back seam is then sewn.
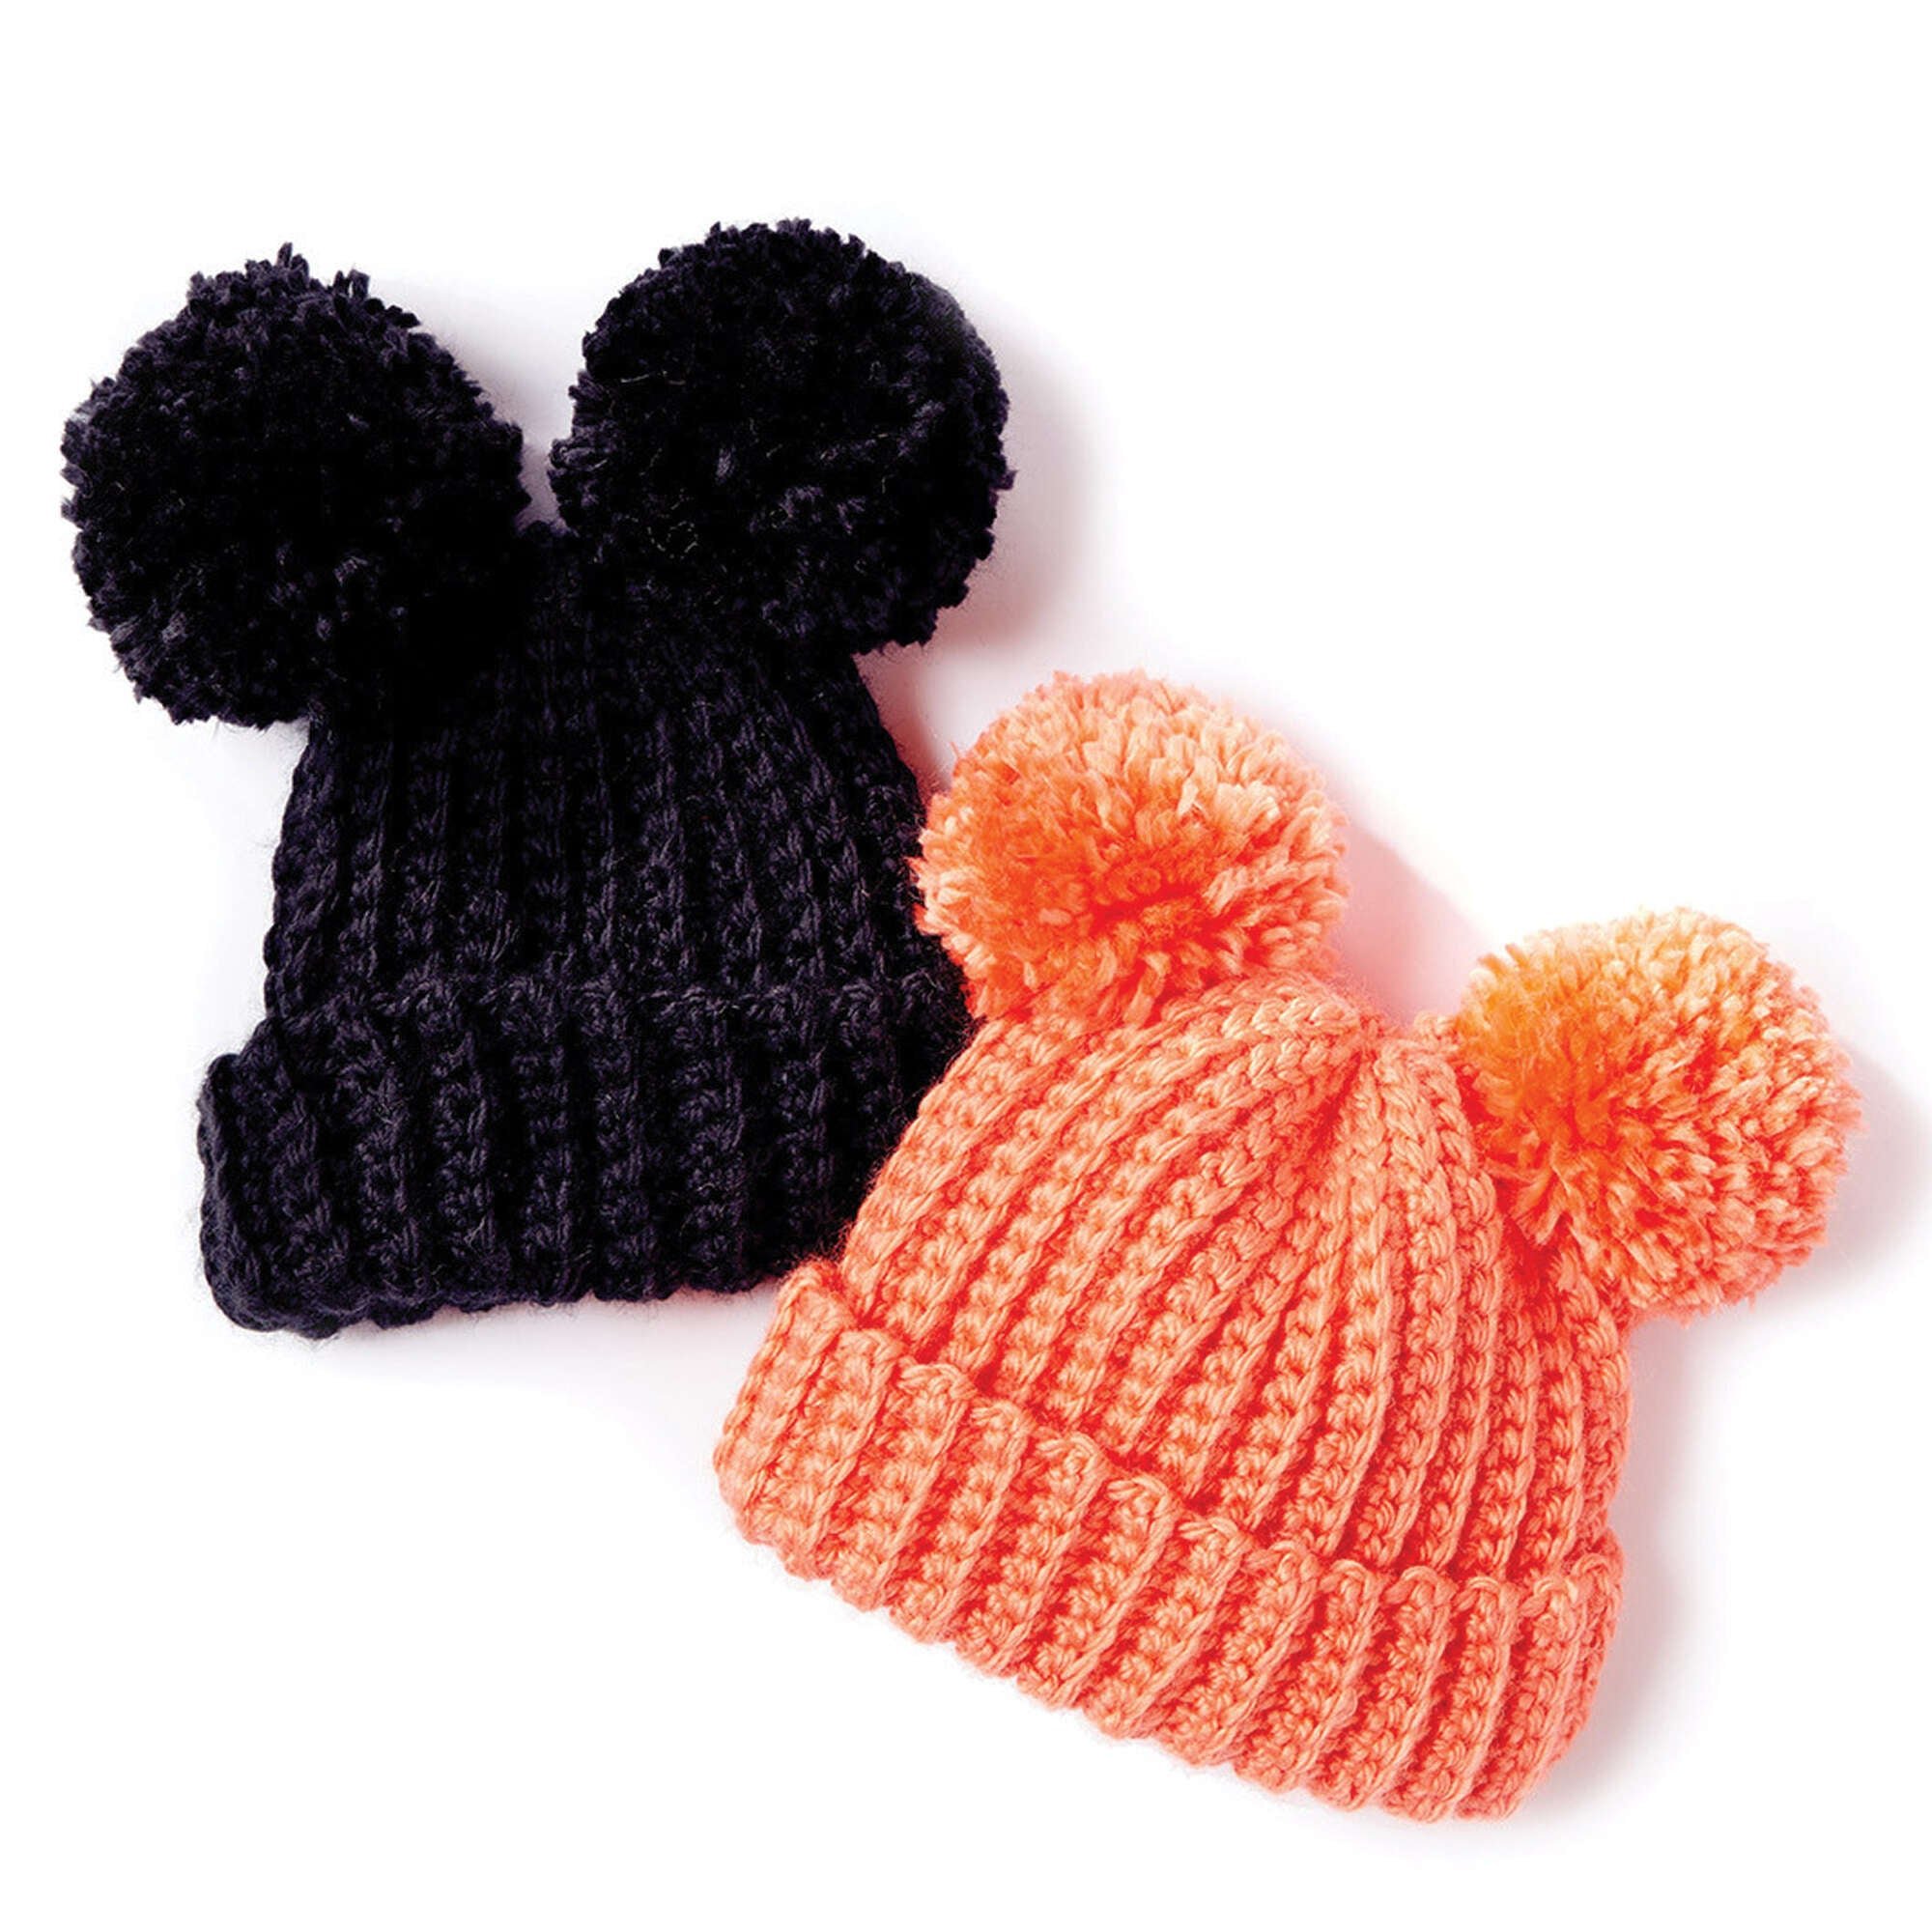
Two pompoms are made separately. For each pompom, the yarn is wound around four fingers approximately 100 times, tied tightly in the center, cut through both sides of the loops, and trimmed into a smooth round shape. One pompom is attached to each side of the hat, as shown in the source photo.
{image_template}
Materials
| Item | Source specification | Quantity or notes |
|---|---|---|
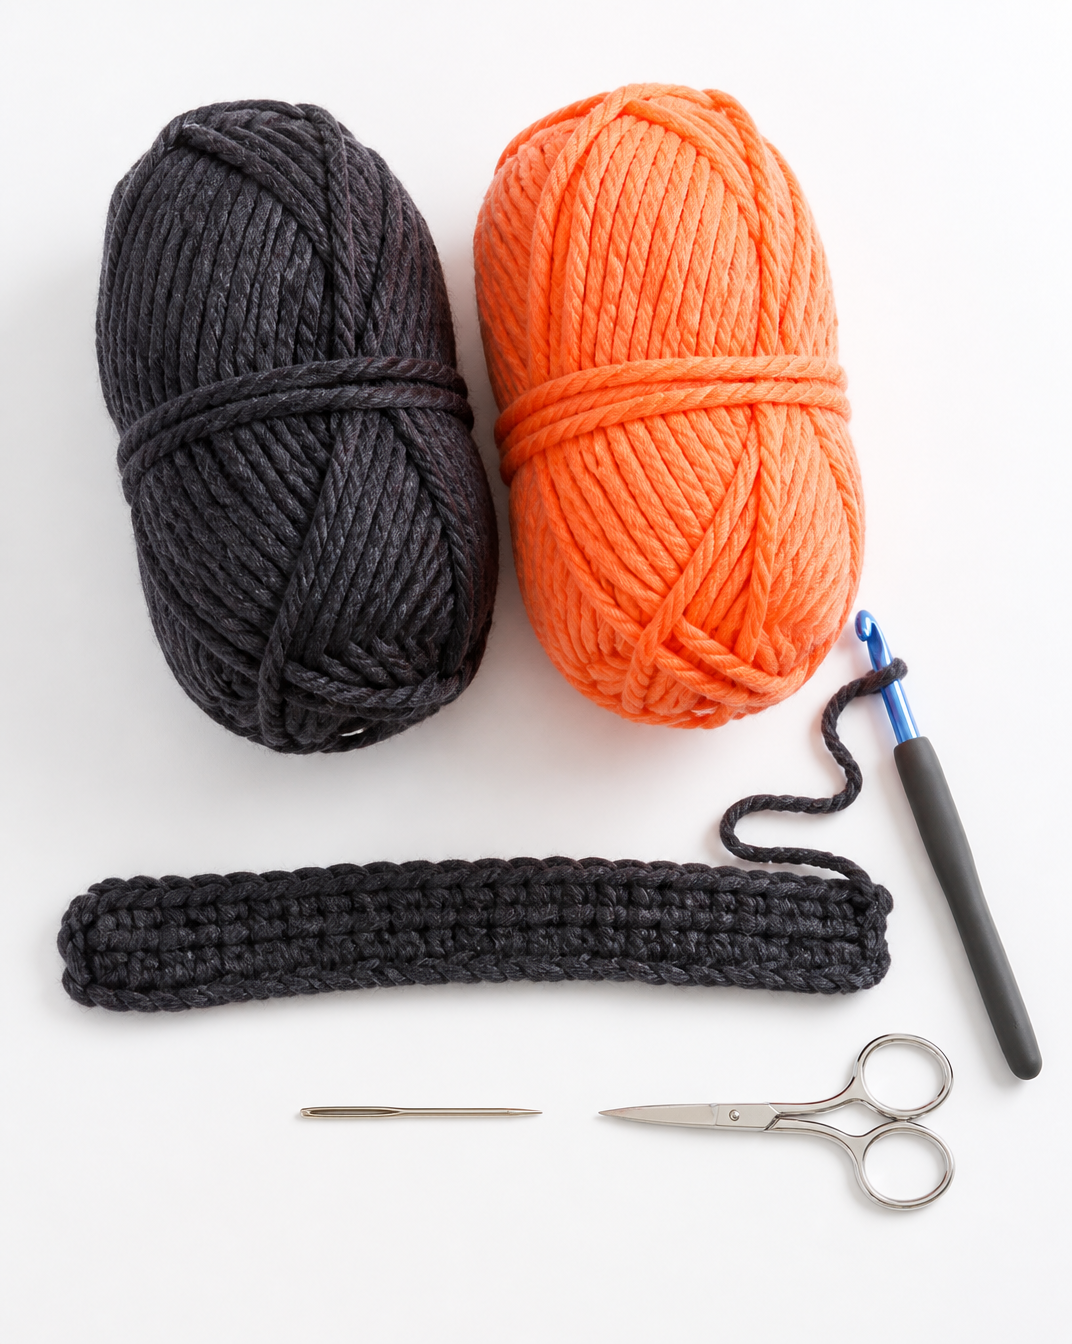
| Yarn | Bernat® Softee® Baby Chunky™ (5 oz/140 g; 155 yds/142 m) | Use one listed color or both listed colors according to the source quantities below. |
| Nighty Night | Color 96017 | 6–12 months: 1 ball; 18–24 months: 2 balls |
| Creamsicle | Color 96013 | 6–12 months: 1 ball; 18–24 months: 2 balls |
| Crochet hook | Size U.S. J/10 (6 mm) crochet hook | Or size needed to obtain gauge |

The source lists both Nighty Night and Creamsicle with separate quantities for each size. It does not state whether the colors are intended to be used together, alternated, or selected as individual color options. Follow the color arrangement represented by the source pattern or photograph if that information is available with the original pattern.
Abbreviations and Pattern Notes
| Abbreviation | Meaning confirmed by the source | How it appears |
|---|---|---|
| ch | Chain | Used for the foundation chain and the chain at the beginning of the second and third rows. |
| sc | Single crochet | Used in the first row. |
| scbl | Single crochet through the back loop | Used throughout the main portions of the second and third rows. |
| sl st | Slip stitch | Used at the edges of the rows and in the first row’s final four chains. |
| rep | Repeat | The second and third rows are repeated. |
The notation “Ch 30 (32)” gives two foundation-chain options. The first number corresponds to the first listed size and the number in parentheses corresponds to the second listed size. The same size-order convention applies to the measurements “16 (17)” inches and “[40.5 (43) cm].”
The phrase “1 scbl” means one single crochet through the back loop. The source does not provide a separate abbreviation definition for “scbl,” but the full wording in the instructions identifies the stitch as single crochet through the back loop. The source also does not define a gauge measurement, so the phrase “or size needed to obtain gauge” is retained without adding a gauge swatch measurement.
Before You Begin
Read the size options from the beginning so that the appropriate foundation-chain number, yarn quantity, and final working measurement remain together. The supplied pattern is written for two options: 6–12 months and 18–24 months. The instructions themselves show the corresponding alternatives in parentheses.
Prepare the Bernat® Softee® Baby Chunky™ yarn and a U.S. J/10 (6 mm) crochet hook, unless a different hook size is needed to obtain the source’s gauge. Because no numerical gauge is supplied, the source does not provide a specific measurement for checking before beginning.
The main hat fabric is worked in rows. There are no instructions for working in continuous rounds, changing colors, or joining at the end of a round. Keep the first four-stitch slip-stitch sections and the single-crochet-through-the-back-loop sections in their stated positions, because they form the construction described by the pattern.
The top is gathered only after the repeated rows have reached the stated length. The long fastening-off end is used for that gathering step, while the back seam is sewn afterward. The pompoms are made as two separate pieces and attached during finishing.
Detailed Step-by-Step Adorable Pompom Crochet Hat Pattern
1. Make the Foundation Chain
- Chain 30 (32).
Use the first number for the first size option and the number in parentheses for the second size option. The supplied instructions do not identify the size names directly beside this line, but the project overview lists the two sizes as 6–12 months and 18–24 months.
2. Work the First Row
| Round/row | Exact instruction | Stated stitch count |
|---|---|---|
| 1st row | 1 sc in 2nd ch from hook. 1 sc in each ch to last 4 ch. Sl st in each of last 4 ch. Turn. | Not specified as a total |
- Work 1 single crochet in the second chain from the hook.
- Work 1 single crochet in each chain to the last 4 chains.
- Work a slip stitch in each of the last 4 chains.
- Turn.
The source does not provide a total stitch count for this row. Do not substitute a calculated count for the stated wording.
3. Work the Second Row
| Round/row | Exact instruction | Stated stitch count |
|---|---|---|
| 2nd row | Ch 1. Sl st in each of first 4 sts. 1 scbl in each st to end of row. Turn. | Not specified as a total |
- Chain 1.
- Work a slip stitch in each of the first 4 stitches.
- Work 1 single crochet through the back loop in each stitch to the end of the row.
- Turn.
4. Work the Third Row
| Round/row | Exact instruction | Stated stitch count |
|---|---|---|
| 3rd row | Ch 1. 1 scbl in each st to last 4 sts. Sl st in each of last 4 sts. Turn. | Not specified as a total |
- Chain 1.
- Work 1 single crochet through the back loop in each stitch to the last 4 stitches.
- Work a slip stitch in each of the last 4 stitches.
- Turn.
5. Repeat the Main Rows
- Repeat the 2nd and 3rd rows until the work measures 16 (17) inches [40.5 (43) cm].
The source gives the target measurement but does not state a number of repeats. Continue using the stated second-row and third-row sequence until the applicable measurement is reached. Keep the row order unchanged: work the second row, then the third row, and repeat that pair.
Assembly and Finishing
Gather the Top and Sew the Seam
When the repeated row section reaches the required measurement, begin the supplied shaping and assembly preparation:
- Fasten off, leaving a long end.
- Weave the end through the last slip stitch of each row along the top edge.
- Gather tightly.
- Sew the back seam.
The source places the gathering instruction before the back-seam instruction. The long fastening-off end is specifically used for weaving through the last slip stitch of each row along the top edge. No additional joining method or seam treatment is specified.
Make Two Pompoms
The pattern calls for two pompoms. Make each one separately using the following supplied process:
- Wind yarn around 4 fingers approximately 100 times.
- Remove the wrapped yarn from your fingers and tie it tightly in the center.
- Cut through each side of the loops.
- Trim the pompom to a smooth round shape.
- Attach one pompom to each side of the hat as shown in the photo.
- Fasten off with a long end.
- Weave the end through the last slip stitch of each row along the top edge.
- Gather the top tightly.
- Sew the back seam.
- Make 2 pompoms.
- Attach 1 pompom to each side of the hat as shown in the photo.
Source-Based Checkpoints
Use these checkpoints to keep the work aligned with the supplied instructions:
- Size alternatives: The foundation chain is 30 (32), and the target length is 16 (17) inches [40.5 (43) cm]. Retain the size order shown in the pattern.
- Edge stitches: The first row ends with slip stitches in the last 4 chains. The second row begins with slip stitches in the first 4 stitches. The third row ends with slip stitches in the last 4 stitches.
- Back-loop stitches: The source specifies 1 scbl in the main portions of both the second and third rows. Do not replace this with an unspecified stitch variation.
- Repeat order: Repeat the second and third rows in that order until the stated measurement is reached.
- Top shaping: The top is gathered by weaving the long end through the last slip stitch of each row along the top edge, followed by sewing the back seam.
- Pompoms: Make 2. The source specifies winding around 4 fingers approximately 100 times for each pompom.
Frequently Asked Questions
What sizes does this crochet hat pattern include?
The source includes two size options identified as 6–12 months and 18–24 months. Their corresponding foundation-chain options are 30 and 32 chains, and their stated working-length targets are 16 and 17 inches, respectively, equivalent to 40.5 and 43 cm.
What yarn is specified for the hat?
The specified yarn is Bernat® Softee® Baby Chunky™ in a 5 oz/140 g ball with 155 yds/142 m. The listed colors are Nighty Night (96017) and Creamsicle (96013).
How much yarn is listed for each size?
For Nighty Night (96017), the source lists 1 ball for 6–12 months and 2 balls for 18–24 months. It gives the same quantities for Creamsicle (96013): 1 ball for 6–12 months and 2 balls for 18–24 months. The source does not explain whether these are alternatives or a combined color plan.
Which crochet hook should be used?
Use a U.S. J/10 (6 mm) crochet hook or the size needed to obtain gauge. A numerical gauge measurement is not included in the supplied source.
Is the hat worked in rounds?
No. The supplied construction is written in rows. After the foundation chain, the pattern gives a first row, a second row, and a third row, then instructs you to repeat the second and third rows until the work reaches the stated measurement.
How is the top of the hat shaped?
After fastening off and leaving a long end, weave that end through the last slip stitch of each row along the top edge and gather tightly. The instructions then say to sew the back seam.
How many pompoms are needed?
Two pompoms are required. Each pompom is made by winding yarn around four fingers approximately 100 times, tying the center tightly, cutting both sides of the loops, trimming the shape, and attaching one pompom to each side of the hat as shown in the photo.
Conclusion
This adorable pompom crochet hat pattern uses a row-by-row construction, a textured combination of slip stitches and single crochet through the back loop, and a gathered top finished with two handmade pompoms. Keep the size-specific chain and measurement options together, follow the second- and third-row repeat exactly as supplied, and complete the gathering, seam, and pompom steps in their stated order.
The source provides the essential yarn, hook, stitch, row, measurement, and finishing information while leaving some specifications undefined. By retaining the original technical details and checking the noted source points as you work, you can follow the pattern without adding unverified instructions.