Blush Pink Bobble Baby Cardigan Free Crochet Pattern
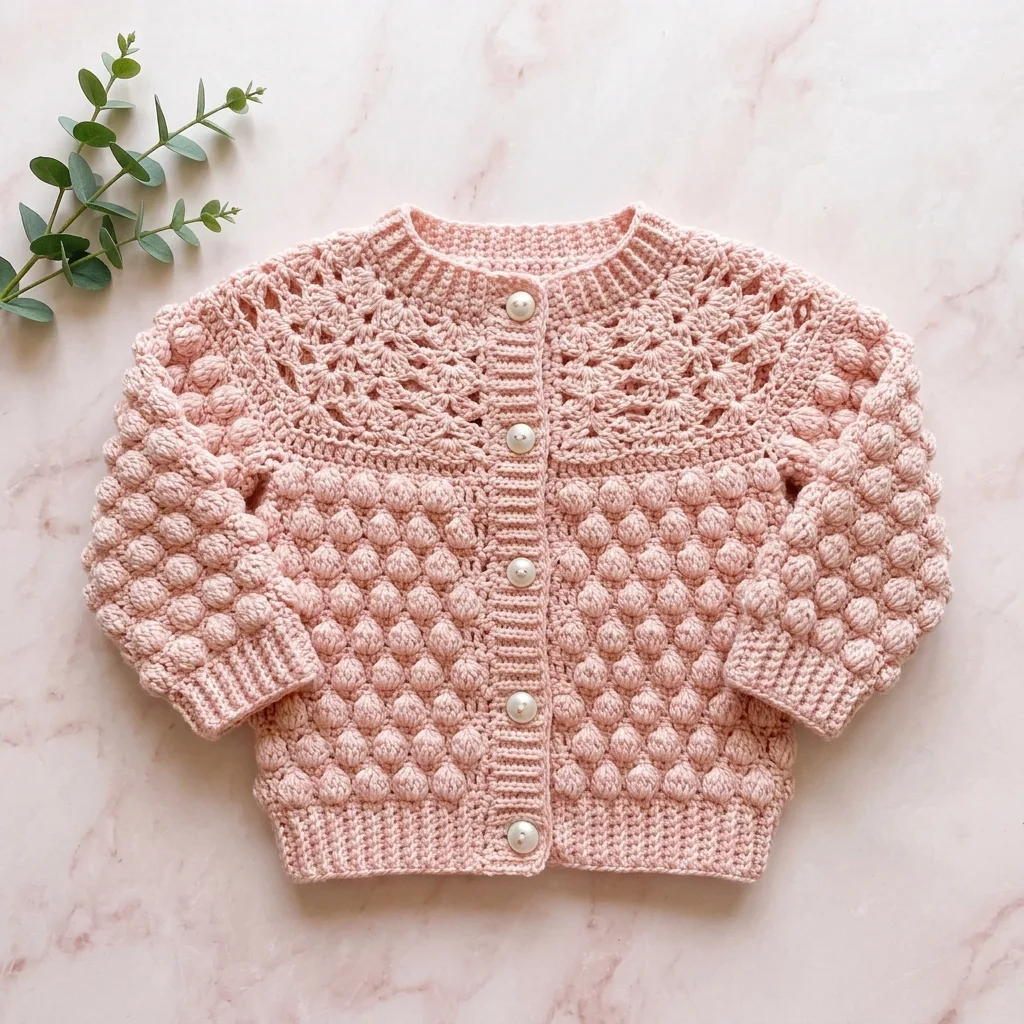
THIS is the baby cardigan that gets the compliments. Seriously. Every single time.
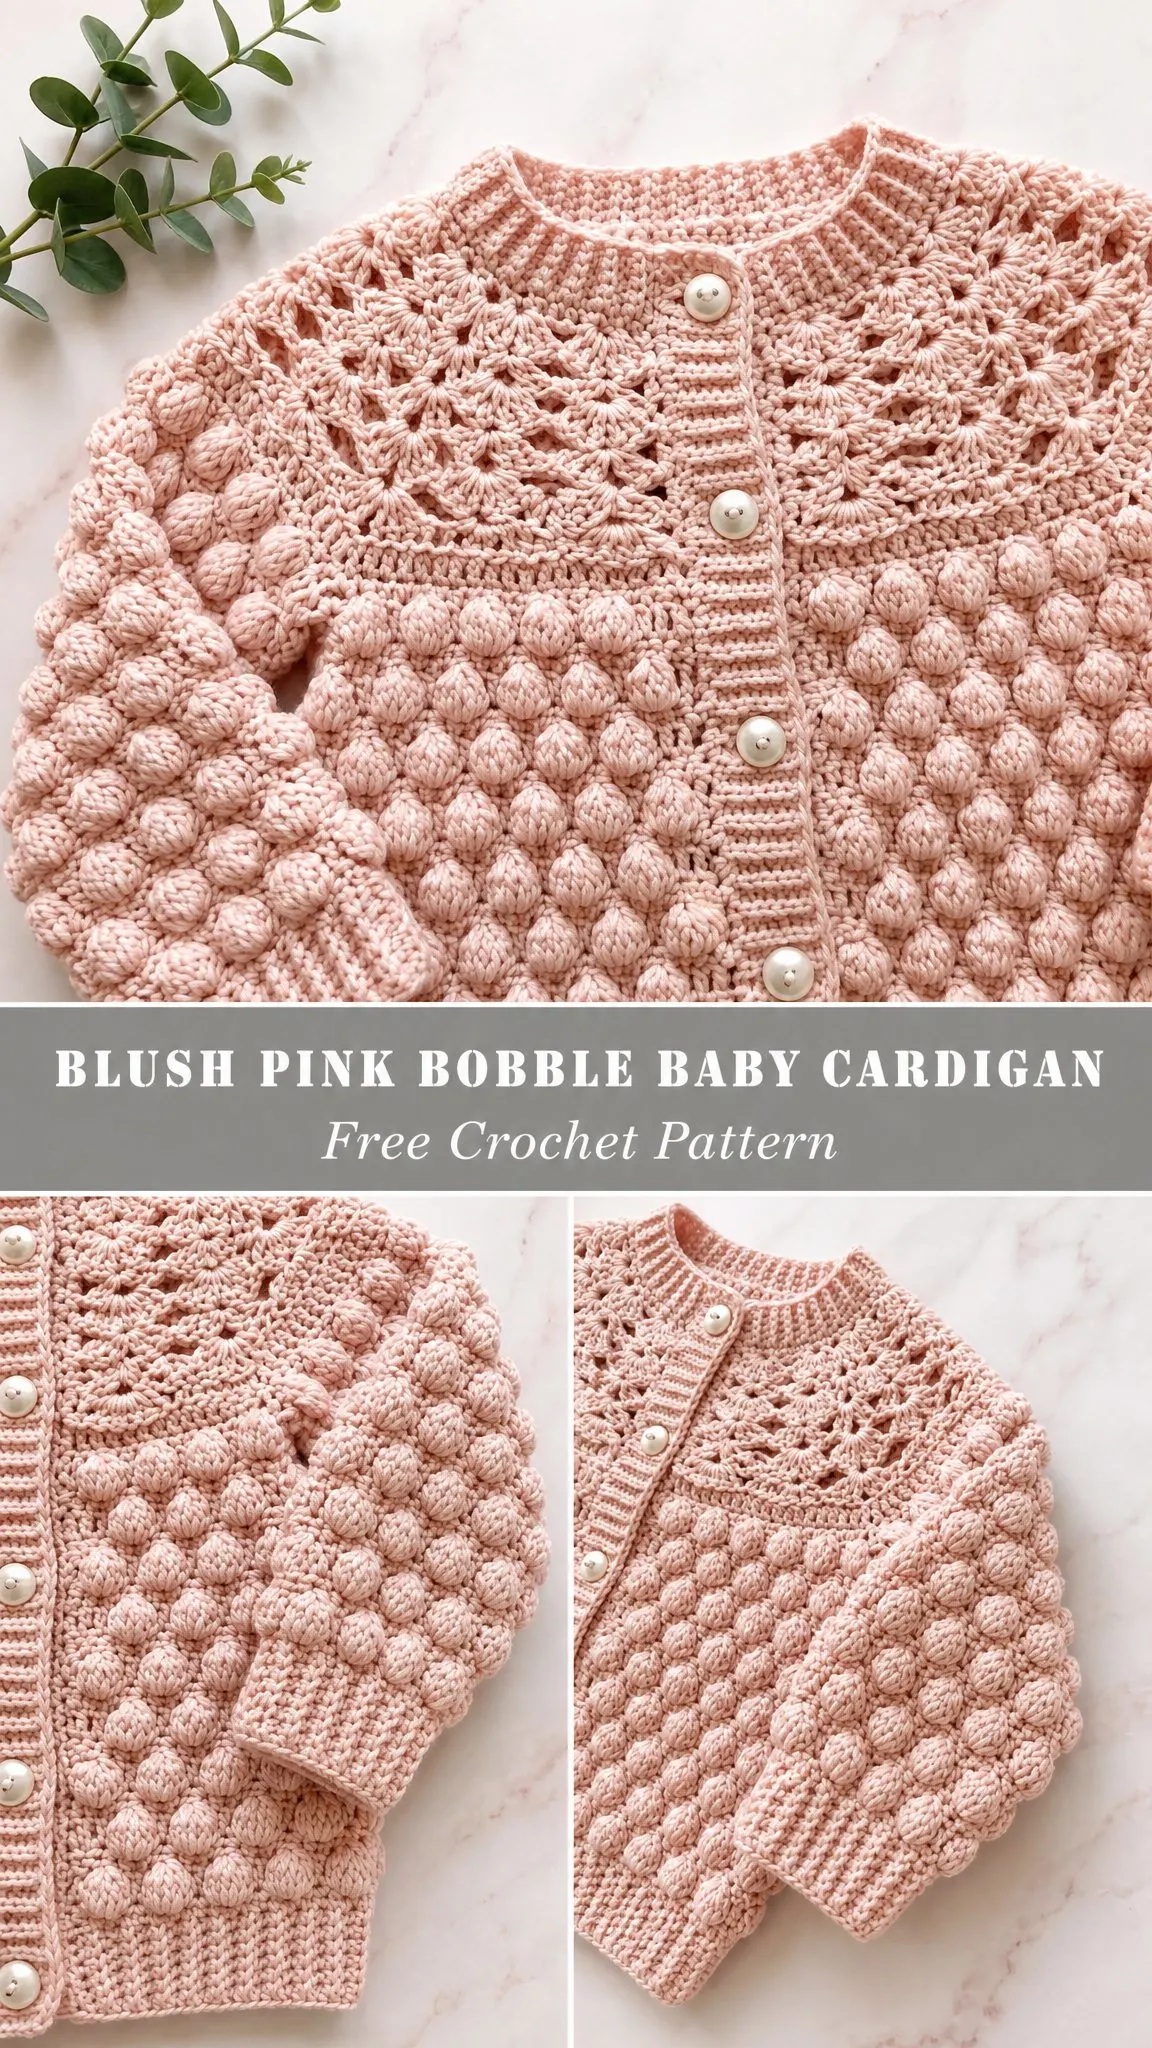
I designed this little sweater to look like something you would find in a fancy boutique, but it works up faster than you would expect. The combination of a delicate lace yoke flowing into those chunky bobbles creates such a stunning contrast. And those pearl buttons? Chef’s kiss.
If you have been wanting to try a top-down garment or finally tackle bobble stitches, this is your sign. The construction is seamless, the instructions are detailed, and the finished piece looks absolutely heirloom-worthy. Let’s make something beautiful together.
About This Crochet Pattern
This baby cardigan brings together two of my favorite textures in one gorgeous garment. The upper section features an airy lace yoke with elegant fan stitches that create a vintage, feminine look. Below that, the body and sleeves transform into a richly textured bobble stitch pattern arranged in a honeycomb grid.
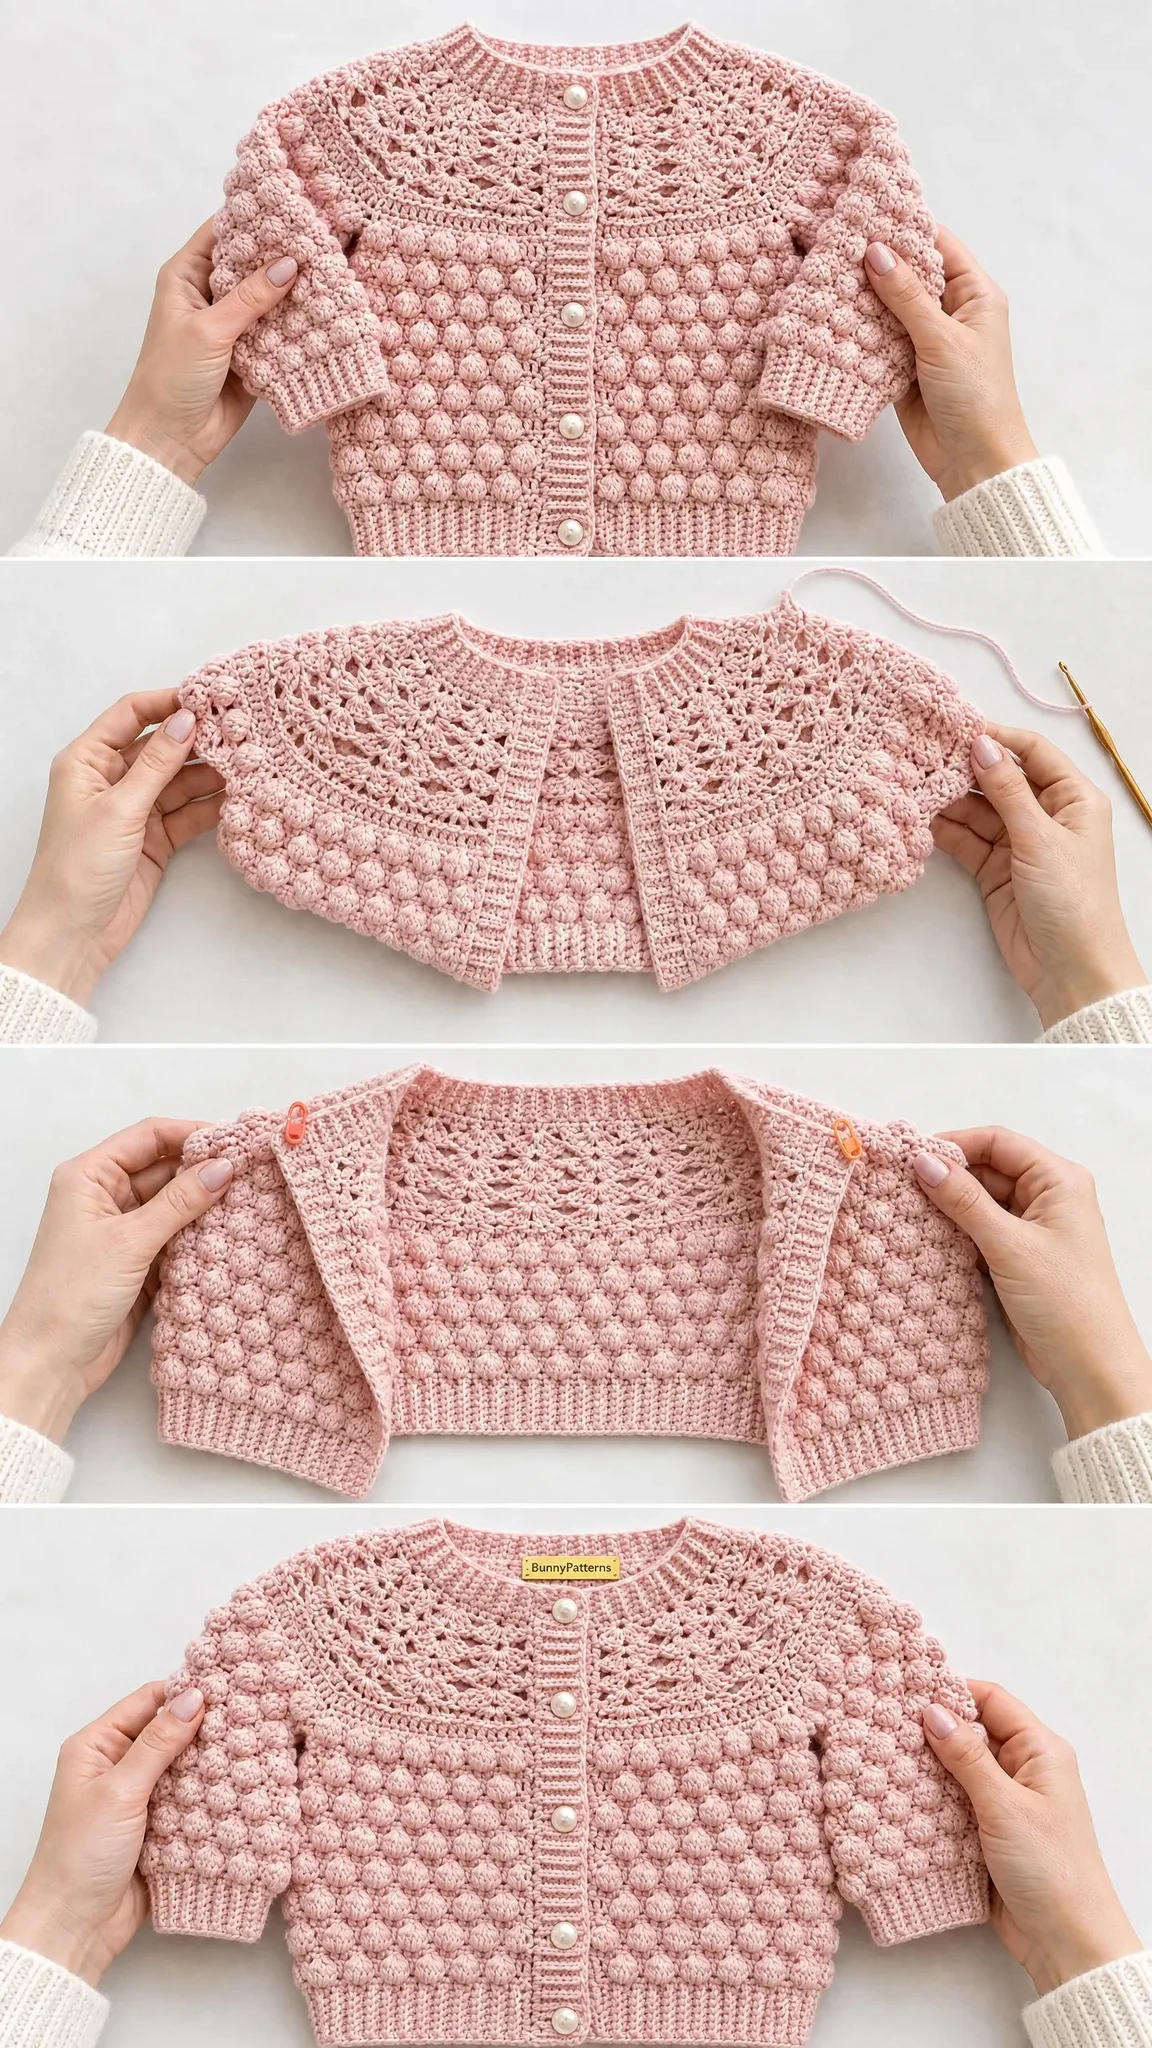
The cardigan is worked from the top down, which means you start at the neckband and work your way to the hem. This construction method has a huge advantage: you can try it on your little one as you go (or measure against another garment) to check the fit before you finish.
Skill level: Intermediate to Advanced
Finished size (6 to 12 months):
Time estimate: Approximately 15 to 22 hours for an experienced crocheter
Materials You Will Need
Gathering your supplies before you start makes the whole process smoother. Here is everything you need for this crochet tutorial:
Yarn:
Yarn suggestions:
Hooks:
Notions:
A quick note about yarn choice: pick something with good stitch definition. Fuzzy or bouclé yarns will hide your beautiful bobbles and lace work. You want those textures to pop!
Gauge
Getting your gauge right is essential for this baby cardigan crochet pattern. Take time to swatch before diving in.
Main stitch pattern (bobble rows) with E-4 / 3.5 mm hook:
16 stitches x 10 rows = 4 inches / 10 cm, blocked
Lace yoke with E-4 / 3.5 mm hook:
18 stitches x 9 rows = 4 inches / 10 cm, blocked
If your swatch is too small, go up a hook size. Too big? Go down. This step saves heartache later, I promise.
Abbreviations and Stitch Definitions
Let me walk you through every stitch abbreviation you will encounter. If you are newer to crochet, read through this section carefully before starting.
Special Stitches Step by Step
These special techniques give the cardigan its signature look. Practice them on a swatch first if they are new to you.
Bobble Stitch (bo)
The bobble stitch creates those adorable puffy bumps on the body and sleeves. Here is how to crochet one:
1. Yarn over, insert hook into indicated stitch
2. Yarn over, pull up a loop
3. Yarn over, pull through first 2 loops on hook (you now have 1 incomplete double crochet on your hook)
4. Repeat steps 1 through 3 four more times in the SAME stitch (you will have 6 loops on hook total)
5. Yarn over and pull through all 6 loops on hook
6. Chain 1 to close and lock the bobble (this ch-1 counts as a stitch)
Important: Bobbles are always worked on wrong side rows so they pop out on the right side of the fabric. This feels counterintuitive at first, but trust the process!
Fan Stitch (fan)
The fan stitch creates the beautiful lace pattern in the yoke:
In the indicated stitch or space, work (2 dc, ch 1, 2 dc, ch 1, 2 dc).
This creates a 3-cluster fan with 2 chain spaces. Total: 6 dc + 2 ch-1 spaces within a single insertion point.
Ribbing Stitch
Single crochet in back loop only throughout all ribbing sections. This creates a stretchy, knit-like rib texture that frames the cardigan beautifully at the neck, cuffs, and hem.
SC2TOG (Single Crochet Decrease)
1. Insert hook into next stitch, yarn over, pull up a loop (2 loops on hook)
2. Insert hook into following stitch, yarn over, pull up a loop (3 loops on hook)
3. Yarn over and pull through all 3 loops
Pattern Notes Before You Begin
Read through these notes before starting. They will save you confusion later:
1. The cardigan is worked top down. The yoke is worked flat (turning rows) to create the front opening for the button band. The body and sleeves are subsequently worked in joined rounds.
2. The lace yoke uses a fan and chain-space structure. Read each row carefully, as the fan alignment shifts between right-side and wrong-side rows.
3. The turning chain at the beginning of each row counts as indicated in the instructions. Where a t-ch does NOT count as a stitch, this is explicitly noted.
4. Stitch counts given at the end of each row or round are the total working stitches including any chain spaces that serve as stitches.
5. Sleeve stitches are placed on holders when separating for body, then rejoined later.
6. Block the finished cardigan before sewing on buttons for best results.
Blush Pink Bobble Baby Cardigan Instructions
Now for the fun part! Follow these step by step instructions to create your cardigan.
Section 1: Neckband
With smaller hook (D-3 / 3.25 mm), chain 7.
Foundation Row (WS): Sc in 2nd ch from hook and in each ch across. Turn. (6 sc)
Neckband Rows 2 through 66: Ch 1 (does NOT count as st), sc in blo of each st across. Turn. (6 sc)
After 66 rows, the neckband strip measures approximately 13 inches / 33 cm. Do not fasten off.
Rotate the neckband strip 90 degrees to work along the long edge. The long edge will become the neckline pickup row.
Checkpoint: Neckband should be a firm, slightly stretchy rectangle approximately 13 in / 33 cm long and 1.25 in / 3 cm wide.
Section 2: Yoke Setup Row
Switch to larger hook (E-4 / 3.5 mm).
Yoke Setup Row (RS): Working along the long edge of the neckband, sc evenly along the edge to produce 66 sc total. Turn. (66 sc)
Work approximately 1 sc per row-end of the neckband. Adjust spacing as needed to achieve 66 sts exactly.
Section 3: Yoke Lace Pattern
The yoke is worked flat for approximately 3.5 inches / 9 cm. The lace pattern expands from 66 sts to 126 sts over 4 increase rows.
Yoke Row 1 (WS): Ch 3 (counts as dc here and throughout yoke), dc in next st, ch 1, sk 1, (2 dc in next st, ch 1, sk 1) across, dc in last st. Turn. (66 working units)
Yoke Row 2 (RS, Increase Row): Ch 4 (counts as dc + ch 1), sk first ch-sp, (fan in next ch-sp, ch 1, sk next ch-sp) across, dc in top of t-ch. Turn. (86 working sts)
Yoke Row 3 (WS): Ch 1 (does NOT count as st), sc in first st, ch 3, sk 2, (sc in ch-1 sp of fan, ch 3, sk 2, sc between fans, ch 3, sk 2) across, sc in last st. Turn. (86 working units)
Yoke Row 4 (RS): Ch 3 (counts as dc), 2 dc in first ch-3 sp, (ch 1, sc in next sc, ch 1, fan in next ch-3 sp) across, ending with 3 dc in last ch-3 sp, dc in last sc. Turn. (86 working units)
Yoke Row 5 (WS): Ch 1, sc in first dc, ch 2, (sc in next ch-1 sp, ch 2, sc in center of fan, ch 2, sc in next ch-1 sp, ch 2) across, sc in top of t-ch. Turn. (86 working units)
Yoke Row 6 (RS, Increase Row): Ch 3, dc in first ch-2 sp, (fan in next sc, sk ch-2 sp, dc in next sc, sk ch-2 sp) across, ending with 2 dc in last ch-2 sp, dc in last sc. Turn. (106 working sts)
Yoke Row 7 (WS): Ch 1, sc in first st, (ch 3, sk 2, sc in next st) across. Turn. (106 working units)
Yoke Row 8 (RS): Ch 3, 2 dc in first ch-3 sp, (ch 1, 3 dc in next ch-3 sp) across, dc in last sc. Turn. (106 working sts)
Yoke Row 9 (WS): Ch 1, sc in first st, ch 2, (sc in next ch-1 sp, ch 2) across, sc in last st. Turn. (106 working units)
Yoke Row 10 (RS, Increase Row): Ch 3, (2 dc in each ch-2 sp, ch 1) across, dc in last sc. Turn. (116 working sts)
Yoke Row 11 (WS): Ch 1, sc in each st and ch-1 sp across. Turn. (116 sc)
Yoke Row 12 (RS, Increase Row): Ch 1, sc in first st, (sc in next 4 sts, 2 sc in next st) 23 times, sc in last st. Turn. (126 sc)
Checkpoint: After Yoke Row 12, you should have 126 sc across. The yoke should measure approximately 3.5 in / 9 cm and show open fan shapes.
Section 4: Sleeve Separation and Body Join
Divide the 126 sts as follows:
Separation Row: Work across Left Front 20 sts, chain 4 (underarm chain), skip Left Sleeve 22 sts (place these on a stitch holder), work across Back 42 sts, chain 4, skip Right Sleeve 22 sts (place on holder), work across Right Front 20 sts. Turn.
Body stitch count: 20 + 4 + 42 + 4 + 20 = 90 sts.
The body continues worked flat to keep the front open for the button band.
Section 5: Body Bobble Section
Body Row 1 (WS, Bobble Setup): Ch 1 (does NOT count as st), sc in each st across, working sc in each of the 4 underarm chains on each side. Turn. (90 sc)
Body Row 2 (RS): Ch 1, sc in each st across. Turn. (90 sc)
Body Row 3 (WS, Bobble Row): Ch 1, sc in first st, (bo in next st, sc in next st) 44 times, sc in last st. Turn. (90 sts)
Body Row 4 (RS): Ch 1, sc in each st across. Turn. (90 sc)
Body Row 5 (WS, Bobble Row, offset): Ch 1, sc in first 2 sts, (sc in next st, bo in next st) 43 times, sc in last 3 sts. Turn. (90 sts)
Body Row 6 (RS): Ch 1, sc in each st across. Turn. (90 sc)
Repeat Body Rows 3 through 6 until body measures approximately 6.5 inches / 16.5 cm from the underarm separation row, ending with a RS row.
Checkpoint: You should have approximately 5 to 6 vertical columns of bobbles visible on the RS.
Section 6: Body Hem Ribbing
Switch to smaller hook (D-3 / 3.25 mm).
Hem Row 1 (WS): Ch 1, sc in blo of each st across. Turn. (90 sc)
Hem Row 2 (RS): Ch 1, sc in blo of each st across. Turn. (90 sc)
Repeat Hem Rows 1 and 2 for 8 total rows (approximately 1 inch / 2.5 cm of ribbing).
Fasten off. Weave in end.
Section 7: Sleeve Construction
Reattach yarn to the 22 held sleeve sts at the underarm.
Join round: With RS facing, join yarn with sl st to the first held sleeve st.
Sleeve Round 1 (RS): Ch 1, sc in each of the 22 held sleeve sts, then sc in each of the 4 underarm chain sts, sl st to join. (26 sc)
Sleeve Round 2 (RS): Ch 1, sc in each st around, sl st to join. (26 sc)
Sleeve Bobble Round (RS): Ch 1, (bo in next st, sc in next st) around, sl st to join. (26 sts)
Sleeve Plain Round: Ch 1, sc in each st around, sl st to join. (26 sc)
Sleeve Offset Bobble Round: Ch 1, sc in first st, (bo in next st, sc in next st) around to last st, bo in last st, sl st to join. (26 sts)
Sleeve Plain Round: Ch 1, sc in each st around, sl st to join. (26 sc)
Repeat the 4-round bobble sequence until sleeve measures approximately 6 inches / 15 cm from underarm.
Decrease Round 1: Ch 1, sc2tog, sc in each st to last 2 sts, sc2tog, sl st to join. (24 sc)
Decrease Round 2: Ch 1, sc in each st around, sl st to join. (24 sc)
Section 8: Sleeve Cuff Ribbing
Switch to smaller hook (D-3 / 3.25 mm).
Cuff Round 1: Ch 1, sc in blo of each st around, sl st to join. (24 sc)
Repeat for 8 rounds total.
Fasten off. Weave in ends.
Repeat Sections 7 and 8 for second sleeve.
Section 9: Button Band (Right Front, Buttonhole Side)
With smaller hook and RS facing, join yarn at bottom right-hand corner of right front edge.
Pick up approximately 54 sc along the right front edge from hem to neckband. Turn.
Band Row 1 (WS): Ch 1, sc in blo of each st across. Turn. (54 sc)
Band Row 2 (RS, Buttonhole Row): Ch 1, sc in first 3 sts, (ch 2, sk 2 sts, sc in next 7 sts) 4 times, ch 2, sk 2, sc in last 3 sts. Turn. (54 working sts)
Band Row 3 (WS): Ch 1, sc in blo of each sc across and 2 sc in each ch-2 sp. Turn. (54 sc)
Band Row 4 (RS): Ch 1, sc in blo of each st across. Turn. (54 sc)
Fasten off. Weave in ends.
Section 10: Button Band (Left Front, Plain Side)
With smaller hook and RS facing, join yarn at top left-hand corner of left front edge.
Pick up 54 sc working downward. Turn.
Band Rows 1 through 4: Ch 1, sc in blo of each st across. Turn. (54 sc each row)
Fasten off. Weave in ends.
Section 11: Finishing
Weave in all remaining ends using yarn needle.
Sew pearl shank buttons to the left front band, aligning with the 5 buttonholes on the right band. Position the first button at the top directly below the neckband, and the last button approximately 0.5 in / 1.25 cm above the hem ribbing. Space the remaining 3 buttons evenly between.
Blocking: Wet block the cardigan by submerging in cool water for 10 minutes, gently squeezing out excess water (do not wring), and laying flat on a blocking mat. Pin to finished measurements. Allow to dry fully before removing pins. Blocking opens the lace yoke and evens the bobble texture significantly.
Size Customization Tips
Want to make this for a different age? Here are the adjustments:
Newborn (up to 3 months): Neckband 56 rows, yoke starts at 56 sts, body 78 sts, sleeve 22 sts
12 to 18 months: Neckband 74 rows, yoke starts at 74 sts, body 100 sts, sleeve 28 sts
18 to 24 months: Neckband 80 rows, yoke starts at 80 sts, body 108 sts, sleeve 30 sts
Keep body and sleeve stitch counts even for the bobble pattern to work correctly. Fan stitch repeat in the lace yoke is 10-st based, so adjust yoke setup sts in multiples of 10.
Care Instructions
Hand wash in cool water with gentle detergent. Do not wring. Lay flat to dry away from direct sunlight or heat. Do not tumble dry. Store folded, not hung, to preserve the shape.
You Did It!
Thank you so much for choosing this pattern for your next project. I truly hope you love making this sweet little cardigan as much as I loved designing it. There is something so satisfying about watching those bobbles take shape and seeing that lace yoke come together.
If you make this blush pink bobble baby cardigan, I would absolutely love to see it! Tag me on Instagram or share in our Facebook group. Seeing your finished projects genuinely makes my day.
Before you go, save this pattern to your Pinterest boards so you can find it easily when you are ready to cast on. And please drop a comment below if you make one. I love hearing how your projects turn out, and your feedback helps other crafters too. Happy hooking!
You Might Also Like
- Sage Green Ruffle Baby Romper Free Crochet Pattern
- Sage Green Boho Crochet Backpack Free Pattern
- Ivory Pineapple Lace Girl Dress Free Crochet Pattern
- Pastel Rainbow Flower Granny Square Tote Free Crochet Pattern