Pink Rose Granny Square Baby Cardigan Free Crochet Pattern
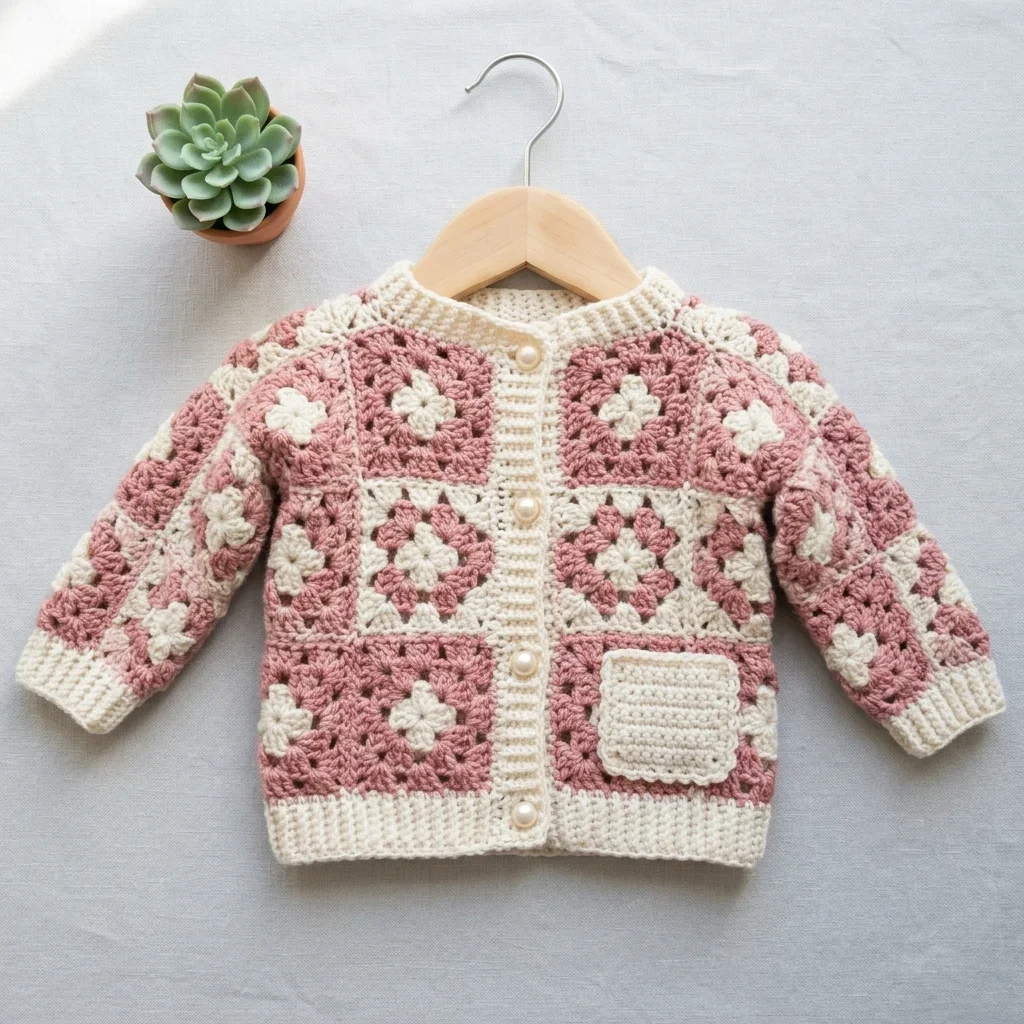
This cardigan is EVERYTHING. I’m talking adorable granny squares, the prettiest dusty rose and cream color combo, and a finished piece that looks like it belongs in a boutique. The best part? If you can make a basic granny square, you can absolutely make this. It comes together faster than you’d think because you’re working small, manageable squares instead of one giant intimidating piece.
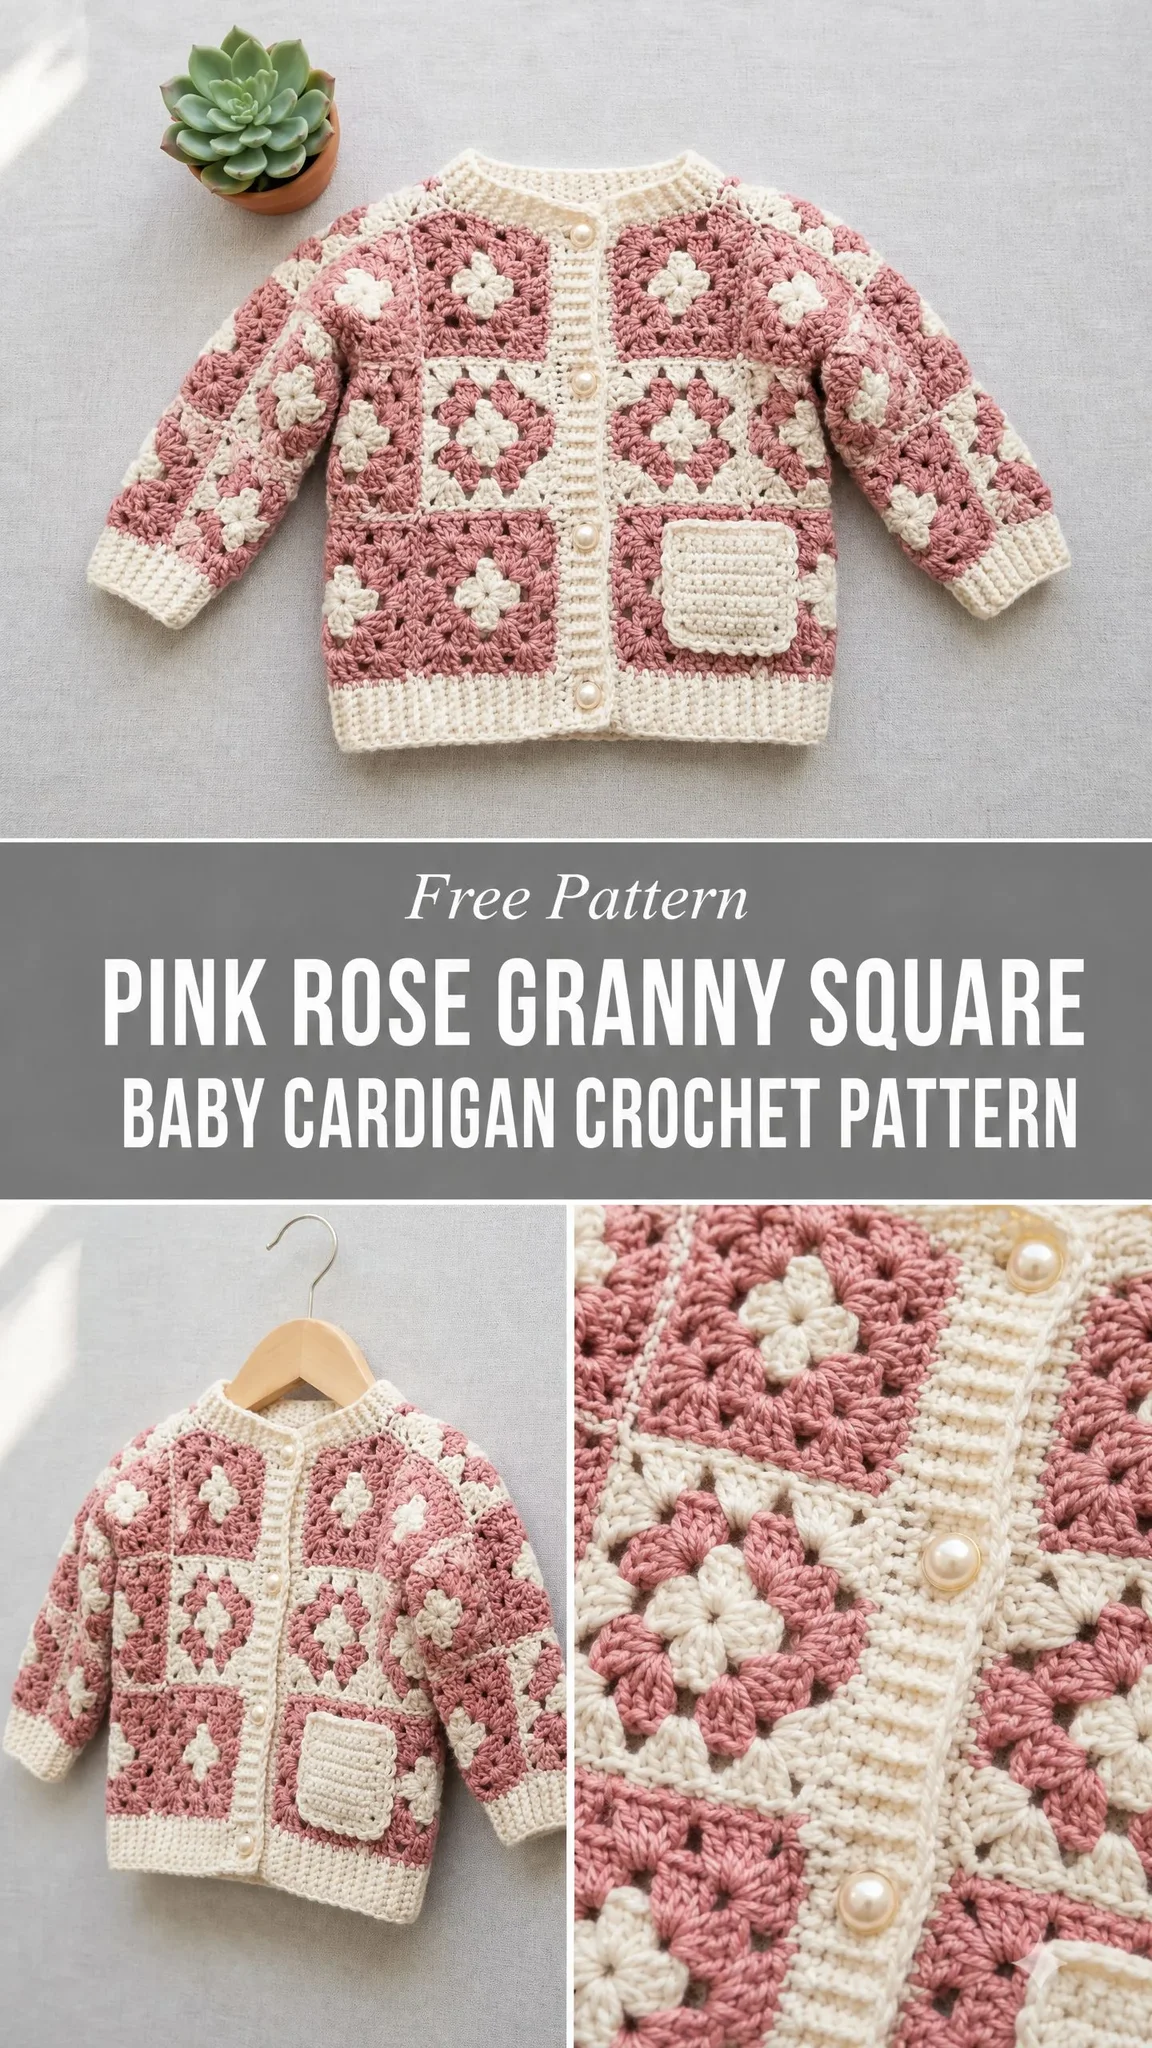
I know what you might be thinking. A whole cardigan made of granny squares sounds like a lot. But here’s the thing. Each square is only three rounds. You can knock one out during a single episode of your favorite show. Before you know it, you’ve got a stack of little squares ready to become the cutest baby gift anyone has ever received.
This pink rose granny square baby cardigan crochet pattern is perfect for baby showers, first birthdays, or that special little one in your life who deserves something handmade with love. The finished size fits 12 to 18 month old babies, and I’ve included tips for sizing up or down at the end. Let’s get into it!
Why You’ll Love This Baby Cardigan Pattern
This crochet pattern uses a classic technique that never goes out of style. Granny squares have been around for generations, and there’s a good reason they’ve stuck around. They’re satisfying to make, easy to customize, and create the most beautiful textured fabric.
The construction method here is really clever. Instead of crocheting one large piece and hoping your gauge stays consistent throughout, you work individual squares and join them together. This means you can crochet anywhere. Waiting rooms, car rides, lunch breaks. Each square is a tiny portable project.
The checkerboard color effect happens naturally when you alternate two types of squares. Some have rose centers with cream borders. Others have cream centers with rose borders. When you arrange them on the grid, they create that gorgeous patchwork look you see in the photos.
Skill Level and Time Estimate
This pattern is rated intermediate. You should be comfortable with:
No advanced shaping techniques are needed. The cardigan is essentially a bunch of squares arranged in a grid, joined together, with simple ribbed bands added for a polished finish.
Time estimate: 12 to 18 hours total, depending on your experience with granny squares and how quickly you work the finishing details.
Finished Measurements
Size: 12 to 18 months
Materials Needed
Yarn
Recommended Yarn Options
Lion Brand Pound of Love (100% acrylic, 1020 yards per skein): Soft, machine washable, widely available, and ideal for baby garments. Use Buttercream for Color B and Dusty Pink for Color A.
Paintbox Yarns Simply DK (100% acrylic, 137 yards per 50g skein): A smooth, affordable yarn with excellent stitch definition that makes the granny square flower centers pop. This is a DK weight and will require a gauge swatch to confirm square size matches.
Cascade 220 Superwash (100% superwash wool, 220 yards per 100g skein): A higher-end option with beautiful drape and natural softness ideal for baby skin. Machine washable. Use Doeskin Heather for Color A and Cream for Color B.
Any worsted weight or heavy DK yarn that achieves the stated gauge may be substituted. Prioritize machine-washable fibers for baby garments. Avoid yarns with excessive halo like mohair blends because they obscure the granny square stitch definition.
Hook
US size H-8 / 5.0 mm crochet hook
Notions
Gauge
One granny square = 3 inches x 3 inches (7.5 cm x 7.5 cm) after light blocking
Also: 14 single crochet x 16 rows = 4 inches (10 cm) in single crochet worked flat, for ribbing sections
Gauge is critical for fit. Work a sample square and block it before beginning the garment. If your square is larger than 3 inches, go down one hook size. If it is smaller, go up one hook size.
Abbreviations
Before we dive into the pattern, let me define all the abbreviations you’ll encounter:
Special Stitches and Techniques
The Granny Square
This pattern uses a standard 3-round granny square. You’ll make two types that alternate colors to create the checkerboard effect.
Round 1 (Color A):
Make a magic ring (or ch 4 and join with sl st to form a ring).
Ch 3 (counts as first dc throughout). Work 2 dc into the ring. Ch 2. (3 dc, ch 2) three more times into the ring. Join with sl st to top of beginning ch-3. Fasten off Color A. (Four 3-dc clusters, four ch-2 corner spaces)
Round 2 (Color B):
Join Color B with sl st to any ch-2 corner space.
Ch 3 (counts as first dc). Work 2 dc in same corner sp. Ch 2. Work 3 dc in same corner sp.
(Ch 1. Work 3 dc, ch 2, 3 dc in next ch-2 corner sp) three times.
Ch 1. Join with sl st to top of beginning ch-3. Fasten off. (Eight 3-dc clusters total: two per corner, four ch-1 side spaces, four ch-2 corner spaces)
Round 3 (Color A):
Join Color A with sl st to any ch-2 corner space.
Ch 3. Work 2 dc in same corner sp. Ch 2. Work 3 dc in same corner sp.
Ch 1. Work 3 dc in next ch-1 side sp. Ch 1. Work 3 dc, ch 2, 3 dc in next ch-2 corner sp.
(Ch 1. Work 3 dc in next ch-1 side sp. Ch 1. Work 3 dc, ch 2, 3 dc in next ch-2 corner sp) three times.
Ch 1. Work 3 dc in last ch-1 side sp. Ch 1. Join with sl st to top of beginning ch-3. Fasten off. (Twelve 3-dc clusters: three per side, four ch-2 corner spaces, eight ch-1 spaces)
Color Arrangement:
JAYG Single Crochet Join
To join two squares along one edge, hold them with wrong sides together. Insert hook through corresponding ch-sp or dc of both squares simultaneously and work sc through both layers. This creates a visible ridge seam on the right side. For this pattern, join with wrong sides together so the ridge faces outward, adding textural interest.
Alternatively, use the flat slip stitch join: lay squares right sides together. Sl st through both corresponding stitches across the entire edge. This creates a tighter, less visible seam on the right side. Either method is acceptable. Choose one and use it consistently throughout.
sc2tog (Single Crochet Two Together)
Insert hook in next st, pull up a loop (2 loops on hook). Insert hook in following st, pull up a loop (3 loops on hook). Yarn over and pull through all 3 loops. (1 stitch decreased)
BLO Ribbing
Work sc in the back loop only of each stitch. This creates a stretchy, textured rib effect used for the collar, cuffs, and bottom band.
Total Squares Required
Before you start, here’s exactly how many squares you need:
Of these 37 squares:
Granny Square Layout Planning
Set out your layout grid on a flat surface before joining. This prevents mistakes and ensures your checkerboard pattern looks perfect.
Back panel grid (4 wide x 3 tall):
Right front panel grid (2 wide x 3 tall):
Left front panel grid (2 wide x 3 tall):
Right sleeve grid (2 wide x 3 tall):
Left sleeve grid (2 wide x 3 tall):
Pocket: 1 square, Type 2 (or all Color B for solid cream)
Step-by-Step Pattern Instructions
Making All Squares
Work all 37 squares according to the Granny Square instructions above. Use the color types as specified in the layout grid. Do not join yet. Label or organize your squares by section and position. I like to use small sticky notes or place them in separate bags.
Joining the Back Panel
Join squares following your layout grid using your chosen joining method. Work all joins in Color B.
Step 1: Join the 4 squares of Row 1 (bottom row) together in a horizontal strip. Join square 2 to square 1 along one side edge, then square 3 to square 2, then square 4 to square 3.
Step 2: Join the 4 squares of Row 2 together in a horizontal strip.
Step 3: Join Row 2 strip to Row 1 strip along the top edge of Row 1 and bottom edge of Row 2.
Step 4: Join the 4 squares of Row 3 together in a horizontal strip.
Step 5: Join Row 3 strip to Row 2 strip.
Back panel is complete: 4 squares wide by 3 squares tall.
Total back panel measurement (before banding): approximately 12 inches wide x 9 inches tall (30.5 cm x 23 cm).
Joining the Right Front Panel
Join the 6 squares of the right front panel (2 wide x 3 tall) following your layout grid and the same joining method.
Right front panel measurement: approximately 6 inches wide x 9 inches tall (15 cm x 23 cm).
Joining the Left Front Panel
Join the 6 squares of the left front panel (2 wide x 3 tall) following your layout grid.
Left front panel measurement: approximately 6 inches wide x 9 inches tall (15 cm x 23 cm).
Shoulder Seams
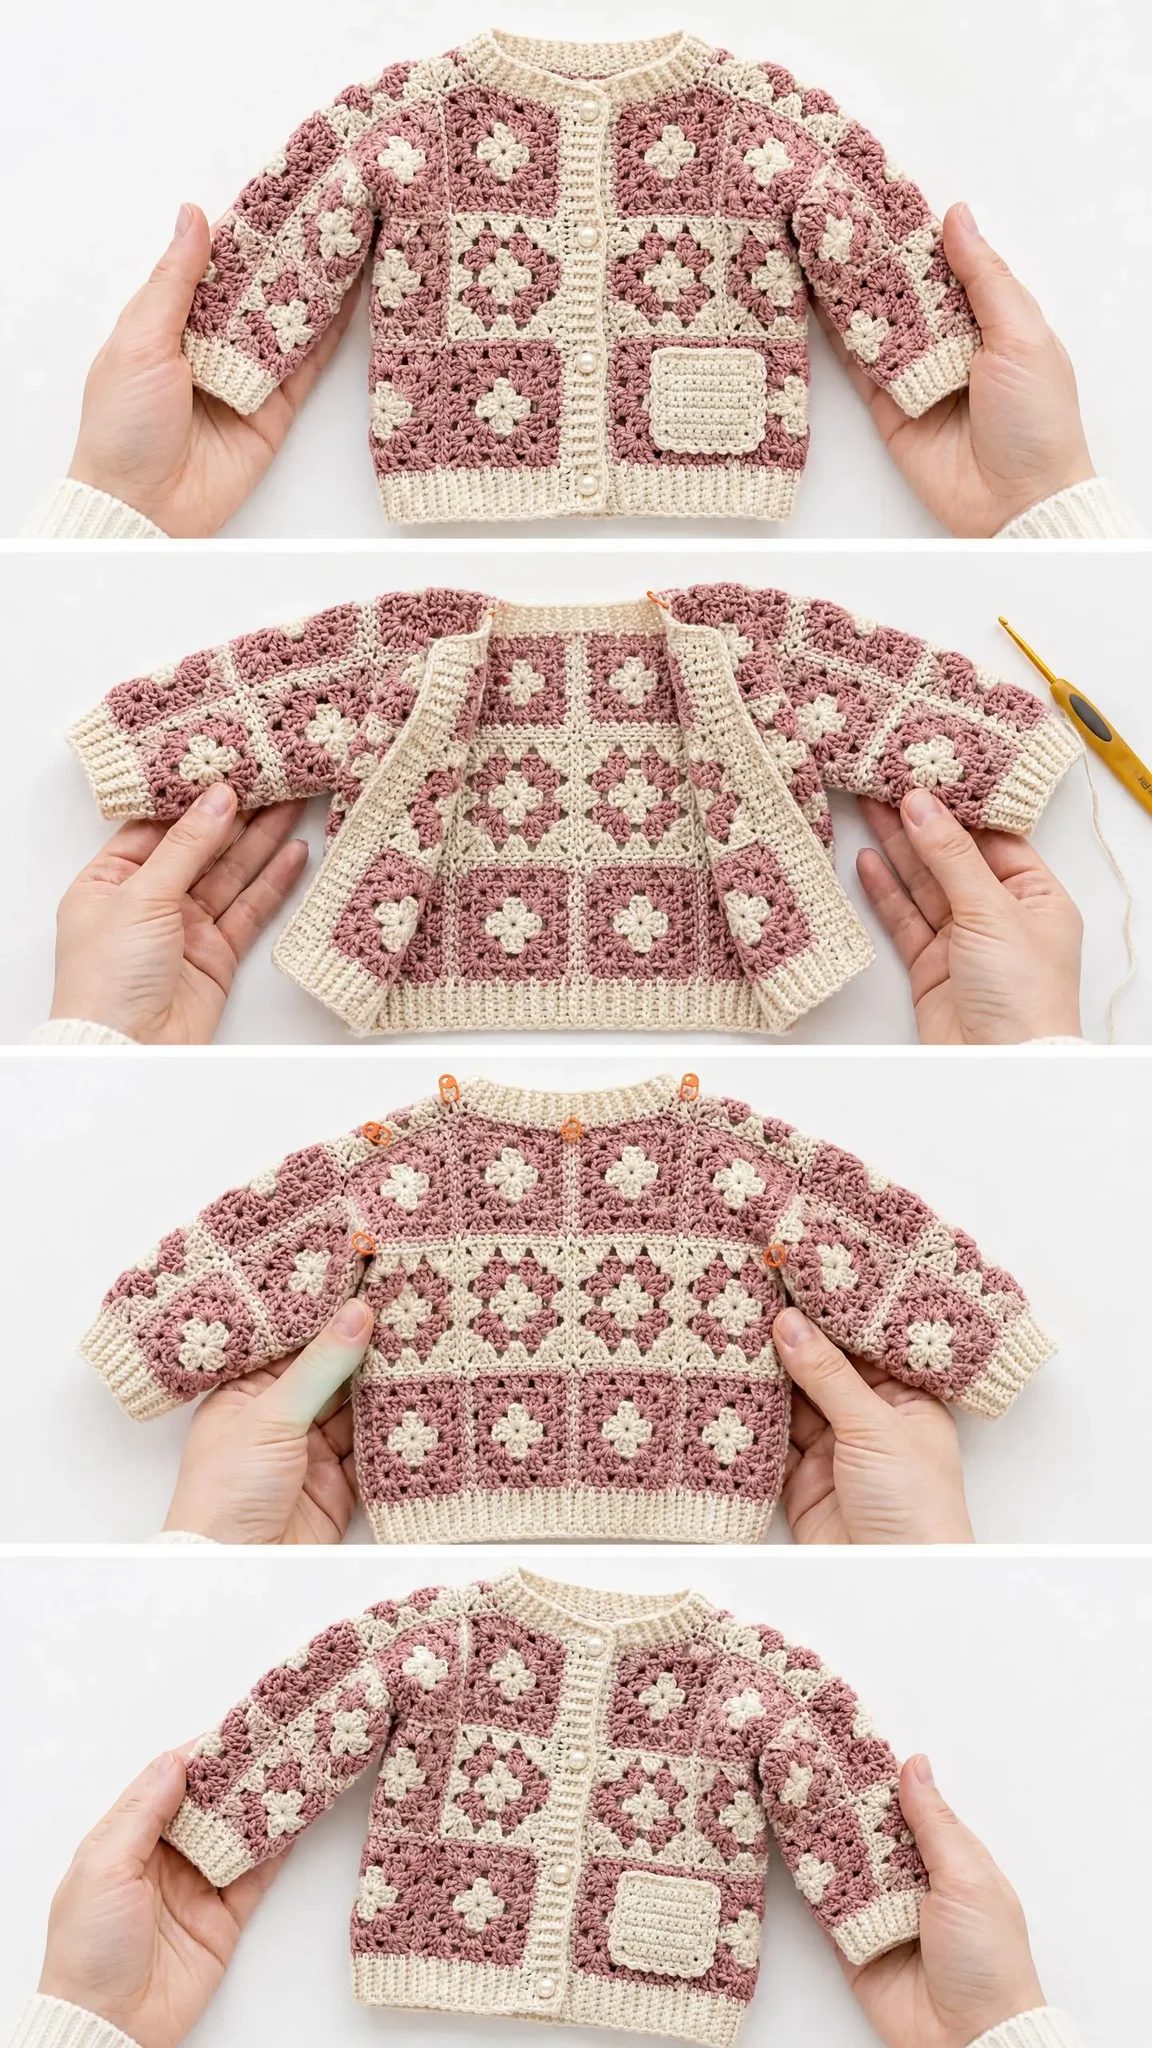
The back panel is 4 squares wide (12 inches total). The two front panels together are also 4 squares wide (6 + 6 = 12 inches). The shoulder seam joins the upper edge of the back panel to the upper edges of the front panels.
The neckline opening is the center 2 squares of the back top row, which is approximately 6 inches (15 cm) wide. Each shoulder seam spans 1 square width (3 inches / 7.5 cm) on each side.
Step 1: Place right front panel on back panel with right sides together. Align the top edge of the right front panel with the right top corner of the back panel. The outer 3 inches (one square width) of the top edges align.
Step 2: Using Color B and a yarn needle, sew or sl st join the right shoulder seam across one square-width (the outer edge of the top row). The 3 inner squares across the back top row remain open to form the back neck.
Step 3: Place left front panel on back panel with right sides together. Align the top edge of the left front panel with the left top corner of the back panel. Join the left shoulder seam across one square-width.
After both shoulder seams are joined, the neck opening spans the center 2 squares of the back top row plus the inner edge of each front top row. The neck opening is approximately 6 inches (15 cm) wide at the back and open at the front.
Armhole Openings and Side Seams
After shoulder seaming, the armhole opening on each side is created by the space between the side edges of the front panels and the back panel.
Fold the body so front and back side edges are aligned with right sides together. Join the bottom 1 square height (3 inches / 7.5 cm) of each side edge using your chosen seaming method. Leave the top 2 square heights (6 inches / 15 cm) open as armhole openings on each side.
After side seaming:
Collar
The collar is worked in Color B in sc blo ribbing, worked perpendicular to the neck edge.
Neck pickup round (Color B):
Starting at the right front neck edge top (where the button band will begin), join Color B with sl st.
Work sc evenly around the entire neck opening. When picking up along granny square outer edges, work 3 sc per 3-dc cluster and 1 sc into each ch-sp.
Target stitch count around neck: approximately 54 sc. Adjust to the nearest multiple of 2 for even ribbing. (54 sc)
Place a stitch marker at the beginning of this round. Do not join into a round. The collar is worked back and forth flat so that it opens at the center front.
Collar ribbing:
Work in sc blo back and forth for 1.5 inches (3.8 cm) in Color B.
Row 1 (WS): Ch 1, turn. Sc blo in each st across. (54 sc)
Row 2 (RS): Ch 1, turn. Sc blo in each st across. (54 sc)
Repeat Rows 1 and 2 until collar measures 1.5 inches (3.8 cm) from pickup row.
Fasten off. Weave in ends.
Making the Sleeves
Each sleeve is made from 6 granny squares arranged 2 wide by 3 tall, then joined into a tube.
Step 1: Join the 6 squares of one sleeve into a 2 x 3 grid panel using your chosen join method.
Step 2: Fold the sleeve panel in half lengthwise (so the 2-square-wide edge meets itself). Join the long side edges together to form a tube, leaving the top (2-square-wide) edge open for armhole attachment and the bottom (2-square-wide) edge open for the cuff.
Sleeve tube circumference: 2 squares = approximately 6 inches (15 cm).
Step 3: Attach the sleeve tube to the armhole opening. With right sides together, pin the sleeve into the armhole with the sleeve seam at the underarm. Join using your chosen seaming method, working all the way around the armhole opening.
Step 4: Repeat Steps 1 through 3 for the second sleeve.
Cuffs
Each cuff is worked in Color B in sc blo ribbing, worked directly from the bottom edge of the sleeve tube.
Cuff pickup round (Color B):
Join Color B with sl st to the bottom edge of the sleeve at the seam. Work sc evenly around the bottom edge of the sleeve. Pick up 3 sc per 3-dc cluster and 1 sc per ch-sp.
Target stitch count: approximately 28 sc around each sleeve bottom. Adjust to nearest even number. (28 sc)
Cuff ribbing (worked in the round, joined):
Rnd 1: Ch 1. Sc blo in each st around. Sl st to first sc to join. (28 sc)
Rnd 2: Ch 1. Sc blo in each st around. Sl st to first sc to join. (28 sc)
Continue until cuff measures 1 inch (2.5 cm).
Fasten off. Weave in ends.
Repeat for second cuff.
Bottom Band
The bottom band is worked in Color B in sc blo ribbing around the entire bottom hem of the cardigan body.
Bottom band pickup round (Color B):
Starting at the right front bottom corner, join Color B with sl st. Work sc evenly around the entire bottom hem. Include the bottom edges of the two front panels and the back panel.
Target stitch count: approximately 84 sc. Work back and forth flat (not joined) so the band opens at the center front.
Row 1 (WS): Ch 1, turn. Sc blo in each st across. (84 sc)
Row 2 (RS): Ch 1, turn. Sc blo in each st across. (84 sc)
Continue for 1 inch (2.5 cm), approximately 4 rows total.
Fasten off. Weave in ends.
Front Button Bands
Two button bands are worked in Color B in sc blo, one along each front opening edge.
Left Front Band (plain, no buttonholes):
Row 1 (RS): Join Color B at the top left front corner. Ch 1. Work 1 sc per row of edge stitches along the left front, picking up approximately 42 sc down the left front edge. (42 sc)
Row 2: Ch 1, turn. Sc blo in each st. (42 sc)
Row 3: Ch 1, turn. Sc blo in each st. (42 sc)
Row 4: Ch 1, turn. Sc blo in each st. (42 sc)
Row 5: Ch 1, turn. Sc blo in each st. (42 sc)
Fasten off. Weave in ends.
Right Front Band (with 5 buttonholes):
Buttonholes are placed evenly across Row 3. With 42 sts and 5 buttonholes, space them at stitches 5, 12, 19, 26, 33 from the bottom edge.
Row 1 (RS): Join Color B at the bottom right front corner. Ch 1. Work sc picking up approximately 42 sc along the right front edge, working upward from hem to collar. (42 sc)
Row 2: Ch 1, turn. Sc blo in each st across. (42 sc)
Row 3 (buttonhole row): Ch 1, turn. Sc blo in 4 sts. (Ch 2, sk 1 st, sc blo in 6 sts) four times. Ch 2, sk 1 st. Sc blo in 2 sts. (42 sts, 5 ch-2 buttonholes)
Row 4: Ch 1, turn. Sc blo across, working 2 sc into each ch-2 sp to replace skipped sts. (42 sc)
Row 5: Ch 1, turn. Sc blo in each st across. (42 sc)
Fasten off. Weave in ends.
The pocket is a single granny square worked with all 3 rounds in Color B only.
Block the pocket square to 3 inches x 3 inches.
Position the pocket on the lower left front panel, centered over one square. Pin in place. Using Color B and a yarn needle, sew the pocket to the front panel along three sides (bottom and two side edges), leaving the top edge open. Work the seam neatly with whip stitch.
Finishing Your Baby Cardigan
Weave in all remaining ends securely on the wrong side using a yarn needle.
Sew the 5 pearl buttons onto the left front band, aligning each button precisely with its corresponding buttonhole on the right front band. Use a double strand of Color B thread or matching thread for security. Knot on the wrong side and trim.
Blocking
Hand wash the finished cardigan in cool water with a small amount of wool wash or gentle soap. Gently squeeze out excess water. Do not wring.
Roll in a clean towel and press to remove more water. Lay flat on a blocking mat. Pin the cardigan to the finished measurements. Ease each square into a neat, even square shape with blocking pins. Allow to dry completely before unpinning.
If using acrylic yarn, you may steam block lightly by holding a steam iron 1 to 2 inches above the surface. Do not press the iron directly onto the yarn.
Size Customization Tips
The cardigan is built on a grid of 3-inch granny squares. To resize:
For a smaller size (0 to 6 months): Use DK weight yarn with a US G-6 / 4.0 mm hook. The square size should remain 3 inches. Remove one row of squares from the body height (use 2 x 3 instead of 3 x 3 for the body height) and reduce back width to 3 squares instead of 4.
For a larger size (2T to 3T): Add one square column to the back width (5 squares across) and one additional square to each front panel (3 squares wide). Add one row of squares to body height (4 rows tall). Adjust sleeve to 2 squares wide x 4 squares tall.
Always re-swatch after changing yarn weight or hook size to confirm your square size before making all 37 squares.
Care Instructions
Machine wash on the delicate or gentle cycle in cold water if using a machine-washable yarn such as superwash wool or acrylic. Lay flat to dry. Do not tumble dry. Do not iron directly. If using non-superwash wool, hand wash only in cool water and lay flat to dry. Store folded flat, not hung, to prevent the knit structure from stretching over time.
Final Thoughts on This Granny Square Baby Cardigan
I hope you love making this pink rose granny square baby cardigan crochet pattern as much as I loved designing it. There’s something incredibly satisfying about watching a pile of little squares transform into an actual wearable garment. The modular construction makes this project perfect for busy crafters who need something portable, and the finished cardigan is guaranteed to get compliments.
Thank you so much for choosing this pattern! If you make one, I would absolutely love to see it. Tag me on Instagram or share a photo in my Facebook group. Seeing your finished projects genuinely makes my day.
Don’t forget to save this pattern to your Pinterest boards so you can find it easily when you’re ready to start. And if you have any questions or want to share how yours turned out, drop a comment below. I always love hearing from you!
You Might Also Like
- Mint and Peach Baby Dress Free Crochet Pattern
- Sunshine Daisy Book Cover Free Crochet Pattern
- Midnight Blue Floral Bell Sleeve Top Free Crochet Pattern
- Ocean Blue Ombre Crochet Backpack Free Crochet Pattern