Blush Pink Ruffle Baby Romper Free Crochet Pattern
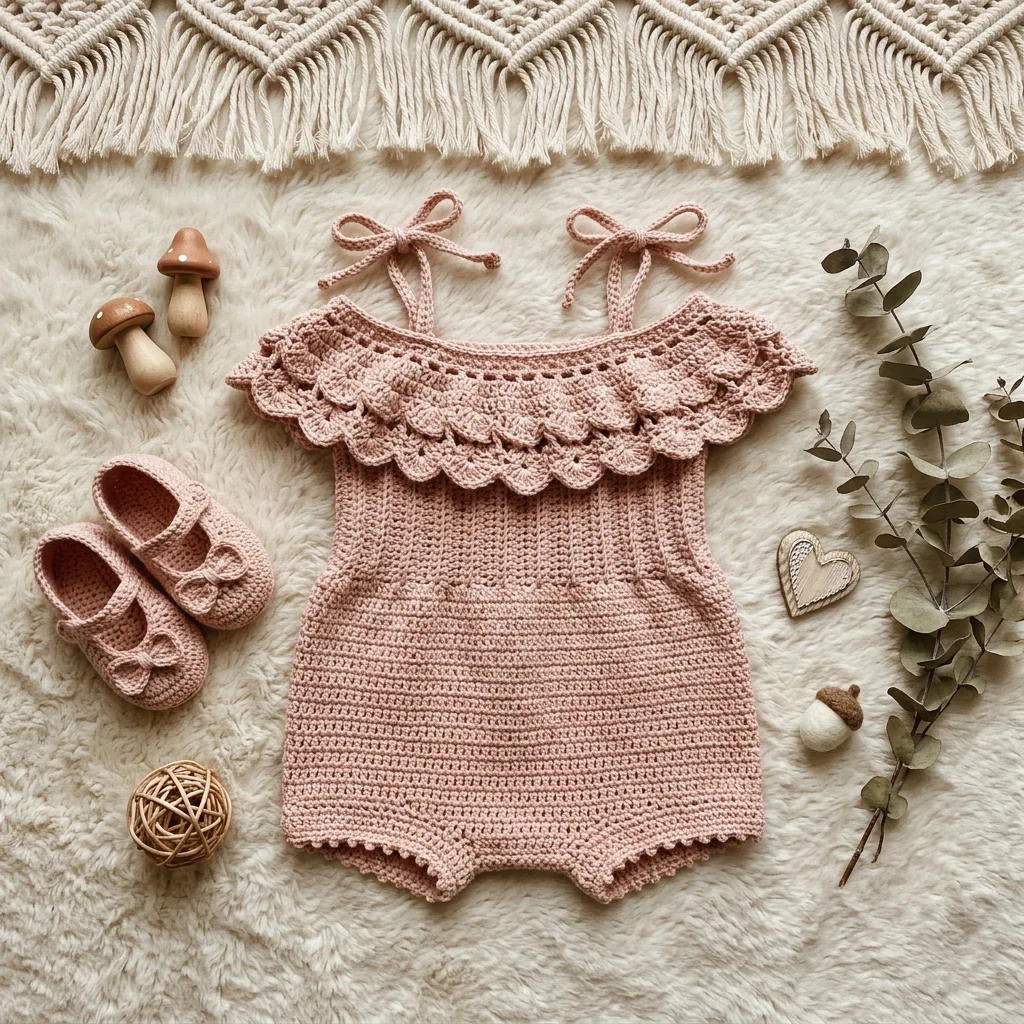
Let me guess. You took one look at that gorgeous double ruffle collar and thought, “There’s no way I can make that.” I get it. This baby romper looks like it belongs in a boutique window with a price tag that makes you wince. But here’s the truth that experienced crocheters know: this romper is built from basic stitches stacked in clever ways.
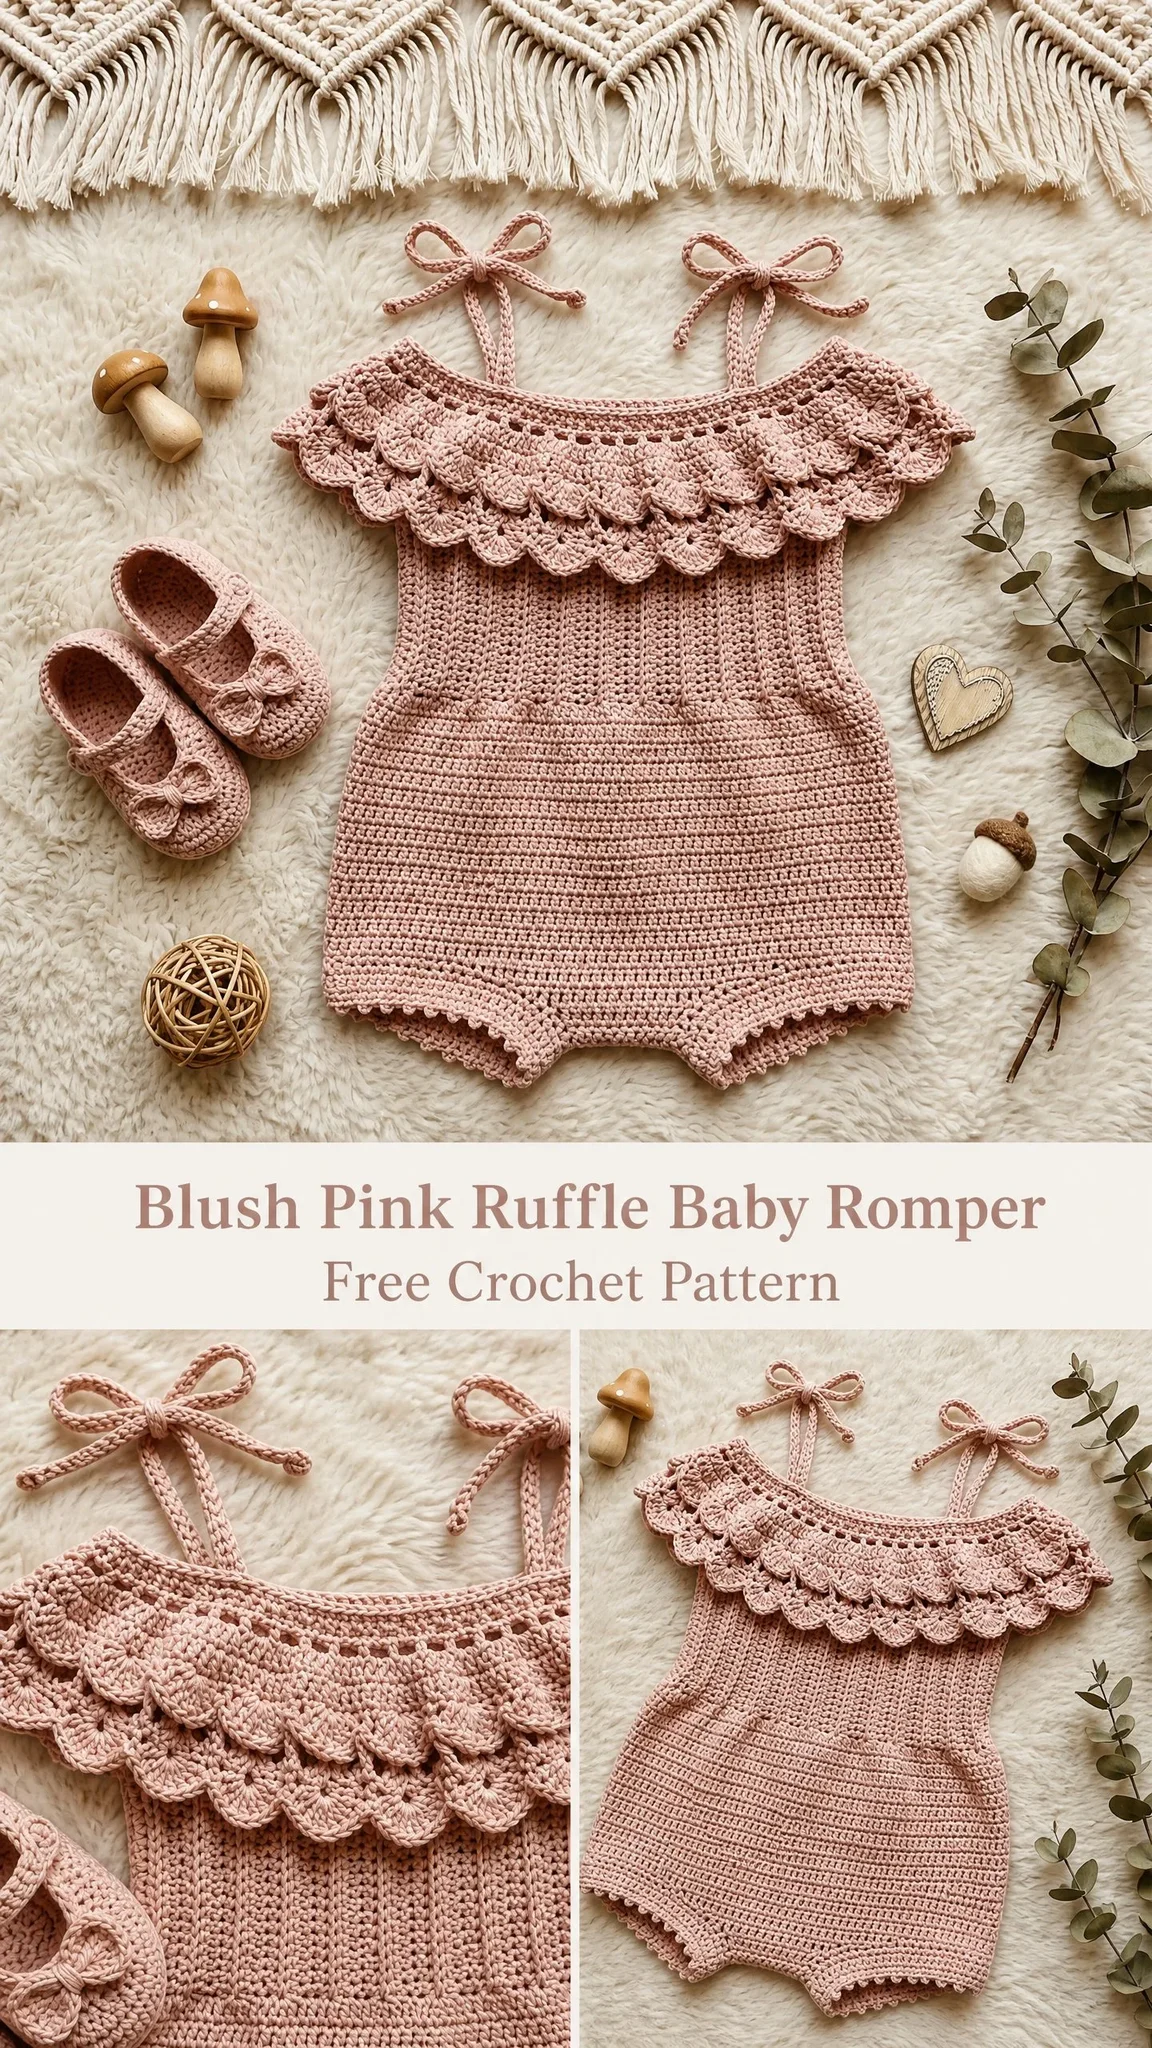
If you can work a half double crochet and a double crochet, you can absolutely make this. The ruffle collar that looks so intricate? It’s just shells. The ribbed texture on the bodice? That’s working in the back loop only. The scalloped leg edges? More shells. Once you see how the pieces come together, you’ll realize this pattern is more about patience than complexity.
Whether you’ve been crocheting for years or you just finished your first few projects, this romper is within reach. I’m going to walk you through every single step, explain every stitch, and give you the confidence to create something truly special for a little one in your life.
Why This Baby Romper Pattern Works So Well
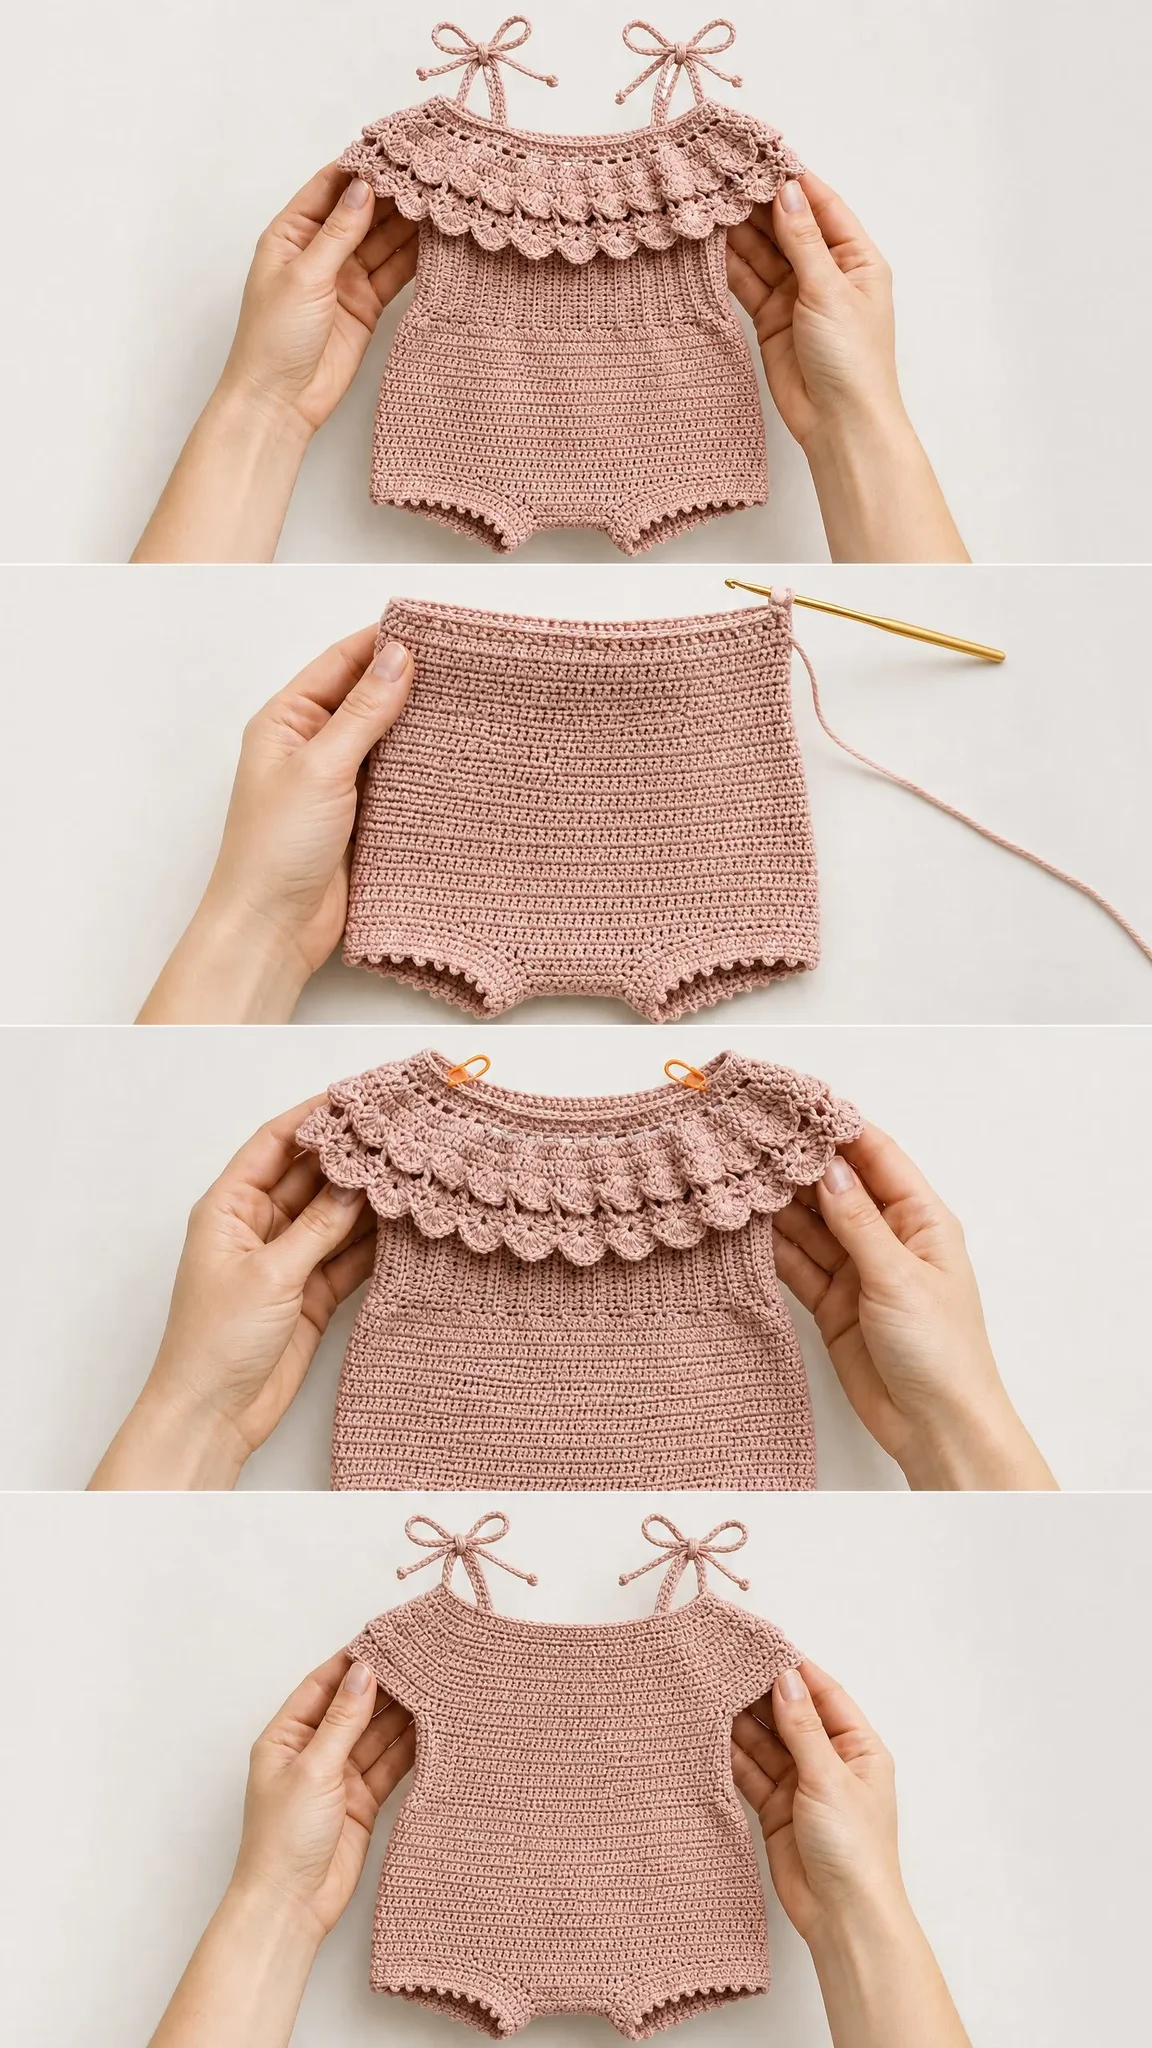
This crochet baby romper pattern creates a lightweight, breathable summer garment perfect for babies aged 3 to 18 months. The construction is smarter than it looks. You start at the neckline and work downward in the round, which means minimal seaming and a smooth finish against baby’s skin.
The double ruffle collar is worked as a separate piece and attached afterward. This might sound like extra work, but it’s actually easier. You can focus on getting the ruffle perfect without worrying about the bodice, and if something goes wrong, you only redo the collar instead of the whole project.
The tie straps at the shoulders mean this romper grows with baby. Adjust the bows looser or tighter as needed, and you’ll get months more wear out of your handmade creation.
Skill Level and Time Estimate
This is an intermediate crochet pattern. You should feel comfortable working in the round, working in back loops only, making basic increases and decreases, and creating shell stitches. If you’ve completed two or three projects before, you have the skills for this.
Expect to spend approximately 8 to 14 hours on this romper, depending on your experience level and the size you’re making. The smaller sizes work up faster, obviously, but even the largest size is totally manageable as a weekend project.
Finished Sizes
This pattern includes four sizes to fit most babies:
Size 0-3 months: chest circumference 14 inches, total length 10 inches
Size 3-6 months: chest circumference 16 inches, total length 11.5 inches
Size 6-12 months: chest circumference 17.5 inches, total length 13 inches
Size 12-18 months: chest circumference 19 inches, total length 14 inches
All instructions are written for size 0-3 months. Adjustments for larger sizes appear in brackets in this order: [3-6 months, 6-12 months, 12-18 months].
Materials You’ll Need
Yarn: DK weight yarn (also called CYCA 3 or light worsted), approximately 200 [250, 300, 350] yards in blush pink or your preferred color. Choose something soft, machine washable, and with good stitch definition so the texture shows clearly.
Hook: US size E-4 / 3.5 mm crochet hook
Notions:
Yarn Suggestions That Work Beautifully
Paintbox Yarns Simply DK is my top pick. It’s 100% acrylic with excellent stitch definition, a wide color range including beautiful blush shades, and it’s fully machine washable. Budget friendly too.
Drops Safran is a gorgeous option if you prefer cotton. It gives crisp stitch definition and beautiful drape, perfect for warmer weather. The finished fabric has a slightly heavier hand than acrylic.
Lion Brand Pound of Love offers extraordinary softness and incredible yardage value. Machine washable and available in baby-appropriate colors.
You can substitute any DK weight yarn that achieves the stated gauge. Avoid fuzzy or textured yarns because they’ll hide all that pretty shell and ribbing detail you’re working so hard to create.
Gauge (Please Don’t Skip This)
18 half double crochet stitches x 14 rows = 4 inches x 4 inches worked in half double crochet through back loop only, in joined rounds, blocked.
I know gauge swatches aren’t the exciting part of crochet. But this is a garment meant to fit a specific size baby. Even a half-stitch difference per inch will throw off the fit significantly across the chest and torso. Make the swatch. Check your numbers. Adjust your hook size up or down as needed.
Abbreviations and Stitch Definitions
Let me define every abbreviation before we start. If you’re newer to crochet, bookmark this section.
ch = chain (wrap yarn over hook and pull through the loop on your hook)
sl st = slip stitch (insert hook, yarn over, pull through both the stitch and the loop on hook in one motion)
sc = single crochet (insert hook, yarn over, pull up a loop so you have 2 loops on hook, yarn over, pull through both loops)
hdc = half double crochet (yarn over, insert hook, yarn over, pull up a loop so you have 3 loops on hook, yarn over, pull through all 3 loops)
dc = double crochet (yarn over, insert hook, yarn over, pull up a loop, yarn over, pull through 2 loops, yarn over, pull through remaining 2 loops)
BLO = back loop only (insert your hook into only the back loop of the stitch, which is the loop farthest from you when the work faces you)
hdc2tog = half double crochet two together, a decrease stitch explained in detail below
st(s) = stitch(es)
rnd = round
RS = right side
WS = wrong side
pm = place marker
sk = skip
rep = repeat
Special Stitches Explained
Shell Stitch
Work 5 double crochet stitches into the same stitch or space. This creates the fan or petal shape you see in the ruffle collar. It looks fancy but it’s just 5 dc bunched together.
Half Double Crochet Two Together (hdc2tog)
This is your decrease stitch. Here’s exactly how to do it:
1. Yarn over, insert hook into next stitch, pull up a loop. You now have 3 loops on your hook.
2. Yarn over, insert hook into the following stitch, pull up a loop. You now have 5 loops on your hook.
3. Yarn over and draw through all 5 loops at once.
You just turned 2 stitches into 1. That’s a decrease.
Scallop Edging
This finishes the leg openings. Join yarn at any stitch, chain 1, single crochet in the same stitch. Then skip 2 stitches, work 5 dc in the next stitch (that’s a shell), skip 2 stitches, sc in the next stitch. Repeat around the entire opening. Slip stitch to the first sc to join and fasten off.
Pattern Notes Before You Begin
The bodice is worked in joined rounds without turning unless otherwise stated. After joining each round, chain 1 (this does not count as a stitch), then begin working into the first stitch.
Place stitch markers at the four underarm points to separate front from back panels. When working flat for the leg opening section, a turning chain of 1 is used for hdc rows and does not count as a stitch.
The ruffle collar is worked separately and attached to the neckline. This gives you better control over placement and sizing.
All stitch counts appear in parentheses at the end of each row or round.
Step-by-Step Crochet Pattern Instructions
Section 1: Bodice Neckline Foundation
Chain 64 [72, 80, 88]. Being careful not to twist, slip stitch to the first chain to join into a ring.
Round 1: Ch 1 (does not count as st throughout). Work 1 hdc in each ch around. Sl st to first hdc to join. (64 [72, 80, 88] hdc)
Round 2: Ch 1. Work 1 BLO hdc in each st around. Sl st to first hdc to join. (64 [72, 80, 88] hdc)
Round 3: Ch 1. Work 1 BLO hdc in each st around. Sl st to first hdc to join. (64 [72, 80, 88] hdc)
Round 4 (increase round): Ch 1. Work 1 BLO hdc in each of next 15 [17, 19, 21] sts, 2 BLO hdc in next st (inc made), work 1 BLO hdc in each of next 30 [34, 38, 42] sts, 2 BLO hdc in next st, work 1 BLO hdc in each of next 16 [18, 20, 22] sts. Sl st to first hdc to join. (66 [74, 82, 90] hdc)
Place markers at stitches 1, 17 [19, 21, 23], 18 [20, 22, 24], and 49 [55, 61, 67] to mark the four underarm points. These divide the round into a front panel of 31 [35, 39, 43] sts and a back panel of 31 [35, 39, 43] sts, with 2 underarm sts on each side.
Rounds 5 through 10 [5 through 12, 5 through 14, 5 through 16]: Ch 1. Work 1 BLO hdc in each st around. Sl st to first hdc to join. (66 [74, 82, 90] hdc)
For size 0-3 months, work 6 plain BLO rounds. For 3-6 months, work 8 rounds. For 6-12 months, work 10 rounds. For 12-18 months, work 12 rounds.
Checkpoint: After completing this section, the bodice from neckline down should measure approximately 3.5 inches [4 inches, 4.5 inches, 5 inches].
Section 2: Waist Shaping
Round 11 [13, 15, 17] (decrease round): Ch 1. Work 1 BLO hdc in each of next 14 [16, 18, 20] sts, hdc2tog over next 2 sts, work 1 BLO hdc in each of next 2 sts (center front), hdc2tog over next 2 sts, work 1 BLO hdc in each of next 28 [32, 36, 40] sts, hdc2tog over next 2 sts, work 1 BLO hdc in each of next 2 sts (center back), hdc2tog over next 2 sts, work 1 BLO hdc in each of next 14 [16, 18, 20] sts. Sl st to first hdc to join. (62 [70, 78, 86] hdc)
Round 12 [14, 16, 18]: Ch 1. Work 1 BLO hdc in each st around. Sl st to join. (62 [70, 78, 86] hdc)
Round 13 [15, 17, 19] (increase round): Ch 1. Work 1 BLO hdc in each of next 14 [16, 18, 20] sts, 2 BLO hdc in next st, work 1 BLO hdc in each of next 2 sts, 2 BLO hdc in next st, work 1 BLO hdc in each of next 28 [32, 36, 40] sts, 2 BLO hdc in next st, work 1 BLO hdc in each of next 2 sts, 2 BLO hdc in next st, work 1 BLO hdc in each of next 14 [16, 18, 20] sts. Sl st to join. (66 [74, 82, 90] hdc)
Rounds 14 through 16 [16 through 18, 18 through 21, 20 through 23]: Ch 1. Work 1 BLO hdc in each st around. Sl st to join. (66 [74, 82, 90] hdc)
Checkpoint: After the waist section, the bodice from neckline should measure approximately 6 inches [6.5 inches, 7.5 inches, 8.5 inches].
Section 3: Dividing for Leg Openings
Now you’ll divide the work into front and back panels, working each flat to create the two leg openings.
Divide round: Slip stitch across the 2 marked underarm sts on the right side. The next 31 [35, 39, 43] sts are the front panel. Place a marker at each end. Leave the remaining 33 [37, 41, 45] sts unworked for now.
Front Panel
Turn. You’re working flat now.
Row 1 (WS): Ch 1, work 1 BLO hdc in each of the 31 [35, 39, 43] front sts. Turn. (31 [35, 39, 43] hdc)
Row 2 (RS): Ch 1, work 1 BLO hdc in each st across. Turn. (31 [35, 39, 43] hdc)
Row 3 (WS): Ch 1, hdc2tog over first 2 sts, work 1 BLO hdc in each st to last 2 sts, hdc2tog over last 2 sts. Turn. (29 [33, 37, 41] hdc)
Row 4 (RS): Ch 1, work 1 BLO hdc in each st across. Turn. (29 [33, 37, 41] hdc)
Row 5 (WS): Ch 1, hdc2tog over first 2 sts, work 1 BLO hdc in each st to last 2 sts, hdc2tog over last 2 sts. Turn. (27 [31, 35, 39] hdc)
Rows 6 through 8 [6 through 9, 6 through 10, 6 through 11]: Ch 1, work 1 BLO hdc in each st across. Turn. (27 [31, 35, 39] hdc)
Do not fasten off. Set front panel aside.
Back Panel
With RS facing, join yarn to the first of the remaining stitches. Work across, skipping the 2 underarm sts to leave only the 31 [35, 39, 43] back panel sts active.
Row 1 (WS): Ch 1, work 1 BLO hdc in each of 31 [35, 39, 43] sts. Turn. (31 [35, 39, 43] hdc)
Row 2 (RS): Ch 1, work 1 BLO hdc in each st across. Turn. (31 [35, 39, 43] hdc)
Row 3 (WS): Ch 1, hdc2tog over first 2 sts, work 1 BLO hdc in each st to last 2 sts, hdc2tog over last 2 sts. Turn. (29 [33, 37, 41] hdc)
Row 4 (RS): Ch 1, work 1 BLO hdc in each st across. Turn. (29 [33, 37, 41] hdc)
Row 5 (WS): Ch 1, hdc2tog over first 2 sts, work 1 BLO hdc in each st to last 2 sts, hdc2tog over last 2 sts. Turn. (27 [31, 35, 39] hdc)
Rows 6 through 8 [6 through 9, 6 through 10, 6 through 11]: Ch 1, work 1 BLO hdc in each st across. Turn. (27 [31, 35, 39] hdc)
Do not fasten off.
Crotch Join
Hold front and back panels together with right sides facing out. Using a yarn needle and matching yarn, whipstitch the bottom edge of the front panel to the bottom edge of the back panel across the center 9 [11, 13, 15] sts. Leave 9 [10, 11, 12] sts open on each side for leg openings.
For a snap crotch (highly recommended for easy diaper changes), seam only the outermost 3 [3, 4, 4] sts on each side and leave the center 3 [5, 5, 7] sts unjoined. Attach snaps to these open edges on the inside.
Checkpoint: After the crotch join, the romper body from neckline to crotch should measure approximately 9.5 inches [11 inches, 12.5 inches, 13.5 inches].
Section 4: Leg Opening Edging
The leg opening stitch count must be divisible by 6 for the scallop edging to work out evenly.
For size 0-3 months: 36 sts total per leg opening
For size 3-6 months: 42 sts total
For size 6-12 months: 48 sts total
For size 12-18 months: 54 sts total
Join yarn to any stitch of the right leg opening with a slip stitch.
Edging Round 1: Ch 1, sc evenly around the leg opening, adjusting total to 36 [42, 48, 54] sc if needed. Sl st to first sc to join. (36 [42, 48, 54] sc)
Edging Round 2 (Scallop): Ch 1, sc in same st. Skip 2 sts, 5 dc in next st, skip 2 sts, sc in next st. Rep from around. Sl st to first sc to join. (6 [7, 8, 9] scallops)
Fasten off and weave in ends. Repeat for left leg opening.
Section 5: Ruffle Collar
The ruffle collar is worked as a separate flat circular piece, then attached to the neckline.
Inner Neckline Foundation
Chain 66 [72, 78, 84] and join with slip stitch to first chain to form a ring, being careful not to twist.
Round 1: Ch 1, 1 hdc in each ch around. Sl st to join. (66 [72, 78, 84] hdc)
This round becomes the attachment edge. Place a stitch marker to note this as the top inner edge.
Ruffle Tier 1
Round 2 (Tier 1, first shell row): Ch 1, sc in first st. Skip 2 sts, 5 dc in next st (shell), skip 2 sts, sc in next st. Rep from around. Sl st to first sc to join. (11 [12, 13, 14] shells)
Round 3 (Tier 1, joining row): Ch 5 (counts as dc plus ch-2). Working into the sc-spaces and shells of Round 2: dc in center dc of next shell, ch 2, sc in next sc, ch 2. Rep from around. Sl st to 3rd ch of beg ch-5 to join. (33 [36, 39, 42] ch-2 spaces)
Ruffle Tier 2
Round 4 (Tier 2 base): Ch 1, work 3 sc into each ch-2 space around, and 1 sc into each dc around. Sl st to first sc to join. Adjust count evenly to 96 [108, 114, 126] sc.
Round 5 (Tier 2 shells): Ch 1, sc in first st. Skip 2 sts, 5 dc in next st, skip 2 sts, sc in next st. Rep from around. Sl st to first sc to join. (16 [18, 19, 21] shells)
Round 6 (Tier 2 edging): Ch 1, sc in first sc. Ch 2, sk 1 dc, sc in next dc (center), ch 2, sc in next sc. Rep from around. Sl st to first sc. Fasten off.
The outermost ruffle tier has more shells because it lies over a larger circumference. This creates the beautiful cascading double-ruffle effect.
Section 6: Attaching the Ruffle Collar
Hold the ruffle collar with inner neckline foundation edge aligned with the neckline edge of the bodice. Right sides of both pieces face outward. Using a yarn needle and matching yarn, whipstitch the two neckline edges together stitch by stitch, easing any excess evenly around.
The ruffle collar sits slightly lower at the front to create the off-shoulder effect. Pin before seaming to ensure even placement.
Section 7: Tie Straps
Make 4 straps total.
For each strap: Chain 45 [50, 50, 55]. Fasten off, leaving a 10 inch tail for sewing.
Attach two straps at the front neckline, each approximately 1.5 inches from center front, one on each side. Attach two straps at the back neckline, aligned directly behind the front straps. Use the long tails to sew each chain base firmly to the neckline edge with 4 to 6 whipstitches.
To wear: cross each pair of front and back straps over the shoulder and tie in a bow, adjusting length to fit baby.
Finishing Your Crochet Baby Romper
Weave in all loose ends using a yarn needle, weaving in opposite directions for at least 1 inch to prevent ends from pulling through.
Using a damp cloth or light mist of water, lightly block the finished romper on a flat padded surface. Gently shape the ruffle collar outward and the leg scallops downward. Pin if needed. Allow to dry completely flat before wearing. Do not hang to dry as the structure will distort.
If using cotton yarn, wet block by submerging the finished garment in cool water for 10 minutes, pressing out excess water in a towel without wringing, then pinning to measurements on a blocking mat.
Care Instructions
Machine wash on gentle cycle in cool water. Lay flat to dry. Do not tumble dry. Do not iron directly over the ruffle layers. Store flat or loosely folded.
You Did It!
I hope you’ve enjoyed making this beautiful blush pink ruffle baby romper crochet pattern. Every time I see one finished, I’m reminded that those “impossible looking” projects are often just basic stitches arranged thoughtfully. You now have a handmade heirloom piece that any baby would be lucky to wear.
Thank you so much for choosing this pattern and trusting me to guide you through it. I’d absolutely love to see your finished romper! Tag me on Instagram or share a photo in our Facebook group. Seeing your makes truly is the best part of sharing patterns.
If you loved making this, go ahead and save it to your Pinterest boards so you can find it again for the next baby shower gift. And please drop a comment below if you make one. I read every single comment and would love to hear how yours turned out!
You Might Also Like
- Rainbow Pastel Snake Plushie Free Crochet Pattern
- Sage Green Tiered Wall Planter Free Crochet Pattern
- Lavender Daisy Granny Square Bag Free Crochet Pattern
- Lavender Sunflower Granny Square Tote Free Crochet Pattern