Soft Pink Bear Ear Hooded Baby Coat Free Crochet Pattern
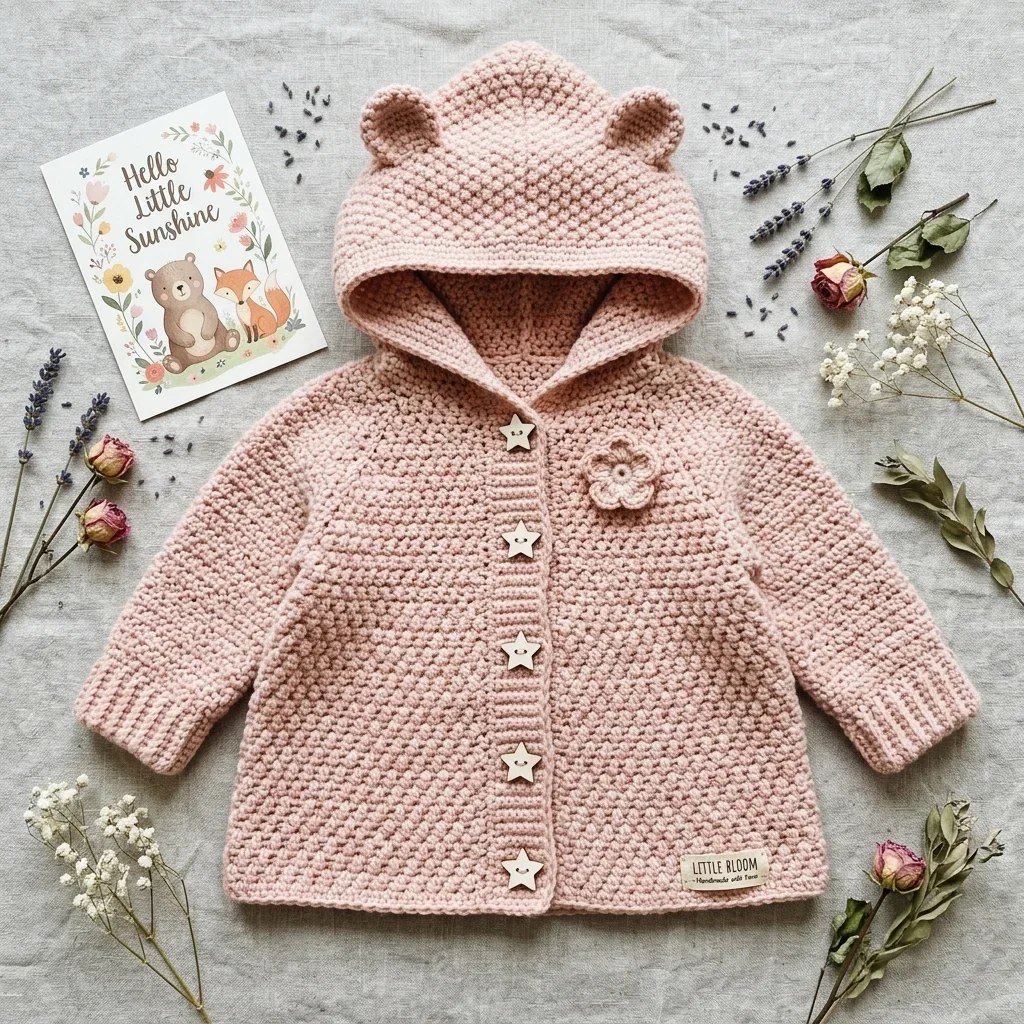
Last winter, my best friend called me in a mild panic. Her sister had just announced a surprise baby shower, and she needed a gift that looked like she had been planning it for months. We both knew store-bought would not cut it. So I pulled out my hooks, grabbed some dusty rose yarn, and started stitching.
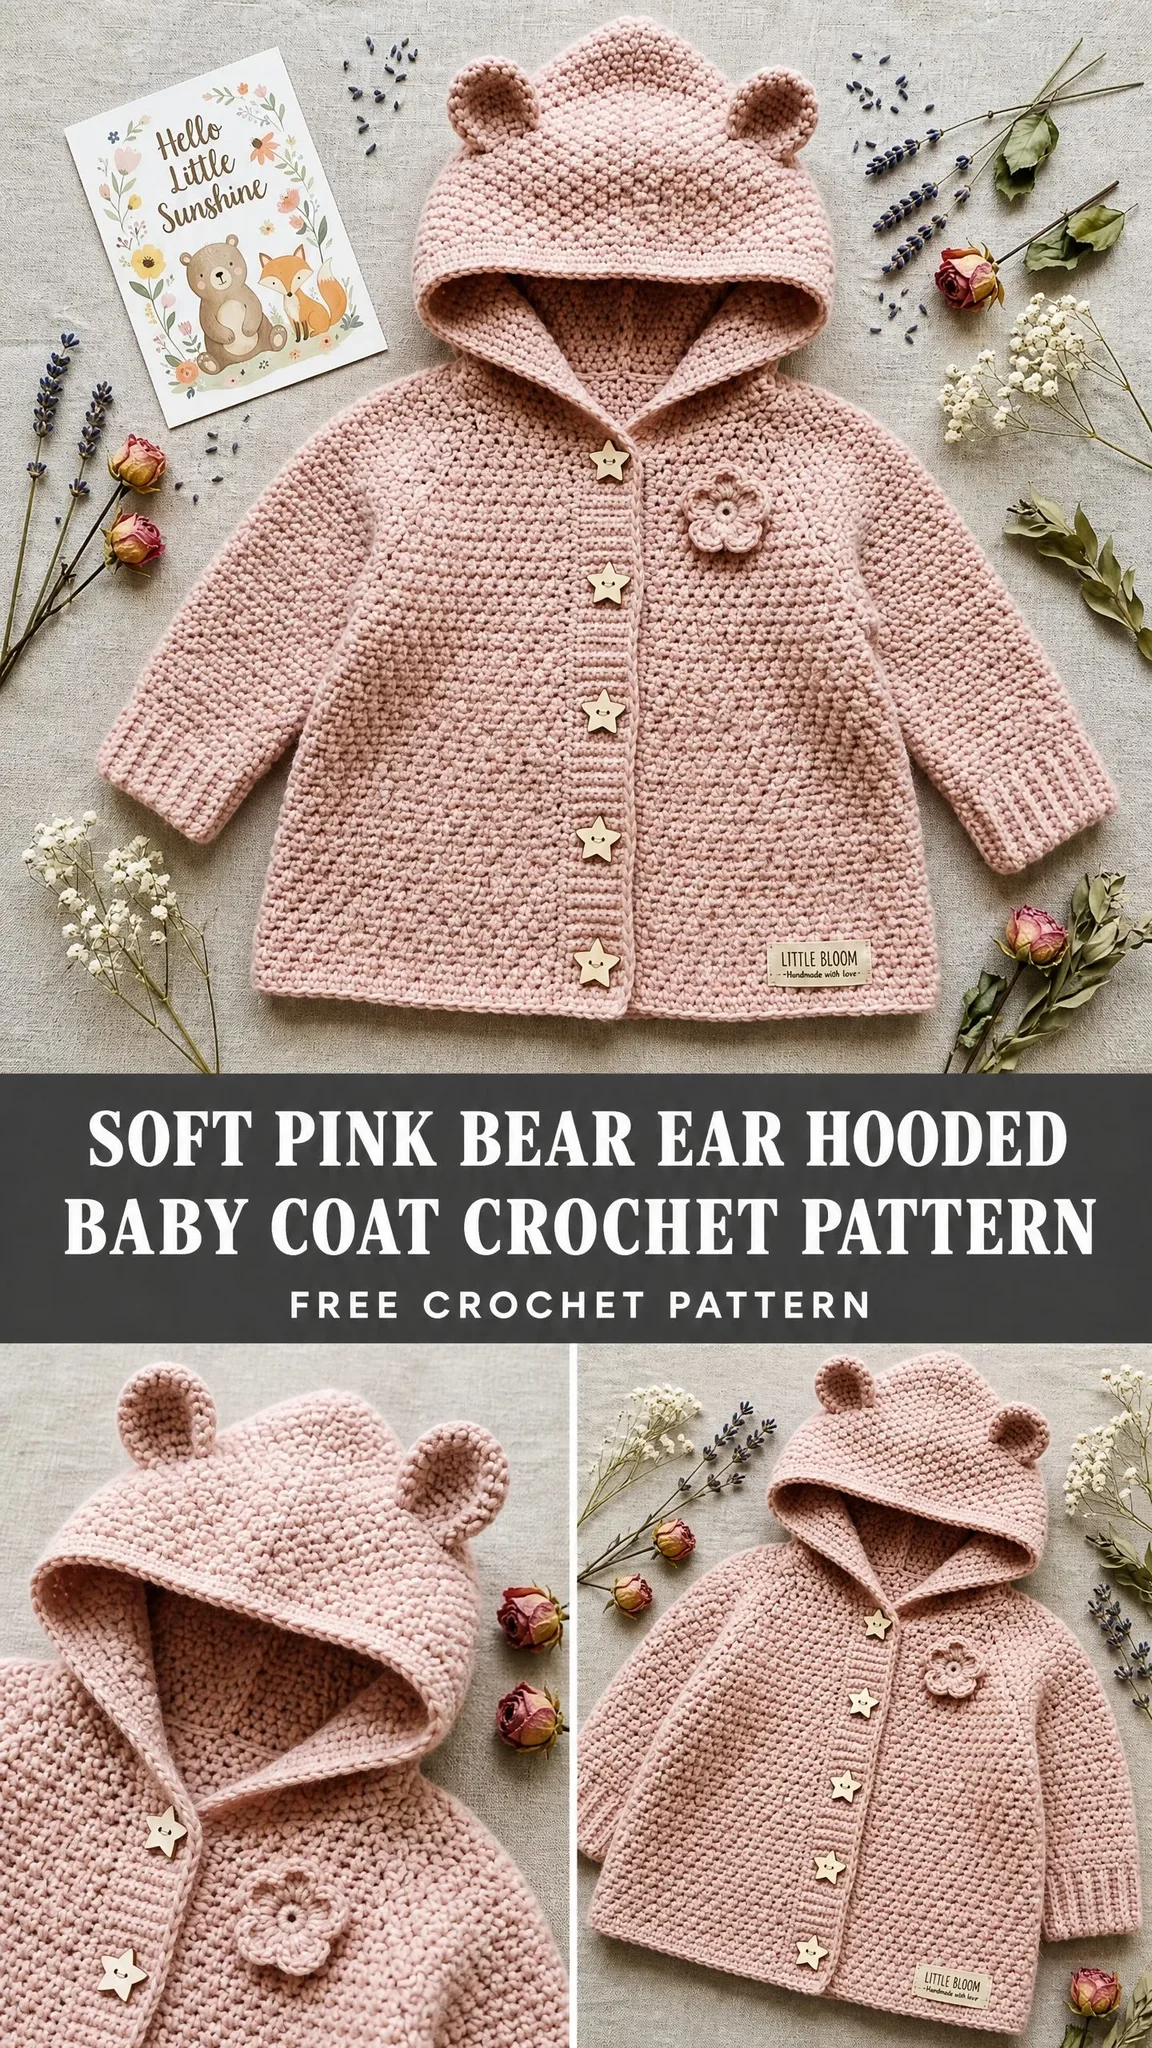
That coat became the hit of the shower. Everyone wanted to know where she bought it. When she said it was handmade, jaws dropped. The tiny bear ears got actual squeals.
I refined that design into the pattern you see here. This hooded baby coat combines a beautifully textured moss stitch body with the most adorable bear ear hood, star-shaped wooden buttons, and a sweet crocheted flower applique. It is the kind of project that looks impressively complex but breaks down into manageable pieces. Let me walk you through every single step.
About This Crochet Pattern
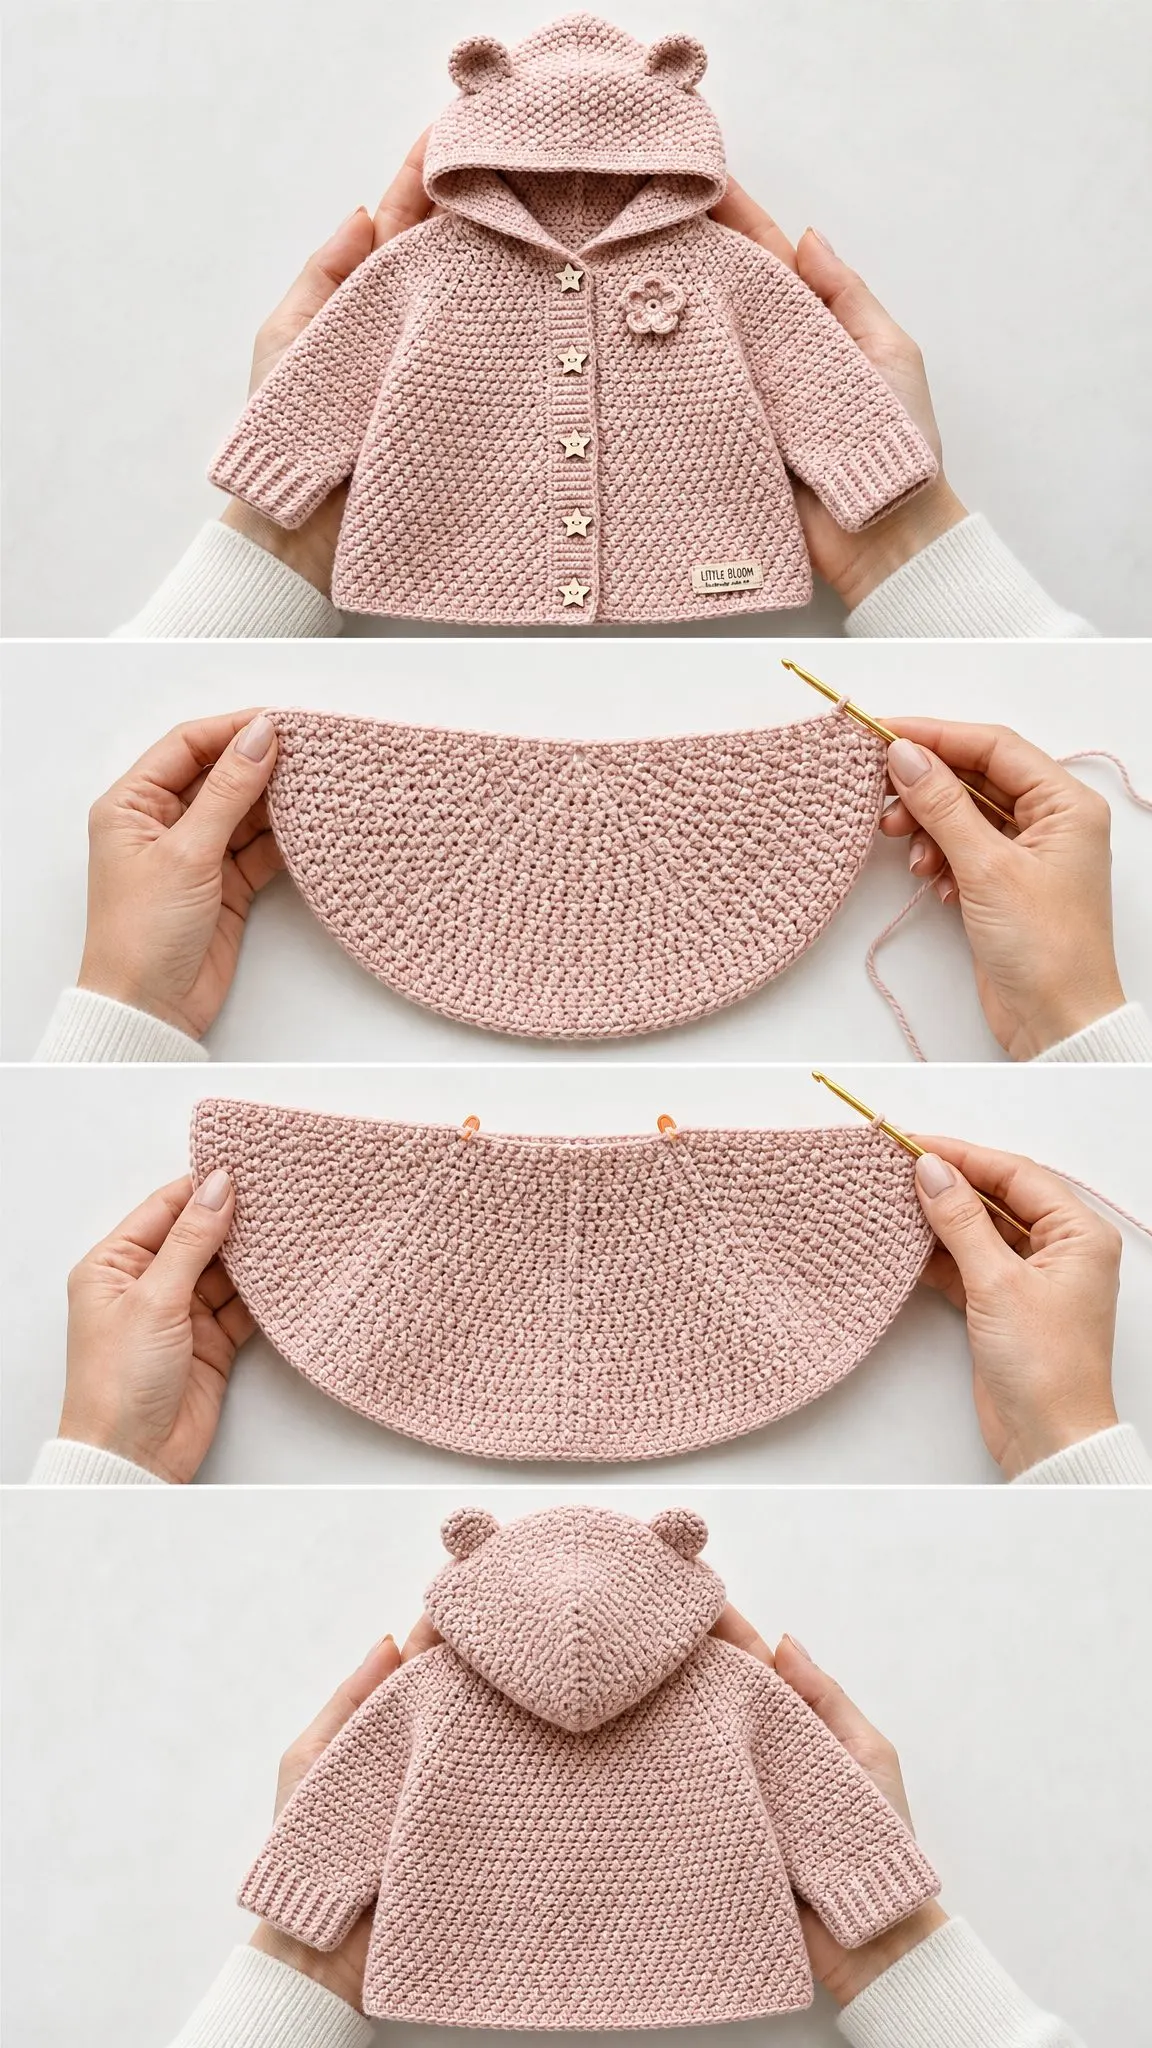
This coat is worked flat in separate pieces and then seamed together. You will make a back panel, two front panels, two sleeves, and a hood. The bear ears are worked in the round and attached at the end. Button bands and ribbed cuffs add those polished finishing touches.
The moss stitch (sometimes called linen stitch or granite stitch) creates that dense, pebbled texture you see throughout the body, sleeves, and hood. It is made by alternating single crochet stitches with chain stitches, skipping spaces in between. The result is sturdy, warm, and absolutely gorgeous.
Skill level: Intermediate. If you have completed at least one seamed garment before, you will find this straightforward. The moss stitch itself is simple and repetitive once you get into the rhythm.
Time estimate: Approximately 12 to 18 hours for the size shown (6 to 12 months), depending on your working pace.
Finished Measurements
Size: 6 to 12 months (as shown)
Materials Needed for This Baby Coat Crochet Pattern
Yarn: Approximately 430 yards / 393 meters of worsted weight yarn (category 4) in dusty rose or blush pink
Recommended yarn options:
Choose a smooth, tightly plied yarn. Avoid fluffy or textured yarns because they will hide that beautiful moss stitch texture.
Hooks:
Notions:
Gauge
With H-8 / 5.0 mm hook in moss stitch:
14 stitches x 20 rows = 4 inches / 10 cm (blocked)
Gauge matters here. One stitch per inch difference can make your coat 1.5 inches too large or too small. Make a swatch at least 5 inches square, wash and block it, then measure the center 4 inches.
Abbreviations and Stitch Definitions
Let me define every abbreviation before we begin. I will use these throughout the pattern.
Special Stitches
Moss Stitch (Worked Flat Over an Even Number of Stitches)
This creates the beautiful textured fabric throughout the coat.
Foundation row setup: Chain an even number. Work 1 sc in 2nd ch from hook, ch 1, skip 1 ch, (sc in next ch, ch 1, skip 1 ch) across to last ch, sc in last ch. Turn.
Row 1 and all subsequent rows: Ch 1, sc in first ch-1 sp, ch 1, (sc in next ch-1 sp, ch 1) across, sc in last sc. Turn.
One “moss unit” equals 1 sc plus 1 ch-1 sp. Stitch counts include both sc and ch-1 spaces plus any edge sc.
Rib Stitch (Worked Flat in BLO)
Chain a multiple of 2 plus 1.
Row 1: Sc in 2nd ch from hook and in each ch across. Turn.
Row 2 and all subsequent rows: Ch 1, sc BLO in each sc across. Turn.
Crochet Flower Applique
Magic ring.
Rnd 1: Ch 1, work 6 sc into ring, sl st to first sc to join. (6 sc)
Rnd 2: (Ch 3, dc in same st, ch 3, sl st in same st, sl st in next st) 6 times. (6 petals)
Fasten off, leaving a 10 inch / 25 cm tail for attaching.
Bear Ears (Make 2)
Rnd 1: Magic ring, ch 1, 6 sc in ring, sl st to join. (6 sc)
Rnd 2: Ch 1, 2 sc in each sc around, sl st to join. (12 sc)
Rnd 3: Ch 1, (2 sc in next sc, sc in next sc) 6 times, sl st to join. (18 sc)
Rnd 4: Ch 1, sc in each sc around, sl st to join. (18 sc)
Fasten off, leaving a 14 inch / 35 cm tail for attaching.
Pattern Notes Before You Begin
1. The turning chain (ch 1) does not count as a stitch throughout this pattern.
2. Right front and left front are mirror images. Buttons go on the right front, buttonholes on the left front.
3. When increasing in moss stitch, work 2 sc with a ch 1 between them in the same space.
4. When decreasing at the edge, sc2tog over the edge sc and the first ch-1 sp.
5. Seaming uses mattress stitch with right sides facing out.
Step by Step Instructions
Back Panel
With MC and H-8 hook, ch 73.
Foundation Row: Sc in 2nd ch from hook, ch 1, (skip 1 ch, sc in next ch, ch 1) 35 times, sc in last ch. Turn. (73 sts)
Rows 1 through 26: Rep the moss stitch row: Ch 1, sc in first ch-1 sp, ch 1, (sc in next ch-1 sp, ch 1) 35 times, sc in last sc. Turn. (73 sts)
After Row 26, the back should measure approximately 5.2 inches / 13 cm.
Underarm Shaping
Row 27 (Decrease Row): Ch 1, sc2tog over first sc and first ch-1 sp, ch 1, (sc in next ch-1 sp, ch 1) 34 times, sc2tog over last ch-1 sp and final edge sc. Turn. (71 sts)
Row 28: Ch 1, sc in first ch-1 sp, ch 1, (sc in next ch-1 sp, ch 1) 34 times, sc in last sc. Turn. (71 sts)
Row 29 (Decrease Row): Ch 1, sc2tog over first sc and first ch-1 sp, ch 1, (sc in next ch-1 sp, ch 1) 33 times, sc2tog over last ch-1 sp and final edge sc. Turn. (69 sts)
Row 30: Ch 1, sc in first ch-1 sp, ch 1, (sc in next ch-1 sp, ch 1) 33 times, sc in last sc. Turn. (69 sts)
Rows 31 through 50: Work even in moss stitch without shaping. (69 sts)
Shoulder Shaping
Row 51 (Right Shoulder): Ch 1, sc in first ch-1 sp, ch 1, (sc in next ch-1 sp, ch 1) 9 times, sc in next ch-1 sp. Fasten off. (21 sts)
Skip center 27 sts for back neck. Mark these for hood attachment.
Row 51 (Left Shoulder): Reattach yarn in next ch-1 sp after center neck. Ch 1, sc in that sp, ch 1, (sc in next ch-1 sp, ch 1) 9 times, sc in last sc. Fasten off. (21 sts)
Right Front Panel
With MC and H-8 hook, ch 37.
Foundation Row: Sc in 2nd ch from hook, ch 1, (skip 1 ch, sc in next ch, ch 1) 17 times, sc in last ch. Turn. (37 sts)
Rows 1 through 26: Work even in moss stitch. (37 sts)
Underarm Shaping
Row 27: Ch 1, sc2tog over first sc and first ch-1 sp, ch 1, (sc in next ch-1 sp, ch 1) 16 times, sc in last sc. Turn. (35 sts)
Row 28: Work even. (35 sts)
Row 29: Ch 1, sc2tog over first sc and first ch-1 sp, ch 1, (sc in next ch-1 sp, ch 1) 15 times, sc in last sc. Turn. (33 sts)
Row 30: Work even. (33 sts)
Rows 31 through 42: Work even in moss stitch. (33 sts)
Neck Shaping
Row 43: Ch 1, sc in first ch-1 sp, ch 1, (sc in next ch-1 sp, ch 1) 13 times, sc2tog over last ch-1 sp and final edge sc. Turn. (31 sts)
Row 44: Work even. (31 sts)
Row 45: Ch 1, sc in first ch-1 sp, ch 1, (sc in next ch-1 sp, ch 1) 12 times, sc2tog over last ch-1 sp and final edge sc. Turn. (29 sts)
Row 46: Work even. (29 sts)
Row 47: Ch 1, sc in first ch-1 sp, ch 1, (sc in next ch-1 sp, ch 1) 11 times, sc2tog over last ch-1 sp and final edge sc. Turn. (27 sts)
Row 48: Work even. (27 sts)
Row 49: Ch 1, sc in first ch-1 sp, ch 1, (sc in next ch-1 sp, ch 1) 10 times, sc2tog over last ch-1 sp and final edge sc. Turn. (25 sts)
Row 50: Work even. (25 sts)
Row 51: Ch 1, sc in first ch-1 sp, ch 1, (sc in next ch-1 sp, ch 1) 9 times, sc in last sc. Fasten off. (21 sts)
Left Front Panel
With MC and H-8 hook, ch 37.
Foundation Row: Sc in 2nd ch from hook, ch 1, (skip 1 ch, sc in next ch, ch 1) 17 times, sc in last ch. Turn. (37 sts)
Rows 1 through 26: Work even in moss stitch. (37 sts)
Underarm Shaping
Row 27: Ch 1, sc in first ch-1 sp, ch 1, (sc in next ch-1 sp, ch 1) 15 times, sc2tog over last ch-1 sp and final edge sc. Turn. (35 sts)
Row 28: Work even. (35 sts)
Row 29: Ch 1, sc in first ch-1 sp, ch 1, (sc in next ch-1 sp, ch 1) 14 times, sc2tog over last ch-1 sp and final edge sc. Turn. (33 sts)
Row 30: Work even. (33 sts)
Rows 31 through 42: Work even in moss stitch. (33 sts)
Neck Shaping
Row 43: Ch 1, sc2tog over first sc and first ch-1 sp, ch 1, (sc in next ch-1 sp, ch 1) 14 times, sc in last sc. Turn. (31 sts)
Row 44: Work even. (31 sts)
Row 45: Ch 1, sc2tog over first sc and first ch-1 sp, ch 1, (sc in next ch-1 sp, ch 1) 13 times, sc in last sc. Turn. (29 sts)
Row 46: Work even. (29 sts)
Row 47: Ch 1, sc2tog over first sc and first ch-1 sp, ch 1, (sc in next ch-1 sp, ch 1) 12 times, sc in last sc. Turn. (27 sts)
Row 48: Work even. (27 sts)
Row 49: Ch 1, sc2tog over first sc and first ch-1 sp, ch 1, (sc in next ch-1 sp, ch 1) 11 times, sc in last sc. Turn. (25 sts)
Row 50: Work even. (25 sts)
Row 51: Ch 1, sc in first ch-1 sp, ch 1, (sc in next ch-1 sp, ch 1) 9 times, sc in last sc. Fasten off. (21 sts)
Sleeves (Make 2)
With MC and H-8 hook, ch 31.
Foundation Row: Sc in 2nd ch from hook, ch 1, (skip 1 ch, sc in next ch, ch 1) 14 times, sc in last ch. Turn. (31 sts)
Rows 1 through 4: Work even in moss stitch. (31 sts)
Row 5 (Increase Row): At each edge, work 2 sc into the edge stitch to create a new moss unit. (35 sts)
Row 6: Work even. (35 sts)
Rows 7 through 10: Work even. (35 sts)
Row 11 (Increase Row): Work increases at both edges. (39 sts)
Row 12: Work even. (39 sts)
Rows 13 through 16: Work even. (39 sts)
Row 17 (Increase Row): Work increases at both edges. (43 sts)
Row 18: Work even. (43 sts)
Rows 19 through 22: Work even. (43 sts)
Row 23 (Increase Row): Work increases at both edges. (47 sts)
Row 24: Work even. (47 sts)
Rows 25 through 28: Work even. (47 sts)
Row 29 (Increase Row): Work increases at both edges. (51 sts)
Row 30: Work even. (51 sts)
Rows 31 through 33: Work even. (51 sts)
Do not fasten off.
Cuff
Switch to G-6 / 4.0 mm hook. Turn sleeve so foundation chain edge faces you.
Pickup Row: Join MC to first ch of foundation ch, ch 1, sc evenly across the foundation ch edge working 1 sc in each original ch space. (30 sc)
Rib Rows: Work in BLO sc rib for 10 rows. (30 sc)
Fasten off. Rep for second sleeve.
Hood
With MC and H-8 hook, ch 113.
Foundation Row: Sc in 2nd ch from hook, ch 1, (skip 1 ch, sc in next ch, ch 1) 55 times, sc in last ch. Turn. (113 sts)
Rows 1 through 40: Work even in moss stitch. (113 sts)
After Row 40, the hood rectangle should measure approximately 16 inches / 40.5 cm wide and 8 inches / 20 cm tall.
Hood Back Seam
Fold the hood rectangle in half so the two short edges meet. The fold becomes the front opening. Whipstitch or mattress stitch the two short ends together along 56 sts.
Bear Ears Attachment
Position the two bear ears on the top outside of the hood, approximately 2.5 inches / 6.5 cm in from each side of the front opening edge and 1 inch / 2.5 cm down from the top back seam. Stitch each ear firmly to the hood using the long tail.
Assembling the Coat
Step 1: Shoulder Seams. With RS together, align and mattress stitch the right shoulder of the back to the right shoulder of the right front. Repeat for left shoulder.
Step 2: Side Seams. With RS together, mattress stitch from hem to the underarm (Row 26) on each side.
Step 3: Sleeve Attachment. Center each sleeve top over the armhole opening. Pin and mattress stitch in place.
Step 4: Sleeve Seam. Fold each sleeve and mattress stitch from cuff edge to underarm.
Step 5: Hood Attachment. Pin the hood base edge (113 sts) around the neckline, easing evenly. Whipstitch with RS facing out.
Button Band (Right Front)
With MC and G-6 hook, RS facing, join yarn at hem of right front center edge.
Row 1: Ch 1, work 51 sc evenly up the right front center edge. Turn. (51 sc)
Rows 2 through 5: Ch 1, sc BLO in each sc across. Turn. (51 sc)
Fasten off.
Buttonhole Band (Left Front)
With MC and G-6 hook, RS facing, join yarn at top of left front center edge.
Row 1: Ch 1, work 51 sc evenly down the left front center edge. Turn. (51 sc)
Row 2: Ch 1, sc BLO in each sc across. Turn. (51 sc)
Row 3 (Buttonhole Row): Ch 1, sc BLO in first 3 sc, (ch 2, skip 2 sc, sc BLO in next 8 sc) 4 times, ch 2, skip 2 sc, sc BLO in last 4 sc. Turn.
Row 4: Ch 1, sc BLO in each sc and 2 sc in each ch-2 sp across. Turn. (51 sc)
Row 5: Ch 1, sc BLO in each sc across. Fasten off. (51 sc)
Finishing Touches
Sew the 5 star-shaped wooden buttons to the right front band, aligned with the buttonholes.
Attach the crochet flower applique to the right front panel, approximately 2 inches / 5 cm below the neckline and 0.5 inch / 1.5 cm from the center front edge.
Weave in all ends securely. Wet block the finished coat, pin to measurements, and let dry completely.
Size Customization Tips
To size up to 12 to 18 months: Add 6 sts to the back foundation chain (ch 79). Add 4 sts to each front (ch 41). Add 2 sts to each sleeve (ch 33) and work 2 additional increase rows. Add 4 rows to body length.
To size down to 0 to 6 months: Subtract 6 sts from back (ch 67). Subtract 4 sts from each front (ch 33). Reduce sleeve foundation by 2 sts (ch 29) and work 1 fewer increase row. Reduce body length by 4 rows.
Thank you so much for choosing this pattern for your next project. I truly hope you love making this little coat as much as I loved designing it. When you finish, I would absolutely love to see your version! Tag me on Instagram or share it in our Facebook group.
If you found this tutorial helpful, please save it to your Pinterest boards so you can find it easily later. And drop a comment below if you make one. I read every single comment, and seeing your finished coats makes my whole week. Happy crocheting!
You Might Also Like
- Ocean Friends Anklet Free Crochet Pattern
- Sage Green Crochet Romper Free Pattern
- Lavender Wildflower Crochet Crown Free Crochet Pattern
- Autumn Fox Lace Crochet Sweater Free Pattern