Blush Pink Baby Pinafore Dress Free Crochet Pattern
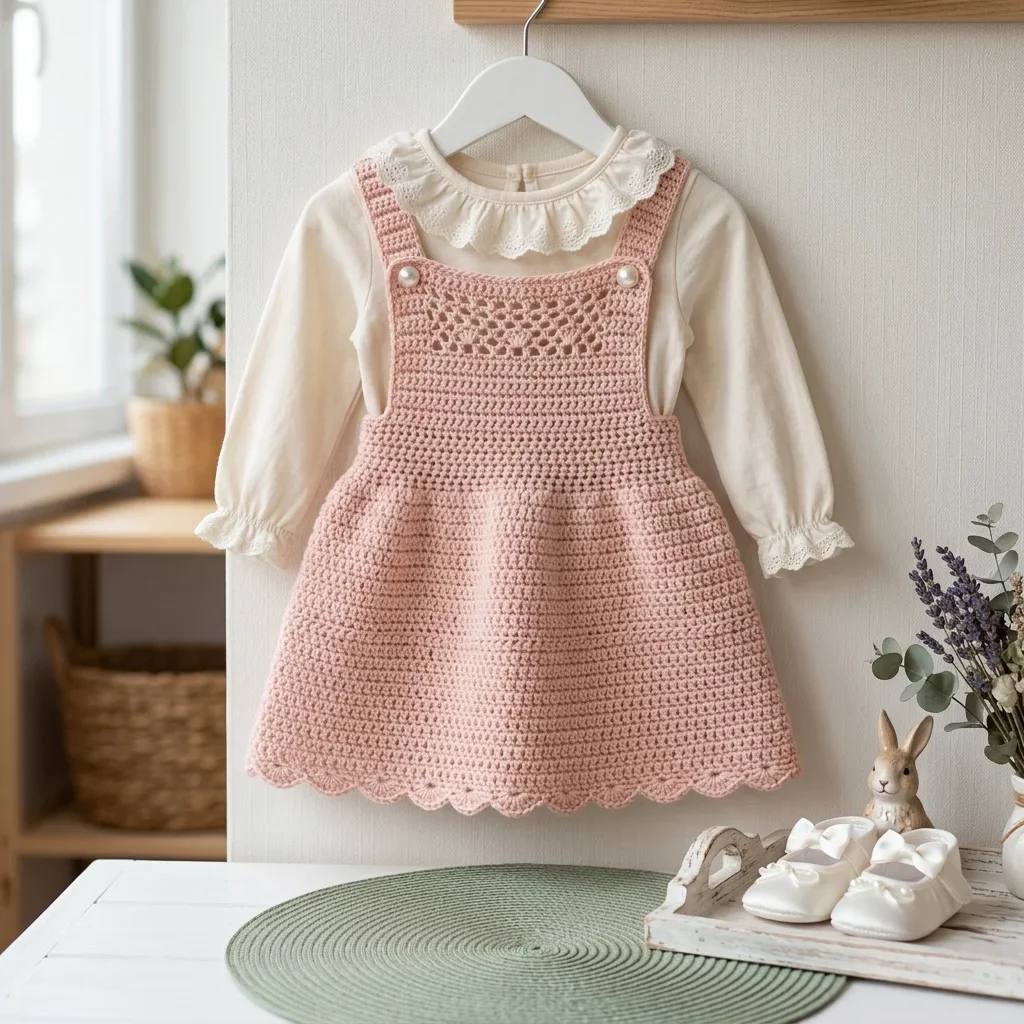
Crocheted baby garments look intimidating. All those tiny pieces, all that shaping, all those buttons. I get it. But here’s the truth: this sweet pinafore dress is far more approachable than it appears.
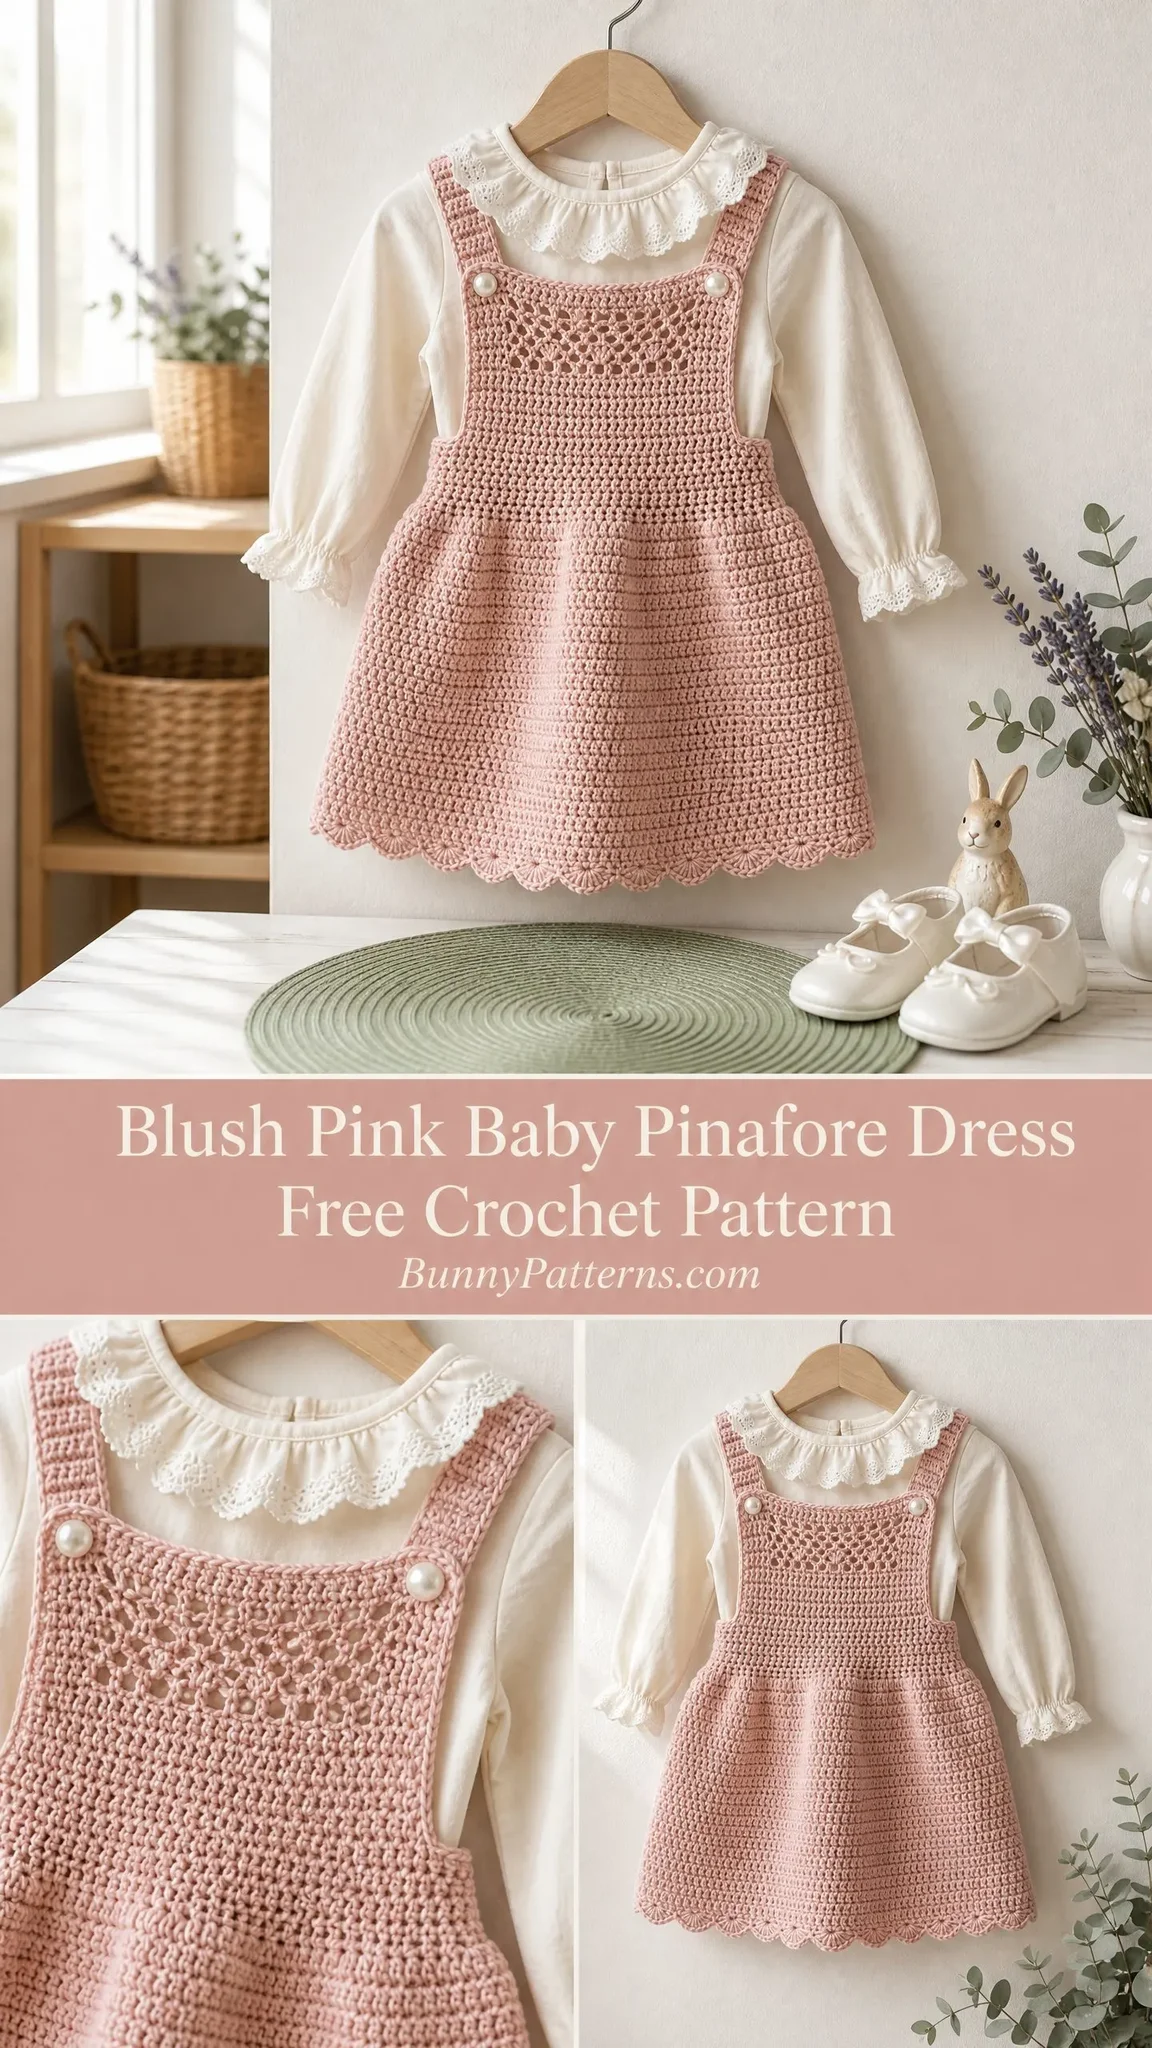
The construction breaks down into simple flat pieces that you seam together at the end. The fancy-looking lace yoke? Just a basic mesh stitch you can master in minutes. The beautiful scalloped hem? Five double crochets grouped together, repeated around. That’s it.
Whether you’re working on your first wearable project or your fiftieth, this pattern guides you through every stitch count and checkpoint. I’ve done the math so you don’t have to stress about it. Let’s make something beautiful for a little one.
About This Baby Pinafore Dress Crochet Pattern
This vintage-inspired pinafore dress features everything I love about heirloom baby clothing. The structured bodice has an open lace mesh yoke at the top, creating that delicate airy look without complicated stitchwork. Wide shoulder straps adorned with pearl buttons give it a classic feel. The smoothly flared A-line skirt is worked entirely in single crochet, making it sturdy enough for active babies. And that delicate scallop hem at the bottom adds the perfect finishing touch.
The dress is designed to layer over a long-sleeve blouse or onesie. Think Sunday brunch with grandparents, holiday photos, or just a regular Tuesday when you want your little one to look extra special.
Size: 6 to 12 months
Chest: 18 inches (46 cm), lying flat at 9 inches (23 cm) per side
Bodice length: 6 inches (15 cm) from top of strap to waist
Skirt length: 6.5 inches (16.5 cm) from waist to hem before scallop
Total length: approximately 13 inches (33 cm) from top of strap to hem including scallop
Strap width: 1.5 inches (4 cm)
Skill Level
This pattern is rated intermediate. You should feel comfortable working flat pieces, reading stitch counts, and following shaping instructions across multiple rows. The mesh stitch for the yoke is simple once you understand the rhythm, and the scallop edging is straightforward.
No complex colorwork or advanced techniques here. The biggest skill you’ll need is maintaining consistent tension so your skirt drapes nicely.
Time estimate: Approximately 12 to 18 hours for an experienced crocheter working at a steady pace.
Materials You’ll Need
Yarn: Approximately 300 to 350 yards (275 to 320 meters) of DK weight yarn (CYCA 3). I recommend 100% cotton or a cotton-acrylic blend for softness and stitch definition. Look for dusty rose or blush pink colorways.
Specific Yarn Suggestions:
Substitution note: Choose any DK weight yarn that is smooth and tightly plied. Avoid fuzzy or loosely spun yarns because they’ll obscure your pretty mesh yoke detail. Always swatch first.
Hook: US size E-4 / 3.5 mm crochet hook (adjust as needed to match gauge)
Notions:
Gauge
20 single crochet stitches x 24 rows = 4 inches (10 cm) in single crochet worked flat with US E-4 / 3.5 mm hook.
Gauge is critical for this garment. If your gauge is off, the chest circumference and dress length will be wrong. If your swatch is too large, go down a hook size. If your swatch is too small, go up a hook size.
Mesh yoke gauge: 1 mesh repeat (chain 2, skip 2, single crochet 1) = approximately 0.6 inches (1.5 cm) wide.
Abbreviations and Stitch Definitions
ch: chain. Wrap yarn over hook, pull through loop on hook. This creates your foundation and turning chains.
sl st: slip stitch. Insert hook, yarn over, pull through both the stitch and the loop on your hook in one motion. Used for joining rounds.
sc: single crochet. Insert hook into stitch, yarn over, pull up a loop (2 loops on hook), yarn over, pull through both loops. The basic building block stitch.
hdc: half double crochet. Yarn over, insert hook, yarn over, pull up a loop (3 loops on hook), yarn over, pull through all 3 loops.
dc: double crochet. Yarn over, insert hook, yarn over, pull up a loop (3 loops on hook), yarn over, pull through 2 loops (2 loops remain), yarn over, pull through remaining 2 loops. Taller than single crochet.
sk: skip. Pass over the indicated number of stitches without working into them.
st(s): stitch(es)
sp: space
ch-sp: chain space. The gap created by chain stitches in previous rows.
RS: right side. The “public” side of your work.
WS: wrong side. The back of your work.
rep: repeat
inc: increase. Work 2 single crochet stitches into the same stitch.
t-ch: turning chain
pm: place marker
Special Stitches
Mesh Stitch (for yoke panel)
This creates the delicate lacy look at the top of the bodice front.
Row setup: ch 1, turn, sc in first st, (ch 2, sk 2 sts, sc in next st) across to end.
Following mesh rows: ch 1, turn, sc in first sc, (ch 2, sk ch-2 sp, sc in next sc) across.
Each repeat uses 3 stitches worth of space. When you transition back to solid single crochet rows, you’ll fill in those chain spaces.
Scallop Edging (for hem)
This creates the beautiful wavy edge at the bottom of the skirt.
Step 1: Join yarn with sl st to any corner stitch at the hem.
Step 2: (Sk 2 sts, work 5 dc in next st, sk 2 sts, sl st in next st) repeat across the entire hem edge, ending with a sl st in final st. Fasten off.
Your stitch count at the hem must be a multiple of 6 for scallops to work out evenly. The pattern accounts for this.
Small Scallop Edge (optional, for bodice top)
Step 1: With RS facing, join yarn at right edge of top bodice.
Step 2: (Sk 1 st, 3 dc in next st, sk 1 st, sl st in next st) repeat across. Fasten off.
Important Pattern Notes
Before you begin, read through these notes. They’ll save you confusion later.
1. The bodice front and bodice back are worked separately, then joined at the side seams. Straps are integrated into each piece.
2. The mesh yoke section appears on the bodice front only. The bodice back is worked entirely in single crochet.
3. The skirt is worked in joined rounds from the waist edge downward after the bodice pieces are seamed.
4. Turning chain rule: Ch 1 at the start of every sc row does NOT count as a stitch. Always work your first sc into the very first stitch.
5. Pearl buttons attach at the strap tips where front and back overlap at the shoulders.
6. Block your pieces before seaming for best results.
7. The right side is the smooth side of single crochet fabric.
Step by Step Crochet Pattern Instructions
Bodice Front
Foundation chain: ch 48.
Row 1 (RS): sc in 2nd ch from hook and in each ch across. Turn. (47 sc)
Rows 2 to 3: ch 1, sc in each st across. Turn. (47 sc)
Begin Mesh Yoke Section
Row 4 (WS, begin mesh): ch 1, sc in first st, (ch 2, sk 2 sts, sc in next st) 15 times, sc in last st. Turn.
This creates 15 mesh repeats plus 2 edge sc stitches. Your full width is maintained at a 47-stitch span.
Row 5: ch 1, sc in first sc, (ch 2, sk ch-2 sp, sc in next sc) 15 times, sc in last sc. Turn.
Row 6: Repeat Row 5. Turn.
Row 7: ch 1, sc in first sc, (2 sc in ch-2 sp, sc in next sc) 15 times, sc in last sc. Turn. (47 sc)
Row 7 closes the mesh and returns to full sc fabric.
Rows 8 to 10: ch 1, sc in each st across. Turn. (47 sc)
After Row 10, your bodice front yoke section is complete and measures approximately 2.5 inches (6.5 cm) from foundation.
Divide for Straps
Left Strap (as worn):
Row 11: ch 1, sc in first 8 sts. Turn, leaving remaining sts unworked. (8 sc)
Rows 12 to 20: ch 1, sc in each st across. Turn. (8 sc)
Fasten off, leaving a 12 inch (30 cm) tail for seaming.
Center Bodice Panel:
Rejoin yarn to 9th stitch from left edge.
Row 11: ch 1, sc in next 31 sts. Turn. (31 sc)
Rows 12 to 20: ch 1, sc in each st across. Turn. (31 sc)
Fasten off.
Right Strap (as worn):
Rejoin yarn to next stitch after center panel (40th stitch from left).
Row 11: ch 1, sc in last 8 sts. Turn. (8 sc)
Rows 12 to 20: ch 1, sc in each st across. Turn. (8 sc)
Fasten off, leaving a 12 inch (30 cm) tail for seaming.
Checkpoint: Each strap should measure approximately 1.5 inches (4 cm) wide and 1.75 inches (4.5 cm) tall. The center panel should measure approximately 6.25 inches (16 cm) wide.
Bodice Front Waist Section
With RS facing, join yarn at right edge at Row 10 (the full 47-sc row beneath strap separation).
Row 21: ch 1, sc in each st across entire Row 10 base. Turn. (47 sc)
Rows 22 to 28: ch 1, sc in each st across. Turn. (47 sc)
After Row 28, bodice front measures approximately 6 inches (15 cm) from foundation chain. This is the waist edge. Do not fasten off.
Bodice Back
Foundation chain: ch 48.
Row 1 (RS): sc in 2nd ch from hook and in each ch across. Turn. (47 sc)
Rows 2 to 10: ch 1, sc in each st across. Turn. (47 sc)
Divide for Straps (Back)
Left Back Strap (as worn):
Row 11: ch 1, sc in first 8 sts. Turn. (8 sc)
Rows 12 to 20: ch 1, sc in each st across. Turn. (8 sc)
Fasten off, leaving a 12 inch (30 cm) tail.
Center Back Panel:
Rejoin yarn to 9th stitch.
Row 11: ch 1, sc in next 31 sts. Turn. (31 sc)
Rows 12 to 20: ch 1, sc in each st across. Turn. (31 sc)
Fasten off.
Right Back Strap:
Rejoin yarn to 40th stitch.
Row 11: ch 1, sc in last 8 sts. Turn. (8 sc)
Rows 12 to 20: ch 1, sc in each st across. Turn. (8 sc)
Fasten off, leaving a 12 inch (30 cm) tail.
Back Lower Bodice
Rejoin yarn at right edge of Row 10 base.
Row 21: ch 1, sc in each st across. Turn. (47 sc)
Rows 22 to 28: ch 1, sc in each st across. Turn. (47 sc)
Fasten off.
Joining Bodice Sides
With RS together, use your yarn needle and mattress stitch or whip stitch to seam bodice front to bodice back along each side edge. Seam from waist (bottom of Row 28) up through Row 10 (the base row before strap division). Leave the strap sections and armhole areas open. Turn RS out.
Joining Straps
Lay the garment flat. Match front left strap to back left strap at shoulder. The strap tips will overlap by approximately 0.5 inch (1.5 cm). Sew one pearl button through both strap layers at the overlap point. Use the mesh holes on the front strap as natural button loops, or work a ch-2 button loop at the tip of the back strap and sew the button to the front strap. Repeat for the right strap.
Checkpoint: After joining, the assembled bodice should measure approximately 9 inches (23 cm) wide (18 inch circumference) and approximately 6 inches (15 cm) tall from top of shoulder to waist edge.
Skirt
The skirt is worked in joined rounds from the waist edge downward.
Setup Round: With RS facing, join yarn at right side seam at waist edge. Ch 1, sc evenly around the entire waist opening, placing sc into each stitch along front waist edge and each stitch along back waist edge. Total pickup = 47 sc front plus 47 sc back. Sl st to first sc to join. (94 sc)
Round 1: ch 1, sc in each st around. Sl st to join. (94 sc)
Round 2 (increase round): ch 1, (sc in next 2 sts, inc in next st) 31 times, sc in last st. Sl st to join. (125 sc)
Rounds 3 to 5: ch 1, sc in each st around. Sl st to join. (125 sc)
Round 6 (increase round): ch 1, (sc in next 4 sts, inc in next st) 25 times. Sl st to join. (150 sc)
Rounds 7 to 10: ch 1, sc in each st around. Sl st to join. (150 sc)
Round 11 (increase round): ch 1, (sc in next 4 sts, inc in next st) 30 times. Sl st to join. (180 sc)
Rounds 12 to 16: ch 1, sc in each st around. Sl st to join. (180 sc)
Round 17 (increase round): ch 1, (sc in next 5 sts, inc in next st) 30 times. Sl st to join. (210 sc)
Rounds 18 to 23: ch 1, sc in each st around. Sl st to join. (210 sc)
Round 24 (increase round): ch 1, (sc in next 6 sts, inc in next st) 30 times. Sl st to join. (240 sc)
Rounds 25 to 38: ch 1, sc in each st around. Sl st to join. (240 sc)
Checkpoint: The skirt should be smooth and A-line in shape, flaring gently from the waist. Lay flat and measure across the hem edge: it should be approximately 24 inches (61 cm) across.
Do not fasten off. Proceed to scallop hem.
Scallop Hem
Round 39: Working in the final round of skirt sts: (sk 2 sts, 5 dc in next st, sk 2 sts, sl st in next st) 40 times. Sl st to join round. Fasten off and weave in end. (40 scallops)
Finishing Your Baby Pinafore Dress
Weave in all ends using your yarn needle.
Optional Scallop Collar: With RS facing, join yarn at right shoulder edge of bodice front top edge. Work across: (sk 1 st, 3 dc in next st, sk 1 st, sl st in next st) repeat across the top edge of the center bodice front panel. Fasten off and weave in end.
Button Attachment: Sew one pearl shank button to the front face of each front strap tip. Position it to align with the mesh holes or a ch-2 button loop on the corresponding back strap. You’ll have four buttons total.
Blocking Instructions
Wet blocking is recommended for cotton yarns.
Step 1: Soak the finished dress in cool water with a small amount of gentle wool wash or baby-safe soap for 15 minutes.
Step 2: Gently press out excess water by rolling in a clean towel. Do not wring.
Step 3: Lay flat on a blocking mat. Pin the hem scallops open, stretching each scallop point slightly to define the shape. Pin the bodice edges straight.
Step 4: Allow to dry completely before removing pins (12 to 24 hours).
Blocking will open the mesh yoke nicely and give the scallop hem crisp definition.
Size Customization Tips
To size up to 12 to 18 months: Add 4 to 6 sts to the foundation chain of bodice front and back (making each 51 to 53 sts). Increase strap width to 9 to 10 sts. Add one additional increase round in the skirt, and work 2 to 4 extra plain rounds at the bottom before the scallop hem. Ensure the final hem stitch count remains a multiple of 6.
To size down to 0 to 3 months: Subtract 4 to 6 sts from the foundation chain (making each 41 to 43 sts). Reduce strap width to 7 sts. Omit one increase round in the skirt.
To lengthen the skirt: Work additional plain sc rounds between any two increase rounds.
To shorten the skirt: Remove plain rounds between increase rounds or omit the final increase round.
Care Instructions
Machine wash gentle cycle in cold water in a mesh laundry bag, or hand wash in cool water. Lay flat to dry. Do not tumble dry. Do not iron directly on yarn. Use a pressing cloth with a low-heat steam iron if needed. Store folded flat to preserve the shape of the scallop hem.
Final Thoughts on This Baby Pinafore Dress Crochet Pattern
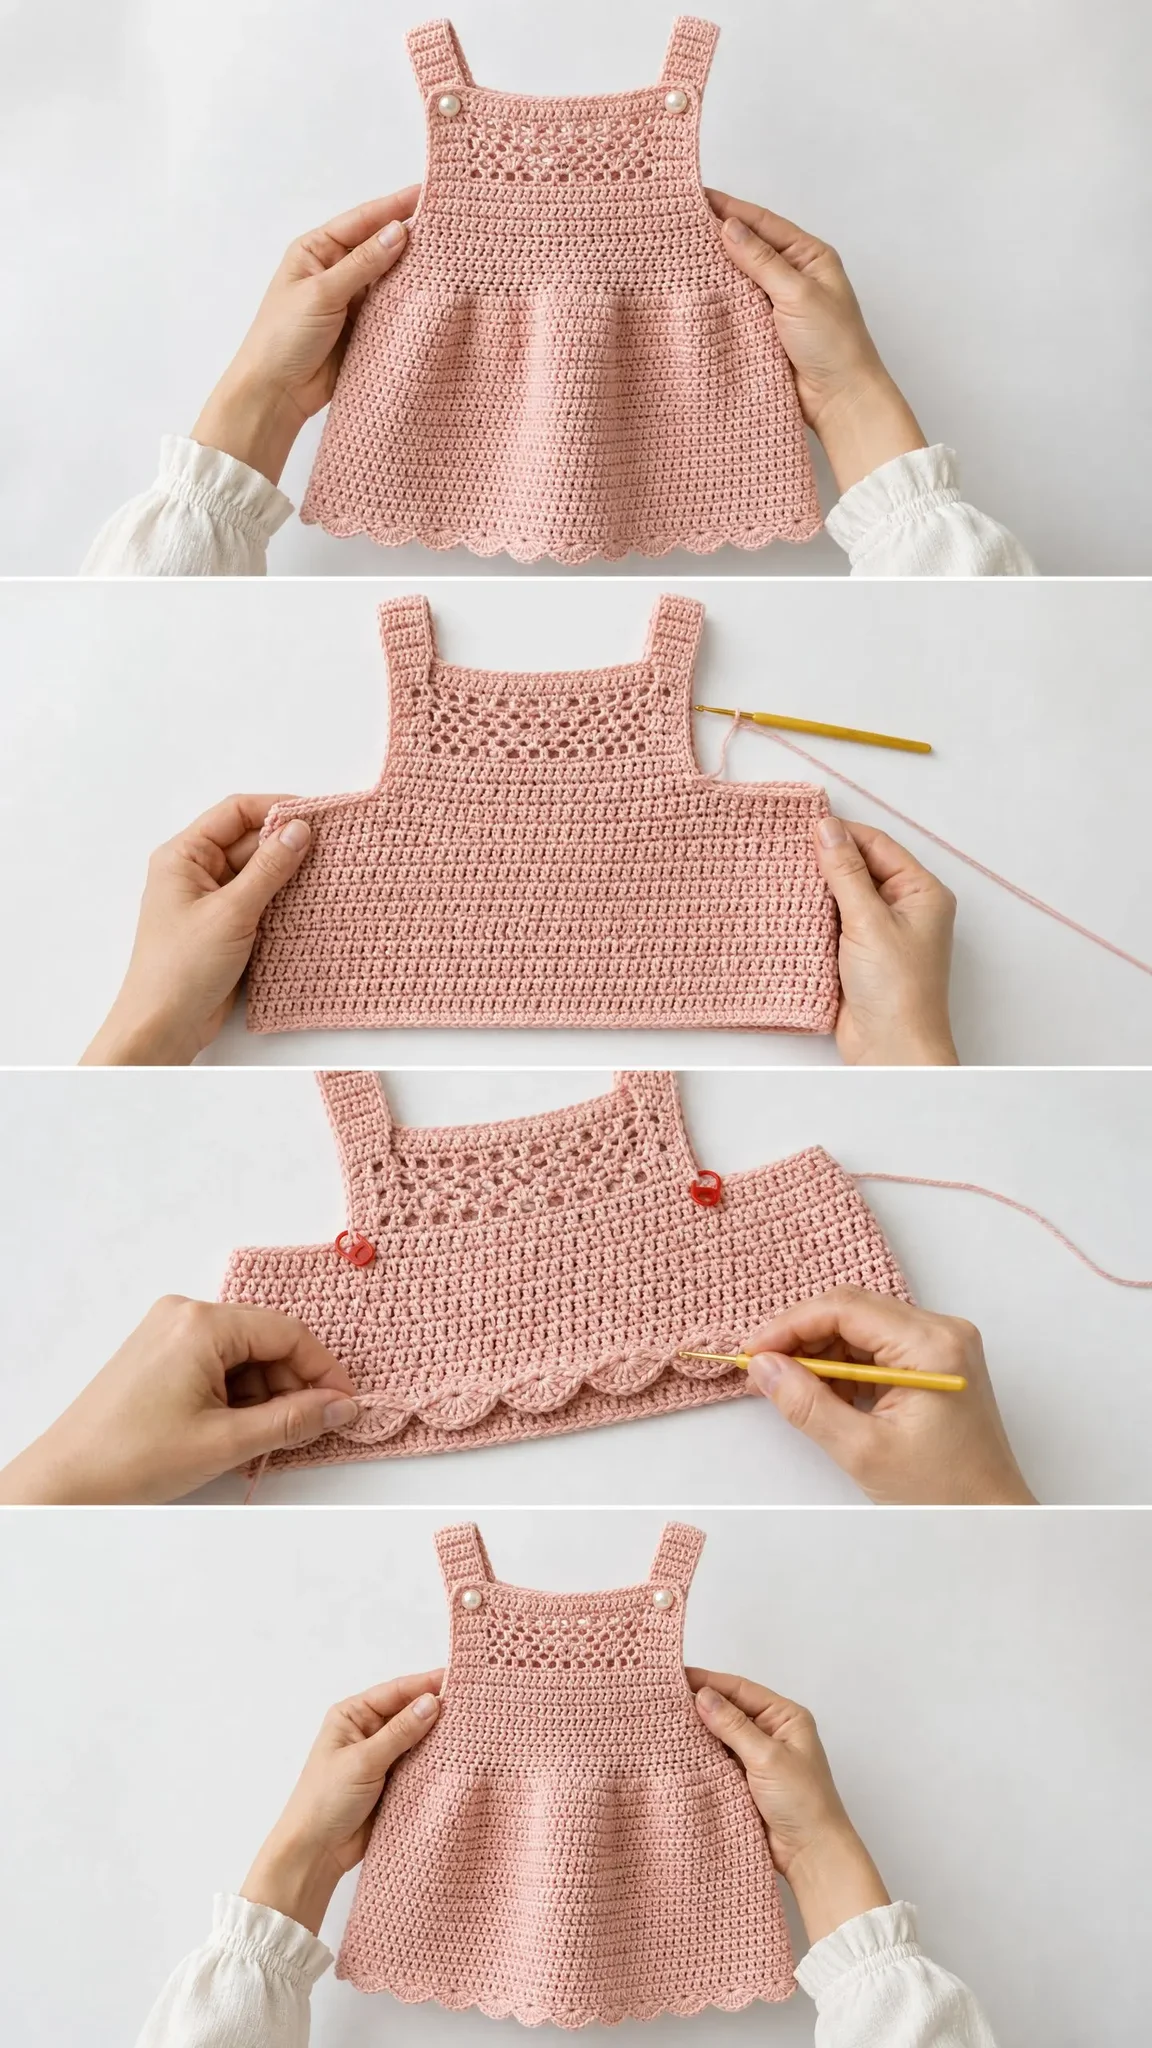
This little pinafore dress is one of those projects that looks far more complicated than it actually is. The mesh yoke adds visual interest without adding difficulty. The scalloped hem creates that heirloom quality that makes handmade baby clothes so special. And the construction method of working flat pieces and seaming them together keeps everything manageable.
I hope you enjoy making this sweet baby pinafore dress as much as I enjoyed designing it. There’s something deeply satisfying about creating wearable pieces for little ones.
Thank you so much for choosing this pattern. If you make one, I would absolutely love to see it! Tag me on Instagram or share a photo in our Facebook group. Seeing your finished projects truly makes my day.
If this pattern inspires you, save it to your Pinterest boards so you can find it when you’re ready to start. And please drop a comment below if you make one. I’d love to hear which color you chose and who the lucky little one is!
You Might Also Like
- Pastel Rainbow Granny Square Toddler Set Free Crochet Pattern
- Lavender Fields Flower Bracelet Free Crochet Pattern
- Boho Rainbow Granny Square Tote Free Crochet Pattern
- Blush Pink Spiral Envelope Clutch Free Crochet Pattern