Lavender Butterfly Baby Romper Free Crochet Pattern
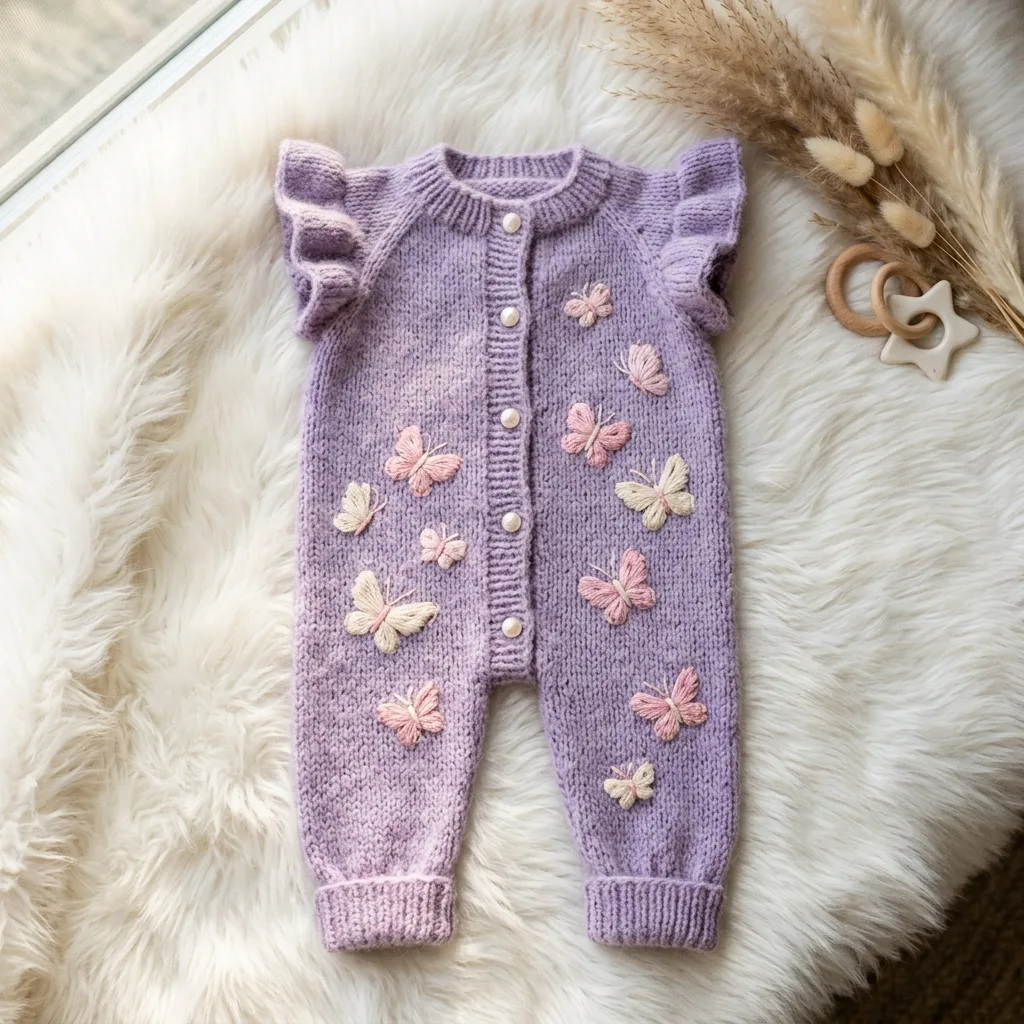
This is a baby romper worked in half double crochet moss stitch with embroidered butterflies. It uses worsted weight yarn, a 5.0 mm hook, and intermediate skills. The construction includes flat panels, in the round leg tubes, ruffled flutter sleeves, and simple surface embroidery.
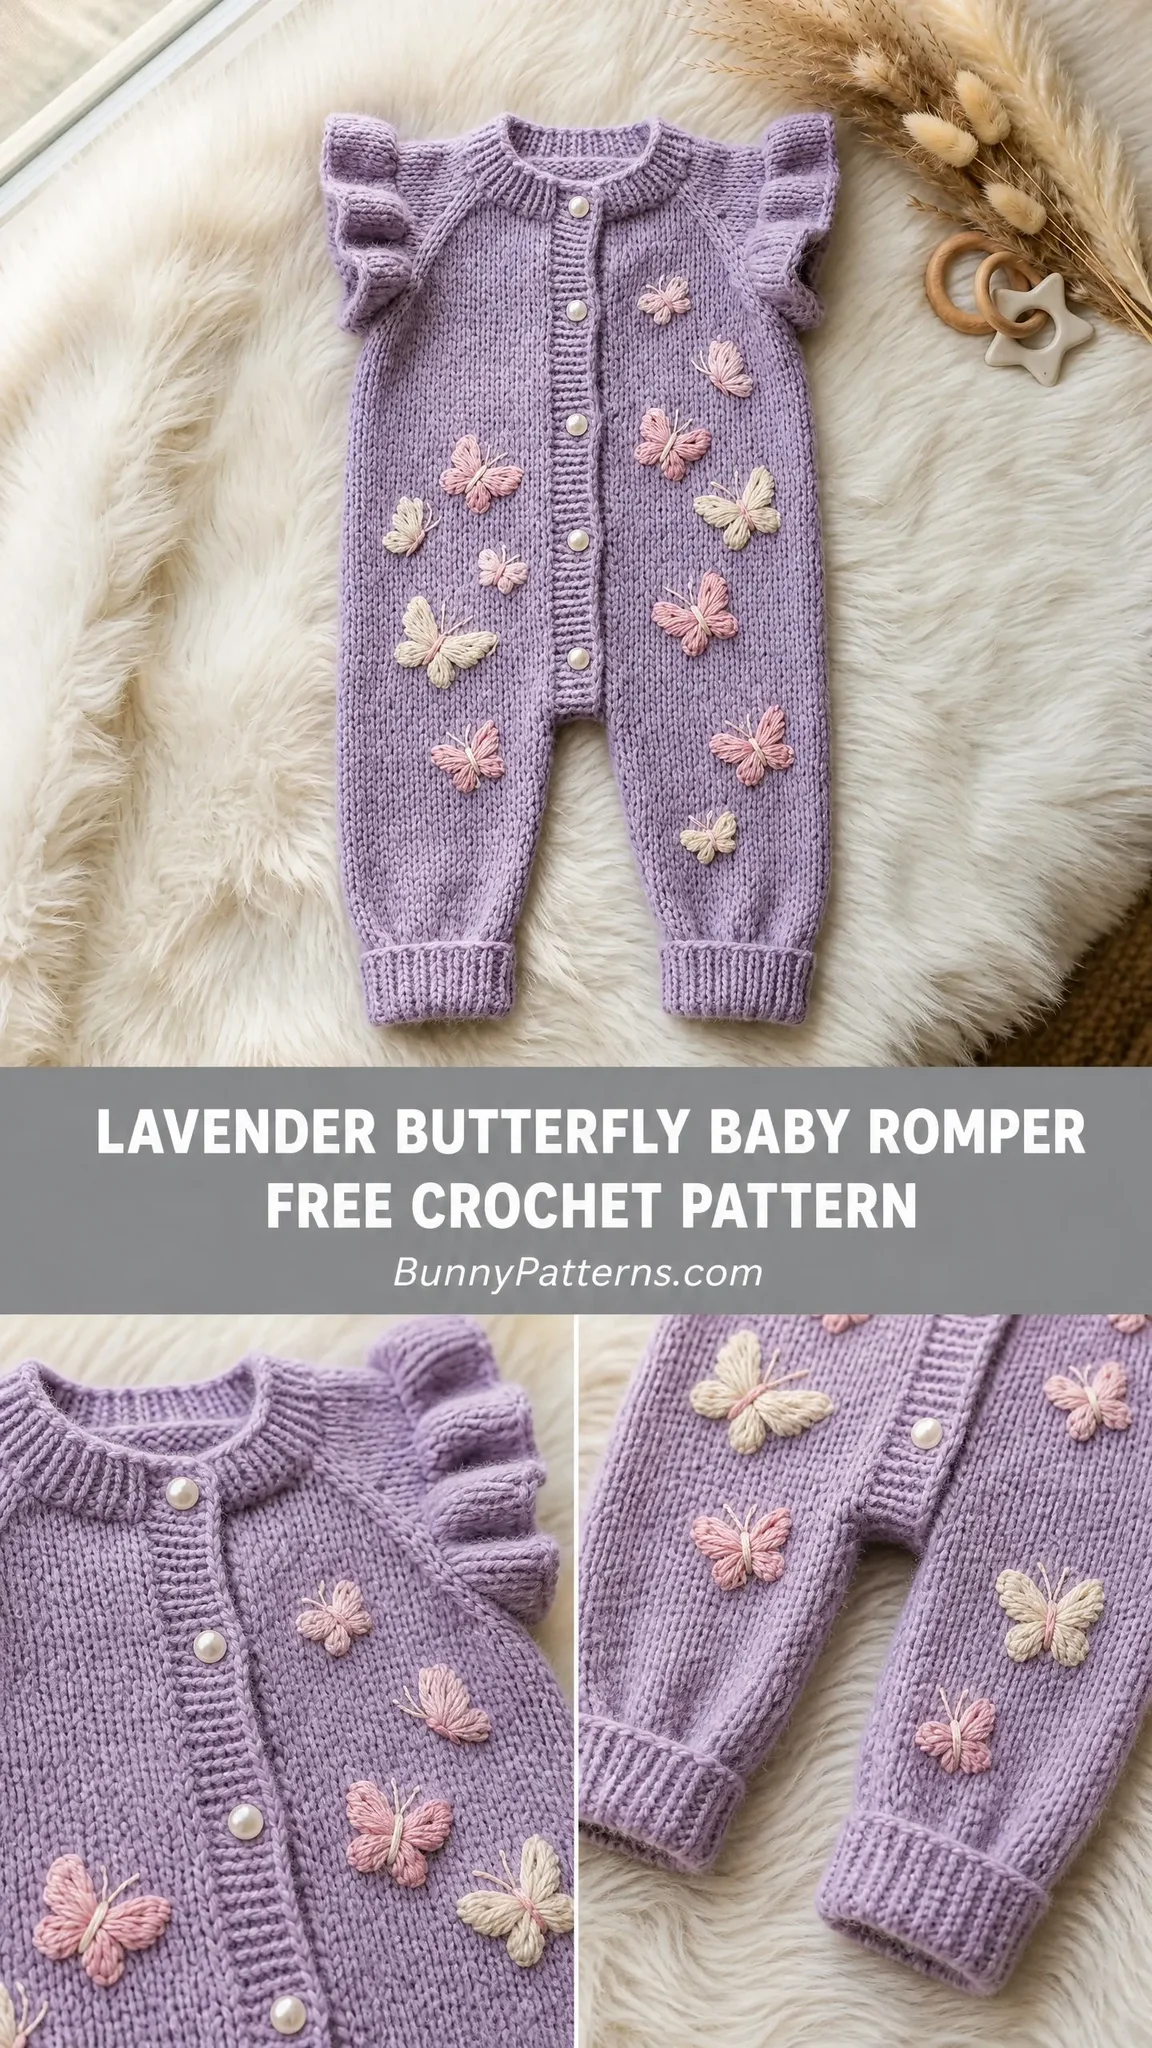
If you can work half double crochet through the back loop, you can make this romper. The moss stitch creates a dense, knit-like fabric that looks far more complicated than it actually is.
The finished piece fits a 3 to 6 month old baby with a 16 inch chest and 20 inch shoulder to ankle length. You will need about 350 to 400 yards of lavender yarn plus small amounts of pink and cream for the butterflies.
Why This Crochet Pattern Works So Well
The secret to this romper is the half double crochet moss stitch worked through the back loop only. This simple technique creates horizontal ridges that mimic stockinette knitting. Your friends will ask if you knitted it.
I love that this pattern builds skills without overwhelming you. You will work flat pieces, seam them together, pick up stitches for the legs, and finish with beginner embroidery. Each section teaches something new while staying manageable.
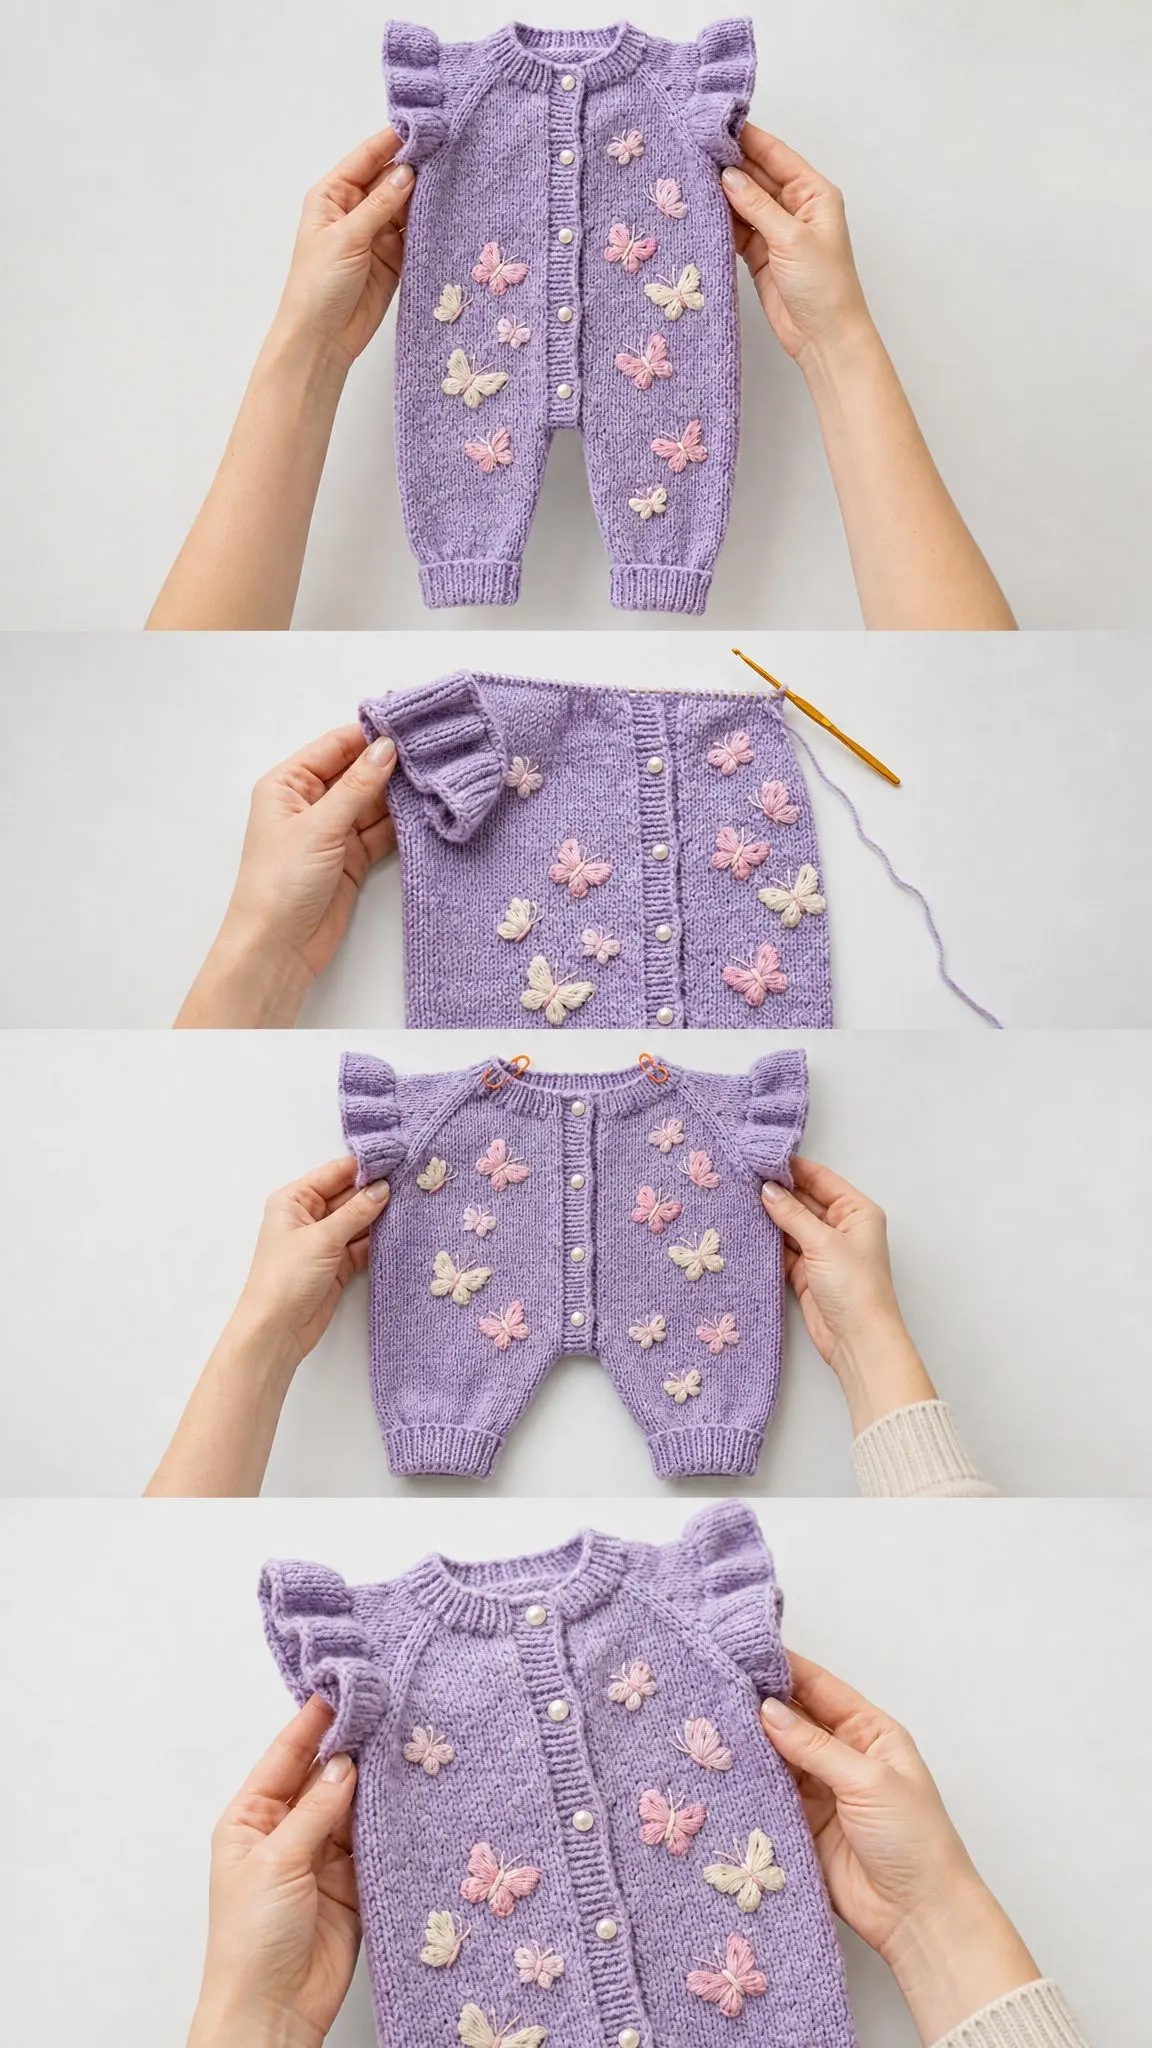
The ruffled flutter sleeves add sweetness without complicated shaping. They are just flat strips with double crochets that get gathered and sewn into the armholes. The butterflies are embroidered last, so you can place them exactly where you want and adjust the colors to match any nursery.
Materials You Will Need
Yarn for Main Color (MC):
Approximately 350 to 400 yards of worsted weight yarn in lavender
Yarn for Butterflies:
Approximately 20 yards in Contrast Color A (blush pink)
Approximately 20 yards in Contrast Color B (soft peach or cream)
Recommended Yarn Options:
Choose machine washable fiber for a baby garment. Avoid loose plies that could snag on tiny fingers.
Hooks:
Notions:
Gauge
With US H-8 / 5.0 mm hook and MC in Half Double Crochet Moss Stitch:
14 stitches and 16 rows = 4 inches / 10 cm
To swatch: Chain 20. Work HDC Moss Stitch flat for 20 rows. Block the swatch. Measure the center 14 stitches and 16 rows. Adjust your hook size up if your gauge is too tight, down if too loose.
Gauge matters for a fitted garment. Please do not skip this step.
Finished Measurements
Size: 3 to 6 months
Abbreviations
Special Stitches
HDC Moss Stitch (Worked Flat)
This creates the dense, knit-like texture you see in the photos.
Foundation Row (WS): Work 1 hdc in each chain across. Turn.
Row 1 (RS): Ch 1 (does not count as stitch). Working in BLO only, work 1 hdc in each stitch across. Turn.
Row 2 (WS): Ch 1. Working in BLO only, work 1 hdc in each stitch across. Turn.
Repeat Rows 1 and 2. Always work through the back loop only. The unused front loops create subtle horizontal ridges.
Butterfly Embroidery
Each butterfly is embroidered with an 18 inch length of contrast yarn after the romper is assembled.
Step 1: Thread tapestry needle. Bring needle up from WS to RS at the center body point.
Step 2 (Upper left wing): Insert needle diagonally up and to the left, about 3 stitches wide and 2 rows tall. Bring needle back up beside the center point. Anchor with a small catch stitch.
Step 3 (Upper right wing): Mirror Step 2 to the right.
Step 4 (Lower left wing): Insert needle diagonally down and to the left, about 2 stitches wide and 2 rows tall. Anchor.
Step 5 (Lower right wing): Mirror Step 4.
Step 6 (Antennae, optional): Make two short straight stitches angling upward from center top. Add a tiny French knot at each tip.
Each butterfly measures about 1 inch wide when finished.
Pattern Instructions
Back Body Panel
The back is worked flat from hem to shoulder in one piece.
Foundation: With MC and H-8 hook, ch 29.
Foundation Row (WS): Hdc in second ch from hook and in each ch across. Turn. (28 hdc)
Rows 1 through 6 (Ribbing): Ch 1. Hdc in BLO of each st across. Turn. (28 hdc each row)
Rows 7 through 22: Continue in HDC Moss Stitch (BLO every row). (28 hdc each row)
Checkpoint: After Row 22, piece should measure approximately 7 inches tall.
Waist Shaping (Decrease):
Row 23 (RS): Ch 1. Hdc2tog over first 2 sts, hdc in BLO to last 2 sts, hdc2tog. Turn. (26 hdc)
Row 24: Ch 1. Hdc in BLO of each st across. Turn. (26 hdc)
Row 25: Ch 1. Hdc2tog, hdc in BLO to last 2 sts, hdc2tog. Turn. (24 hdc)
Row 26: Ch 1. Hdc in BLO of each st across. Turn. (24 hdc)
Waist Shaping (Increase):
Row 27 (RS): Ch 1. 2 hdc in first st, hdc in BLO to last st, 2 hdc in last st. Turn. (26 hdc)
Row 28: Ch 1. Hdc in BLO of each st across. Turn. (26 hdc)
Row 29: Ch 1. 2 hdc in first st, hdc in BLO to last st, 2 hdc in last st. Turn. (28 hdc)
Row 30: Ch 1. Hdc in BLO of each st across. Turn. (28 hdc)
Rows 31 through 42: Work even in HDC Moss Stitch. (28 hdc each row)
Checkpoint: After Row 42, piece should measure approximately 12.5 inches from hem.
Armhole Shaping:
Row 43 (RS): Sl st across first 3 sts, ch 1, hdc in BLO across to last 3 sts. Leave last 3 sts unworked. Turn. (22 hdc)
Row 44: Ch 1. Hdc in BLO of each st across. Turn. (22 hdc)
Row 45: Ch 1. Hdc2tog, hdc in BLO to last 2 sts, hdc2tog. Turn. (20 hdc)
Row 46: Ch 1. Hdc in BLO of each st across. Turn. (20 hdc)
Row 47: Ch 1. Hdc2tog, hdc in BLO to last 2 sts, hdc2tog. Turn. (18 hdc)
Row 48: Ch 1. Hdc in BLO of each st across. Turn. (18 hdc)
Rows 49 through 58: Work even in HDC Moss Stitch. (18 hdc each row)
Shoulder Shaping:
Row 59 (RS): Ch 1. Hdc in BLO across first 5 sts only. Leave remaining sts unworked. Fasten off. (5 hdc for right shoulder)
Reattach yarn at opposite end.
Row 59 Left Shoulder: Ch 1. Sk first 8 center sts, hdc in BLO across last 5 sts. Fasten off. (5 hdc for left shoulder)
The 8 center stitches form the back neckline.
Front Right Panel (Carries Buttonholes)
Foundation: With MC and H-8 hook, ch 18.
Foundation Row (WS): Hdc in second ch from hook and in each ch across. Turn. (17 hdc)
Note: Stitches 1 through 4 from center edge form the button band worked in sc BLO. Stitches 5 through 17 form the main fabric in HDC Moss Stitch.
Rows 1 through 6 (Hem Ribbing): Ch 1. Hdc in BLO of each st across. Turn. (17 hdc each row)
Row 7 (RS): Ch 1. Sc in BLO of first 4 sts (button band). Hdc in BLO of next 13 sts. Turn. (17 sts)
Row 8 (WS): Ch 1. Hdc in BLO of next 13 sts. Sc in BLO of last 4 sts. Turn. (17 sts)
Rows 9 through 22: Rep Rows 7 and 8. (17 sts each row)
Buttonhole Placement: Work buttonholes on Rows 10, 18, 26, 34, 42, and 50.
Buttonhole Row: Ch 1. Sc in BLO of first 1 st, ch 1, sk 1 st (buttonhole), sc in BLO of next 2 sts. Continue in pattern across remaining 13 sts. Turn.
Next Row: Work 1 sc in the ch-1 sp to restore stitch count. (17 sts)
Continue with waist shaping (Rows 23 through 30), armhole shaping (Rows 43 through 58), and shoulder shaping (Row 59) as written in the full pattern, maintaining the 4 stitch button band throughout.
Front Left Panel (No Buttonholes)
Work as a mirror of Front Right Panel. The button band sits on the opposite edge. Follow all shaping rows but omit buttonholes.
Leg Tubes (Make 2)
Setup: With MC and H-8 hook, join yarn at inseam of leg opening. Pick up and join 44 sts evenly around. Pm at inseam. Join to work in the round.
Round 1: Ch 1. Hdc in BLO of each st around. Sl st to first hdc to join. (44 hdc)
Rounds 2 through 6: Rep Round 1. (44 hdc)
Round 7: Ch 1. Hdc2tog, hdc in BLO around to last 2 sts, hdc2tog. Sl st to join. (42 hdc)
Continue decreasing every 3rd round until you reach 34 hdc after Round 21.
Ankle Ribbing (Rounds 22 through 27): Switch to G-6 hook. Ch 1. Sc in BLO of each st around. Sl st to join. (34 sc each round)
Fasten off.
Ruffle Sleeves (Make 2)
Foundation: With MC and H-8 hook, ch 61.
Foundation Row (WS): Hdc in second ch from hook and in each ch across. Turn. (60 hdc)
Row 1 (RS): Ch 1. Work 2 dc in each st across. Turn. (120 dc)
Row 2 (WS): Ch 1. Sc in each st across. Turn. (120 sc)
Row 3: Ch 1. Sc in each st across. Turn. (120 sc)
Fasten off with a long tail. Run a gathering thread along the foundation edge. Pull to gather down to approximately 14 stitches. Pin into armhole and whipstitch in place.
Neckline Edging
With MC and G-6 hook, join at center back neckline. Pick up approximately 52 sc evenly around the entire neckline.
Rounds 1 through 3: Ch 1. Sc in BLO of each st around. Sl st to join. (52 sc)
Fasten off.
Assembly
1. Seam shoulders (5 sts each) using whipstitch
2. Seam side seams from underarm to leg openings
3. Seam crotch area
4. Attach leg tubes
5. Attach gathered ruffle sleeves to armholes
6. Work neckline edging
7. Embroider 10 to 12 butterflies on front panels only
8. Sew 6 buttons to left front band
Butterfly Placement
Scatter 5 to 6 butterflies on each front panel. Alternate between blush pink and cream. Place them at varying heights from upper chest to mid-leg. Keep them off the button band and back panel.
Finishing and Care
Weave in all ends. Wet block by soaking in cool water for 10 minutes, pressing out excess water in a towel, and laying flat to dry. Pin to finished measurements.
For acrylic yarn: Machine wash cold, tumble dry low. For superwash wool: Hand wash, lay flat to dry. Check buttons before each wear.
Size Adjustments
For 6 to 9 months: Add 4 stitches to each panel width. Add 4 rows to body length. Add 4 stitches to leg tube pickup.
For 0 to 3 months: Subtract 4 stitches from each panel width. Subtract 4 rows from body length. Subtract 4 stitches from leg tube pickup.
I really hope you love making this little romper as much as I enjoyed designing it. The butterflies are my favorite part. There is something so satisfying about adding those final embroidered details and watching the whole piece come together.
If you make this pattern, please save it to your Pinterest boards so you can find it again later. And I would absolutely love to see your finished rompers in the comments below. Tag me on Instagram or share a photo on Facebook. Those baby photos with handmade outfits are the best part of my week.
You Might Also Like
- Lavender Mint Shell Stitch Baby Dress Free Crochet Pattern
- Charcoal Gray Modern Crochet Backpack Free Pattern
- Mustard Yellow Duck Toilet Paper Cozy Free Crochet Pattern
- Champagne Gold Bell Sleeve Crochet Top Free Pattern