Pastel Rainbow Flared Mini Dress Free Crochet Pattern
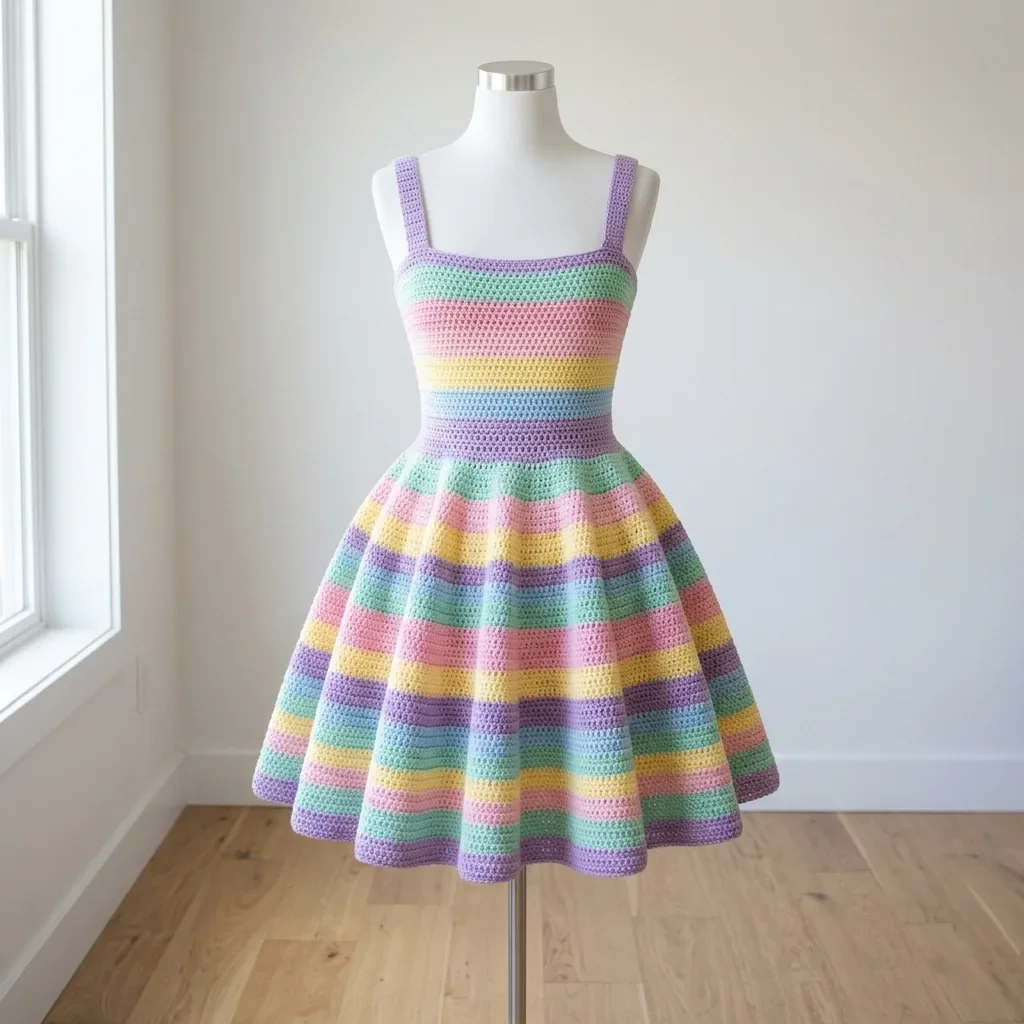
Let me address the elephant in the room. You saw this dress and thought “there is absolutely no way I can make that.” The fitted bodice, the dramatically flared skirt, all those color changes. It looks like something only an advanced crocheter with decades of experience could pull off.
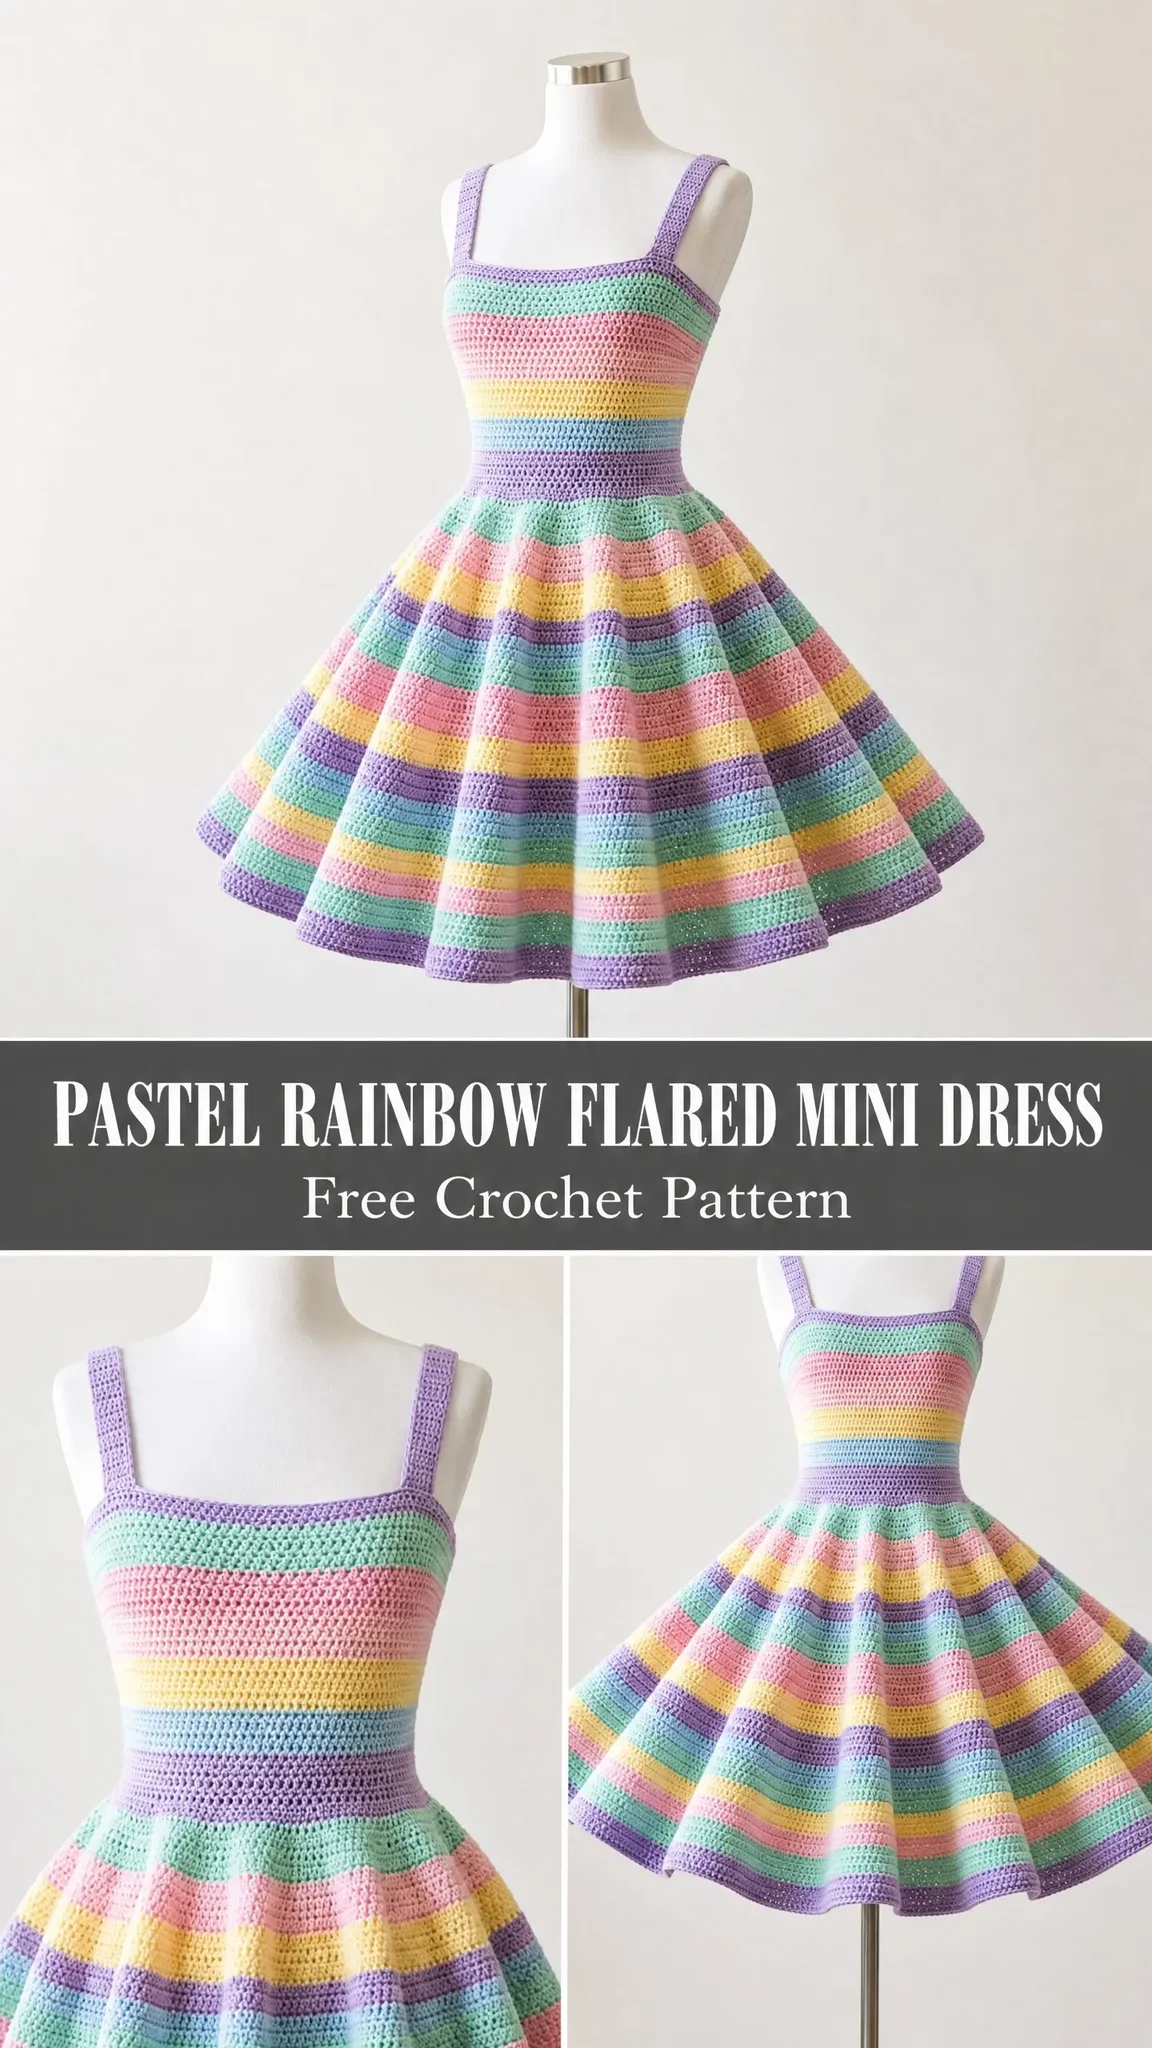
Here is the truth. If you can single crochet, you can make this dress. That is not an exaggeration. The entire garment uses just one main stitch worked over and over. The magic happens through strategic placement of increases and a clever construction method that eliminates tricky seaming.
I am going to walk you through every single round, every color change, and every shaping detail. By the time you finish reading, you will understand exactly how this pastel rainbow flared mini dress comes together. And you will realize it is far more approachable than it appears.
Why This Crochet Pattern Works for Multiple Skill Levels
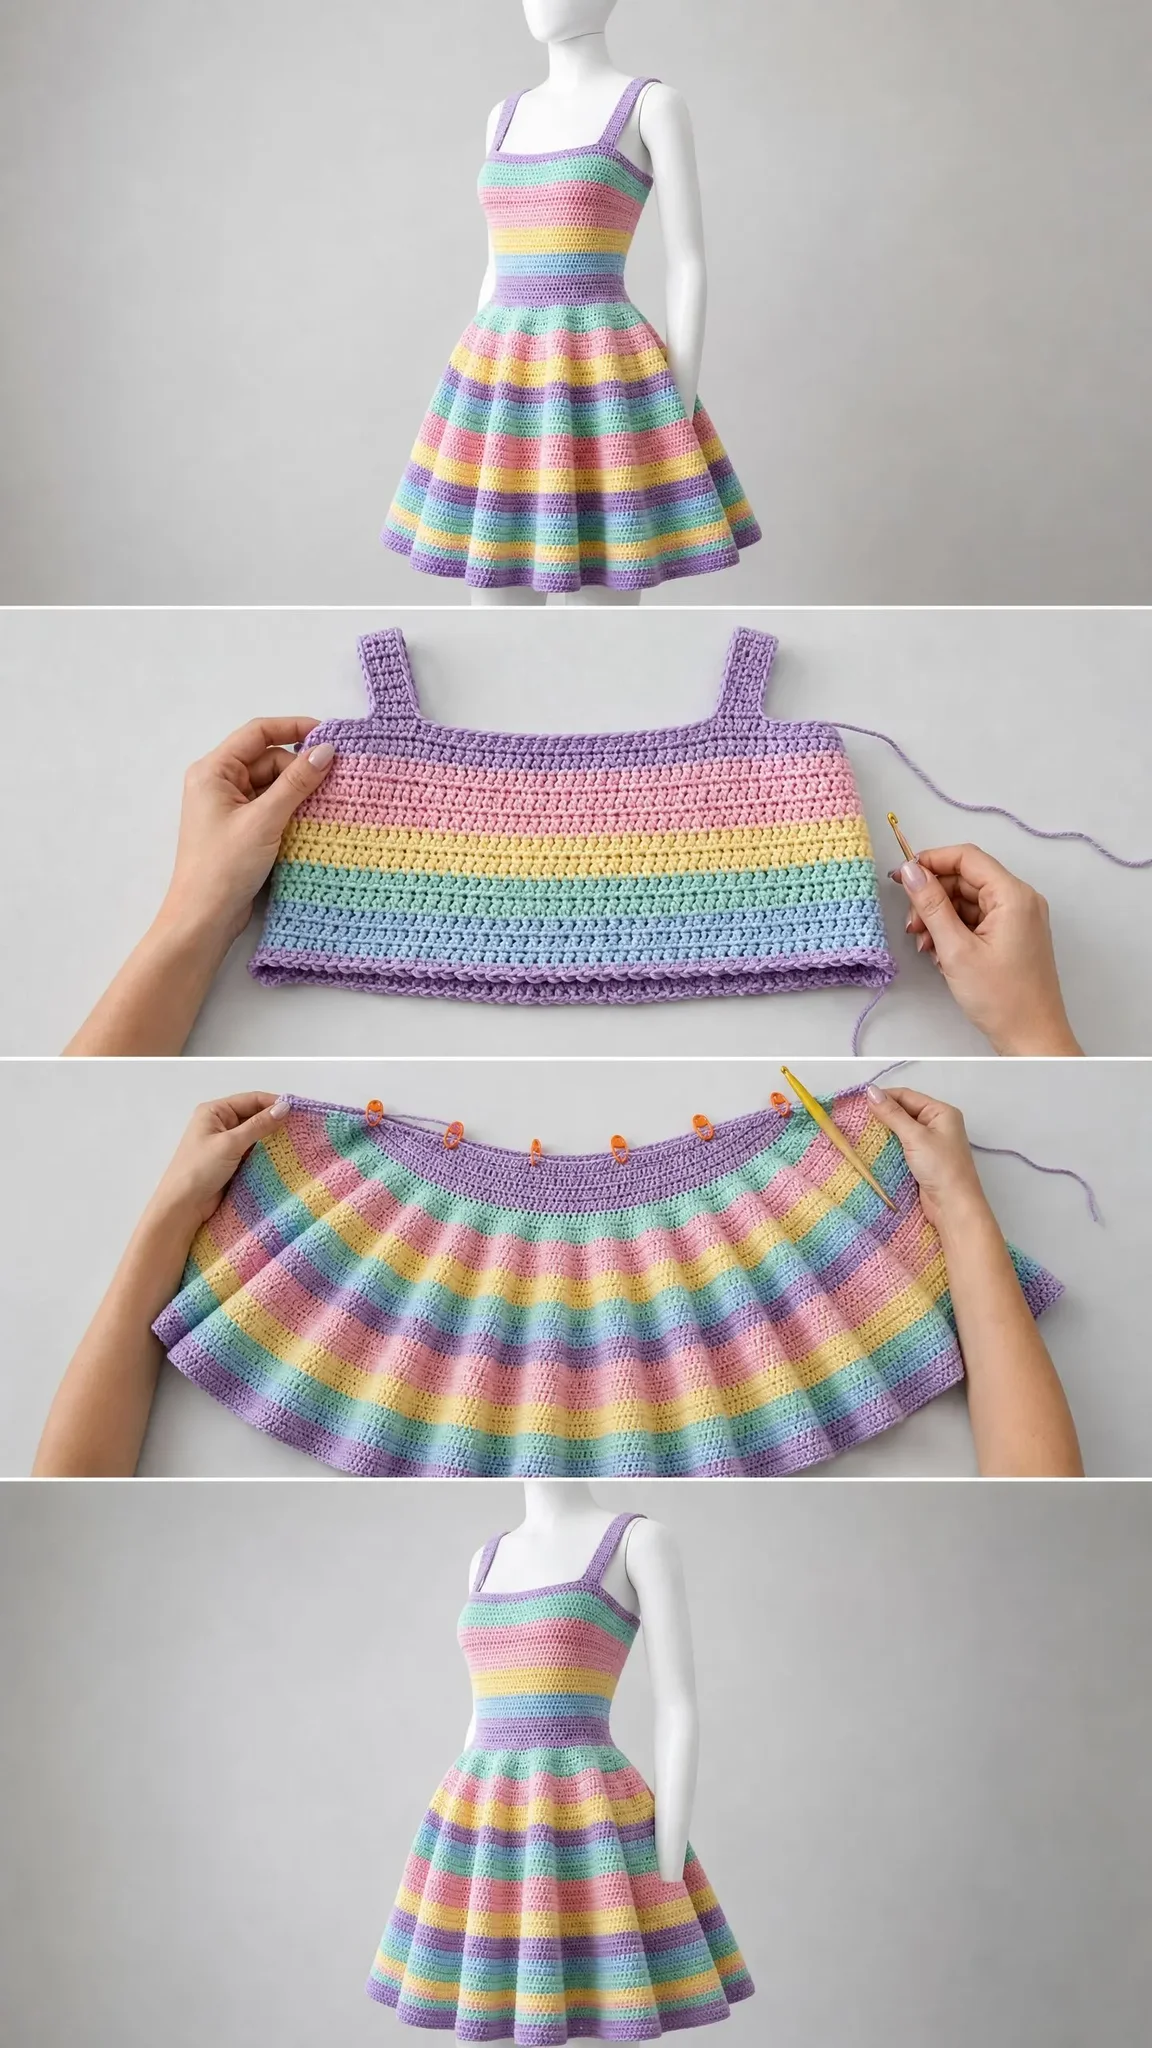
This dress uses a top-down construction, which means you start at the straps and work your way down to the hem. No separate pieces to sew together at the end. No complicated armhole shaping. The bodice is simply a tube worked in the round, and the skirt flares out through evenly spaced increases.
The stripe sequence repeats predictably every twelve rounds, so once you get into a rhythm, you will barely need to look at the pattern. The color order is mint green, coral pink, butter yellow, baby blue, soft peach, and lavender. Two rounds of each color, then repeat.
Intermediate crocheters will find this project challenging but completely doable. You need to be comfortable working in the round, managing yarn color changes, and counting stitches carefully. The techniques themselves are basic, but the precision required for a fitted garment demands attention.
Confident beginners can absolutely tackle this project with patience. Give yourself extra time, use plenty of stitch markers, and do not skip the gauge swatch. Your first wearable garment is a big accomplishment, and this one is worth the effort.
Materials You Will Need
Yarn: DK weight cotton or cotton blend, approximately 2200 yards total across six colors.
I recommend Paintbox Yarns Cotton DK or Lion Brand 24/7 Cotton for excellent stitch definition. Avoid fuzzy or stretchy yarns since you need to see your stitches clearly for counting.
Hook: US size E-4 (3.5 mm), or size needed to obtain gauge
Notions:
Gauge (Do Not Skip This)
20 single crochet stitches and 24 rows equals 4 inches (10 cm) worked in the round.
I know gauge swatches feel tedious. For this dress, they are mandatory. Even half a stitch per inch difference will throw your measurements off by up to 3 inches in circumference. A dress that should fit perfectly will end up too tight to zip or too loose to stay put.
Make a swatch, block it, and measure the center stitches. Adjust your hook size up or down until you match gauge exactly.
Finished Measurements (Size Small/Medium)
Abbreviations and Stitch Definitions
sc (single crochet): Insert hook into stitch, yarn over, pull up a loop (2 loops on hook), yarn over, pull through both loops. This is the foundation of the entire dress.
blo (back loop only): Instead of inserting your hook under both loops at the top of a stitch, insert it under only the back loop. This is the loop farthest from you. Creates a subtle horizontal ridge texture.
inc (increase): Work 2 single crochet stitches into the same stitch. This adds one stitch to your count.
sc2tog (single crochet two together): Insert hook in next stitch, pull up a loop, insert hook in following stitch, pull up a loop (3 loops on hook), yarn over, pull through all 3 loops. This decreases your stitch count by one.
ch: chain
sl st: slip stitch
st(s): stitch(es)
rnd: round
pm: place marker
RS: right side
Pattern Notes Before You Begin
1. The dress is worked from the top down in continuous rounds. Do not turn at the end of rounds unless instructed.
2. The right side faces outward throughout construction.
3. Color stripe sequence: 2 rounds Color B, 2 rounds Color C, 2 rounds Color D, 2 rounds Color E, 2 rounds Color F, 2 rounds Color A. This 12-round cycle repeats throughout the bodice and skirt. Straps and waistband use only Color A.
4. The bodice is worked in back loop only single crochet (blo sc). The skirt is worked in regular single crochet through both loops. This creates visual and structural distinction between sections.
5. Carry unused yarn loosely up the inside of your work rather than cutting after every color change. This minimizes the number of ends to weave.
6. All rounds begin with chain 1 (does not count as a stitch) and end by joining with a slip stitch to the first single crochet.
Pastel Rainbow Flared Mini Dress Crochet Pattern Instructions
Straps (Make 2)
Using Color A and your 3.5 mm hook, chain 7.
Row 1: Single crochet in second chain from hook and in each chain across. Turn. (6 sc)
Row 2: Chain 1, single crochet in each stitch across. Turn. (6 sc)
Row 3: Chain 1, single crochet in each stitch across. Turn. (6 sc)
Continue repeating Row 2 until the strap measures 10 inches (25.5 cm) from the foundation chain.
Do not fasten off the first strap. Place the second strap on a stitch holder. You now have two strap pieces, each 6 stitches wide and approximately 10 inches long.
Back Foundation
With Color A, chain 91.
Foundation row: Single crochet in second chain from hook and in each chain across. (90 sc)
Do not turn or fasten off. Set aside on a stitch holder.
Front Foundation
With Color A, chain 81.
Foundation row: Single crochet in second chain from hook and in each chain across. (80 sc)
Do not turn or fasten off. Set aside on a stitch holder.
Seaming the Straps
Position the first strap so its short cast-on edge aligns with the back foundation, 14 stitches in from the right edge. Using Color A, whip stitch or slip stitch the strap top (6 stitches) to the corresponding 6 stitches on the back foundation.
Repeat for the second strap on the other side, 14 stitches in from the left edge of the back.
Seam the other ends of both straps to the front foundation in the same positions: right strap attaches 14 stitches in from the right edge, left strap attaches 14 stitches in from the left edge.
You now have a connected loop structure.
Joining Round (Color A)
With Color A and right side facing, join yarn at the right side edge where the back meets the right strap.
Work one full round of single crochet around the entire top opening:
Single crochet across 90 stitches of back top, single crochet across 6 stitches of right strap inner top edge, single crochet across 80 stitches of front top, single crochet across 6 stitches of left strap inner top edge. Join with slip stitch to first single crochet. (182 sc)
Checkpoint: The circumference should measure approximately 36.4 inches (92.5 cm). This is slightly larger than the finished bust to account for compression in the back loop only rounds.
Switch to Color B (Mint) for the first bodice round.
Bodice (Rounds 1 to 30)
All bodice rounds are worked in back loop only single crochet. The stitch count remains constant at 182 throughout this section.
Rnds 1-2 (Color B): Ch 1, blo sc in each st around, join. (182 sc)
Rnds 3-4 (Color C): Ch 1, blo sc in each st around, join. (182 sc)
Rnds 5-6 (Color D): Ch 1, blo sc in each st around, join. (182 sc)
Rnds 7-8 (Color E): Ch 1, blo sc in each st around, join. (182 sc)
Rnds 9-10 (Color F): Ch 1, blo sc in each st around, join. (182 sc)
Rnds 11-12 (Color A): Ch 1, blo sc in each st around, join. (182 sc)
This completes one full color cycle. Continue repeating the cycle:
Rnds 13-14 (Color B): Ch 1, blo sc in each st around, join. (182 sc)
Rnds 15-16 (Color C): Ch 1, blo sc in each st around, join. (182 sc)
Rnds 17-18 (Color D): Ch 1, blo sc in each st around, join. (182 sc)
Rnds 19-20 (Color E): Ch 1, blo sc in each st around, join. (182 sc)
Rnds 21-22 (Color F): Ch 1, blo sc in each st around, join. (182 sc)
Rnds 23-24 (Color A): Ch 1, blo sc in each st around, join. (182 sc)
Continue partial third cycle:
Rnds 25-26 (Color B): Ch 1, blo sc in each st around, join. (182 sc)
Rnds 27-28 (Color C): Ch 1, blo sc in each st around, join. (182 sc)
Rnds 29-30 (Color D): Ch 1, blo sc in each st around, join. (182 sc)
Bodice checkpoint: The bodice below the strap join should measure approximately 5 inches (12.7 cm). Each stripe should be about 0.33 inch (0.85 cm) wide.
Waist Shaping (Rounds 31 to 38)
The waist section uses decreases to create a defined waistline, reducing from 182 to 140 stitches. Continue working in back loop only.
Rnd 31 (Color E): Ch 1, (blo sc in next 14 sts, sc2tog blo) 6 times, (blo sc in next 15 sts, sc2tog blo) 5 times, blo sc in last st, join. (171 sc)
Rnd 32 (Color E): Ch 1, blo sc in each st around, join. (171 sc)
Rnd 33 (Color F): Ch 1, (blo sc in next 15 sts, sc2tog blo) 9 times, (blo sc in next 16 sts, sc2tog blo) 1 time, join. (161 sc)
Rnd 34 (Color F): Ch 1, blo sc in each st around, join. (161 sc)
Rnd 35 (Color A): Ch 1, (blo sc in next 12 sts, sc2tog blo) 7 times, (blo sc in next 13 sts, sc2tog blo) 4 times, blo sc in last 3 sts, join. (150 sc)
Rnd 36 (Color A): Ch 1, blo sc in each st around, join. (150 sc)
Rnd 37 (Color A): Ch 1, (blo sc in next 13 sts, sc2tog blo) 10 times, join. (140 sc)
Rnd 38 (Color A): Ch 1, blo sc in each st around, join. (140 sc)
Waist checkpoint: The waist should measure approximately 28 inches (71 cm) in circumference. Total dress length from top of bodice to base of waistband should be approximately 7.5 inches (19 cm).
Skirt (Rounds 39 onward)
The skirt transitions to regular single crochet through both loops. This section uses aggressive increases to create the dramatic flared silhouette, expanding from 140 stitches at the waist to 450 stitches at the hem.
Rnd 39 (Color B): Ch 1, (sc in next st, inc in next st) 70 times, join. (210 sc)
Rnd 40 (Color B): Ch 1, sc in each st around, join. (210 sc)
Rnd 41 (Color C): Ch 1, (sc in next 4 sts, inc in next st) 42 times, join. (252 sc)
Rnd 42 (Color C): Ch 1, sc in each st around, join. (252 sc)
Rnd 43 (Color D): Ch 1, (sc in next 6 sts, inc in next st) 36 times, join. (288 sc)
Rnd 44 (Color D): Ch 1, sc in each st around, join. (288 sc)
Rnd 45 (Color E): Ch 1, (sc in next 8 sts, inc in next st) 32 times, join. (320 sc)
Rnd 46 (Color E): Ch 1, sc in each st around, join. (320 sc)
Rnd 47 (Color F): Ch 1, (sc in next 9 sts, inc in next st) 32 times, join. (352 sc)
Rnd 48 (Color F): Ch 1, sc in each st around, join. (352 sc)
Rnd 49 (Color A): Ch 1, (sc in next 10 sts, inc in next st) 32 times, join. (384 sc)
Rnd 50 (Color A): Ch 1, sc in each st around, join. (384 sc)
Continue working in the established color stripe sequence, adding 11 increases every fourth round until you reach 450 stitches. Work even rounds of plain single crochet between increase rounds, maintaining the two-rounds-per-color pattern.
For the final hem round, work one round in Color A to create a clean finished edge.
Finishing Your Pastel Rainbow Dress
Weave in all yarn ends for at least 1 inch (2.5 cm) in two directions to secure them. With this many color changes, you will have quite a few ends to manage. Take your time with this step.
Blocking is highly recommended. Soak the dress in lukewarm water with a small amount of wool wash or gentle detergent. Gently squeeze out excess water without wringing. Lay flat on blocking mats and pin the bodice to the correct measurements. Allow the skirt to spread naturally into its full circle shape. Let dry completely before wearing.
Tips for Success with This Crochet Tutorial
Count your stitches religiously. Place a marker at the beginning of every round and count at the end of each increase or decrease round. Catching a mistake immediately is far easier than frogging multiple rounds.
Use different colored markers for the beginning of the round versus other reference points. This prevents confusion when you have several markers in play.
Do not pull your color carries too tight. The yarn traveling up the inside of your work should be loose enough that it does not pucker the fabric.
Try on as you go if possible. After completing the waist shaping, slip the dress over your head to check the fit. Adjustments are much easier to make before you have invested hours in the skirt.
Take breaks during the skirt. The later rounds have hundreds of stitches each. Working in smaller sessions helps maintain consistent tension and prevents fatigue errors.
Thank you so much for choosing this pastel rainbow flared mini dress crochet pattern for your next project. I genuinely hope you love the process of watching those colorful stripes spiral down into a gorgeous, swirly skirt. Tag me on Instagram or share in my Facebook group when you finish. I would absolutely love to see your color combinations and celebrate your finished dress with you.
If this pattern is calling your name, go ahead and pin it to your crochet project board so you can find it when you are ready to cast on. And please drop a comment below if you make one. I read every single comment and your makes truly brighten my day.
You Might Also Like
- Sage Green Boho Crochet Backpack Free Pattern
- Ocean Breeze Granny Square Tote Free Crochet Pattern
- Dusty Rose Backpack Free Crochet Pattern
- Autumn Burnt Orange Maple Leaf Earrings Free Crochet Pattern